Hello, friends! I hope you are having a great stamping week! Today I have a pencil colored and heat embossed Holiday card to share – I continue to explore my Polychromos colored pencils on various kinds and colors of cardstock. I hope you’ll enjoy this project & video.
Like this project? Pin it and save for later | Curious about my project photography? Click for details.
VIDEO TUTORIAL
As always, I filmed a video tutorial showing how to create this project from start to finish. I’m hoping you’ll enjoy it. Watch it below or on my Youtube channel.
Like this video? Please give it a big thumbs up (you can do this on Youtube video page right under the video) and share with a crafty friend! Leave me a comment too, I love hearing from you!
CARD DETAILS
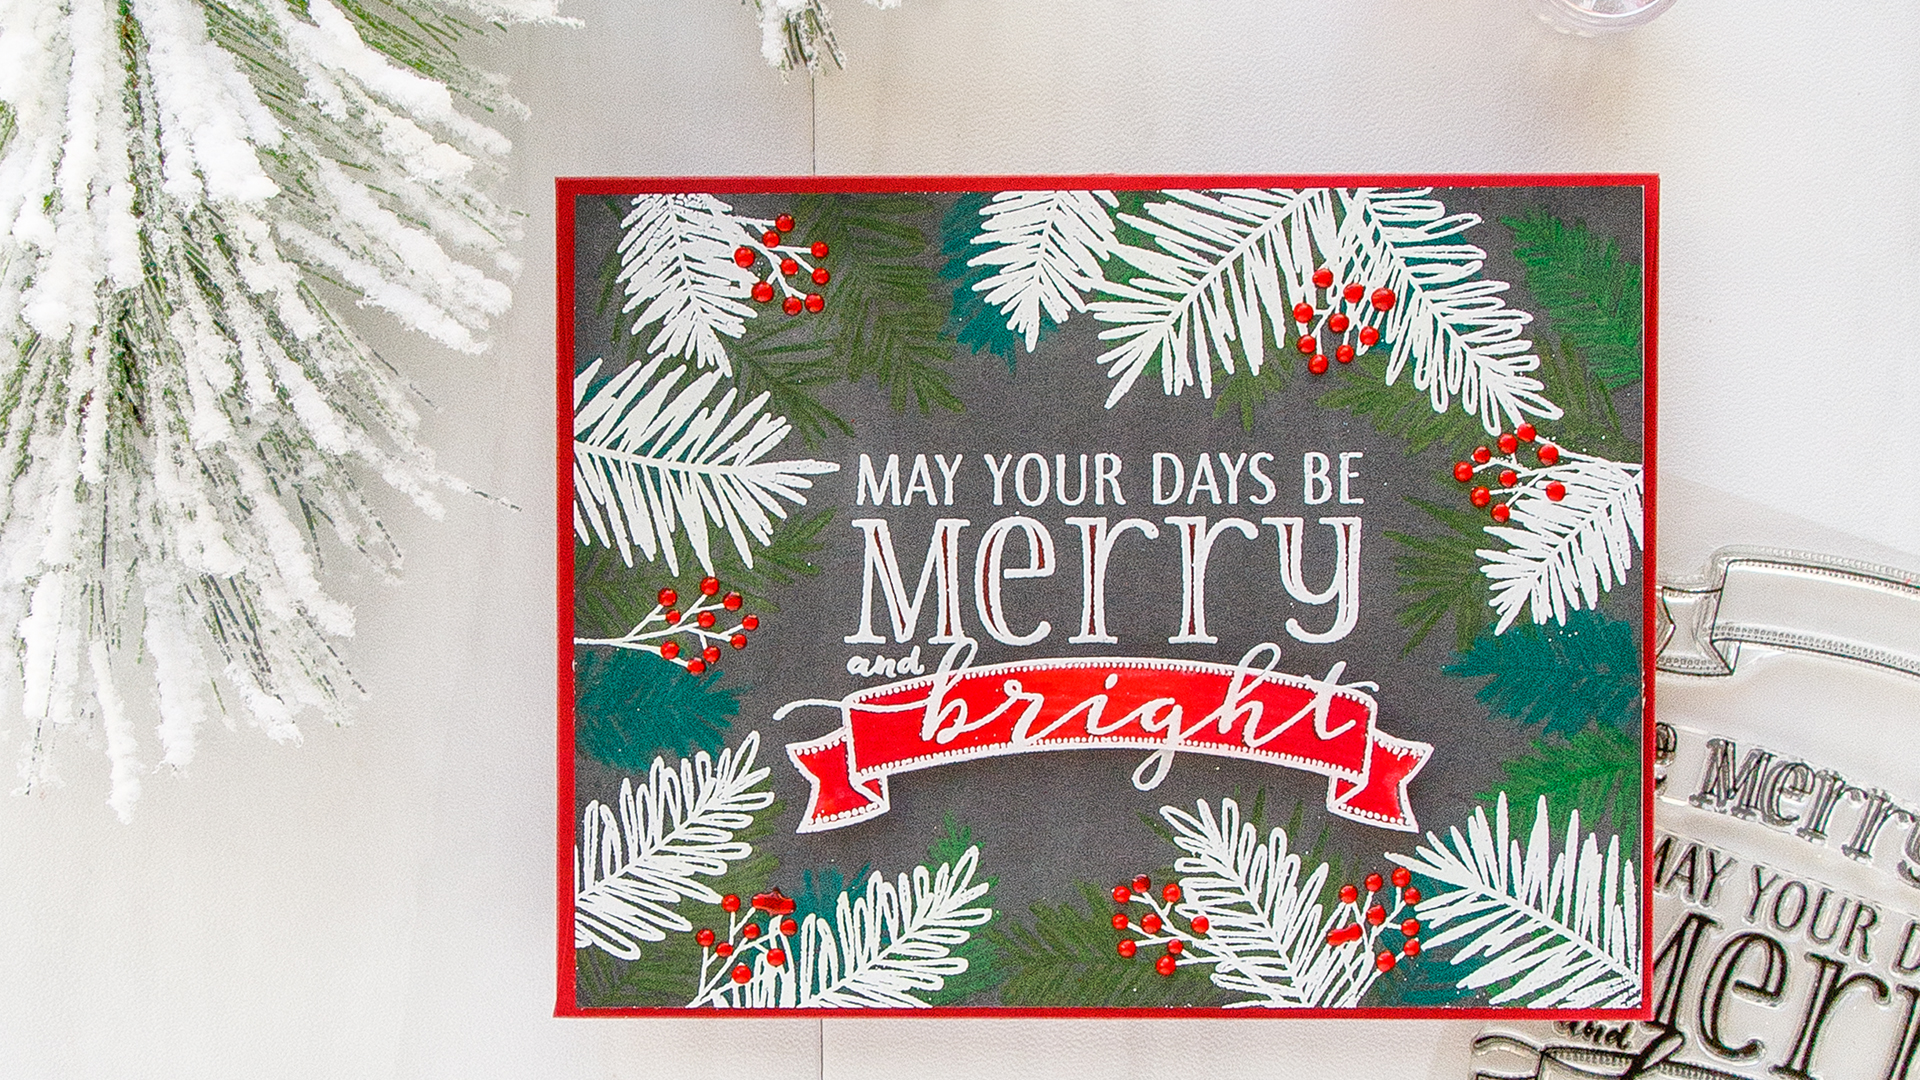
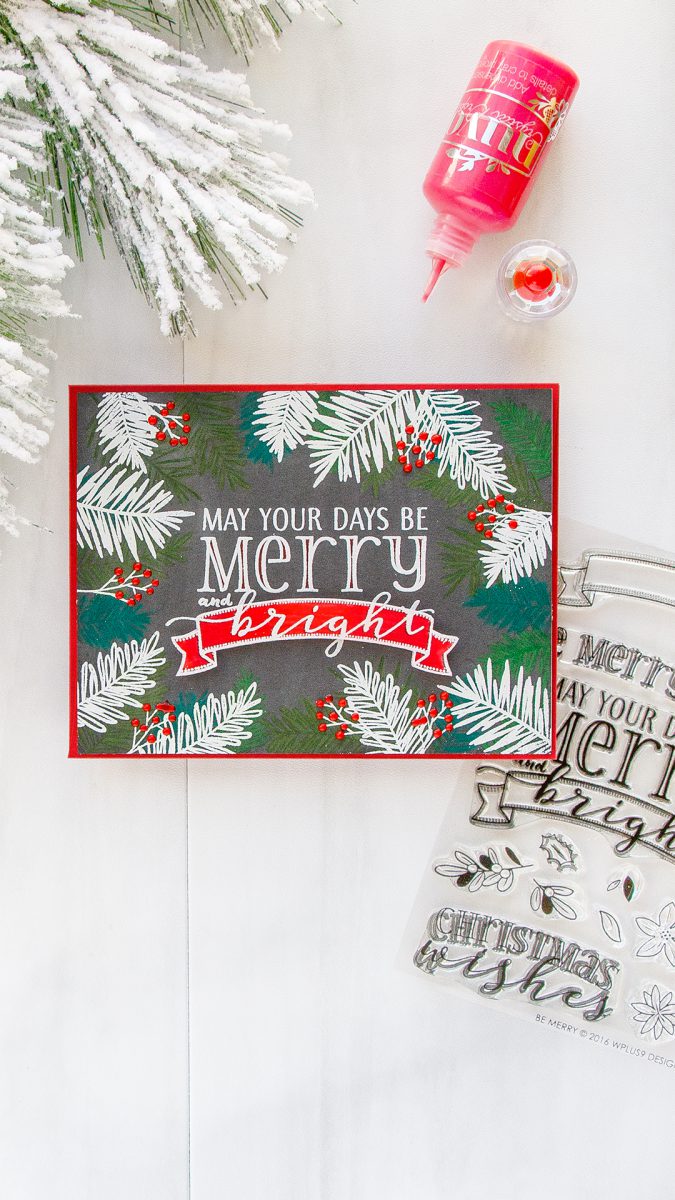
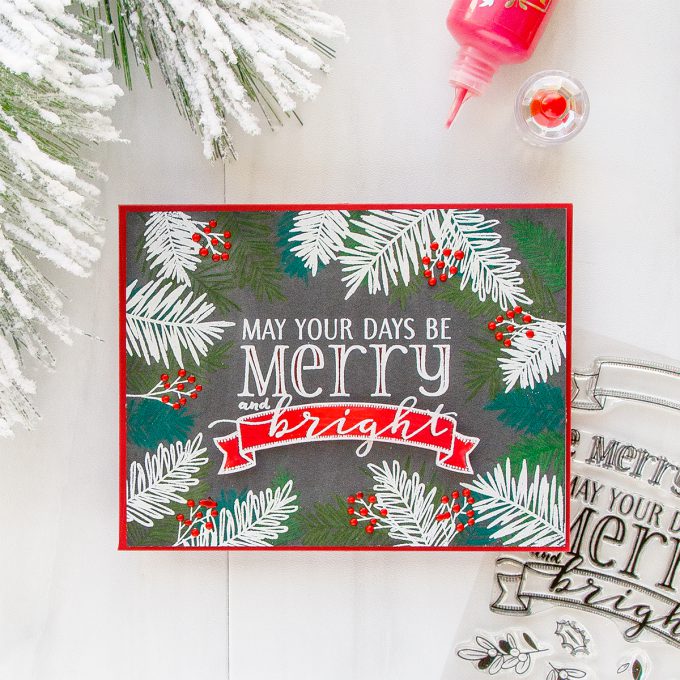
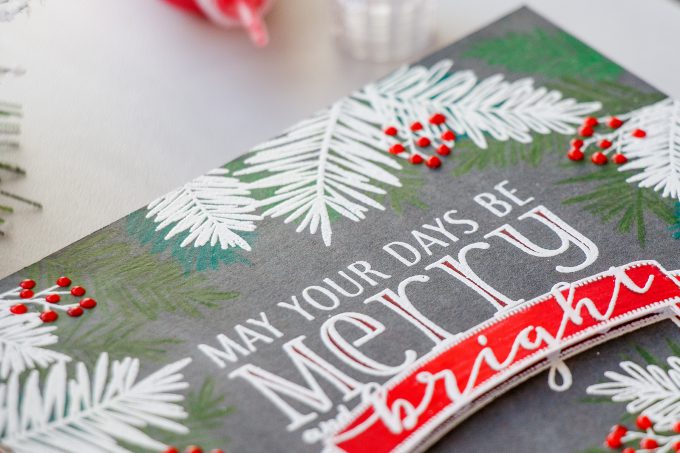
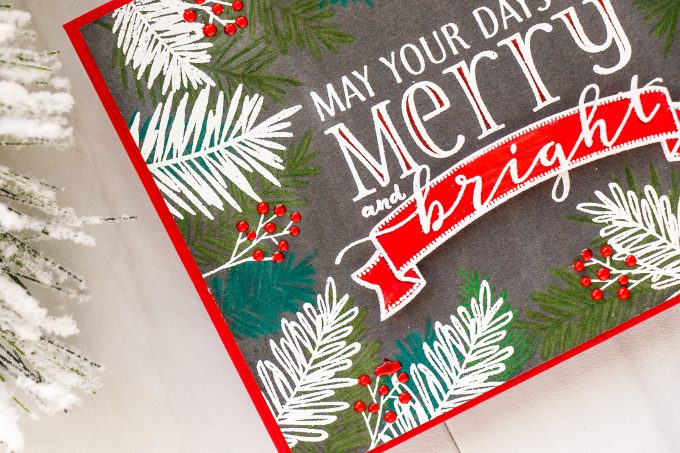
I started working on my card by stamping a sentiment from the Be Merry set from WPlus9 in Silver Lining ink onto Coal Mine cardstock. I used a stamp positioner and kept my stamp on the door of my stamping platform to be able to stamp it again in the same spot on my panel.
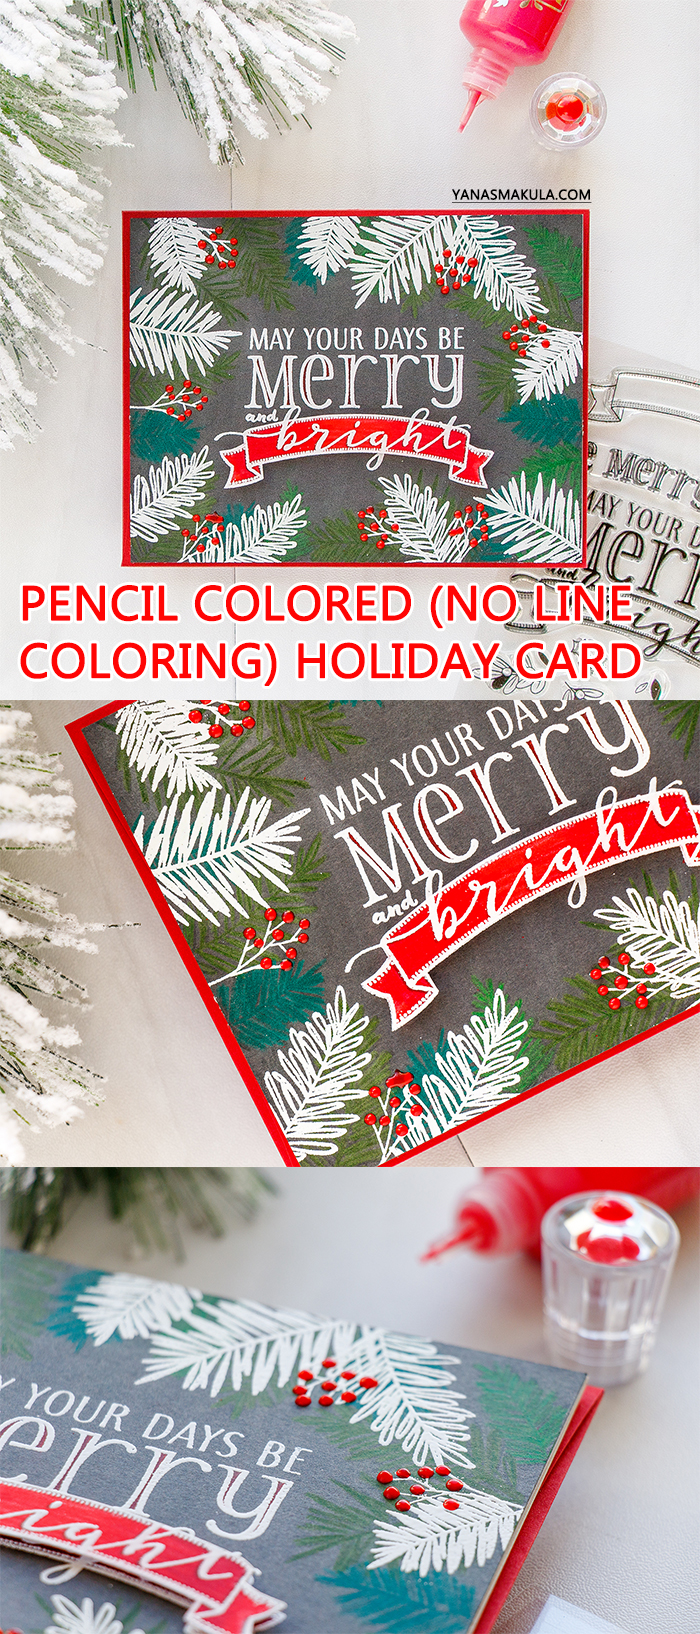
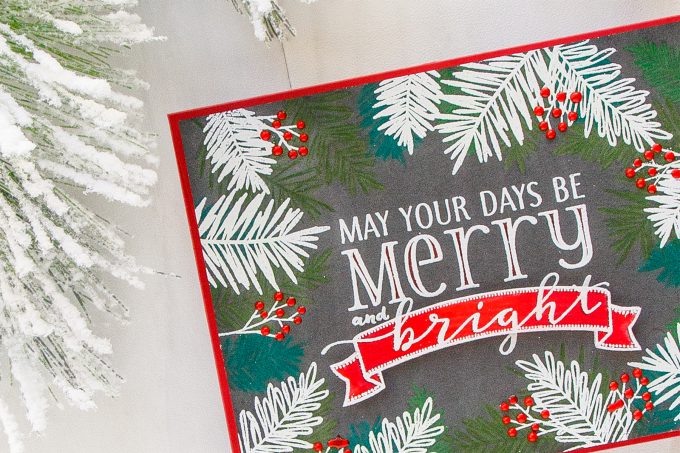
Next, I colored banner and the inside of the letters in the word Merry using Polychromos pencils. Later I colored and heat embossed identical banner on white cardstock and foam mounted it onto my card as I wanted the red to be a bit more vibrant on this card.
I also stamped pine branches from the Holiday Boughs set from WPlus9 in same gray ink framing my sentiment. Using several green Polychromos pencils I colored each branch creating a hand-drawn look (or no-line colored look).
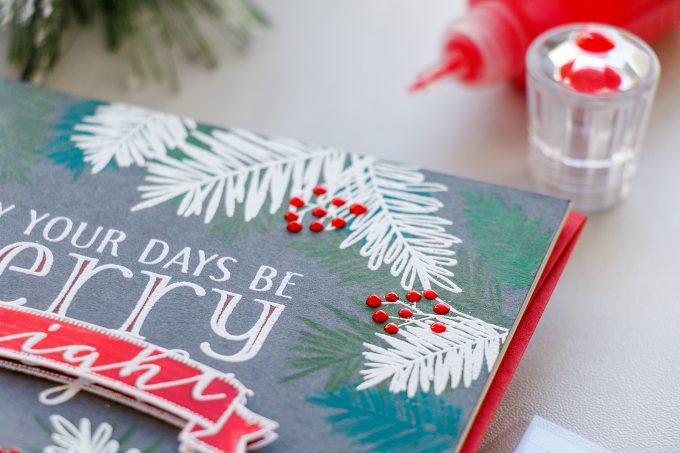
This handmade card uses Nuvo Drops to make berries. Want to see 4 other ways you can use Nuvo Drops from Tonic Studios in card making? Check out this article – 5 Ways to Use Nuvo Drops.
Once my coloring was done I replaced the panel inside my stamp platform and stamped the sentiment again in clear embossing ink. I also stamped berry and pine branches and heat embossed everything in white embossing powder.
After adhering my panel onto an A2 top folding card base made out of white cardstock I added red berries using Nuvo Drops in Red Berry color and foam mounted an identical but brighter banner on top.
I definitely enjoyed creating the subtle greenery look you see on this card, although same effect can be achieved using pigment ink. I don’t always like to use pigment ink as it takes a long time to dry, so I used colored pencils instead. Let me know what you think! And as always, have fun stamping!
SUPPLIES
I’m listing the products I used below. Click on the link to go directly to the product. Where available I use compensated affiliate links which means if you make a purchase I receive a small commission at no extra cost to you. Thank you so much for your support
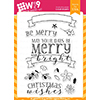 Wplus9 Be Merry Clear Stamps Shop at: SSS | WP9 |
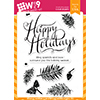 WPlus9 Holiday Boughs Stamp Set Shop at: SSS | WP9 |
 WPlus9 Silver Lining Dye Ink Shop at: WP9 |
 WPlus9 Coal Mine Cardstock Shop at: WP9 |
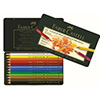 Faber-Castell Polychromos Colored Pencils 12 Piece Set Shop at: SSS | BL |
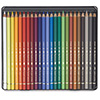 Faber-Castell Polychromos Colored Pencils 24 Piece Set Shop at: BL |
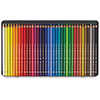 Faber-Castell Polychromos Colored Pencils 36 Piece Set Shop at: BL |
 Simon Says Stamp Small Teflon Bone Folder Tool Shop at: SSS |
 Hero Arts Heat Embossing Gun PW200 Shop at: SSS | SC | HA | AZ |
 Hero Arts White Embossing Powder PW110 Shop at: SSS | SC | HA |
 ScraPerfect Crafting Pouch Shop at: SSS |
 Tim Holtz Tonic Craft Stamp Platform Shop at: SSS | SC | AZ |
 Scor-Tape 1/8 Inch Crafting Tape Shop at: SSS |
 Tonic Red Berry Gloss Nuvo Crystal Drops Shop at: SSS |
 Scrapbook Adhesives White Foam Squares Shop at: SSS | SC |
 Tonic Studios 8.5 Inch Paper Trimmer Shop at: SSS | SC |
PIN THIS PROJECT
Are you on Pinterest? I’d love for your to pin this project if you like it! Thanks!


Lovely card Yana, I think I might be able to pull something like this off, I’m a newbie and quite afraid of trying new things which is silly, it’s only a piece of paper right! I was like that with my scrapbook paper as well! Soon got over that!
Some great tips in the video. Thanks! I’ve been thinking the past couple of days about how to use the poly chromes with a stamp I have that has small areas to color (and a banner). When I tried to use the stamp before — heat embossing first — it made the coloring impossible. So I’ve been thinking about how to do a sort of no line coloring and then heat emboss. And then … bam! You posted this video!!! (Now I can use my mind to think about something else!!!!!!) I also like the idea of paper piecing the banner which not only gives the card some dimension but also — as you show — the coloring of the banner is much brighter. As always — thank you, Yana.
Beautiful card 🙂
I have never seen it done like this before. Such a beautiful card and I love the way you did it. I can’t wait to try it myself. Thank you for sharing.
That’s another wonderful Christmas card !
This is so beautiful Yana and I love the added white embossing powder and the red berries, it definitely ‘amped it up’ and made it pop. Beautiful job as always!
Beautiful card and great tips
Yana, this card is simply stunning! And, I think I need to pick up some of those colored pencils after seeing the beautiful projects that you’ve made with them.
Absolutely delightful!