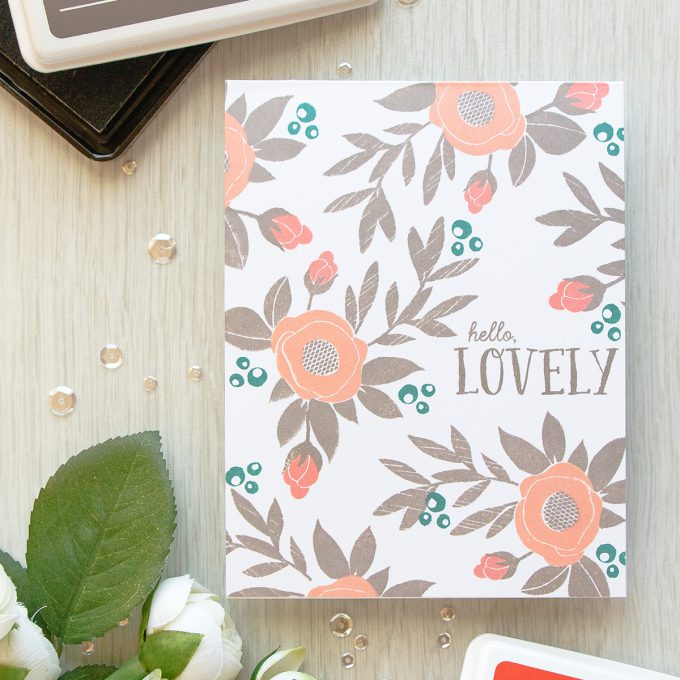
Hello friends! We often get carried away with elaborate techniques and tricks and the cards we make become rather difficult to copy or mass produce. Today I decided to create a simple and approachable card featuring stamping only.
Like this project? Pin it and save for later | Curious about my project photography? Click for details.
VIDEO TUTORIAL
As always, I filmed a video tutorial showing how to create this project from start to finish. I’m hoping you’ll enjoy it. Watch it below or on my Youtube channel.
Like this video? Please give it a big thumbs up (you can do this on Youtube video page right under the video) and share with a crafty friend! Leave me a comment too, I love hearing from you!
CARD DETAILS
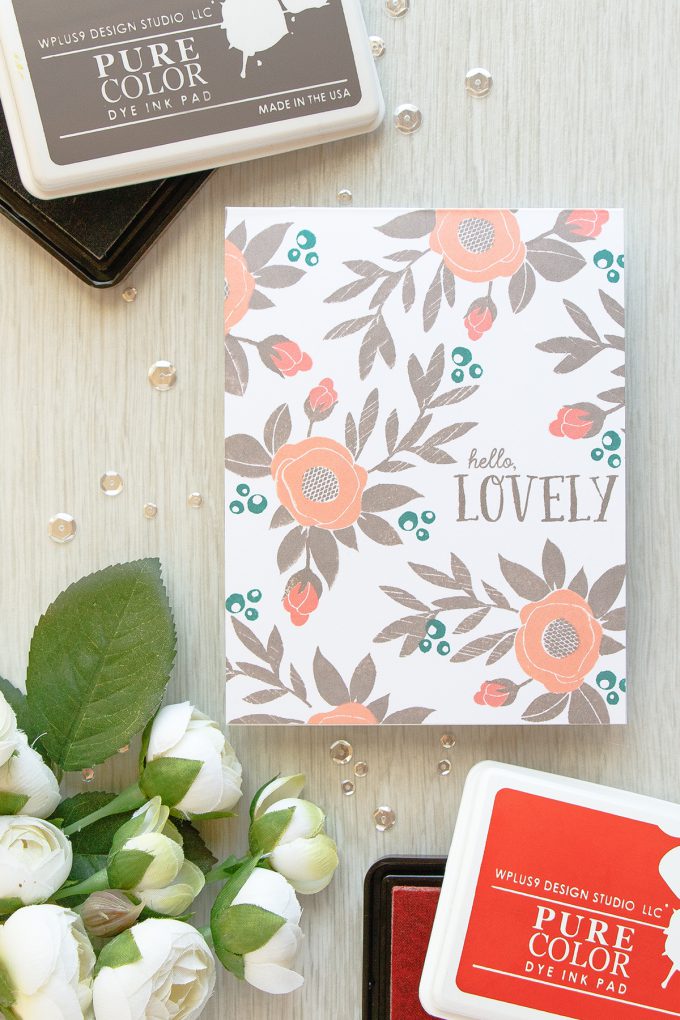
I picked Spring Bloom stamp set to do most of my stamping and also Bold Banner Greetings stamp set for my sentiment. For my color combo I went with something new. I used Warm Wool, Sweet Nectar, Miami Spice and Siren Song. A rather unusual color combination, but definitely a fresh and fun one to try.
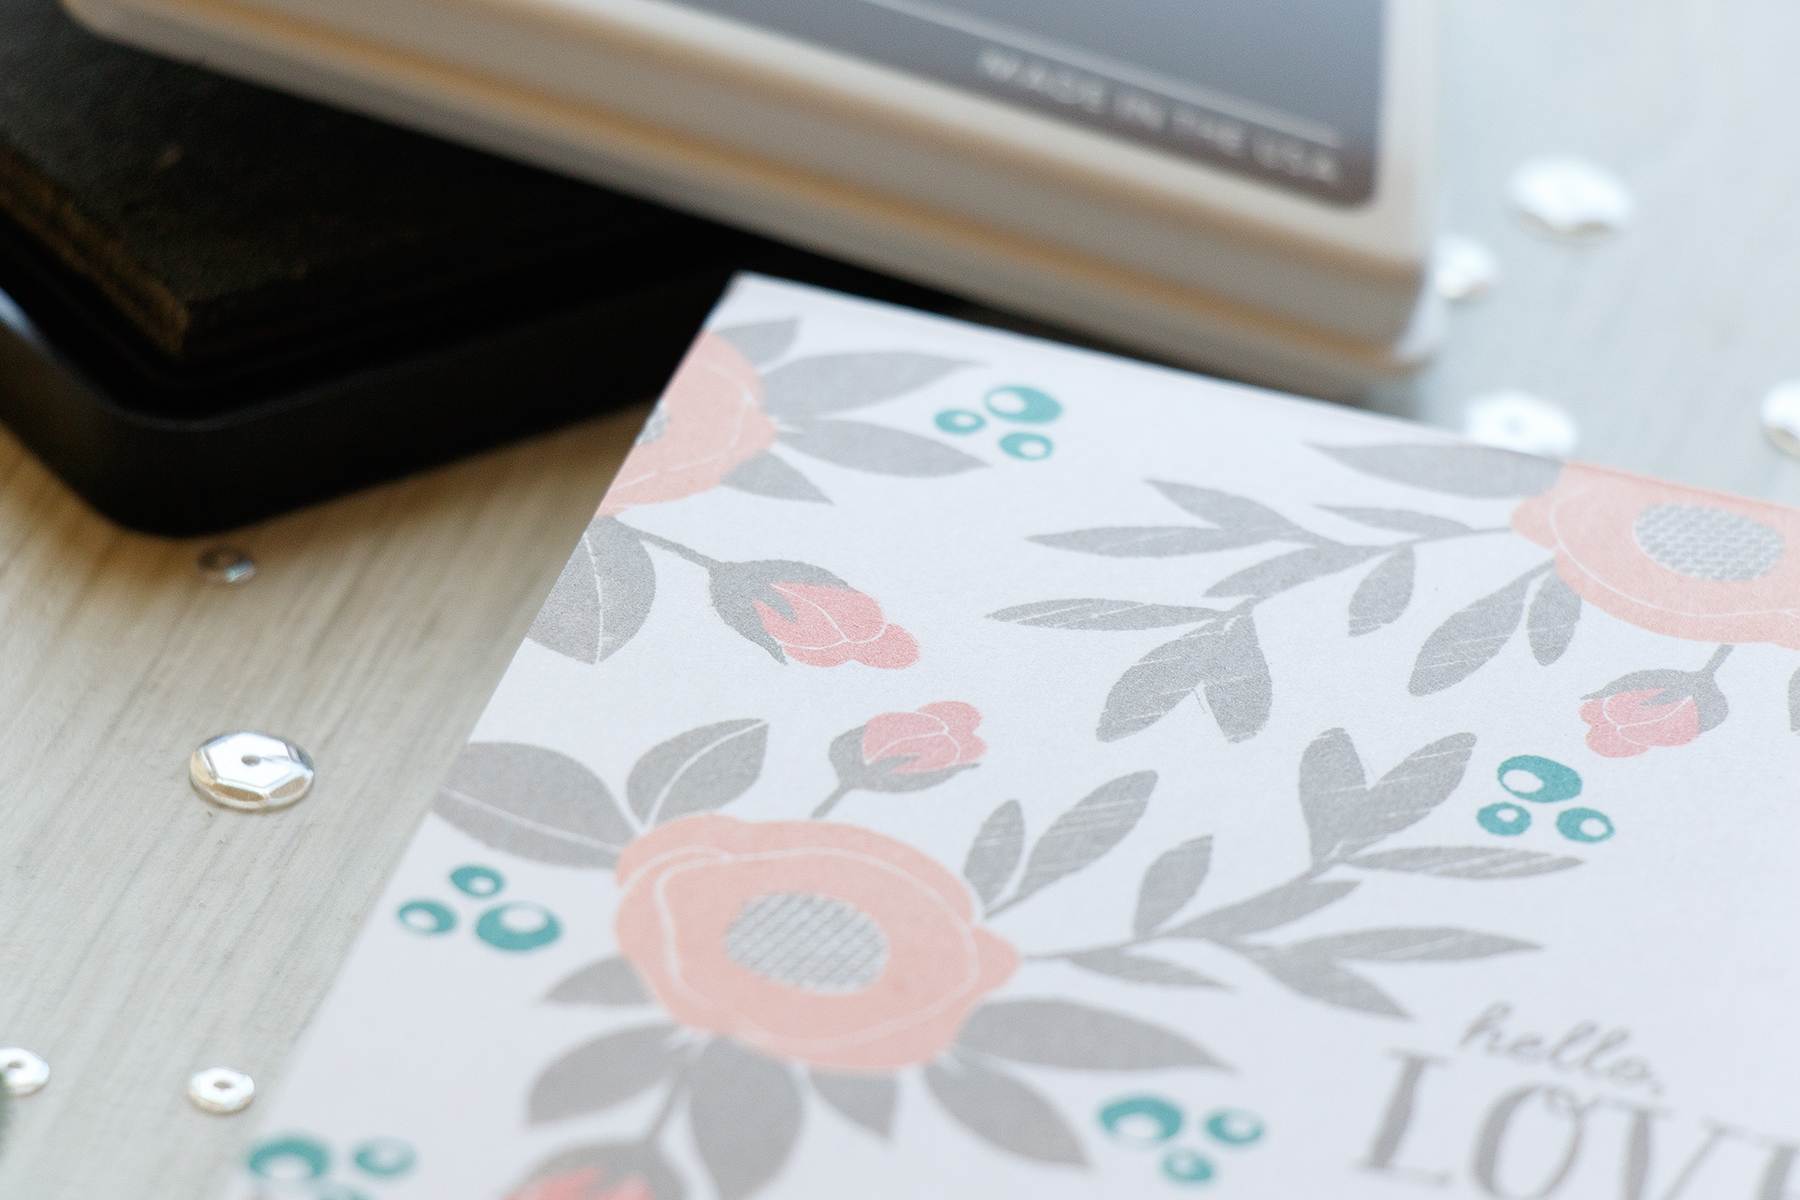
This card features stamped pattern that consist of one image – floral cluster being repeatedly stamped onto the background. I picked one of the large clusters from the Spring Bloom stamp set and stamped it 5 or 6 times to cover the front of my card. Only 3 times if you count full images, and not the little partial impressions.
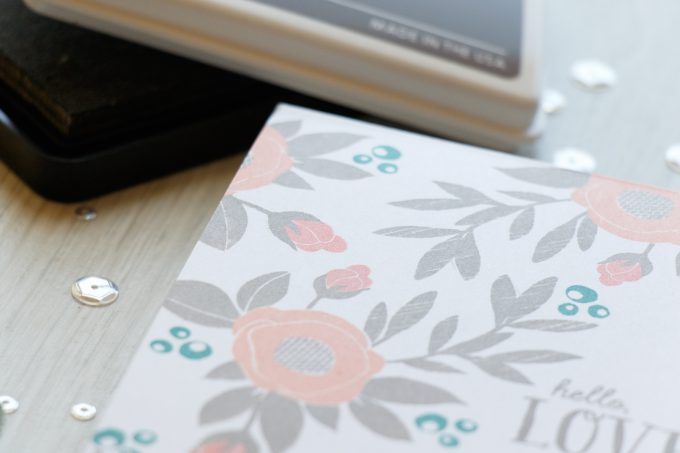
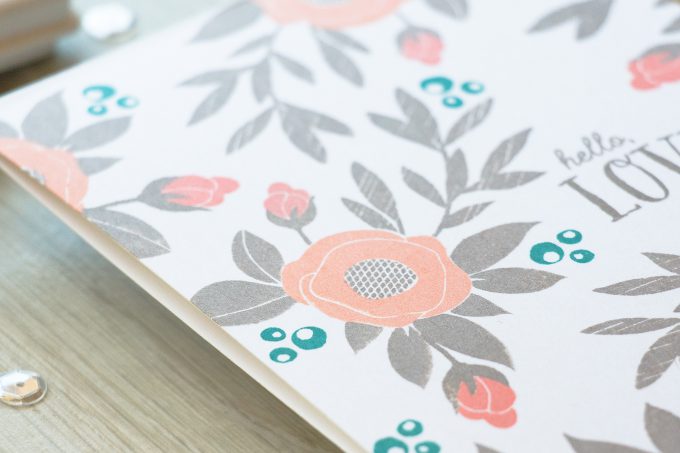
I didn’t use my stamp positioner for this card and only did my stamping using a clear block as I didn’t feel I needed to use a MISTI or similar tool. The reason I picked this particular image and not something else is the striped detail on the leaves. Since I was making a very simple one layer card I needed to use something that would add additional interest. And those striped textured looking leaves fit the bill perfectly.
I stamped my image several times rotating it on my paper and making sure to leave enough white space for the sentiment and little florals. Overall I stamped it 6 times, but only 3 impressions ended up being almost complete on this card.
Next, while I still had room, I added a sentiment. You could (and probably should) start your stamping with a sentiment, but I planned ahead of time where I wanted my message to be, so I first stamped the other large elements on my card. For my sentiment I went with Hello, Lovely.
Next I added flowers inside the floral cluster and I stamped those using the lighter peach color, Sweet Nectar. Flower centers were stamped in the same Warm Wool color and again I loved how a center was not a solid image, but rather a textured-looking one. I also stamped some additional stems and flower buds in a slightly darker peach, Miami Spice.
Lastly I added little berries in Siren Song ink color. You can skip adding those and go with sequins or enamel dots or some other embellishment for your project, but I wanted to keep this card absolutely one layer so I added stamped berries instead.
SUPPLIES
I’m listing the products I used below. Click on the link to go directly to the product. Where available I use compensated affiliate links which means if you make a purchase I receive a small commission at no extra cost to you. Thank you so much for your support
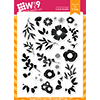 WPlus9 Spring Blooms Stamps Shop at: SSS | WP9 |
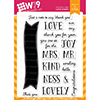 Wplus9 Bold Banner Greetings Stamp Shop at: SSS | WP9 |
 WPlus9 Miami Spice Dye Ink Shop at: WP9 |
 WPlus9 Sweet Nectar Dye Ink Shop at: WP9 |
 Wplus9 Siren Song Dye Ink Shop at: WP9 |
 WPlus9 Warm Wool Dye Ink Shop at: WP9 |
 Neenah 110 Lb Solar White Cardstock Shop at: SSS | AZ |


Lovely card, Yana!
Love it, Yana! These are my girlfriend’s favorite colors!!! Thanks for a one-layer idea…and reminder that all of our cards do not need to be major works of art 🙂
Lovely colors!
Great colors and I love that the flower lines up with the area so no second guessing how it goes. Beautiful card.
Lovely card! I’m always impressed by your color combos. So unpredictable and stunning.