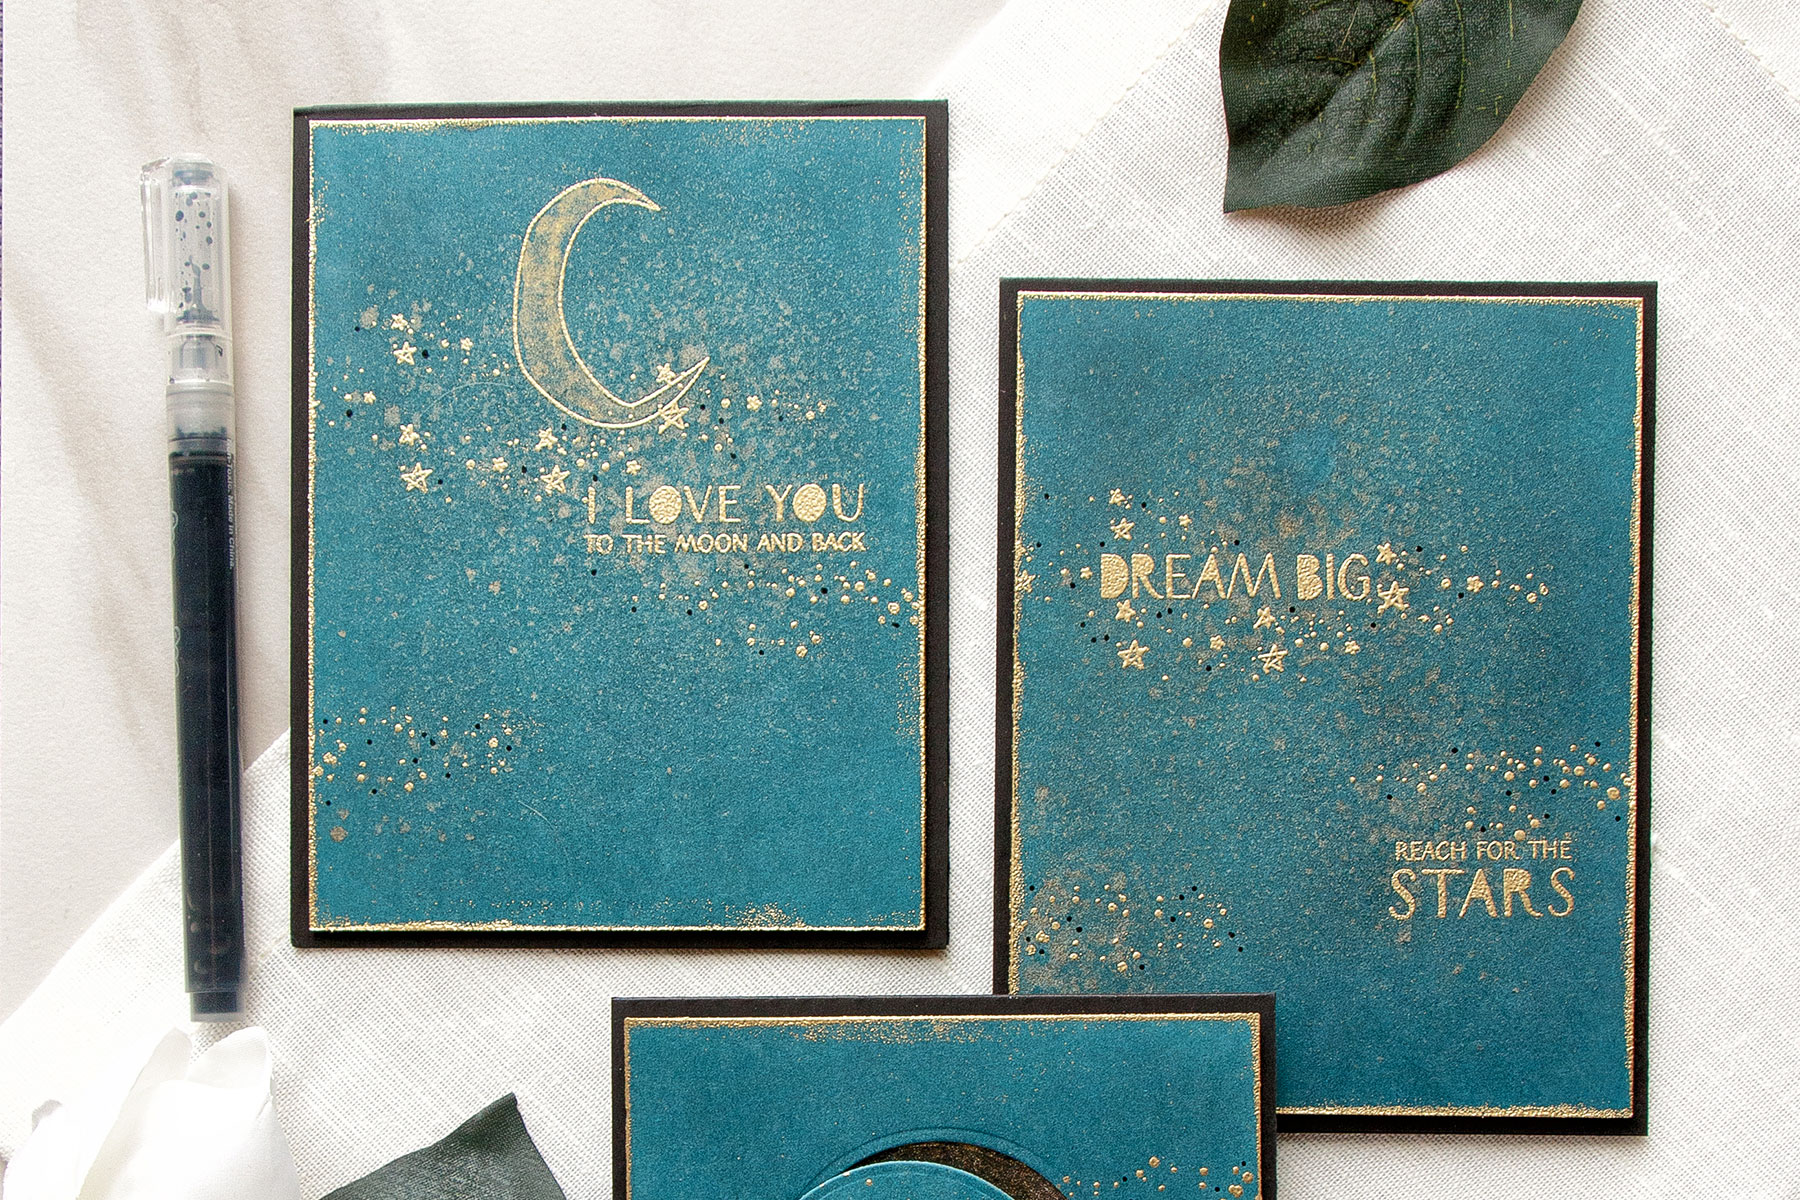
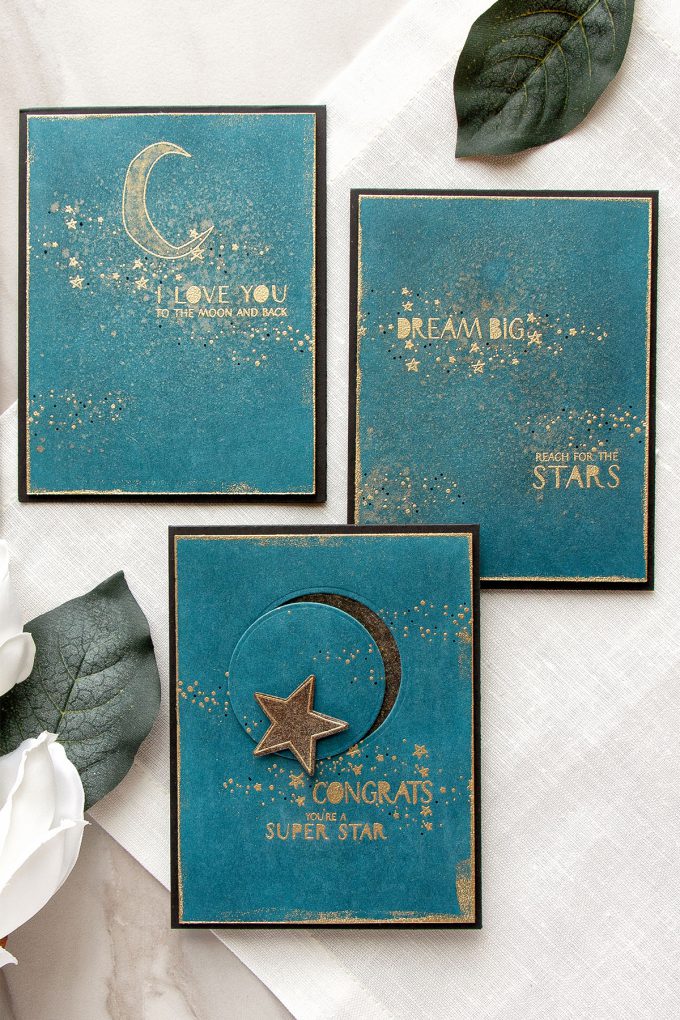
Hello friends! Oftentimes simple cards are the best to give (and not that hard to make). For my today’s blog post I created 3 easy-to-produce almost flat projects using new Stardust stamp set from WPlus9 as a focal point and also a few additional messages and images from the Little Dreamers set.
Like this project? Pin it and save for later | Curious about my project photography? Click for details.
CARD DETAILS
Inspiration for these projects came from the a photo I spotted on Pinterest – beautiful navy ceramic bowls with gorgeous gold specks. I started working on my cards by finding the perfect cardstock shade. I didn’t have navy blue so I ended up making desired color of cardstock by blending Nautical Navy ink onto white cardstock. WPlus9 does carry beautiful Nautical Navy paper, I didn’t have any in my stash so I had to improvise.
After blending ink onto paper I used my heat tool and thoroughly dried paper panels that were cut to 4 x 5 ¼ “ to avoid having embossing powder stick to them (I knew I was going to do lots of heat embossing so I needed my paper to be bone dry).
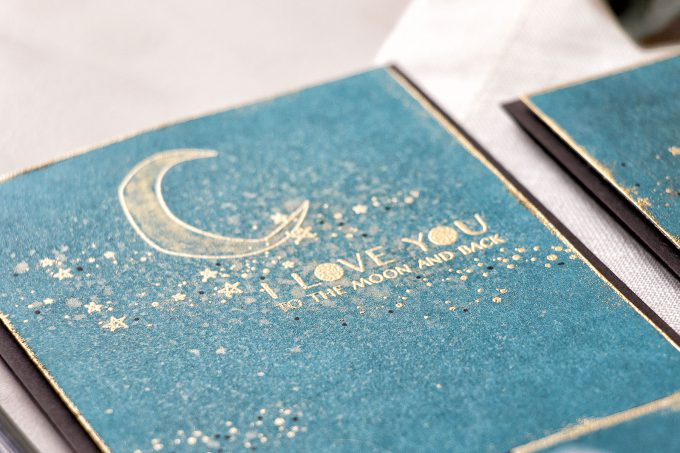
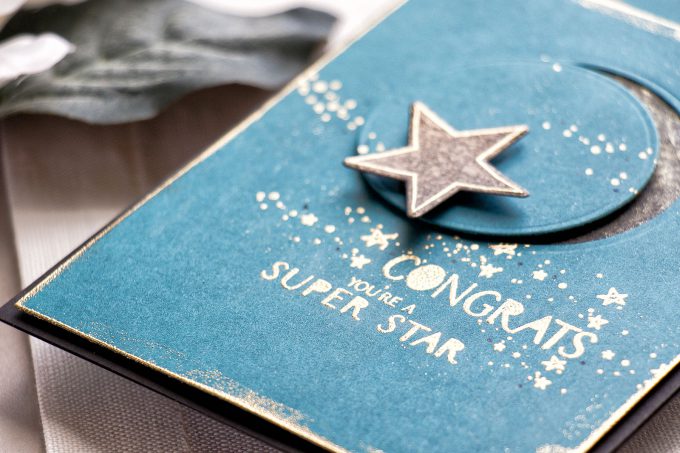
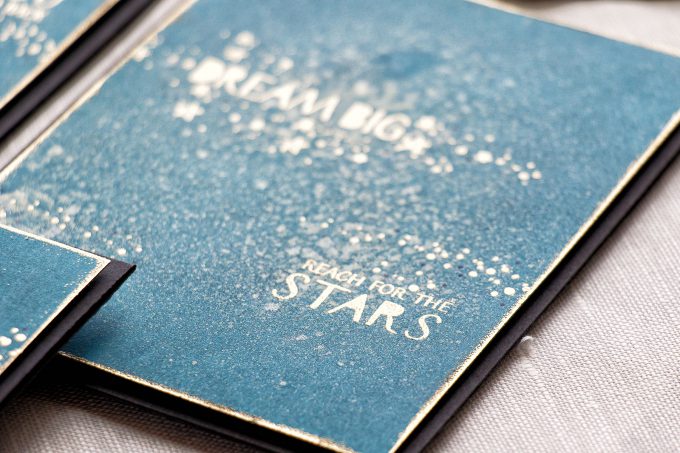
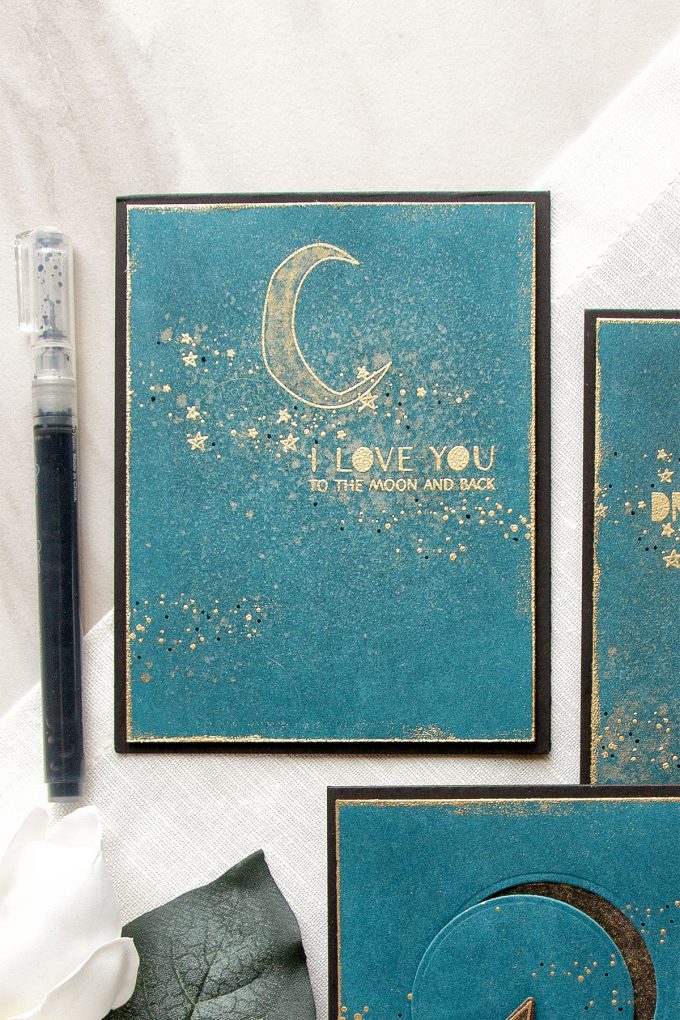
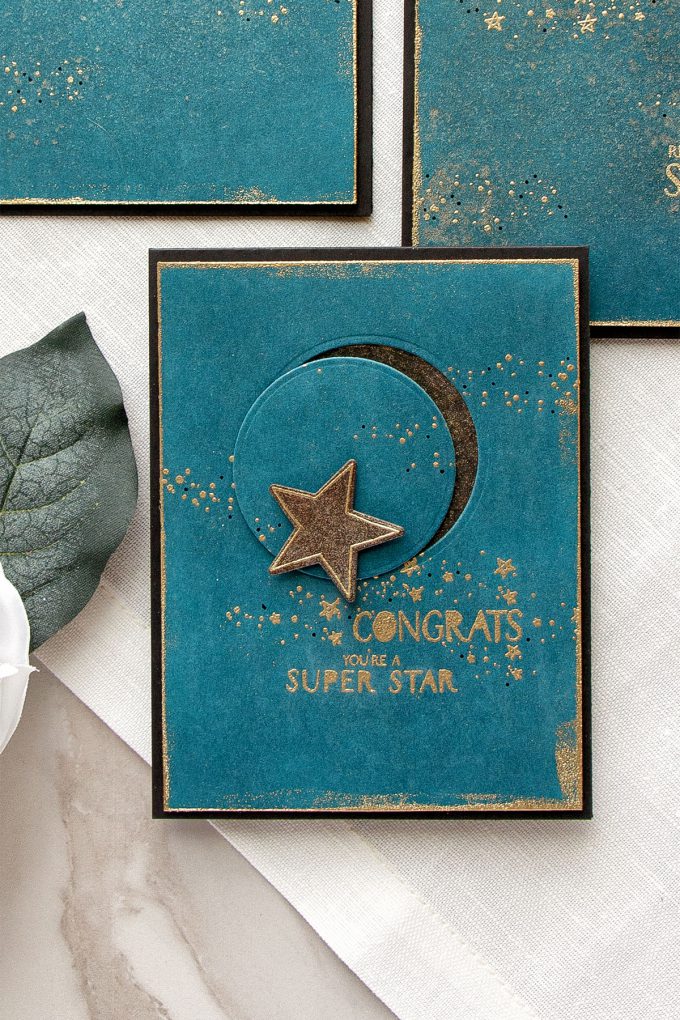
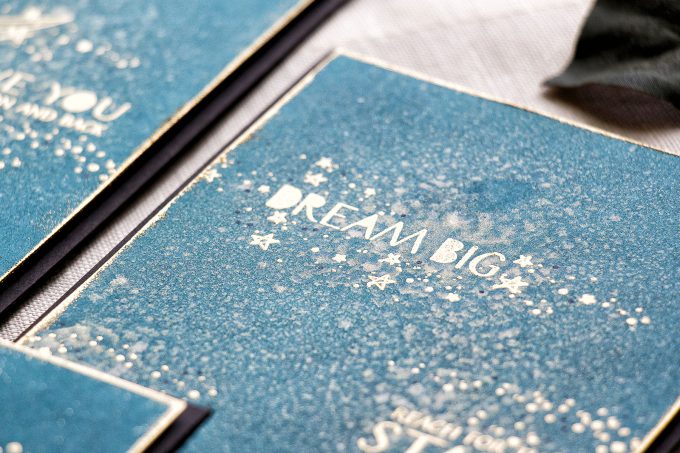
With the help of a mini MISTI stamp positioner I stamped and heat embossed stardust background onto my panels. I cut one of the stamps apart and ended up having 3 images instead of 2 for my cards. I also added sentiment to each panel and I went with different messages from the Stardust and Little Dreamers set. My messages ended up being: “Congrats. You’re A Super Star”, “Dream Big. Reach Reach For The Stars” and “I Love You To The Moon And Back”.
I also inked the edges of each panel with Versamark embossing ink and embossed them in gold to make the panels look a bit more finished.
I wanted to add some shimmer to my heat embossed backgrounds so I used Distress Mica Spray in Tarnished Brass and generously spritzed every panel. This particular color goes well with gold embossing powder.
While “Dream Big. Reach Reach For The Stars” card ended up being very simple, I stepped the other two cards up a bit. I added a heat embossed moon to my “I Love You To The Moon And Back” and colored it using FineTec watercolors from the Pearlescent Colors set (colored in gold).
My third project involved some die cutting. I used a circle die and die-cut an opening in my panel. I adhered a piece of black cardstock from the back (I sprayed it with same Distress Mica Spray before adhering) and foam mounted the die cut circle on top but offset it to create the look of a moon. Finally I heat embossed, sprayed and die-cut a star and foam mounted it onto my “Congrats. You’re A Super Star” project.
After foam mounting all of my panels onto A2 top folding black card bases I used a black pigment pen and added black dots in between the gold heat embossed stars.
SUPPLIES
I’m listing the products I used below. Click on the link to go directly to the product. Where available I use compensated affiliate links which means if you make a purchase I receive a small commission at no extra cost to you. Thank you so much for your support!
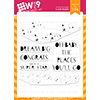 WPlus9 Stardust Stamp Set Shop at: SSS | WP9 |
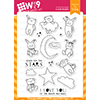 WPlus9 Little Dreamers Stamp Set Shop at: SSS | WP9 |
 WPlus9 Little Dreamers Die Shop at: SSS | WP9 |
 WPlus9 Nautical Navy Dye Ink Shop at: WP9 |
 WPlus9 Nautical Navy Cardstock Shop at: WP9 |
 Simon Says Stamp Black Cardstock Shop at: SSS |
 Neenah 110 Lb Solar White Cardstock Shop at: SSS | AZ |
 Spellbinders Standard Circles LG Dies Shop at: SSS | SC | SB | AZ |
 Spellbinders Platinum Die Cutting Machine Shop at: SSS | SC | SB | AZ |
 Mini Misti Stamping Tool Shop at: SSS | SC | AZ |
 Hero Arts Heat Embossing Gun PW200 Shop at: SSS | SC | HA | AZ |
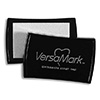 Versamark Watermark Emboss Ink Pad Shop at: SSS | HA | AZ |
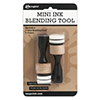 Ranger Mini Round Ink Blending Tools Shop at: SSS | SC | AZ |
 Spellbinders Circle Replacement Foam Shop at: SSS | SC | SB | AZ |
 Hero Arts Gold Embossing Powder PW100 Shop at: SSS | SC | HA | AZ |
 ScraPerfect Crafting Pouch Shop at: SSS | AZ |
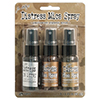 Tim Holtz Distress Designer Mica Sprays Shop at: SSS | SC | AZ |
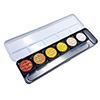 Finetec Mica Watercolor Pearlescent Paint Shop at: SSS |
 Scrapbook Adhesives Black Foam Tape Shop at: SSS | AZ |
 Be Creative Tape 3mm Sookwang Shop at: SSS |
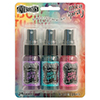 Ranger Dylusions by Dyan Reaveley Designer Mica Sprays Shop at: SSS | AZ |
 White Fun Foam 12 Pack 9 x 12 Shop at: SSS | AZ |




Very pretty 🙂
Never cared much for the centers of letters being left in BUT you have shown me how great that ‘look’ can be. I’m thinking it was because the card was more simple with few colors, but somehow this time the text really looks fantastic and seems to NEED to be filled in as if it complements the stars. So glad I follow you and I’ve learned something new and creative today. Thanks!
Yana, these cards are fabulous. The dark blue and gold work on these cards is amazing. Thanks for the cards and for introducing me to the mica spray–have to try these sprays.
Stunning! I love all the shimmer and the metallic elements.
Love all this shimmer and gold
very pretty. Awesome background and the gold. I love the circle moved to look like crescent moon. Awesome idea and great sentiments. Always love seeing your creations.
These cards have a sort of rustic look to them in the photo and are very pretty! Simple and yet so stunning!!
Such pretty cards!
Beautiful cards!!!
Hi Yana ~ These cards are beautiful in their simplicity. Thanks so much for showing us that less can definitely be more. ~HUGS~
#kindnessmatters
super-duper pretty cards!
Beautiful cards! And I love the stamps and dies.