A few weeks ago I shared a simple way to add texture and dimension video over on WPlus9 blog. In case you are not a subscriber of theirs, I’m sharing this video and project on my blog as well.
I rarely make one layer cards (even though I adore these kinds of projects) as I always feel the need to add something else, add one more layer, use dimensional adhesive and so on. By using the technique I’m sharing here I can add a bit of something extra to a card and still keep it a one layer project.
Like this project? Remember to pin it and save for later!
VIDEO TUTORIAL – ADDING TEXTURE TO ONE LAYER CARDS
I’ve created a video tutorial where I am sharing everything in detail. You can watch it below or on my Youtube channel.
Like this video? Please give it a big thumbs up and share with a crafty friend! Drop me a comment too, I love hearing from you!
CARD DETAILS
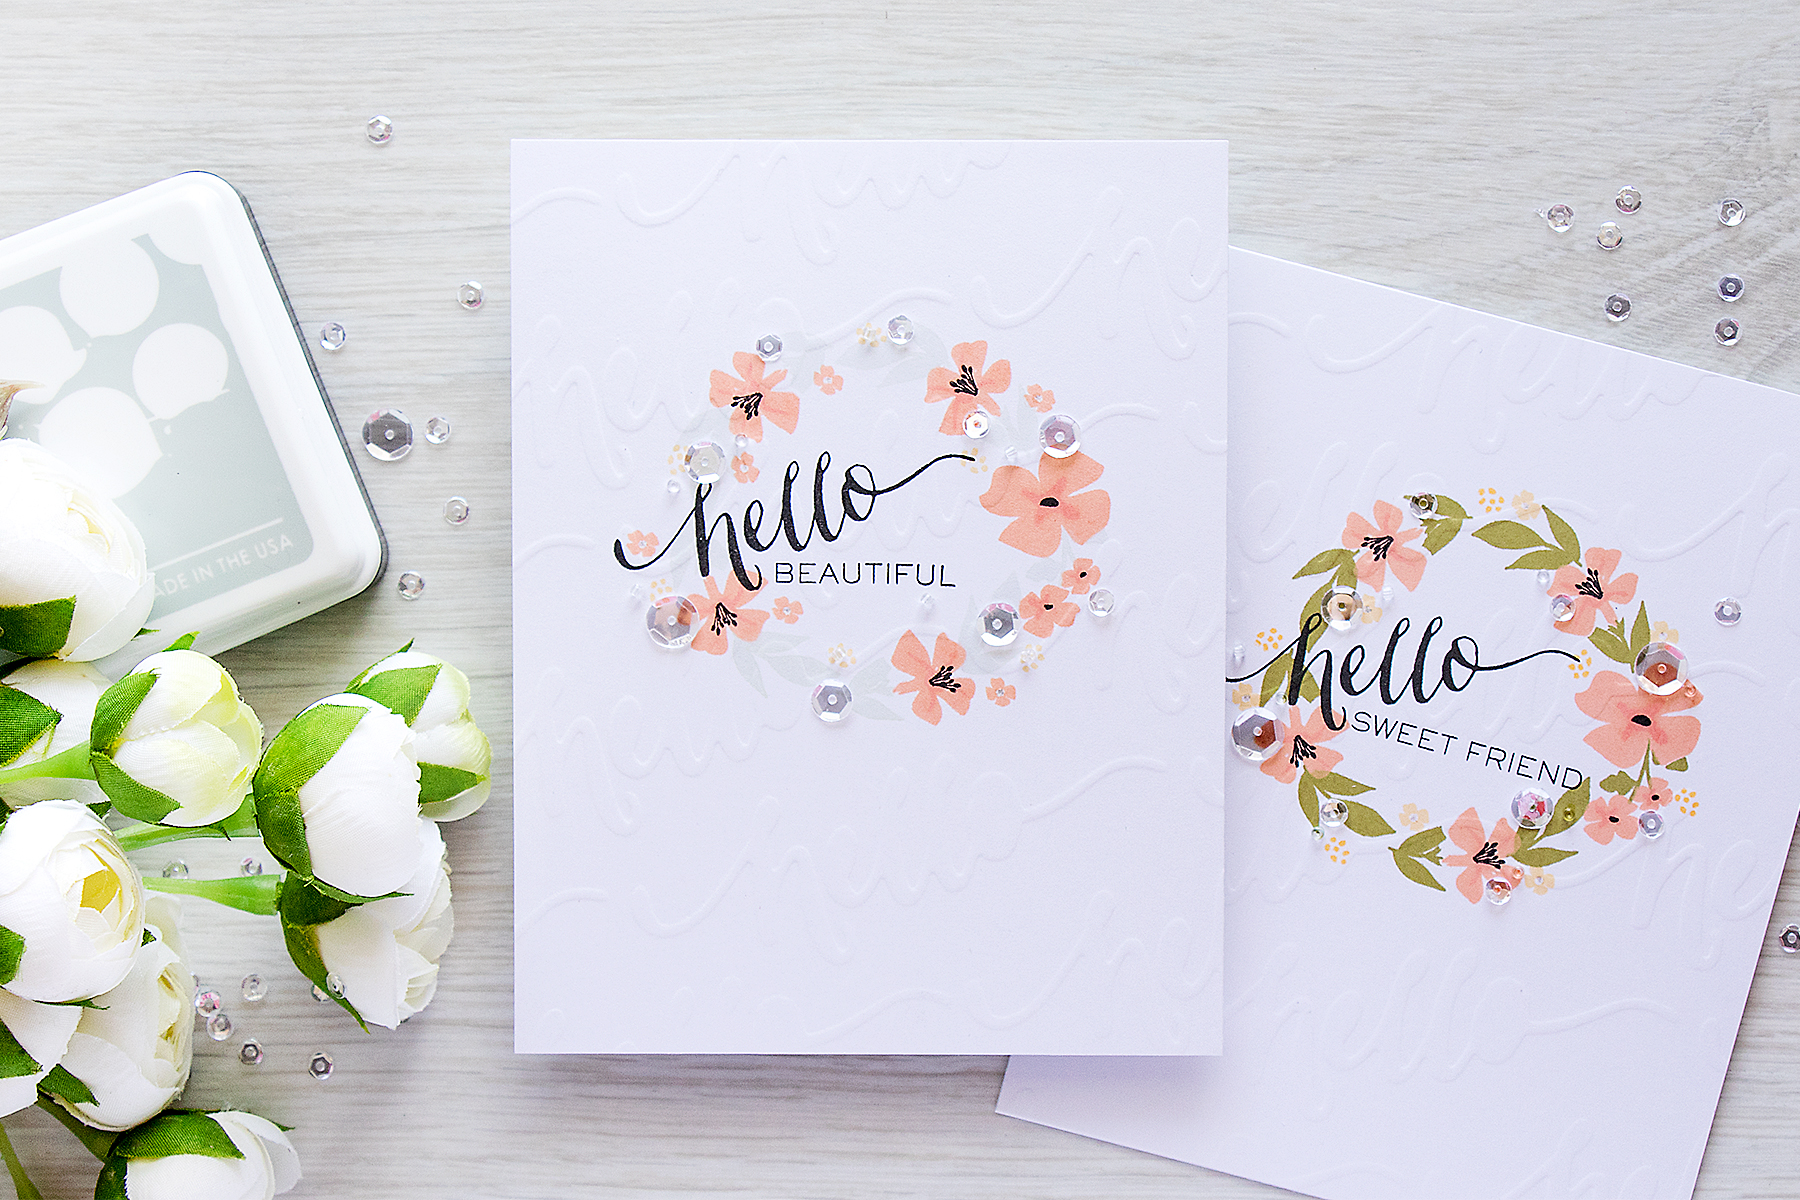
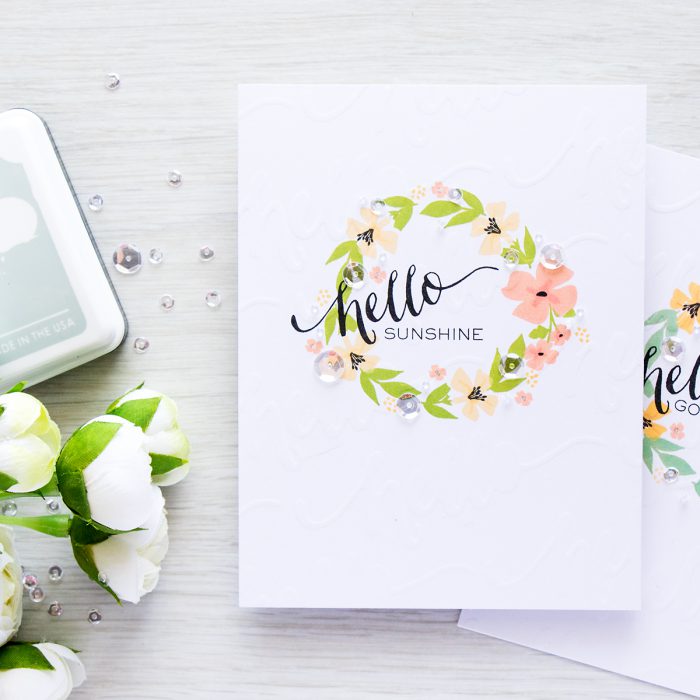
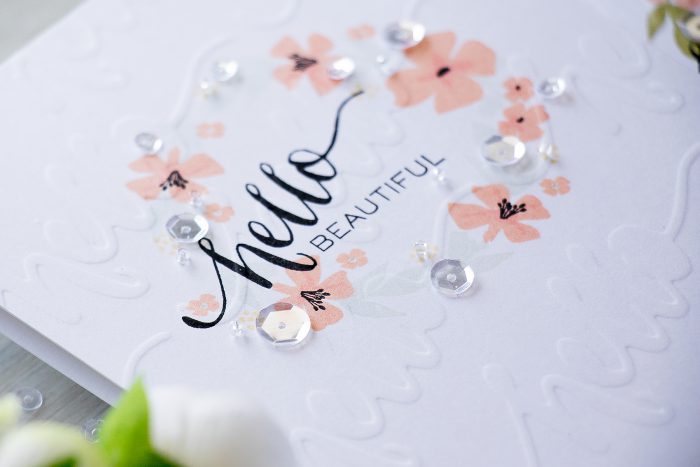
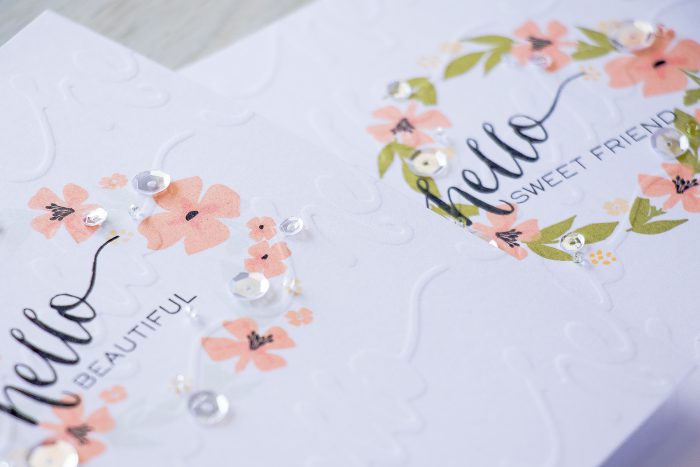
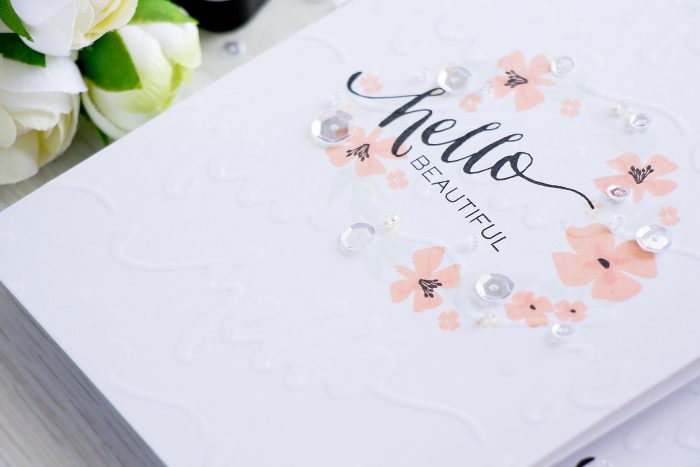
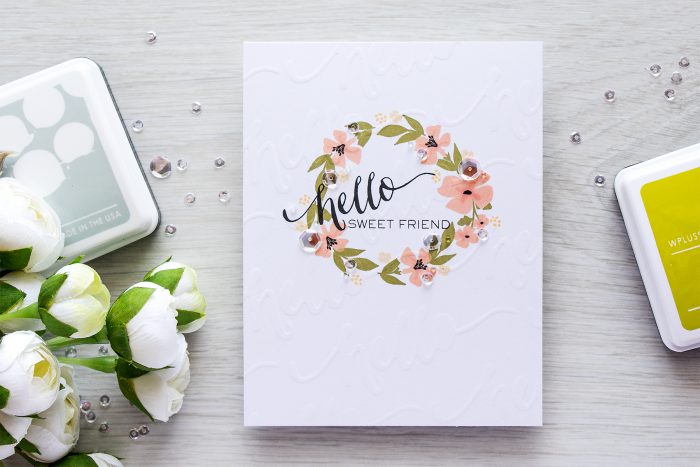
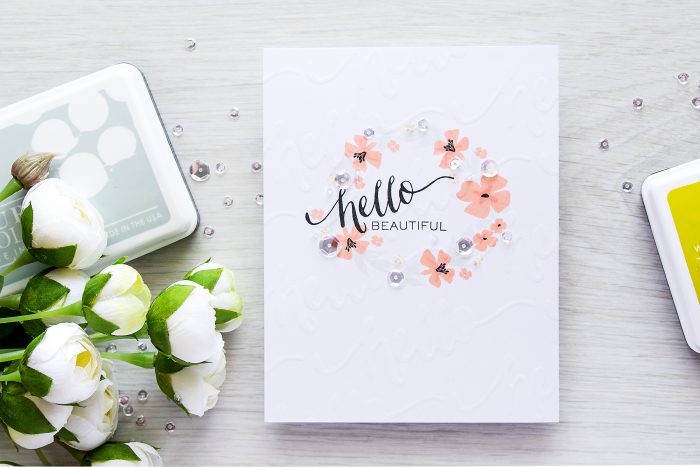
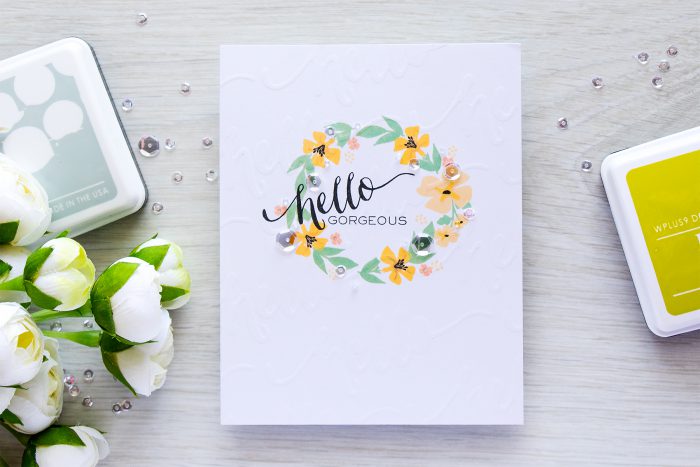
It is rather hard to see, but if you look closely you can spot a bit of additional texture on each of these cards (I made 4 in total just because I wanted to play with different ink colors and also so that I could have a few cards like this on hand). What’s even more fun – texture matches to the stamped sentiment.
I started working on these projects by stamping wreath from the Fresh Cut Wreath stamp set from WPlus9 onto panels of white cardstock. I used my mini MISTI stamp positioner and double stamped each layer, you don’t have to do this, its more of a habit for me these days.
Once all of my stamping was done I created a DIY embossing folder or plate by using thick cardstock and a word die, any die can be used for this. I die cut the word die repeatedly and created a pattern. Next I embossed my stamped cardstock with the help of the DIY embossing plate in my Platinum die cutting machine.
To emboss with a DIY plate like this you will need to use embossing sandwich to emboss with dies (check the instructions manual for your die cutting machine) and a Tan Embossing Mat from Spellbinders. All Spellbinders machines come with this mat, but if you are using a different machine, I am not sure if it is included with the plates, so you’ll need to check that.
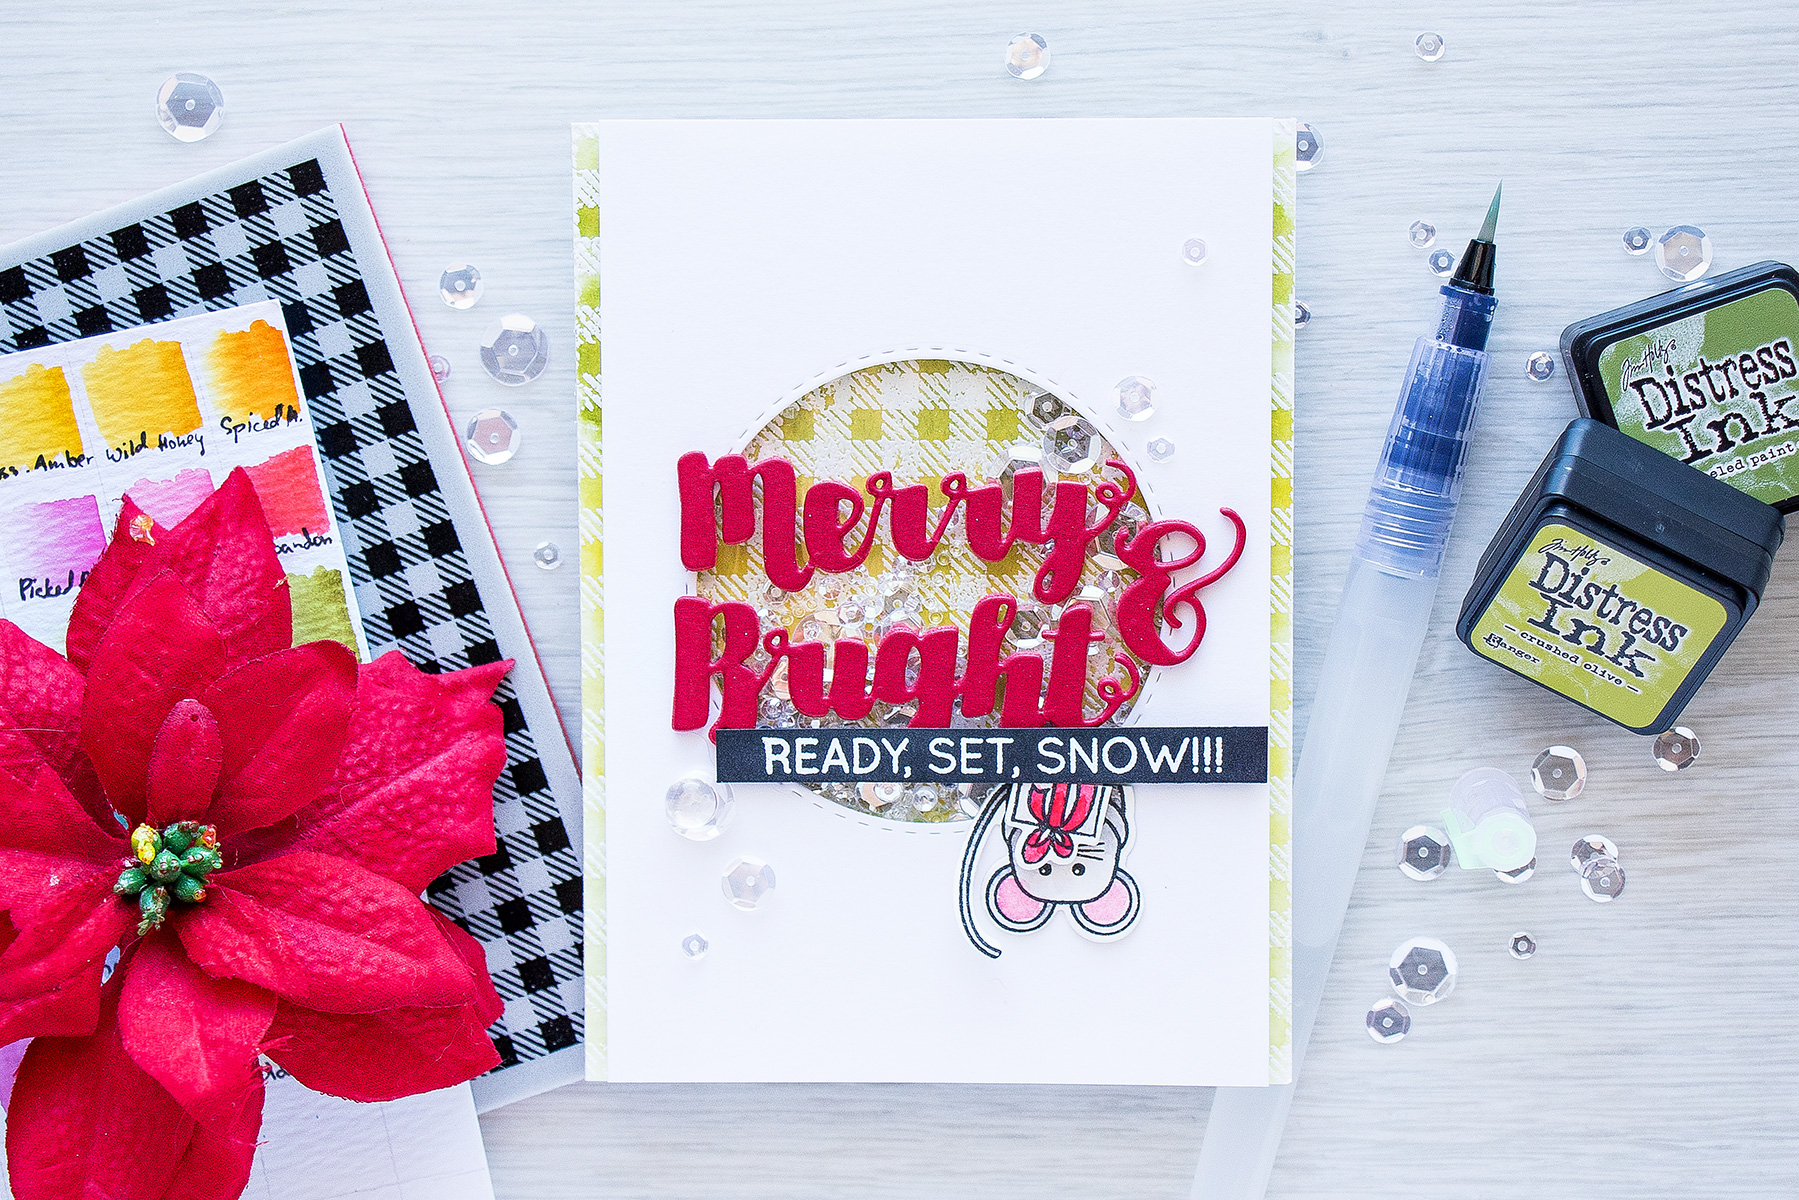
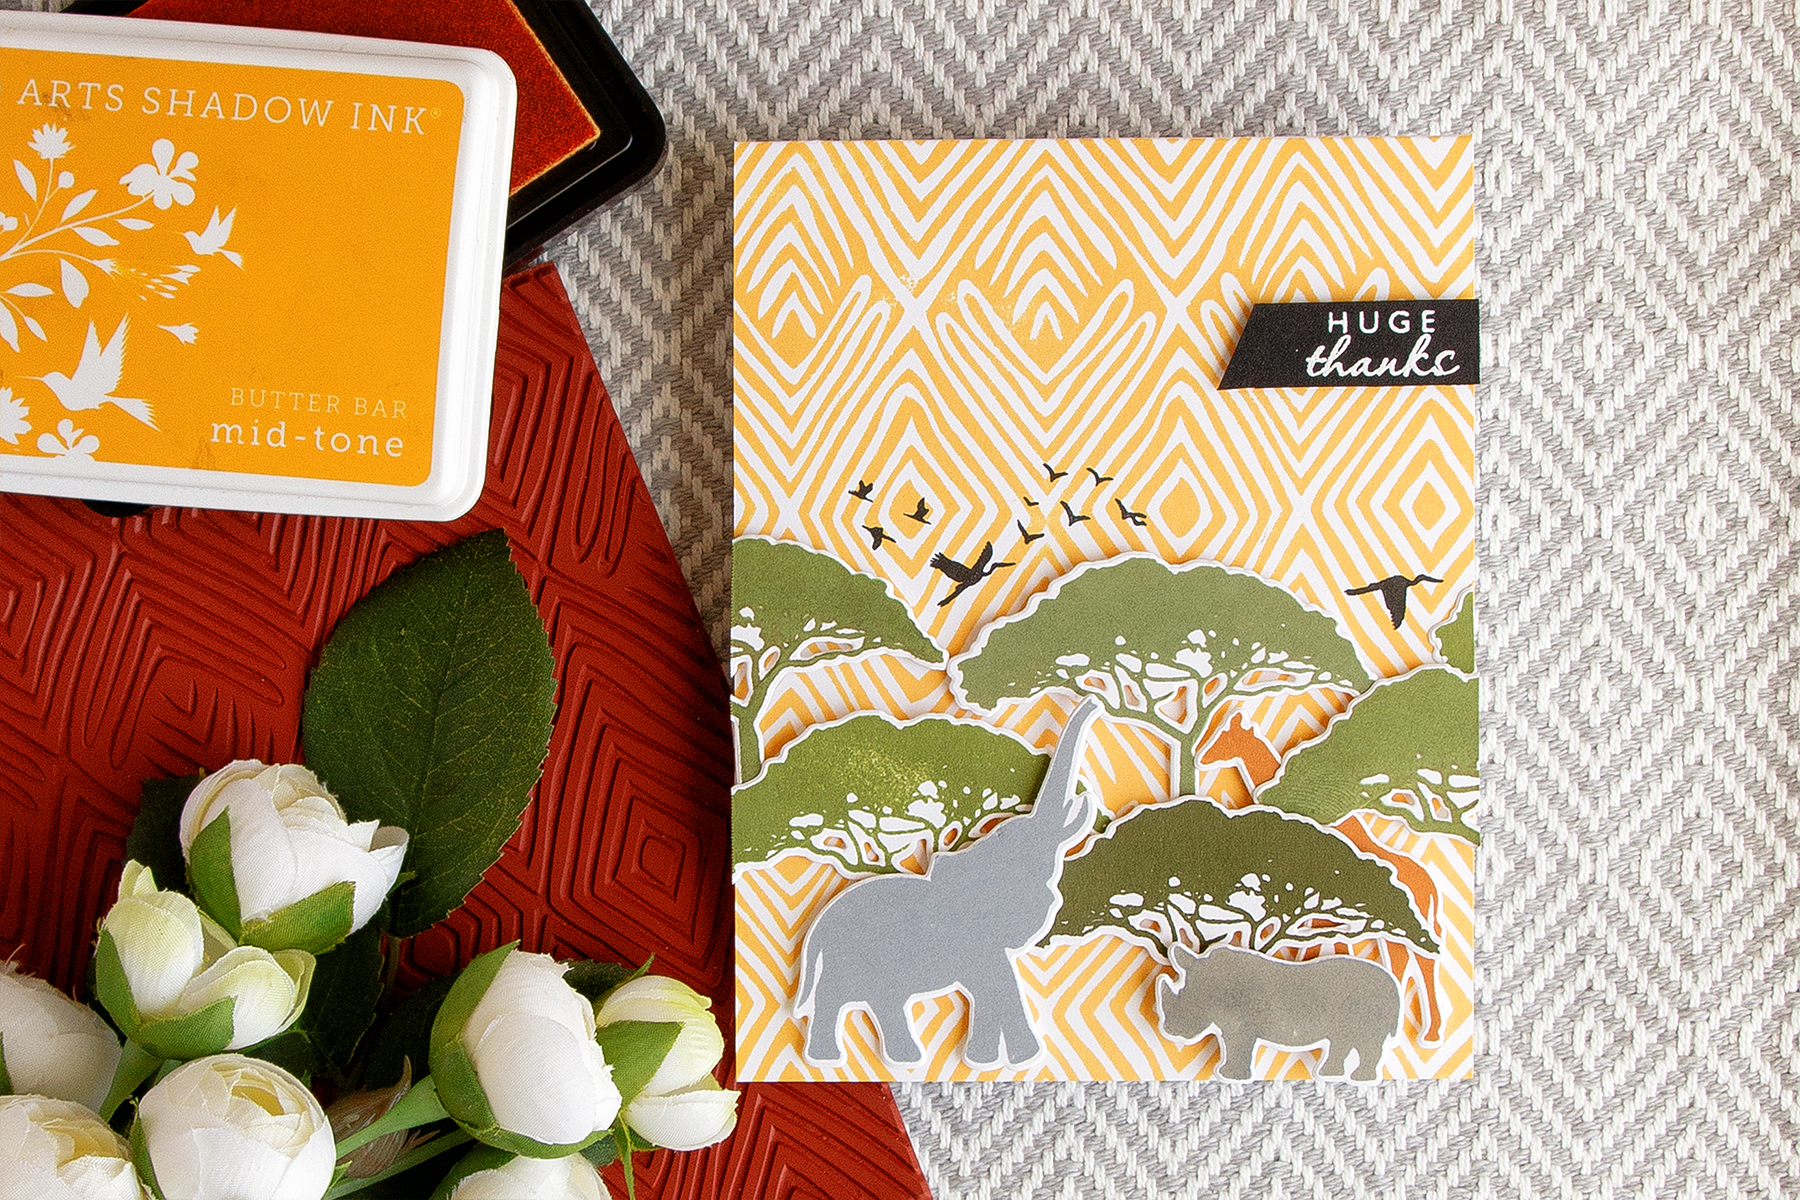
Here are a few more photos of the other cards I made using other colors of ink. everything else is identical on these cards.
SUPPLIES
I’m listing the products I used below. Click on the link to go directly to the product. Where available I use compensated affiliate links which means if you make a purchase I receive a small commission at no extra cost to you. Thank you so much for your support!
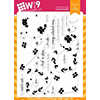 WPlus9 Fresh Cut Wreaths Stamps Shop at: SSS | WP9 |
 Wplus9 Hand Lettered Hello Dies Shop at: SSS | WP9 |
 Wplus9 Hand Lettered Hello Stamps Shop at: SSS | WP9 |
 WPlus9 Hayride Dye Ink Shop at: WP9 |
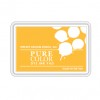 WPlus9 Wild Mango Dye Ink Pad Shop at: WP9 |
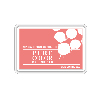 WPlus9 Sweet Nectar Dye Ink Shop at: WP9 |
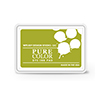 WPlus9 Last Leaf Dye Ink Shop at: WP9 |
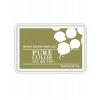 WPlus9 Appletini Dye Ink Shop at: WP9 |
 WPlus9 Miami Spice Dye Ink Shop at: WP9 |
 WPlus9 Mojito Dye Ink Shop at: WP9 |
 WPlus9 Fairy Dust Dye Ink Shop at: WP9 |
 Neenah 80 Solar White Paper Pack 250 Sheets Shop at: SSS | AZ |
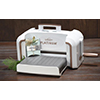 Spellbinders Platinum Die Cutting Machine Shop at: SC | AZ |
 Mini Misti Stamping Tool Shop at: SSS | SC | AZ |
 Pretty Pink Posh Sparkling Clear Sequins Mix Shop at: SSS | PPP |
 Tsukineko VersaFine Onyx Black Ink Pad Shop at: SSS | AZ |
 Ranger Glossy Accents Glue Dimensional Adhesive Shop at: SSS | SC | AZ |
 Crystal Ninja Crystal Katana Mixed Media Pick Up Tool Shop at: SSS | AZ |


Such beautiful cards! Thank you for showing how to emboss this way! I really enjoy how innovative you are when it comes to stretching your supplies.
thank you so much, Sue!
I love your cards! YOur color combos are the best! TFS
thanks!
This technique is so interesting and cool. It is time consuming but definitely worth it!
yes, absolutely! Thank you!
Such beautiful cards ans such a fantastic technique!
thank you, Teresa!
Love this technique. Thanks so much for sharing. You always do amazing work.
thank you!