This post is also available in English
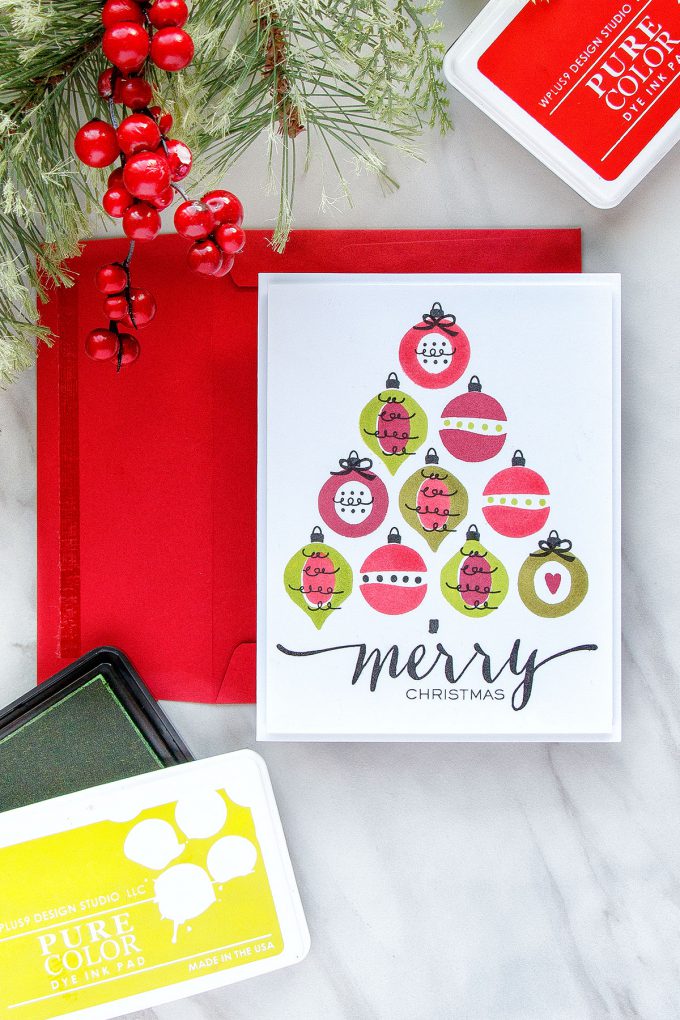
Hello, friends! I hope you are having a great stamping week! Today I have a simple to make Christmas card that features images from the new Holiday Trimmings stamp set by WPlus9. This set was also a STAMPtember exclusive last year, so you might already have it in your stash!
Like this project? Pin it and save for later! | Curious about my project photography? Click for details
CARD DETAILS
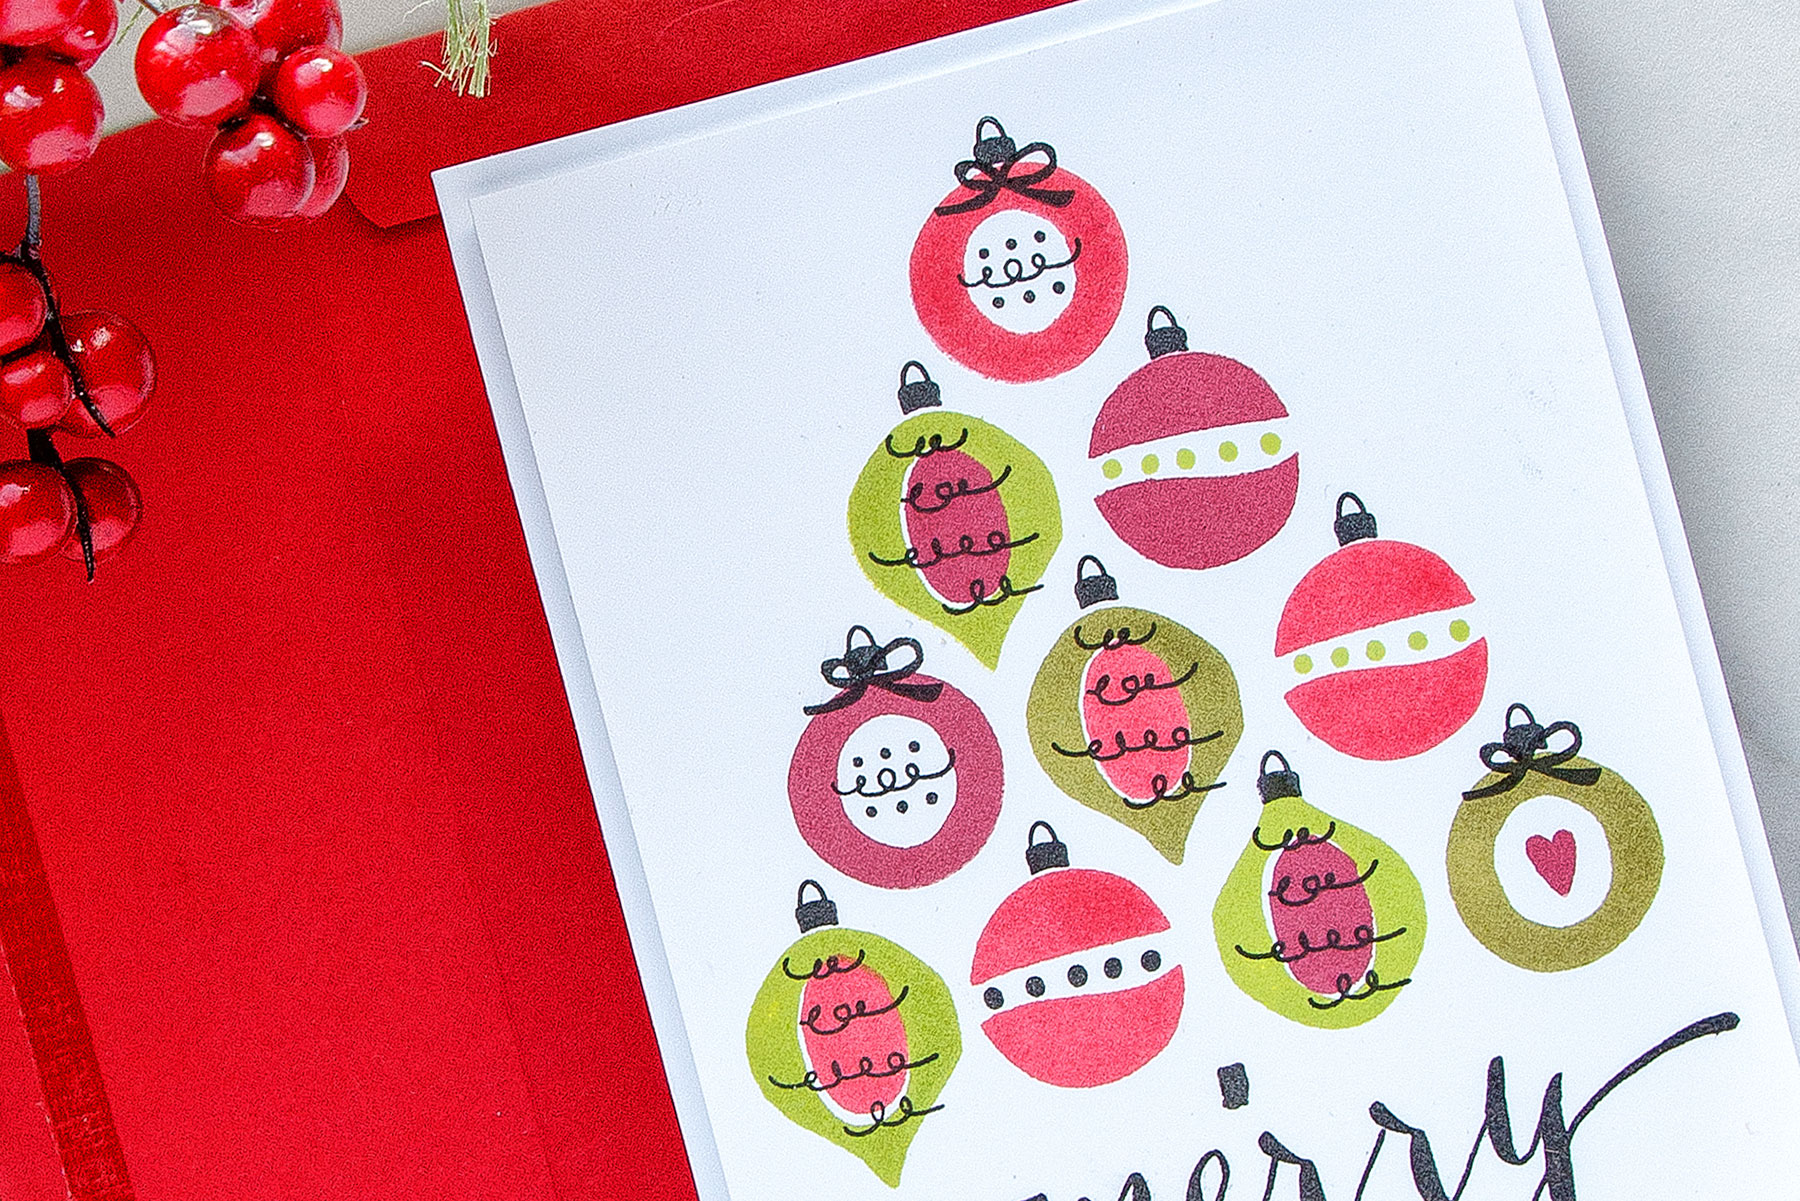
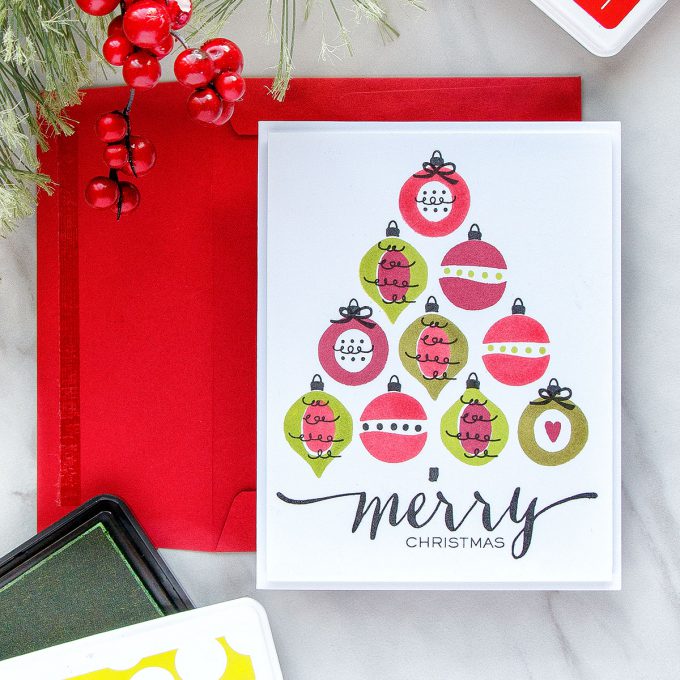
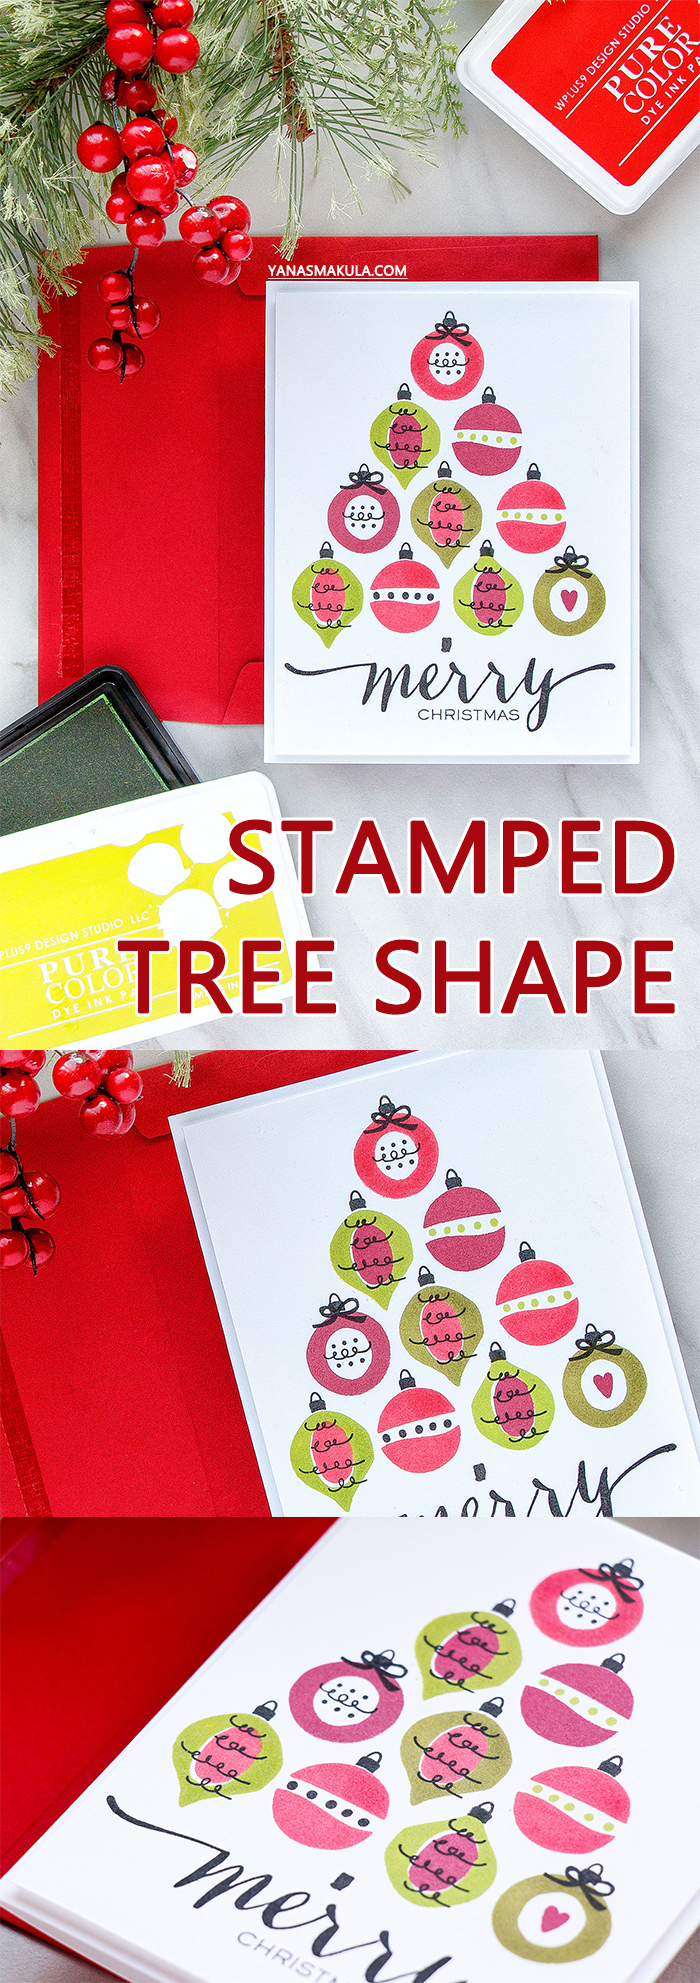
This is a great set if you like to mix and match and customize images to your liking. I used just the ornaments and compiled them into a Christmas Tree shape. I wanted to stick to traditional Holiday colors so I went with red and green. I used Last Leaf and Appletini as well as Gala Red and Cranberry Crush inks.
I started working on this card by stamping the sentiment, Merry Christmas, in black ink. This one comes from the Hand Lettered Holiday set. Next, I stamped bottom row of ornaments forming the base of my Christmas trees. You can make your tree smaller and have more white space on the card by skipping one line and having the shape consist of 3 rows only.
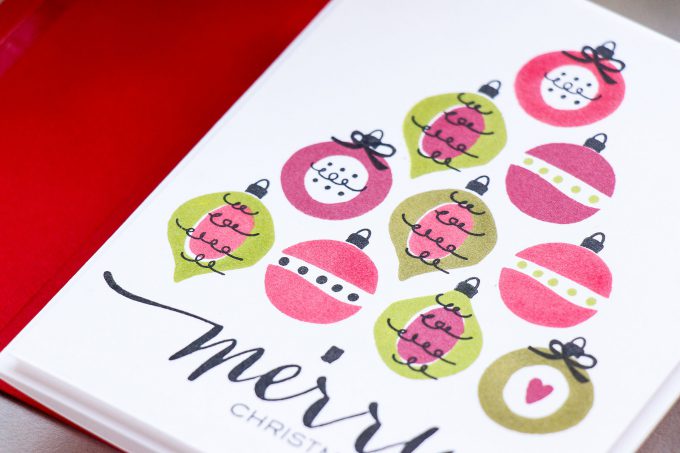
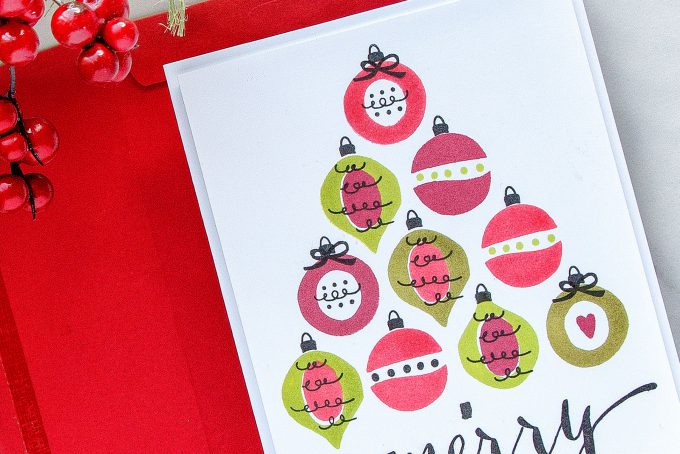
I did stamp one of the ornaments upside down, but I kind of liked it and keeped that ornament as is (after I added the ornament topper you can’t even tell it was stamped incorrectly).
I tried to alternate shape and color to make this card look more interesting. Once my tree shape was done I used filler elements and stamped them in same colors as well as black making my ornaments multicolor.
I trimmed my panel to 4 x 5 ¼” and foam mounted onto an A2 side folding card base. I thought about adding gems and at one point added a strip of patterned paper, but later decided to go without any additional embellishments and keep this card as simple as it was. What do you think? Do you like it or not? Comment below!
SUPPLIES
I’m listing the products I used below. Click on the link to go directly to the product. Where available I use compensated affiliate links which means if you make a purchase I receive a small commission at no extra cost to you. Thank you so much for your support!
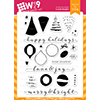 WPlus9 Holiday Trimmings Stamp Set Shop at: SSS | WP9 |
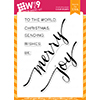 WPlus9 Hand Lettered Holiday Shop at: SSS | WP9 |
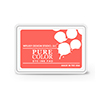 WPlus9 Gala Red Dye Ink Shop at: WP9 |
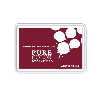 WPlus9 Cranberry Crush Dye Ink Shop at: WP9 |
 WPlus9 Last Leaf Dye Ink Shop at: WP9 |
 WPlus9 Appletini Dye Ink Shop at: WP9 |
 Simon Says Stamp Small Teflon Bone Folder Tool Shop at: SSS |
 Neenah 110 Lb Solar White Cardstock Shop at: SSS | AZ |
 Tsukineko VersaFine Onyx Black Ink Shop at: SSS | AZ |
 Scor-tape 2 1/2 Inch Crafting Tape Shop at: SSS |
 White Fun Foam 12 Pack 9 x 12 Shop at: SSS | AZ |
 Tonic Studios 8.5 Inch Paper Trimmer Shop at: SSS |
PIN THIS PROJECT
Are you on Pinterest? Please pin this project to one of your boards if you like it, thanks!


Yana, yes I love this. I always love everything you create. It is funny thou, it took me quite a while to find the one that was upside down, it blends right in, if you didn’t tell us, I wouldn’t of noticed it, lol. I am a glitter, glam girl personally so I would of added a few gems, that is just my style, but I think it is just BEAUTIFUL, thanks for sharing, it gave me an idea to do for the last few cards I have to do so thanks for that.
That’s a lovely tree 🙂
Super cute!
This is so very clever Yana! I love it!
What a cute card and a great idea! You’re right … I can’t tell which ornament you stamped upside down! Glad you kept it in!!!! I have a die that’s a small wreath … might try this idea with a wreath instead of ornaments!
That’s a great idea !! I love this Christmas tree !
Very cool design!!