This post is also available in English
Hello there! First, I wanted to share some big news with you – Dawn from WPlus9 has asked me to join WPlus9 design team (I have been guest designing for them since April) and of course I said YES! I couldn’t be happier as WPlus9 is one of those stamp companies I truly love and admire. And I can’t wait to share more WPlus9 cards with you here on my blog as well as on WPlus9 blog.
Like this project? Pin it and save for later
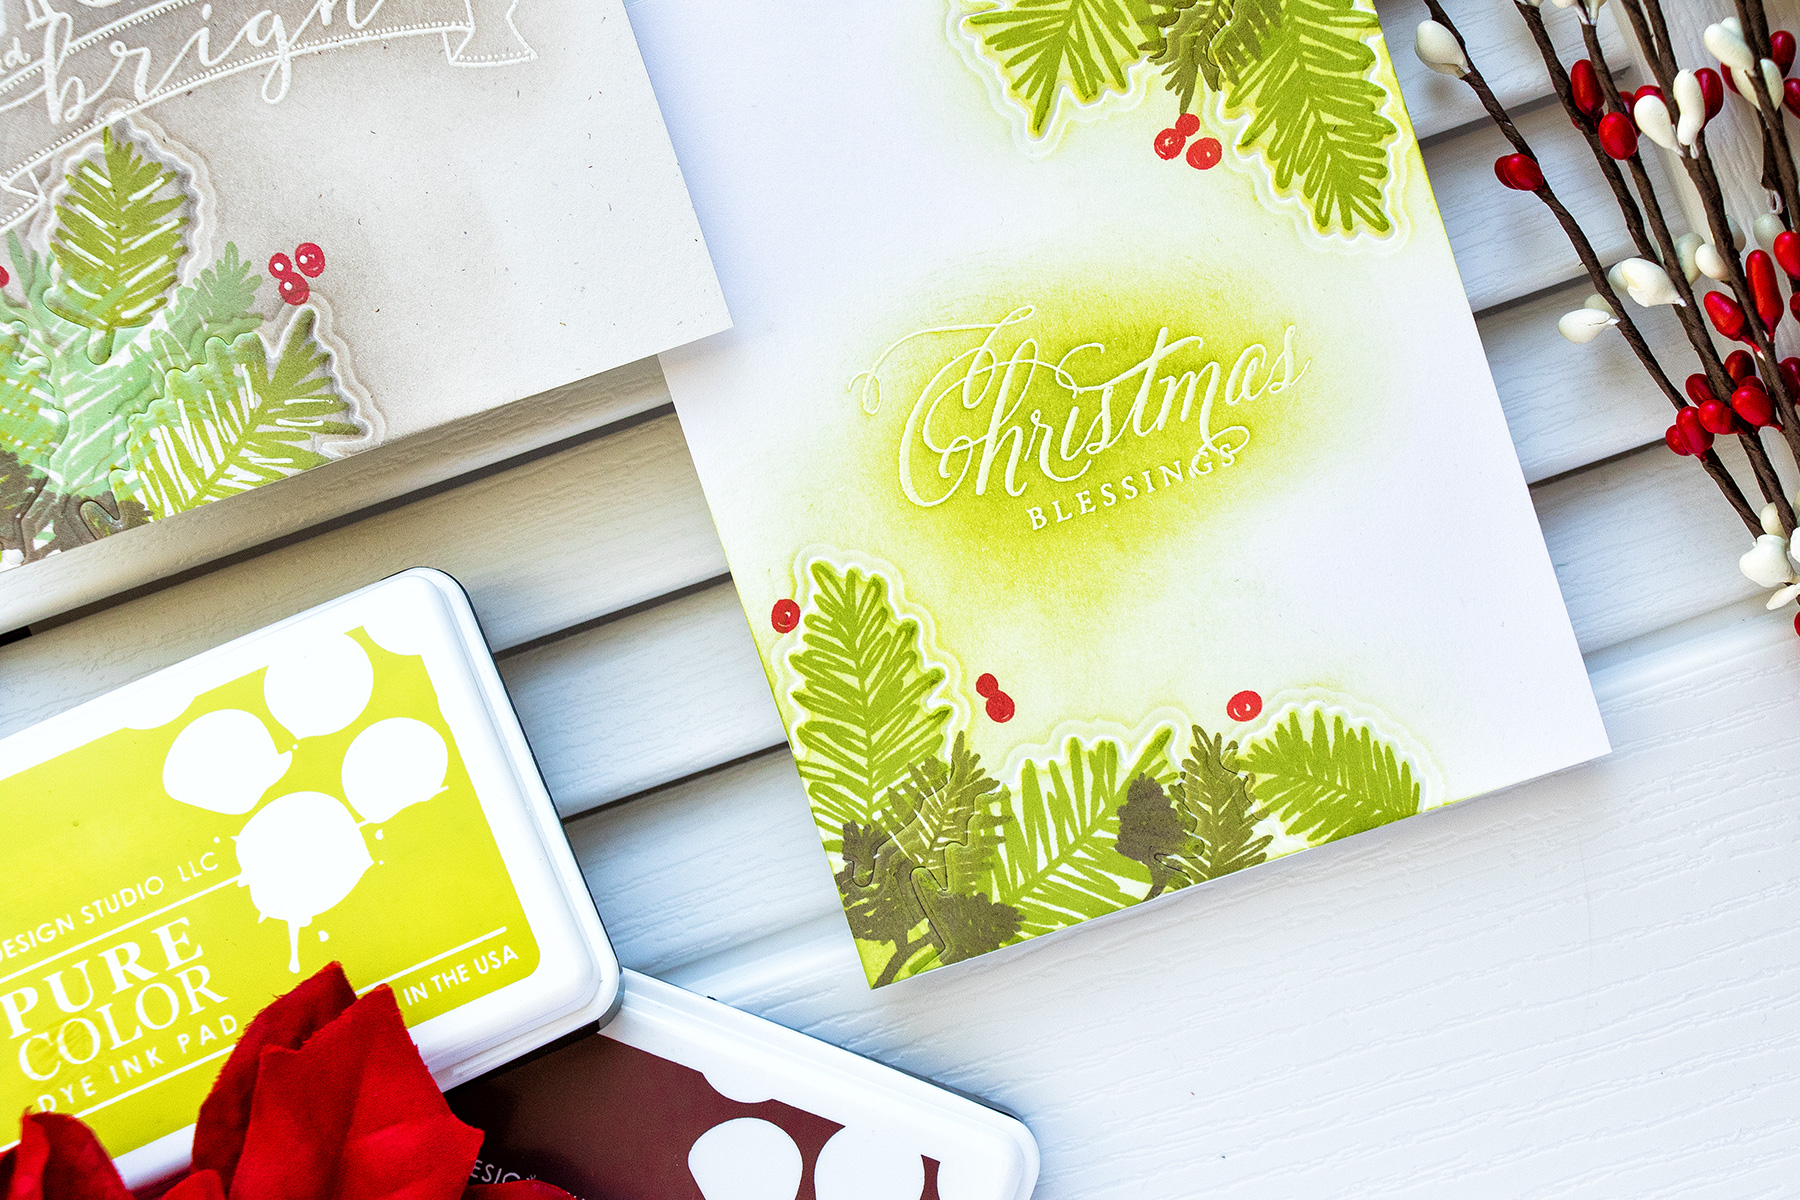
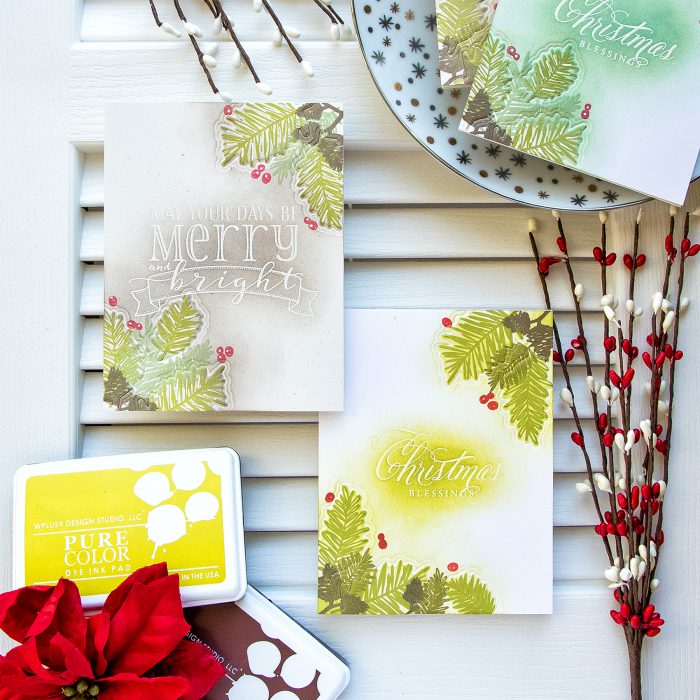
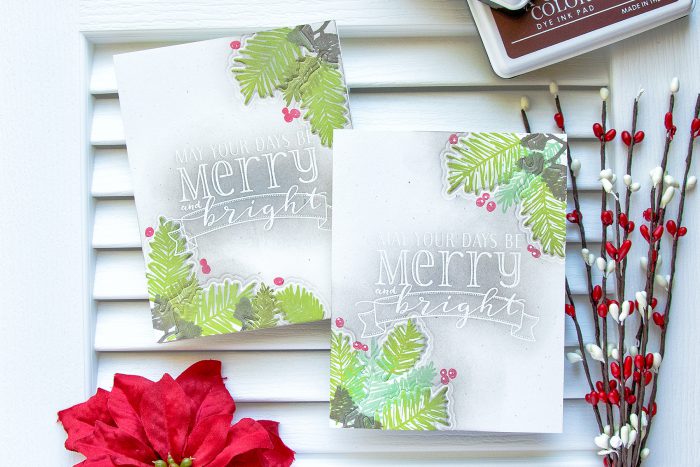
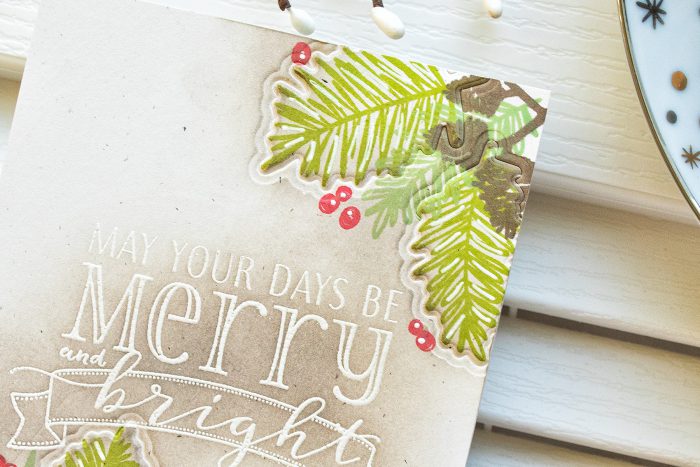
Today I’d like to show you a few Christmas cards, they are rather simple but feature dry embossed details technique that makes these projects pop.
VIDEO TUTORIAL
I’ve created a video tutorial where I am sharing everything in detail. You can watch it below or on my Youtube channel.
Like this video? Please give it a big thumbs up and share with a crafty friend! Drop me a comment too, I love hearing from you!
CARDS DETAILS
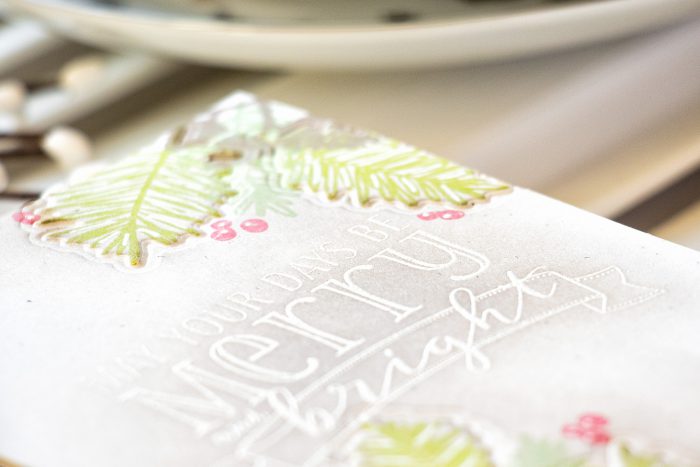
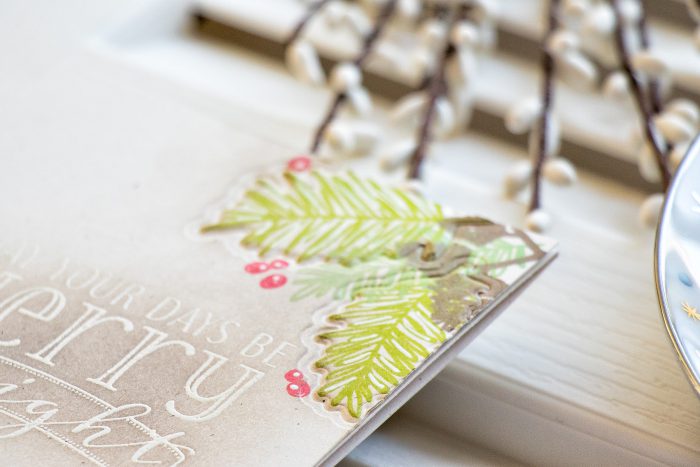
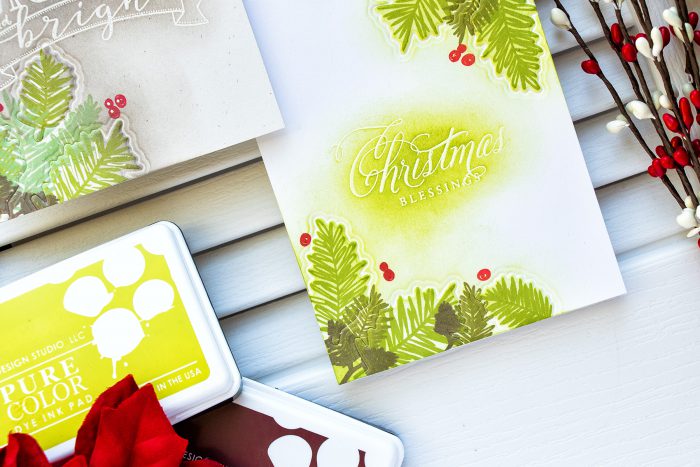
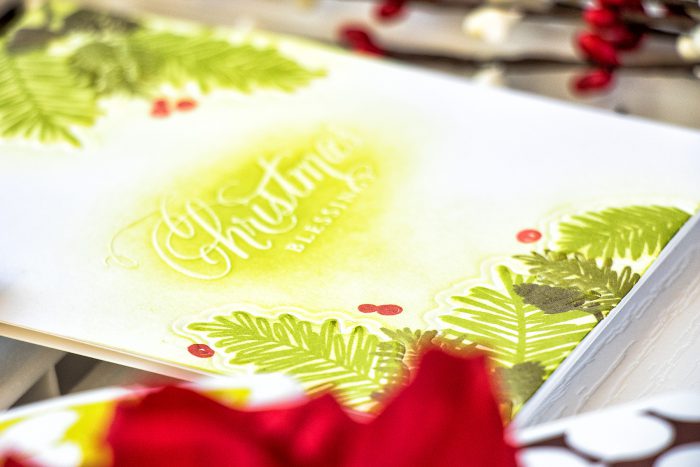
In the past, I’ve talked about using a negative die cut panel to create a DIY embossing plate, today I’m going to show you how you can use coordinating dies and add dry embossed details to stamped images. I created 2 projects using different colors of ink, cardstock and sentiments. While my cards are Holiday themed, this technique works great for many other occasions. The only requirement – your stamps need to have coordinating dies.
I started by placing coordinating dies for the images I wanted to have embossed onto my panel. I taped them using low tack tape and made sure dies did not overlap; it’s okay for them to touch on the edges, but not okay to overlap even a bit.
I placed coordinating stamps over the dies, moved the panel inside my MISTI stamp positioner and picked the stamps up using MISTI door. You don’t need to have a MISTI for this technique, you can also do this using a regular clear block.
Once stamps were mounted, I removed the dies and stamped my boughs using Last Leaf ink. I also added additional images to fill in the background. I stamped several branches using Mojito, added pine cones using Coconut Husk and berries using Gala Red dye inks.
After my stamping was done I replaced dies over the stamped images I wanted to have dry embossed, taped them in place and embossed in my die cutting machine using embossing sandwich.
When doing embossing you’ll need to do it all at once, otherwise you’ll flatten the previously embossed pieces. I embossed all the images in the bottom left corner first and in the top right corner later. I only partially covered my panel when I did the second embossing run not to flatten the previously embossed pieces.
Because the sentiments on my cards were heat embossed in white embossing powder, I needed to blend some ink over them to help them pop; I also wanted to add ink to my background to help dry embossing stand out.
I used Warm Wool ink to blend over the Oatmeal cardstock panel and a mix of Last Leaf and Mojito to blend over white.
Be sure to watch my video tutorial for more tips, see additional examples and learn from my mistakes.
SUPPLIES
I’m listing the products I used below. Click on the link to go directly to the product. Where available I use compensated affiliate links which means if you make a purchase I receive a small commission at no extra cost to you. Thank you so much for your support!
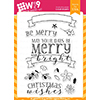 Wplus9 Be Merry Clear Stamps Shop at: SSS | WP9 |
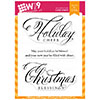 Wplus9 Christmas Greetings Clear Stamps Shop at: SSS | WP9 |
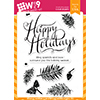 WPlus9 Holiday Boughs Stamp Set Shop at: SSS | WP9 |
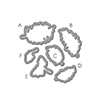 WPlus9 Holiday Boughs Die Set Shop at: SSS | WP9 |
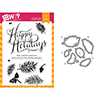 Wplus9 Holiday Boughs Set Clear Stamp and Die Combo Shop at: SSS |
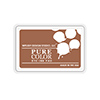 WPlus9 Coconut Husk Dye Ink Shop at: WP9 |
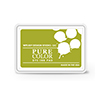 WPlus9 Last Leaf Dye Ink Shop at: WP9 |
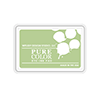 WPlus9 Mojito Dye Ink Shop at: WP9 |
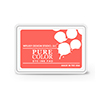 WPlus9 Gala Red Dye Ink Shop at: WP9 |
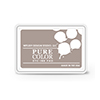 WPlus9 Warm Wool Dye Ink Shop at: WP9 |
 WPlus9 Oatmeal Cardstock Shop at: WP9 |
 Hero Arts Heat Embossing Gun PW200 Shop at: SSS | SC | HA | AZ |
 Hero Arts White Embossing Powder PW110 Shop at: SSS | SC | HA | AZ |
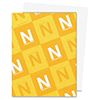 Neenah 80 Solar White Paper Pack 250 Sheets Shop at: SSS | AZ |
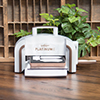 Spellbinders – Platinum 6 – Die Cutting and Embossing Machine Shop at: SC | SB | AZ |
 ScraPerfect Crafting Pouch Shop at: SSS | AZ |
 Uni-ball Pen Signo Gel White Two Pack Shop at: SSS |
 Mini MISTI Stamping Tool Shop at: SSS | SC | AZ |
 Martha Stewart Mini Scoring Board Shop at: SSS | SC | AZ |
 Versamark Watermark Emboss Ink Pad Shop at: SSS | HA | AZ |
 Ranger Mini Round Ink Blending Tools Shop at: SSS | SC | AZ |
 Ranger Mini Round Foam Refils Shop at: SSS | SC | AZ |


Gorgeous projects as always Yana! Congratulations on your design team spot for WPlus9 – frankly, I think you’re a total win just for any stamping/papercrafting company. 🙂
Congratulations on your design team job over at Wplus9…..I often pop over to their blog so see you over there sometimes, it’s fantastic that we’ll get to see more of your work, you are so talented. Have a fantastic weekend. Cheers Donna Z 🙂 PS love your cards and the technique
OMG!OMG!OMG!
Even though I was sure this was happening, it’s still an amazing news! Congratulations, si happy for you! And for Wplus9, as they now have an amazing designer in their team!
Your cards are the proof of it. They’re outstanding, creative and so unique!!
Especially love the ones with Coconut Husk blending.
These are really beautiful Yana!