Hello all! This is going to be a very busy month, I’m trying to catch up with my cardmaking and also participate in a couple challenges (including Kathy’s Coloring Challenge on Instagram). Today I’m up on Winnie & Walter’s blog sharing a Distress Stenciled Background card I made for their 2nd Birthday Celebration Custom Background Challenge. They have lots of different challenges on their blog this month, do check them out an if you have time – do participate, its always fun!
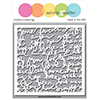
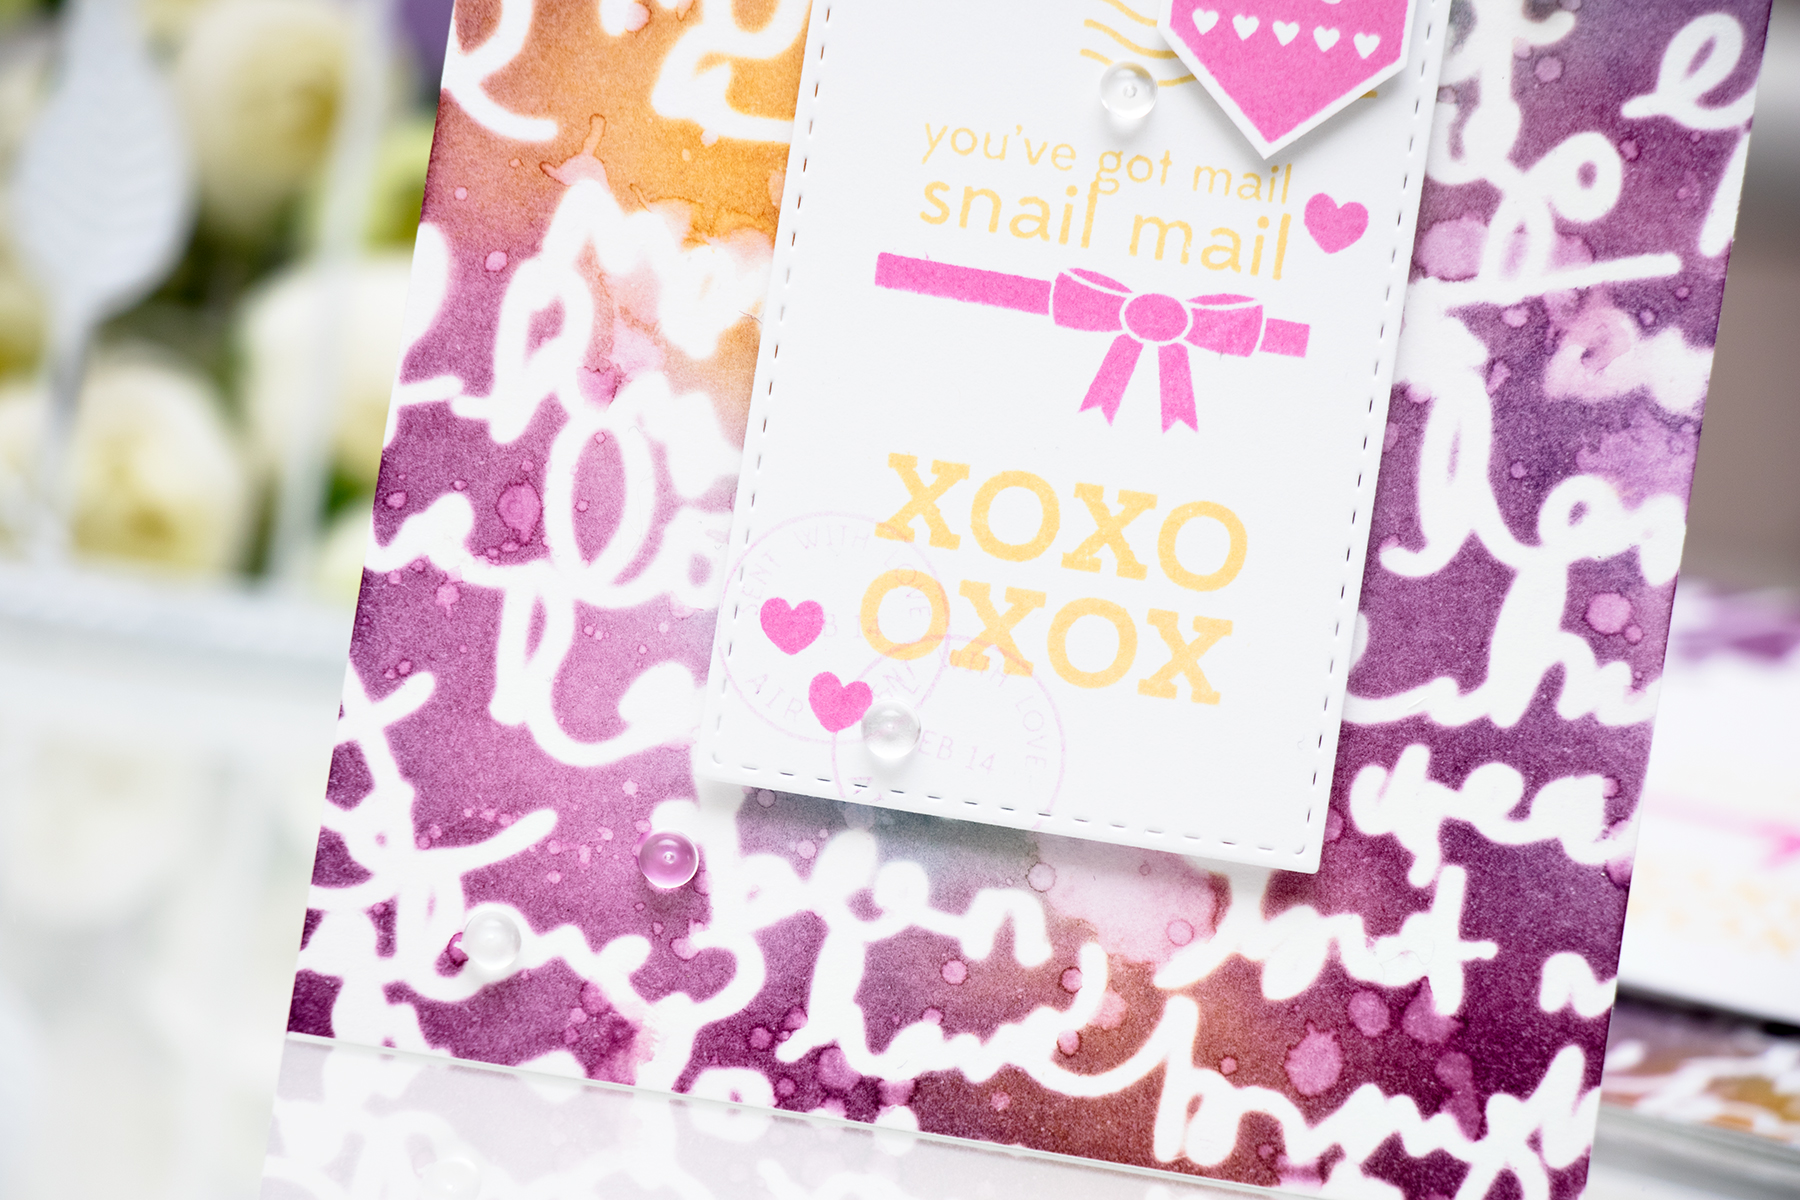
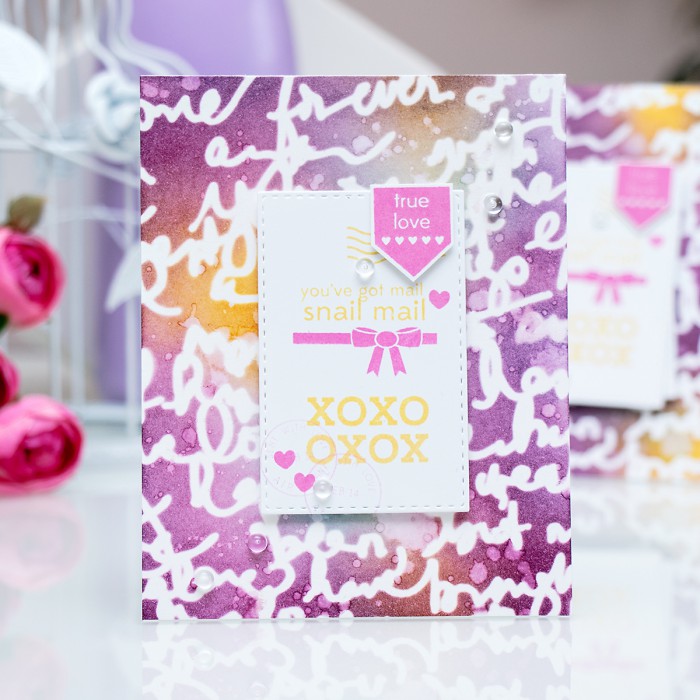
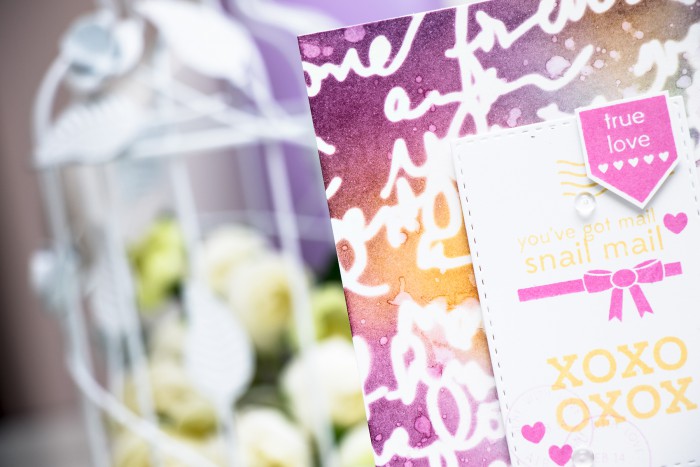
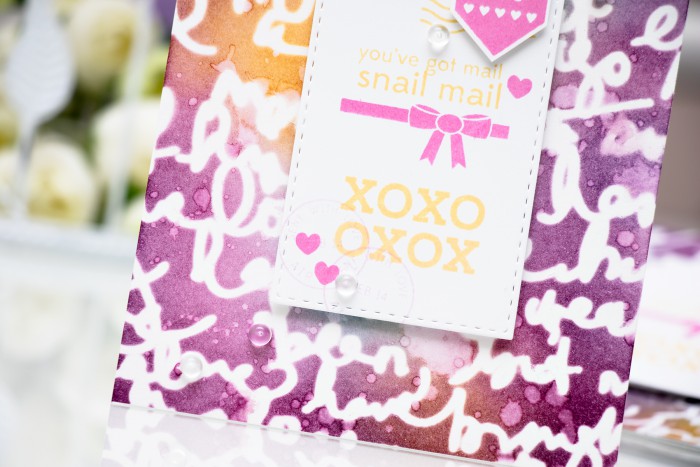
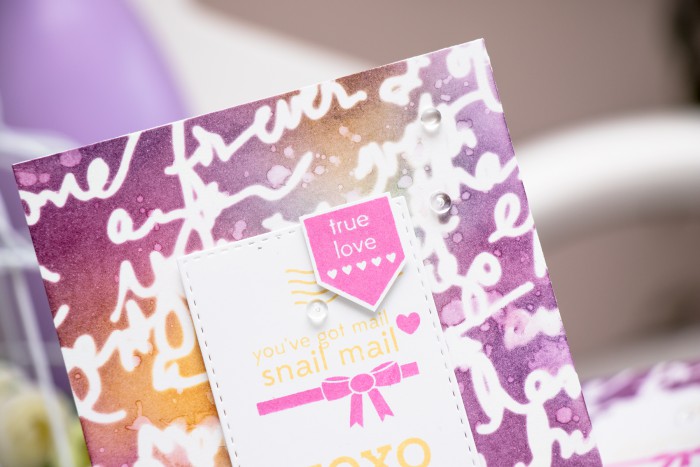
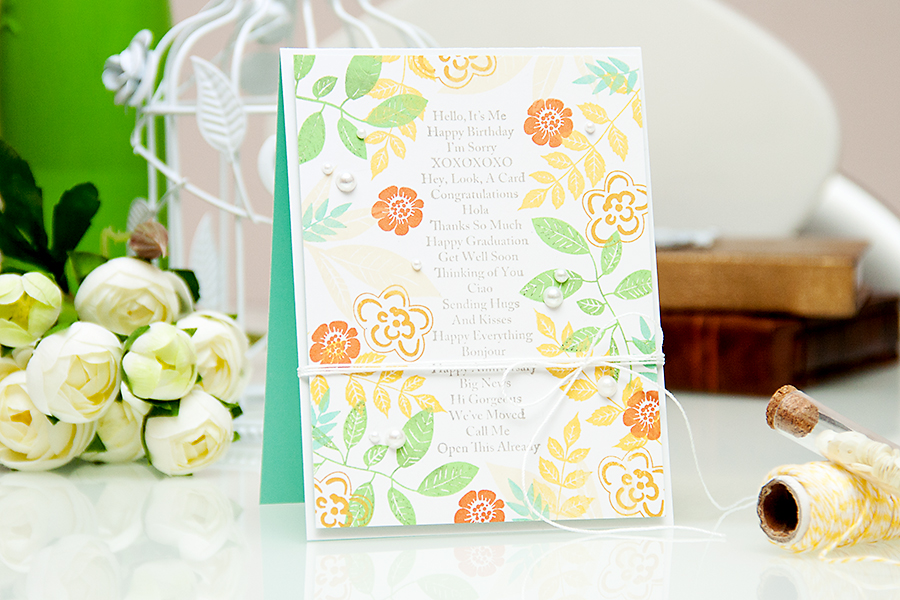
Not only I have a card to share, but there’s also a video – I always try to film a video if I make something fun and interesting 😉 . So the background for the project you see above was created using the beautiful Persuasion Script stencil from Winnie & Walter and a combination of distress inks that I like to use to create Galaxy Background (I know this sounds a bit complicated). I’ve been enjoying making Galaxy Sky backgrounds lately and I made one with distress inks and I loved it.
I used identical colors (or almost identical) to create the backgrounds for my projects today. The difference – I added the stencil and omitted the white paint. So it doesn’t look quite like a galaxy, but its still super fun especially with that stencil – love that font!
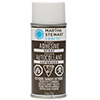
The distress ink colors that I used are: Wild Honey, Tumbled Glass (can totally skip this one), Peacock Feathers, Seedless Preserves and Dusty Concord. So basically yellow, blue and purples. Love how well these go together. In order to be able to ink over this stencil, since its very detailed I used Martha Stewart Spray On Adhesive – magic stuff (I also sometimes use it for my Cricut mats)!
You need to gently spray the back of the stencil with this adhesive and it makes your stencil sticky – so no need to tape it to the paper. If you do try to tape it to the paper – its really not going to work, again because its so detailed, so has to be adhered.
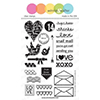
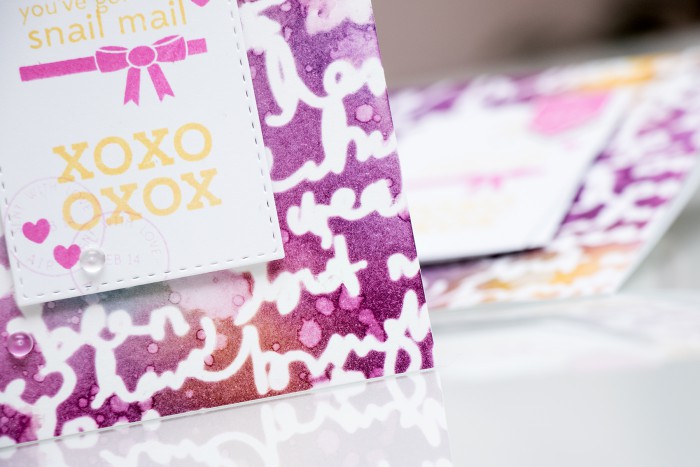
Because I used distress ink I also added drops of water to create little spots and puddles – love this property of distress (never use Distress for stamping, but love for backgrounds and similar things). Since I had a pretty vibrant ad busy background I kept the rest fairly simple – I die cut a rectangle using Simon’s Stitched Rectangle Die and used the You’ve Got Snail Mail stamp set for the sentiment.
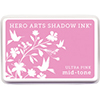
I went with my two favorite colors of ink – Duckling from Simon Says Stamp and Ultra Pink from Hero Arts and stamped several little images and messages on the rectangle. I also did some second generation stamping for the little round postal stamps at the bottom – love how these turned out.
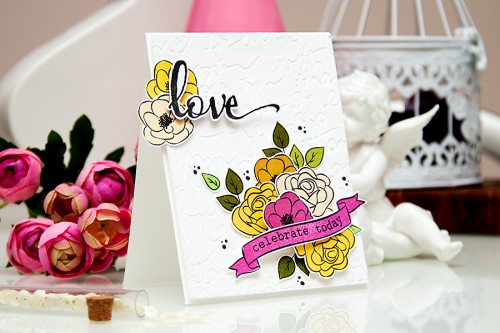
I do have another card created using this same stencil I shared awhile back, be sure to check it out for additional inspiration:
VIDEO
It was so fun to make this background that I filmed a video tutorial, you can watch it at the top of this post or on my Youtube channel. If you like it, I would appreciate you giving it a thumbs up and sharing. Thank you!
SUPPLIES
 W&W |
 SSS |
 AZ |
 SSS |
 SSS |
 SSS |
 SSS |
 SSS |
 SSS |
 SSS |
 SSS |
 SSS |
 SSS | SC |
 SSS |
 SC |
 SC |
 SSS |
 SSS |
 SSS |
 SSS |



BEAUTIFUL cards Yana!!!
WOW – LOVE your backgrounds, GORGEOUS colours and SWEET sentiment panels!!!
THANK YOU for sharing your INKY INSPIRATION and FABULOUS tutorial … I’ve not done much work with stencils and really appreciate your top tips 🙂
Oh this is so pretty!