This post is also available in English
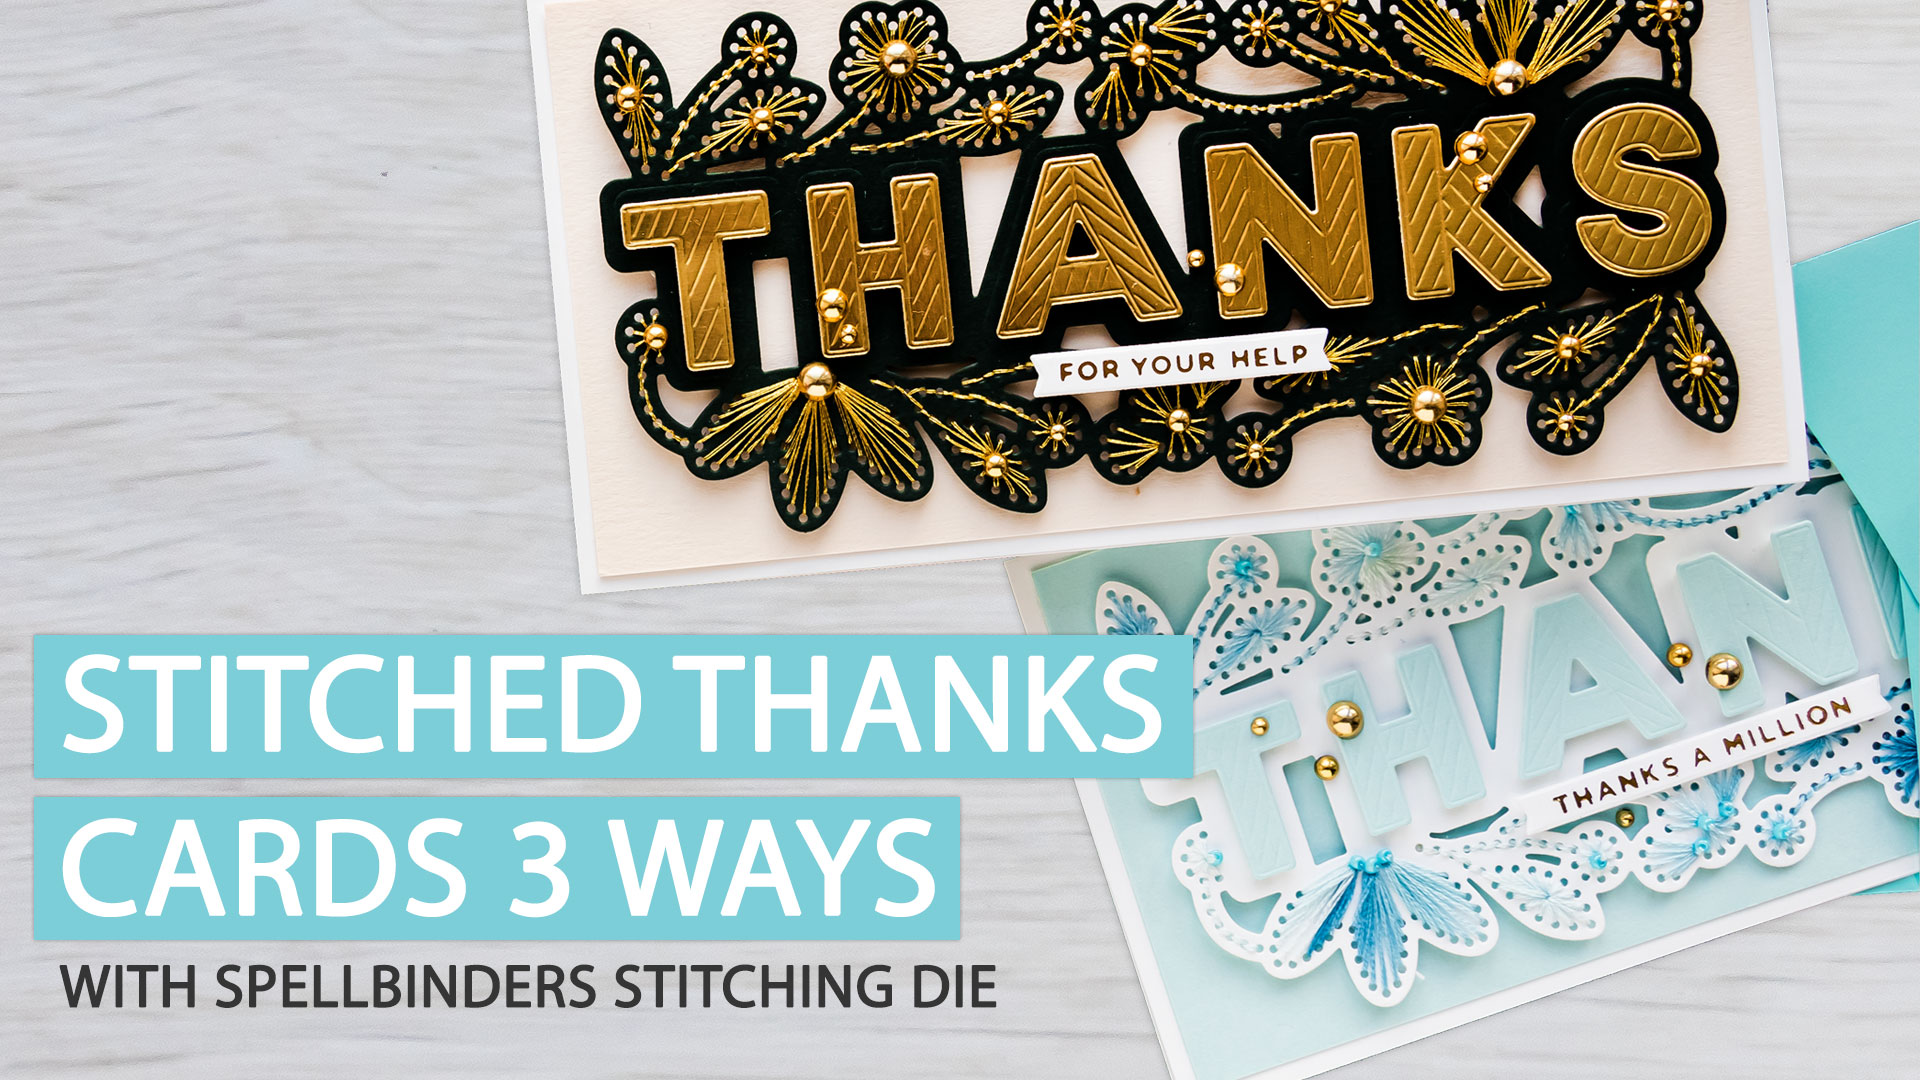
Hello there. Today I have several die-cut and stitched Thank You cards to share. I used to love cross-stitching and I used to cross stitch quite a lot when I was in school and even in my 20ies, but I somehow have forgotten about this hobby. Up until recently when I got my hands on the new stitching dies from Spellbinders.
The concept of stitching dies isn’t new, but somehow I never really gave it a try. I was quite fascinated with this new Stitched Thanks die from Spellbinders and I was really inspired and wanted to do some stitching because I remember how good it felt when I did cross-stitch a long time ago.
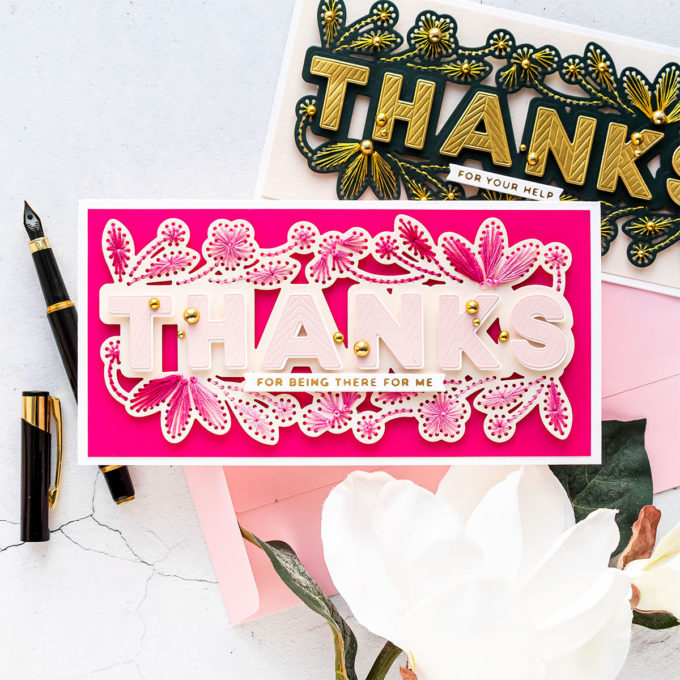
The Stitched Thanks a large die, designed to be used on slimline cards. It measures about 7 x 3 1/2, you have a gorgeous floral outline that can be stitched and separate letter dies to die-cut “thanks”.
The main die has openings – these will die-cut the holes for the thread to go through. Not only that, there are little lines in between the openings that indicate the pattern, so they sort of tell you which dots you need to connect when you do your stitching. These lines are also there to mimic stitching, should you choose not to add any to your card. You can just die-cut this, dry emboss it, and have a pretty faux stitched look. I prefer to stitch, I look at this activity as a way to unwind, to relax, to calm my nerves.
Like this project? Pin it and save for later | Curious about my project photography? Click for details.
VIDEO TUTORIAL
Watch the video below or on my Youtube channel.
Like this video? Please give it a big thumbs up (you can do this on the Youtube video page right under the video) and share it with a crafty friend! Leave me a comment too, I love hearing from you!
CARDS DETAILS
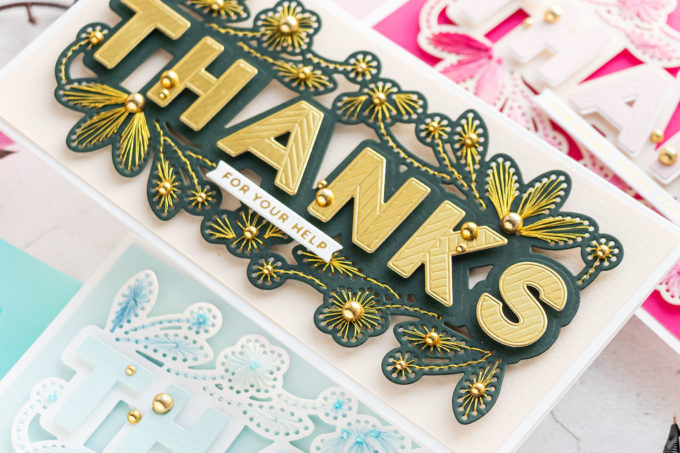
The die cuts a pattern for you to stitch. You just need to pick some thread and stitch it away. I die-cut “Thanks” from Simon Says Stamp Midnight-Green cardstock. It is thick and you want to make sure you use thicker cardstock for the die-cuts you plan to add stitching. They will hold up better this way. Best to use 100lb or 110 lb cardstock for this. And Spellbinders dies will die-cut thicker cardstock without any problems.
In case you are new to Spellbinders and their Clubs, the Small Die of the month, is a subscription Club, it is membership, available from the Spellbinders website only. This subscription is $15 per month, US shipping is included in this cost. Every month there’s a new die set delivered to your door along with lots of inspiration from Spellbinders.
If you enjoy die cutting – you’ll enjoy these kits as the designs are always fresh and trendy. I don’t share the projects with the kits every month here on my youtube channel, but I do try and create fun cards using these products whenever I can find the time.
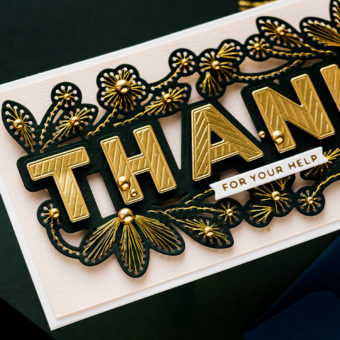
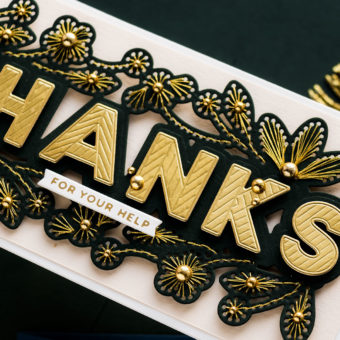
The reason I picked dark color cardstock for my die cut was that I wanted to add stitching to this card using a gold metallic thread. I have one from DMC, this one is pretty thin, so I like to use 2 strands to make it a bit thicker. I generally start from the back and I use a piece of tape to secure the thread in place on the back of my die cut. Sometimes, I also tie it into a knot. And I even use a dot of glue just to be safe.
You simply follow your pattern and stitch away. This particular pattern is all about stitching from the outside in. For example, you have a small flower with holes on the outside and one hole in the center. You begin from the outside and you bring your thread into the center. I like to stitch so that my needle is coming from the back on the outside holes and from the front on the center hole. The center hole will be passed through multiple times, so should it tear from all that thread, the tear won’t be visible on the front, only on the back, hence why I like to bring my needle from the front to the back on the center hole.
There is a stitching guide included with the packaging of this die, it will tell you how to stitch it – the holes are numbered telling you in which order to stitch a particular section of the die-cut.
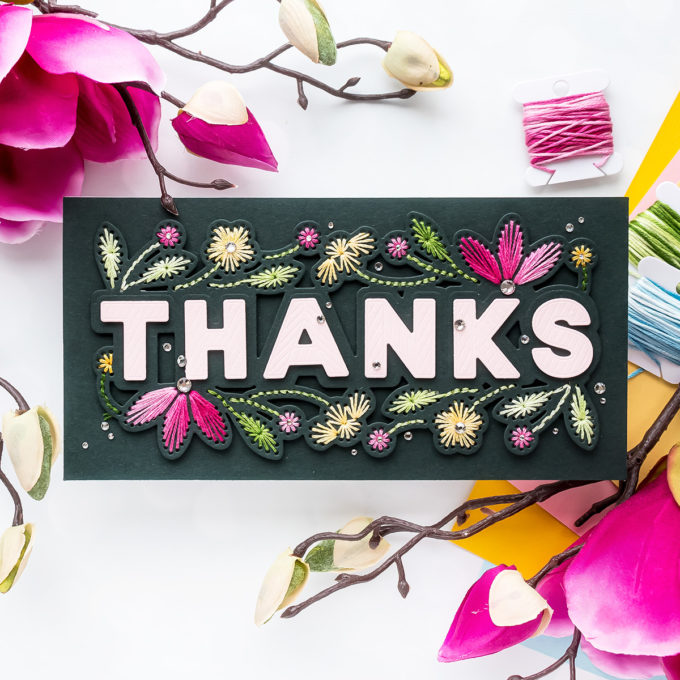
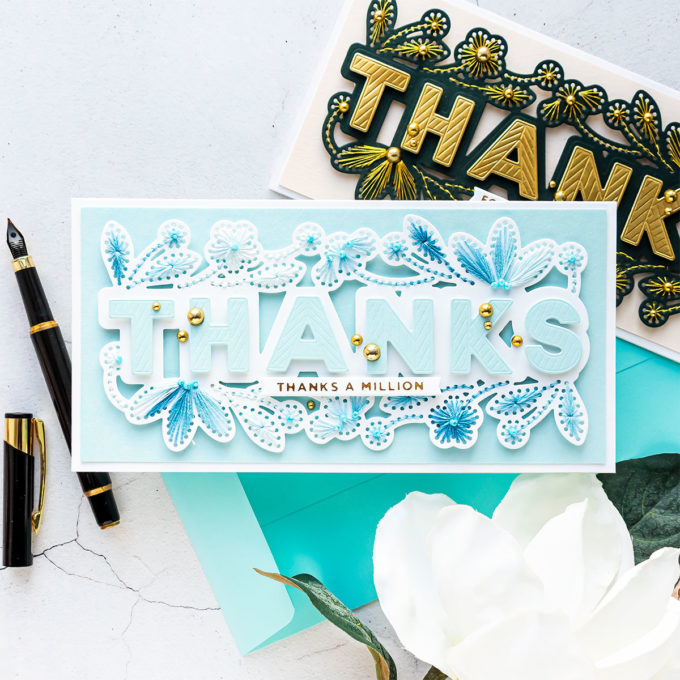
I used just one color thread for all of my cards today. I quite liked the gold on the dark green for this card and for the other cards – I didn’t really want to have to think about the different colors, I just wanted to stitch away, so I only used one color thread. But you can definitely use multiple colors, in fact here’s another card I made for Spellbinders where I used different colors of thread – green, pink and yellow. You have separate leaves, you have flower stems in here that can be stitching in green, and all the various flowers too, that can be stitched in many different colors.
Stitching is time-consuming, if you are looking to make a quick card – this is not the case. For me, this is all about taking the time, relaxing, listening to some music, and stitching. It is all about slowing down after a busy day and not rushing to get anything done. I think one panel like this took me about an hour, an hour, and a half to stitch. I wasn’t in a hurry, I was really enjoying the process.
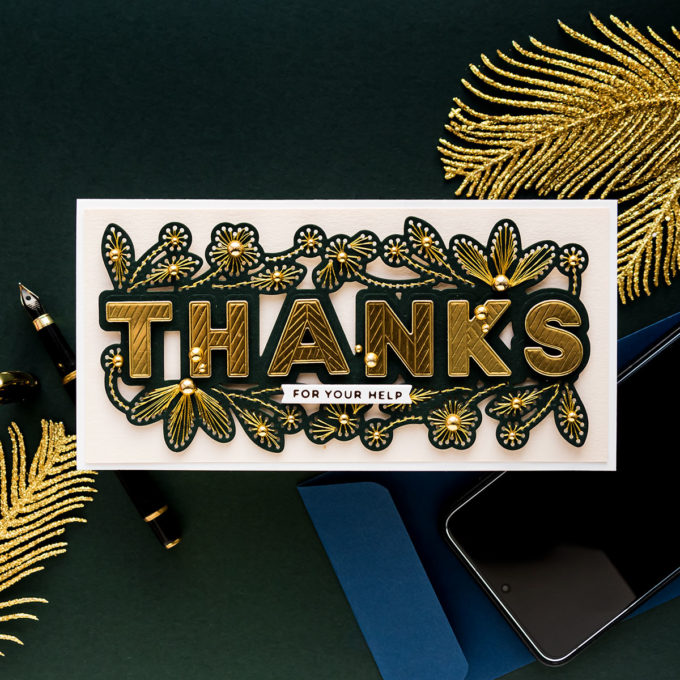
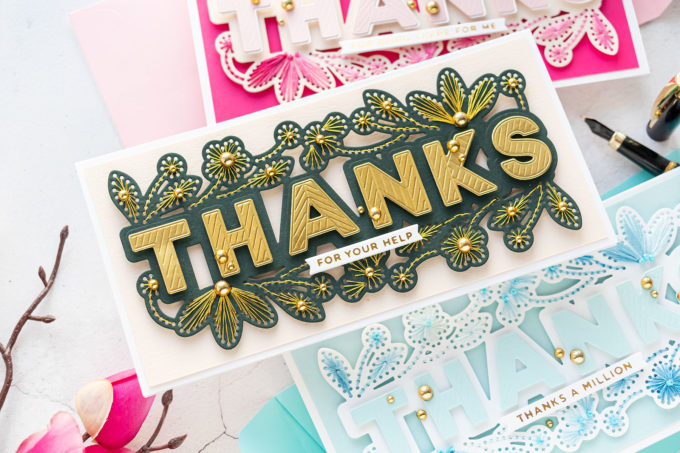
I used foam adhesive squares and foam mounted the die-cut letters (I cut mine from Gold Mirror cardstock) on top and I have to tell you – I love the classy and elegant look of this. When I was die-cutting the letters I was trying to think of some other way to use this die and of course, you can use just the letters Thanks and dress them up using some other die cuts, maybe some pretty florals. You can also use the thanks dies to die cut a negative panel, with a negative thanks, and again, add some florals behind the negative die cut opening, that would look really beautiful.
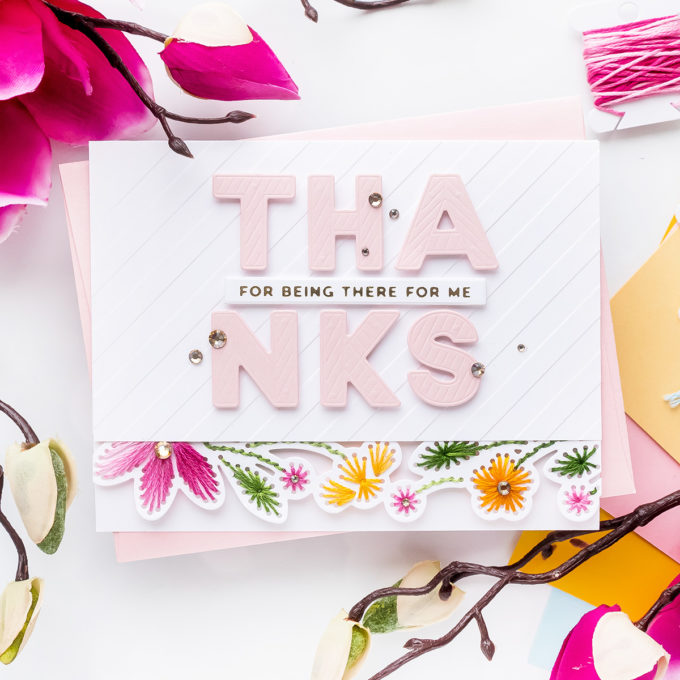
And also the main die-cut can be die-cut partially, to make just a border for a card, here’s an example I did for Spellbinders. So try and think outside the box, I know this die looks like it is just that, you can’t really use it in many other ways, but in fact with a bit of imagination, you can.
I used Spellbinders Barely Peach cardstock to create a panel, a background for this die-cut. I made a slimline card base using Neenah Solar White 110 lb cardstock, and it measures 3 3/4 by 7 1/2”, I added a Barely Peach panel on top, that was cut 1/4” smaller, so 3 1/2 x 7 1/4”. I love to add dimension to my cards, so I foam mounted my die cut onto the Barely Peach panel using foam adhesive squares and then used tape to adhere the panel onto my card base.
Lately, no card of mine is complete without some foiling. For these cards, I decided to use hot foil stamping to add a sub sentiment. I foiled For Your Help for this card using gold foil and white cardstock. This sentiment comes from my Yana’s Special Sentiments set and I cut it out using a banner die from another set from Spellbinders. I also used Spellbinders fashion gold dots to embellish the card – I added a dot onto each flower center and also added a couple overlapping the lettering. The adhesive on these dots is pretty strong, but since I was putting them over the thread, I decided to use glue just to be sure they would stay in place. I used Bearly Arts Glue – I’ve been loving it lately, it is quite runny, which I often find perfect when I need to adhere small pieces and there’s a very fine nozzle with a metal pin that never gets clogged. It is like a miracle. I love this glue.
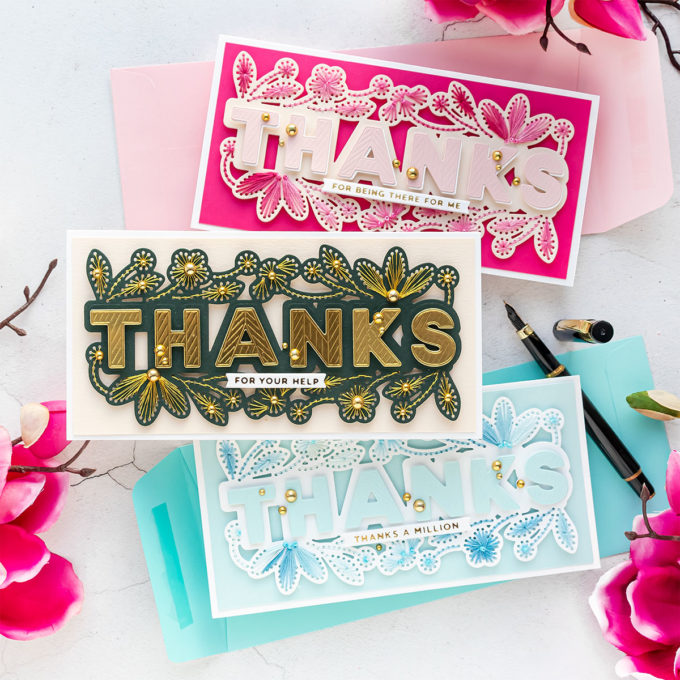
Of course, I couldn’t stop at just one stitched thanks. By the time I finished this one, I had other thread colors I wanted to try and I had other ways I wanted to embellish a card.
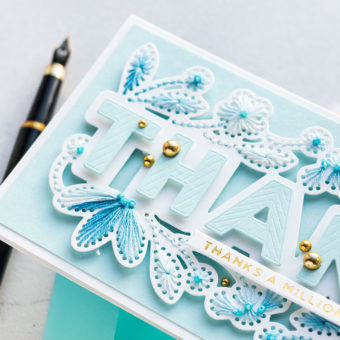
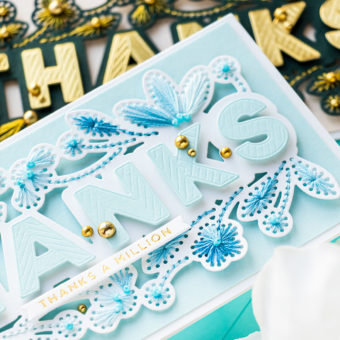
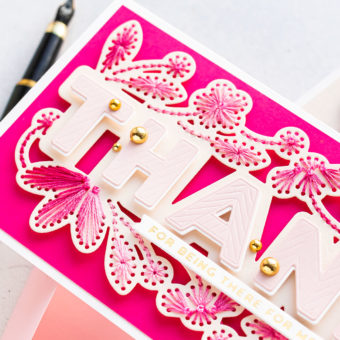
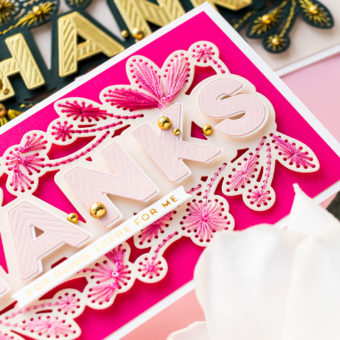
I used seed beads from Pretty Pink Posh to embellish the other two cards – blue and pink. I added the beads while stitching the cards with variegated thread. This is a DMC variegated thread. When stitching with this thread I like to use 3 strands, you can also use 2, but I like to have a fuller look to my stitched pieces, so I use 3.
Variegated thread changes the color. The thread I used went from nearly white to light blue and from light to dark pink.
I added foiled sub sentiments onto both of these cards and embellished them with Fashion Gold dots.
SUPPLIES
I’m listing the products I used below. Click on the link to go directly to the product. Where available I use compensated affiliate links which means if you make a purchase I receive a small commission at no extra cost to you. Thank you so much for your support!
 Spellbinders Small Die Of The Month Membership Shop at: SB |
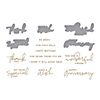 Spellbinders Yana’s Special Sentiments Glimmer Shop at: SSS | SC | SB |
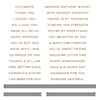 Spellbinders Mini Everyday Sentiments Glimmer Shop at: SSS | SB |
 Spellbinders Glimmer Hot Foil System Shop at: SSS | SC | SB | AZ |
 Spellbinders Hot Foil Roll – Gold Shop at: SSS | SC | SB | AZ |
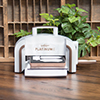 Spellbinders Platinum 6 Die Cutting Machine Shop at: SSS | SC | SB | AZ |
 Spellbinders Glitter 6X6 Cutting Plates Shop at: SB |
 Spellbinders Glitter Standard Cutting Plates Shop at: SB |
 Simon Says Stamp Mega Thick White Cardstock 130# Shop at: SSS |
 Neenah 110 Lb Solar White Cardstock Shop at: SSS | AZ |
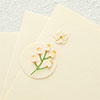 Spellbinders Barely Peach Color Essentials Cardstock Shop at: SB |
 Simon Says Stamp Card Stock Midnight Green Shop at: SSS |
 Spellbinders Mirror Gold Cardstock Shop at: SB |
 Simon Says Stamp Cotton Candy Cardstock Shop at: SSS |
 Simon Says Stamp Sea Glass Cardstock Shop at: SSS |
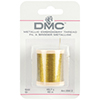 DMC Metallic Gold Embroidery Thread Shop at: SSS | AZ |
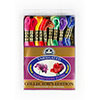 DMC Variegated Embroidery Floss, Assorted, 36-Pack Shop at: AZ |
 Plastic Floss Bobbins Shop at: AZ |
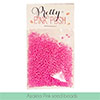 Pretty Pink Posh Azalea Pink Seed Beads Shop at: PPP |
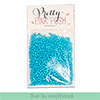 Pretty Pink Posh Blue Sky Seed Beads Shop at: PPP |
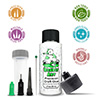 Bearly Art Mini 2 fl oz Precision Craft Glue + Tip Kit Shop at: SB | AZ |
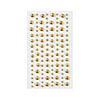 FSJ Fashion Gold Embellishments Shop at: SSS | SC | SB |
 Spellbinders Tool ‘n One Shop at: SSS | SC | SB | AZ |
 White Foam Squares Shop at: SSS | SC | SB | AZ |
 Scor-Tape 1/8 Inch Crafting Tape Shop at: SSS | AZ |


These are so pretty
so glad you like them!
Gorgeous cards!!! Can’t wait for mine to come!!!
thank you, Maureen!
This is a great die. Too bad it only comes through subscription. Fixed income people can’t commit to that. I loved your cards and the one with the gold lettering and stitching was very elegant. I would love to be able to do this.
Thank you, Patricia. Spellbinders subscription is very flexible. You can cancel anytime, there is no minimum commitment.
Drop Dead Gorgeous! I don’t have or haven’t tried stitching dies either. Can hardly wait till mine arrives. Thank you for the awesome tutorial.
awww, thank you, Karen! I hope yours will arrive soon 🙂
Loved your card so much this morning I followed the link and signed up. I hope I did it correctly so you get the credit. My 6 & 9 year old granddaughters will love stiching this with me. Can’t wait to get my dies. Love your videos.
Thank you, Shelly. I appreciate it. I hope you enjoy using it with your granddaughters!
Love this card but was curious about two things one what size needle are you using for the cross stitching and two what size are the seed beads as i talked to my sister and she says you need a different needle to be able to thread those beads but it looks like your using the same one throughout the video.
Jan Farnworth
Wheatley_jan@hotmail.com
Gorgeous cards Yana!!
thank you, Beverly!
What size needle did you use
Sorry, I have no clue! It was just a needle I use around the house to fix clothing, I don’t know the size. Not too big.
Wow!!! These are STUNNING!!!!!!! I can’t wait for mine to come! Thank you for your beautiful inspiration!
thank you, Natasha! Glad you like these. I hope your die arrives soon 🙂
Stitching on paper is my favorite, and your video has wonderful tips as well as the most beautiful samples. I wish Spellbinders would do a birthday themed version.
These are so beautiful!! Like others I am looking forward for mine to come! I am wondering what brand of low tack tape you use.