This post is also available in English
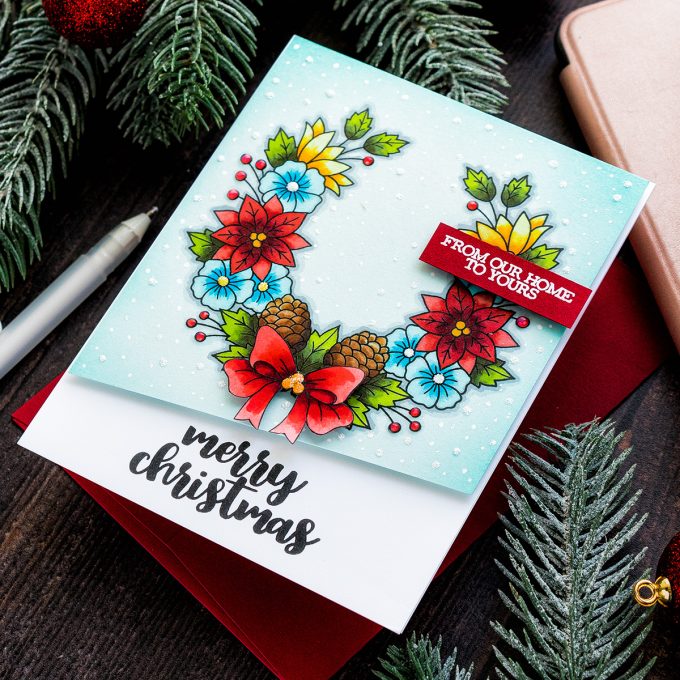
Hello and happy STAMPTember, friends! Today I’m super excited to show you one of the new STAMPtember exclusive collaboration sets – The Celebrate The Season Set by Clearly Besotted! I have a Christmas card to share with this set, so let jump right in.
As I work on my card throughout this video you’ll see me change my mind quite a few times. Sometimes, I just don’t know what I want and that makes planning a project a more difficult task.
Like this project? Pin it and save for later | Curious about my project photography? Click for details.
VIDEO TUTORIAL
Watch the video below or on my Youtube channel.
Like this video? Please give it a big thumbs up (you can do this on Youtube video page right under the video) and share with a crafty friend! Leave me a comment too, I love hearing from you!
CARD DETAILS
I’m starting to work on my card by stamping the beautiful wreath image in Copic marker friendly ink in black on Simon’s Sea Glass cardstock. I want my card to have a light blue background to it so this is why I’m using this color of cardstock and not white. I am a huge fan of using colored cardstock for my cards, even if I plan to do some Copic marker coloring. Copic markers aren’t the best medium to use on colored cardstock, but I’m all about breaking the rules so why not!
I have also stamped a sentiment on the panel and had I stamped it straight I probably would have gone with it, but I later noticed it was stamped a bit crooked, so you’ll see me crop this panel later and go with a different greeting for this card.
Like I mentioned, I plan to color this card with Copic markers. Copics are not the best medium to use on colored cardstock as, well, they aren’t opaque and that means they won’t cover the color of the cardstock. For example, you won’t be able to use a very light pink on this blue paper and still have that pink look like pink, it will have a bit of a blue tint to it, and it just won’t look the same as if it was colored on white. But, if you select darker marker colors you can get away with coloring on colored cardstock. Still, the colors will be a bit more muted and definitely not as vibrant as on a white paper.
I’m using G99, G94 and YG03 to color the leaves on this wreath. I’m all about simple coloring, 3 or 4 color blends, nothing special – just going from dark, to medium, to light, and to dark again if I feel I want to intensify the shadows.
This paper is not the best option for Copics as it was simply not designed for coloring, but it does work. You just need to be careful not to oversaturate the paper as the marker will easily bleed outside the lines. I did have some bleeding happen here and there especially when I was coloring with freshly re-filled markers. So that keep that in mind and be careful. Less is more.
This beautiful wreath can be stamped or oriented differently on the card. I have it facing up here, and I’ll place a bow at the bottom, but you can just as easily have it facing down and have the bow at the top or even have the wreath face sideways and have the bow on either left or right side.
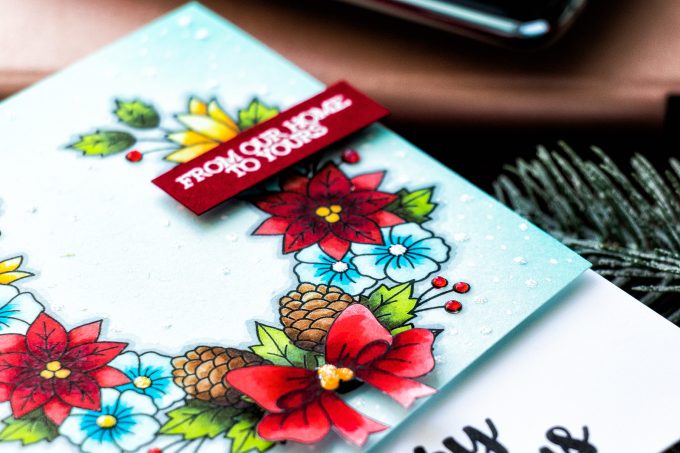
Next, I colored the berries and I used R27 along with R24 markers. I will later add a white pen highlight to each berry and coat them with glossy accents for a beautiful dimensional finish.
To color the pinecones I used E79, E37, E33, and E31. You can see that the darker marker colors cover over the blue background quite nicely and there’s no blue showing on the finished images.
This wreath has many beautiful flowers and I decided to color some of them blue. I picked blue because of the background color I just wanted it to complement these flowers. I used B05, B02 and B00 markers. For the flower centers I first used a yellow marker, but later colored them white using a white Sakura pen. White really popped against the blue background.
Poinsettias were of course colored red. I say of course, but really these can be colored in many different colors, including blue. I’m a fan of traditional colors, so this is why I picked red. I used R89, R39, R27, R24, and R22. The R39 marker is a bit dry and I don’t currently have a refill to refill it so the blending wasn’t perfect there and it actually shows on the card.
Next, I used Y35, Y15, Y11 and YR15 colors to color those lats flowers. Here you can really see how that blue interferes with the yellow color, the yellow is getting a bit of green tint to it, all because of that blue background. But still, I think it looks okay.
This stamp set also has a separate bow image. I stamped mine in black on white paper, colored red and cut out right up to the edge.
To add some definition to the the wreath I used a C1 marker and outlined this image creating a subtle drop shadow effect. I did go back in later with a C3 marker and deepened the shadows. When you first apply the marker it will look quite dark, but as it dries the color will become lighter. So while I did think the C1 would be enough at first, once it was dry it was obvious that it because too light and thus I added a C3 one.
To add even more interest to this panel I used Maliblue ink from Simon and ink blended the edges of the panel very lightly darkening them and thus directing the eye of the viewer of the card to the center where that beautiful wreath it. When I was blending I blended over the sentiment and it had smeared the ink, this happens to me every time when I blend over black ink and I just never seem to learn or to remember to not do this. So that in a way was the last straw with that sentiment, it was stamped slightly off, it was slightly smeared and something just had to be done.
I ended up trimming the panel at an angle and also cutting it down just a bit. Cutting it at an angle gave me enough space on the card base to re-stamp a different sentiment for this card. I used Merry Christmas, it comes from the same stamp set – I stamped it in black ink using my mini MISTI and that really helped to pull this project together.
The whole purpose of using a blue background for this card was so that I could add some faux snow to the background. For this, I once again used the same size 10 Sakura pen and added bunch of dots all around the wreath mimicking a blizzard. I debated adding over over the wreath, but I was actually too chicken to do it, so I left it as is.
Using foam adhesive I adhered the panel to the card base, added a sub sentiment and a bow.
Happy STAMPtember!
SUPPLIES
I’m listing the products I used below. Click on the link to go directly to the product. Where available I use compensated affiliate links which means if you make a purchase I receive a small commission at no extra cost to you. Thank you so much for your support!
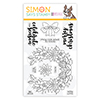 Clearly Besotted Clear Stamps Stamptember 2019 Exclusive Shop at: SSS |
 Simon Says Stamp Sea Glass Cardstock Shop at: SSS |
 Simon Says Stamp Schoolhouse Red Cardstock Shop at: SSS |
 Neenah 110 Lb Solar White Cardstock Shop at: SSS |
 Hero Arts White Embossing Powder Shop at: SSS |
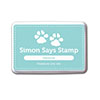 Simon Says Stamp Maliblue Ink Pad Shop at: SSS |
 Hero Arts Heat Embossing Gun Shop at: SSS |
 Hero Arts Ink Pad Intens-ified Black Shop at: SSS |
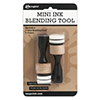 Ranger Mini Round Ink Blending Tools Shop at: SSS |
 Spellbinders Circle Replacement Foam Shop at: SSS |
 Ranger Glossy Accents Glue Dimensional Adhesive Shop at: SSS |
 EK Success Powder Tool Applicator Shop at: SSS |
 Mini Misti Stamping Tool Shop at: SSS |
 Ranger Stickles Frosted Lace Glitter Glue Shop at: SSS |
 Sakura Classic White Gelly Roll Pens Set of 3 Shop at: SSS |
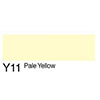 Copic Sketch Marker Y11 Pale Yellow Shop at: SSS |
 Copic Sketch Marker Y15 Cadmium Yellow Shop at: SSS |
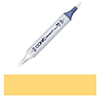 Copic Sketch Marker Y35 Maize Shop at: SSS |
 Copic Sketch Marker YR15 Pumpkin Yellow Shop at: SSS |
 Copic Sketch Marker R22 Light Prawn Shop at: SSS |
 Copic Sketch Marker R24 Prawn Shop at: SSS |
 Copic Sketch Marker R39 Garnet Shop at: SSS |
 Copic Sketch Marker R89 Dark Red Shop at: SSS |
 Copic Sketch Marker B00 Frost Blue Shop at: SSS |
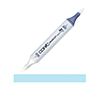 Copic Sketch Marker B02 Robin’s Egg Shop at: SSS |
 Copic Sketch Marker B05 Process Blue Shop at: SSS |
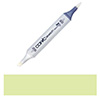 Copic Sketch Marker YG03 Yellow Green Shop at: SSS |
 Copic Sketch Marker G94 Grayish Olive Shop at: SSS |
 Copic Sketch Marker G99 Olive Green Shop at: SSS |
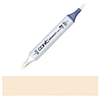 Copic Sketch Marker E31 Brick Beige Shop at: SSS |
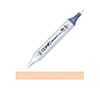 Copic Sketch Marker E33 Sand Shop at: SSS |
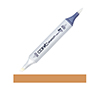 Copic Sketch Marker E37 Sepia Shop at: SSS |
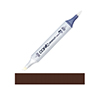 Copic Sketch Marker E79 Cashew Shop at: SSS |
 White Foam Squares Shop at: SSS |










Beautiful, Uana, & thanks for all the awesome colored paper tips!!
Should be Yana, not Uana! I must have fat fingers! 🙂
This is SOOO GORGEOUS, Yana!!! I LOVE the colors you used & the colored card stock! LOVED watching you color over on You Tube! I AM ENJOYING Stamptember! I’ve been playing along, whenever I have a companies set of stamps! 😉 FUN!!! ;)<3 (P.S. Would you recommend what colored card stock is best over on SSS? THANKS!!! );)<3
Your coloring is fantastic!
Fabulous coloring! And I lovve the faux snow! 🙂
Absolutely Gorgeous!!!!