This post is also available in English
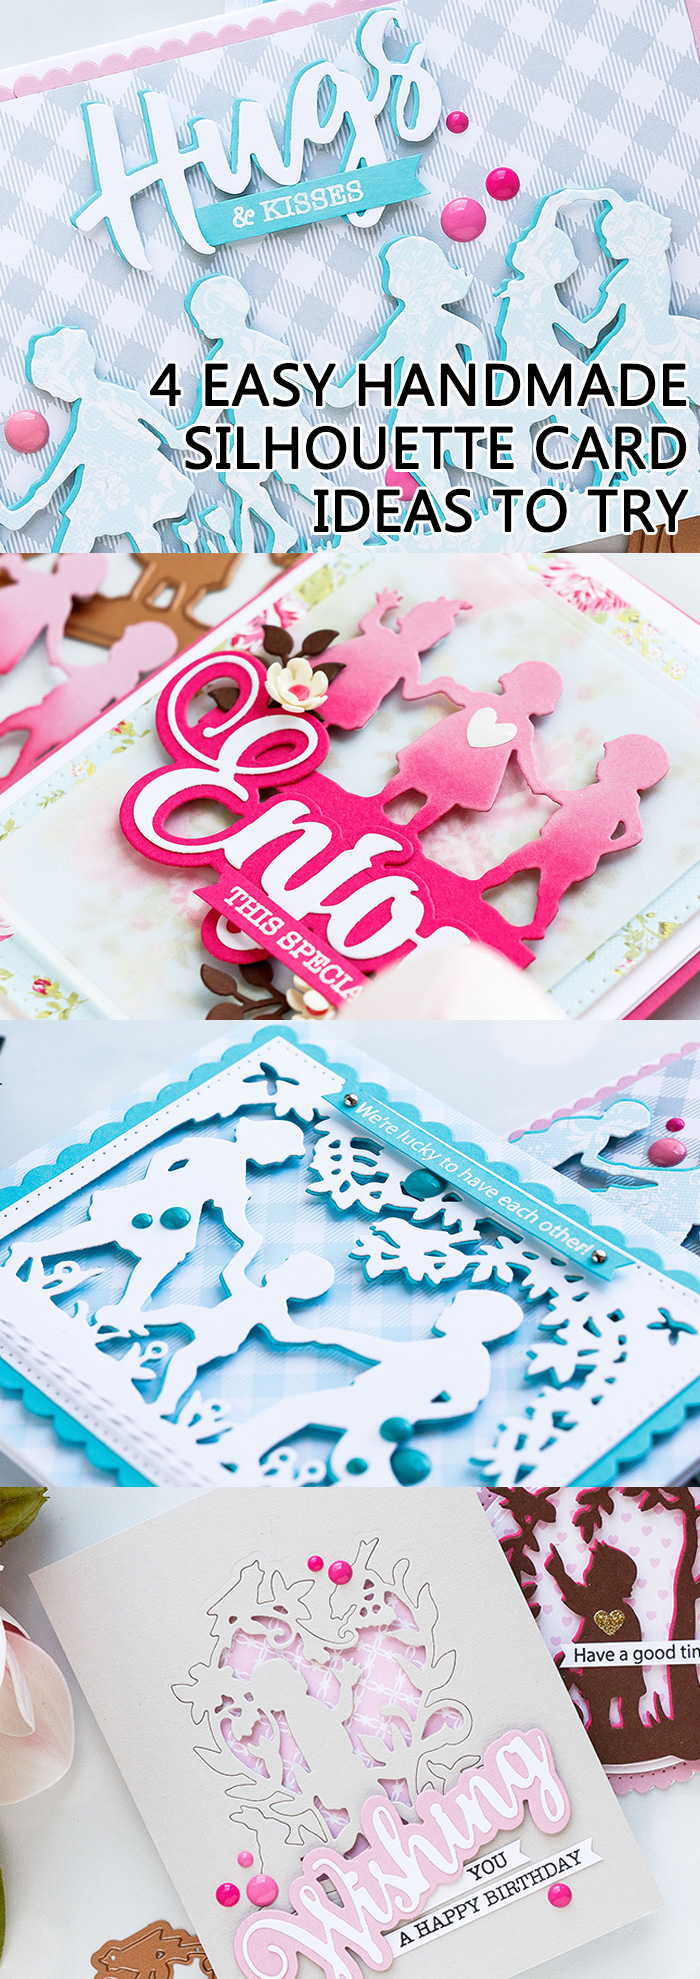
Hello friends! Do you enjoy using silhouette images (stamped or die cut) in your handmade projects? It’s a yes and no for me, I have to say it depends on the image I am using. Today I have several handmade card ideas to share all using beautiful die-cut silhouette images from Spellbinders.
Like this project? Pin it and save for later | Curious about my project photography? Click for details.
All of these cards were published in the Die Cutting Essentials Magazine Issue #41 (magazine made a mistake and published these cards as if they were made by my friend, Elena and not me). Above and below are two photos from the magazine, click to view larger:
If you are visiting my blog for the first time or have not yet subscribed – be sure to do so! I share lots of handmade projects every week delivering them straight to your inbox! I also occasionally share information about crafty sales and new product releases I love. Subscribe here.
CARD DETAILS – INLAY SILHOUETTE DIE CUTTING
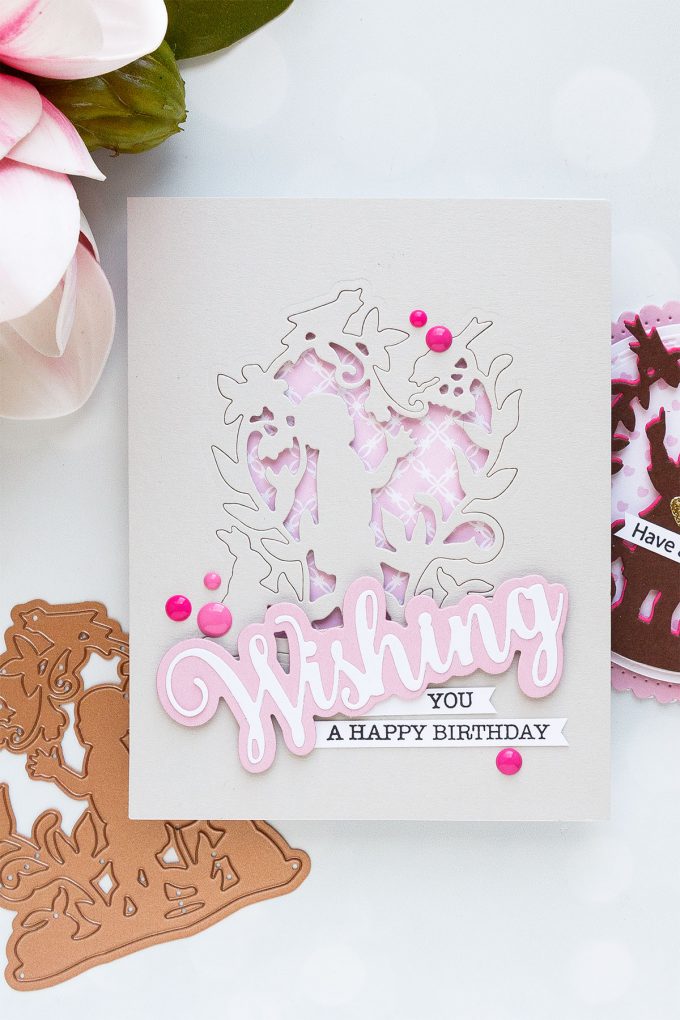
My first card features simple inlay silhouette die cutting using a stunning S3-332 Baby’s Garden die from Spellbinders in gray & pink color combo.
Instructions:
- Create A2 white side folding card base. Adhere patterned paper panel onto the front of the card.
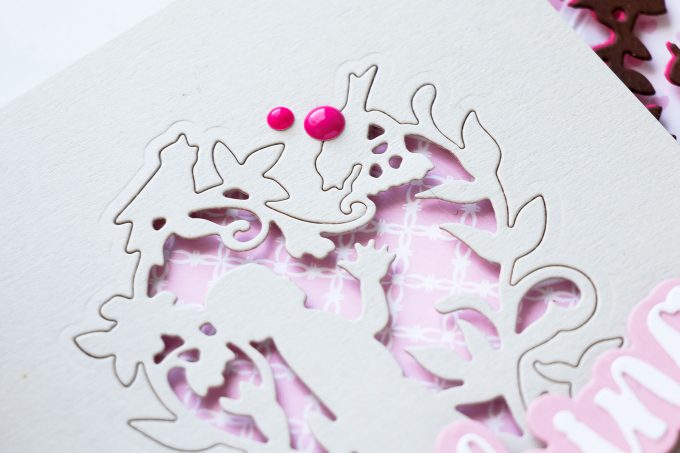
- Die-cut Baby’s Garden out of gray cardstock. Keep positive and negative panel die cuts. Foam mount both onto the card base. Discard only the negative die cut pieces that are inside the Baby’s Garden die cut.
- Die-cut Wishing out of white and pink cardstock. Adhere white onto pink, foam mount onto the card.
- Stamp sentiment onto white cardstock. Trim into strips. Adhere onto the card.
- Embellish card using pink enamel dots.
Supplies for this card (full supply list is available at the end of this post):
S3-332 Baby’s Garden Dies, SDS-157 Wishing Expressions Stamp and Die Set; Spellbinders PE-100 Platinum 6 Die Cutting And Embossing Machine – 6″ Platform; Spellbinders T-001 Tool ‘N One; First Edition Pretty Posy 6×6 Paper Pad; Colored Cardstock (Simon Says Stamp – Cotton Candy, Fog); Neenah Solar White 110LB Cardstock; Tsukineko Versafine Onyx Black Ink; Scrapbook Adhesives White Foam Squares; Scor-tape; Pink Enamel Dots.
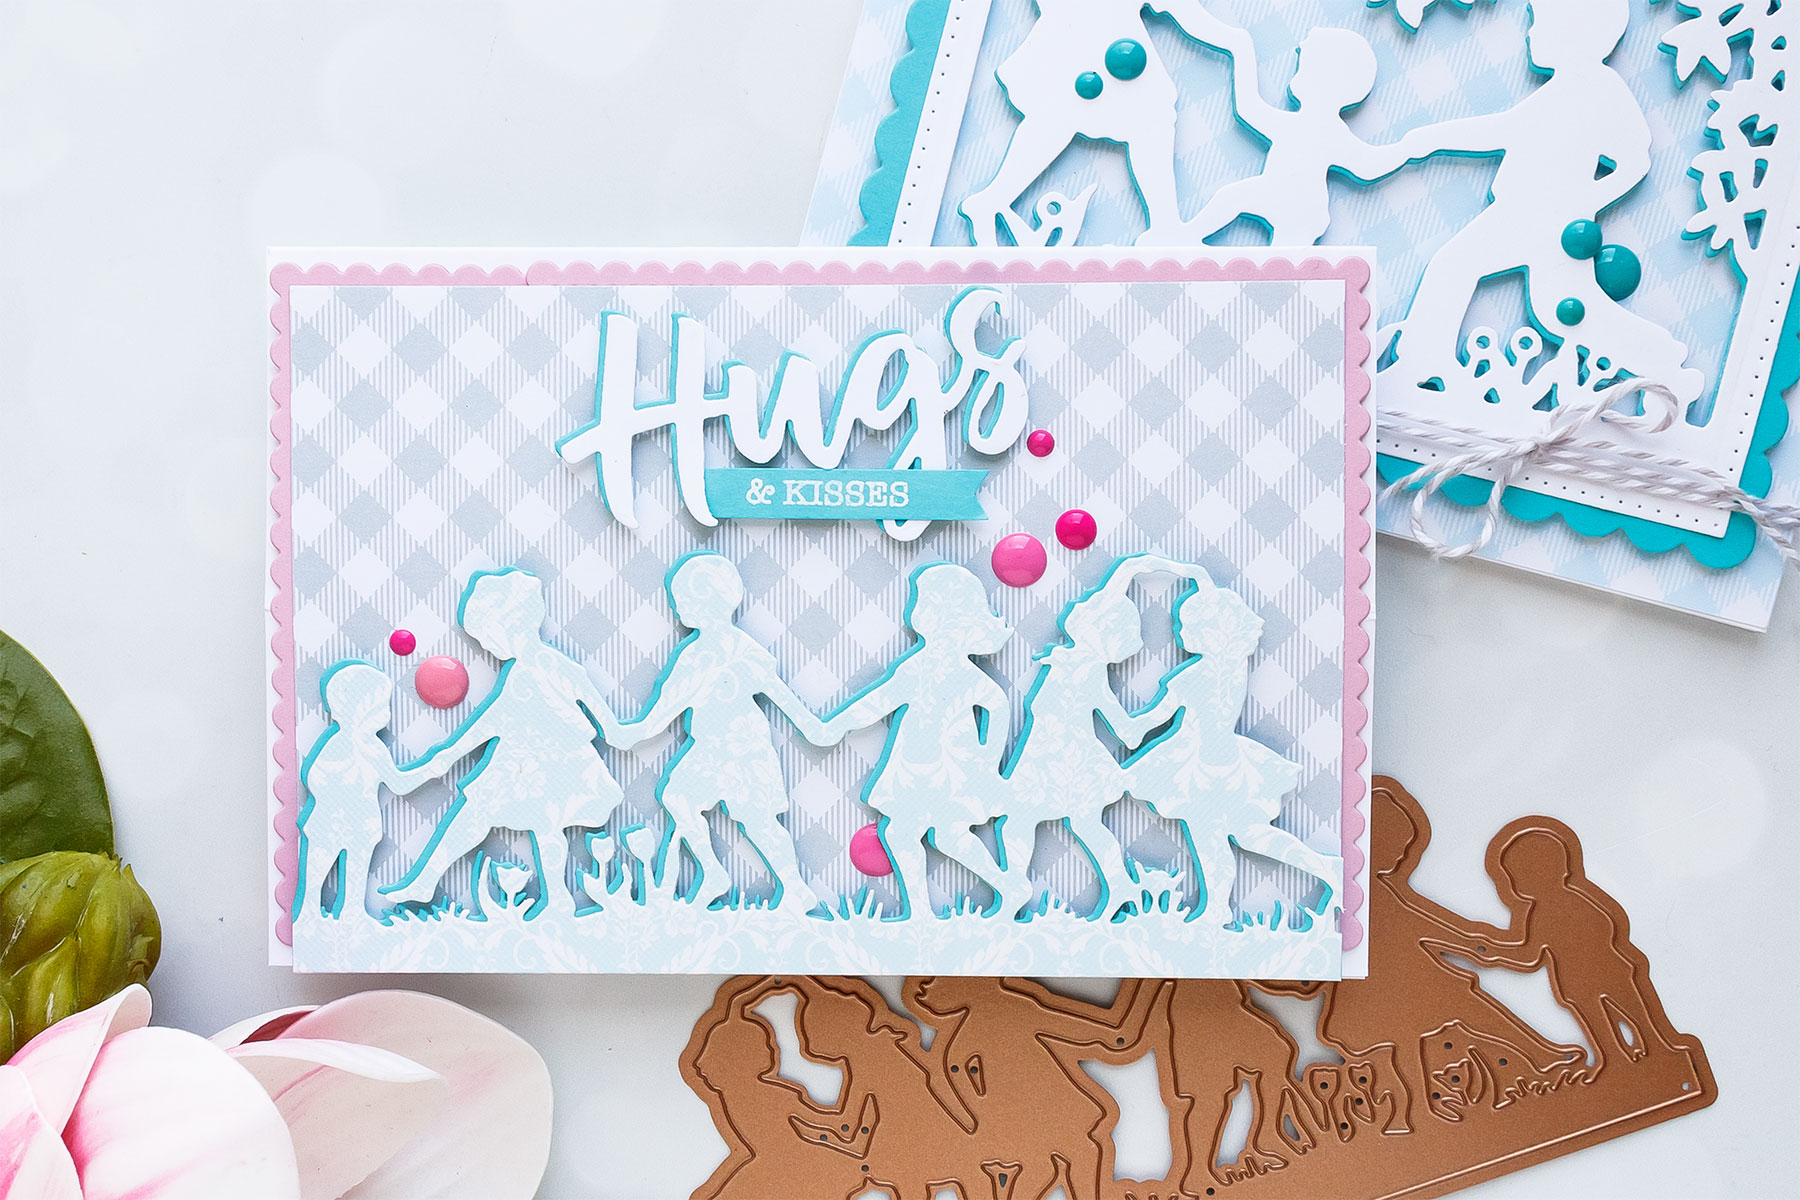
CARD DETAILS – OFFSET & SHADOW SILHOUETTE DIE CUTTING
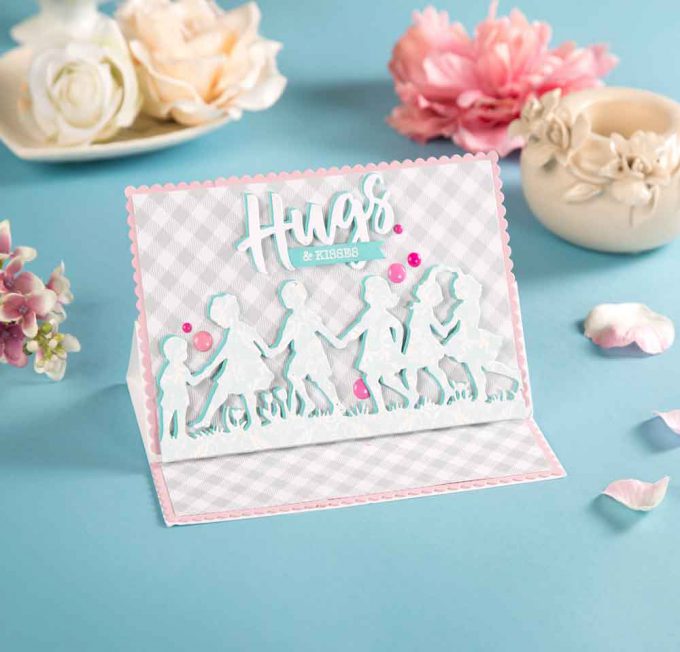
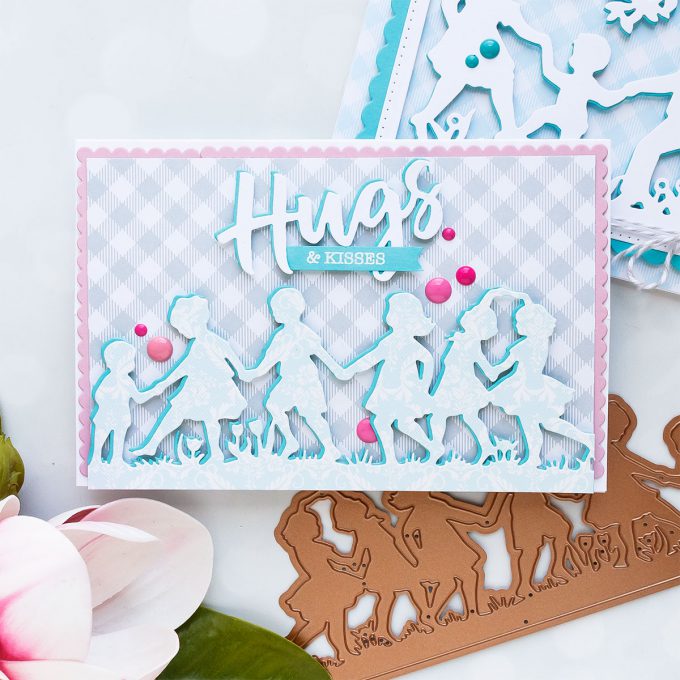
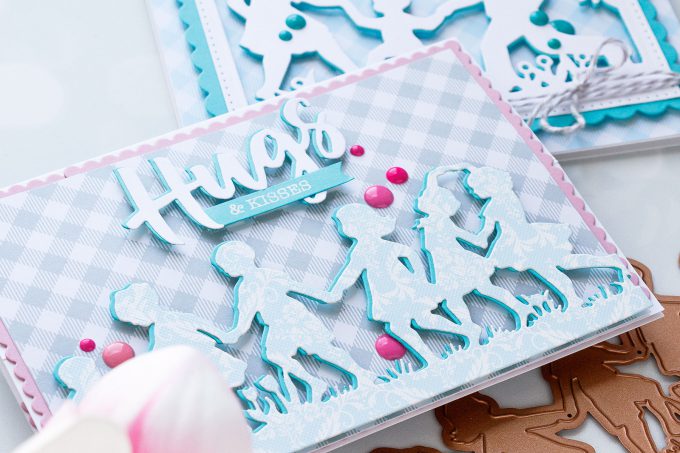
My next project features a super simple, yet always effecting offset die cutting or also known as shadow die cutting. The main idea here is to die-cut the same element twice, but out of different colors/types of paper to create a drop-shadow effect. I used a beautiful Every Day’s a Happy Day die to make this card.
Instructions:
- Create easel card base that measures 4 1⁄4 x 6 3⁄8”.
- Die-cut Every Day’s A Happy Day out of patterned paper and blue cardstock. Adhere patterned die cut onto blue and offset slightly.
- Cut patterned paper panel to 4 x 6”. Die-cut Fancy Edged Rectangles a few times out of pink cardstock. Layer under the patterned paper panel to create the illusion of a long continuous die cut. Adhere onto the front of the easel card base.
- Repeat same steps to create a decorative insert for the inside of the card (cut patterned paper panel to 1 1⁄2 x 6”).
- Foam mount Every Day’s A Happy Day die cut on top.
- Die-cut Hugs out of white and blue cardstock. Adhere white onto blue and offset slightly. Foam mount onto the card.
- Heat embossed “& Kisses” in white embossing powder onto blue cardstock. Cut into a strip.
- Foam mount onto the card. Embellish card with pink enamel dots.
Supplies for this card (full supply list is available at the end of this post):
S4-896 Every Day’s a Happy Day Dies, S4-905 Fancy Edged Rectangles Dies, SDS-154 Hugs Expressions Stamp and Die Set; Spellbinders PE-100 Platinum 6 Die Cutting And Embossing Machine – 6″ Platform; Spellbinders T-001 Tool ‘N One; Lawn Fawn 6×6” Gotta Have Gingham Paper Pad; First Edition Pretty Posy 6×6” Paper Pad; Colored Cardstock (Simon Says Stamp – Surf Blue, Cotton Candy); Neenah Solar White 110LB Cardstock; Tsukineko Versamark Watermark Ink; Hero Arts Detail White Embossing Powder; Scrapbook Adhesives White Foam Squares; Scor-tape; Pink Enamel Dots; Silver Brads.
CARD DETAILS – OMBRE SILHOUETTE DIE CUTTING
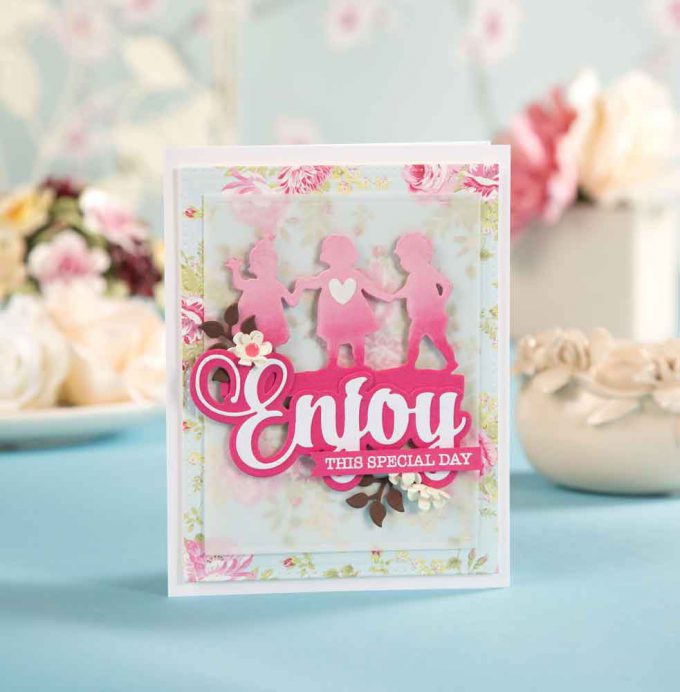
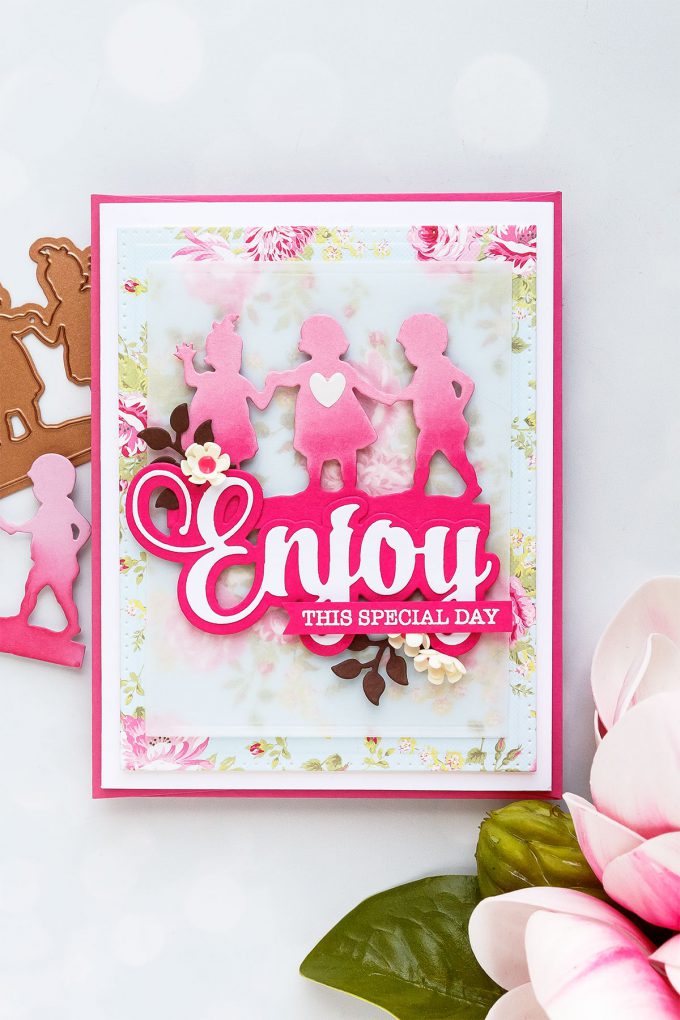
This next card was inspired by a series of cards I shared this Spring using same dies from Spellbinders. You can see them (and video tutorial) here. For this card I used a beautiful S2-295 First Friends die.
Instructions:
- Create A2 side folding card base out of white cardstock.
- Die-cut patterned paper panel using Scored & Pierced Rectangle dies. Foam mount onto the card.
- Die-cut smaller panel out of vellum. Set aside.
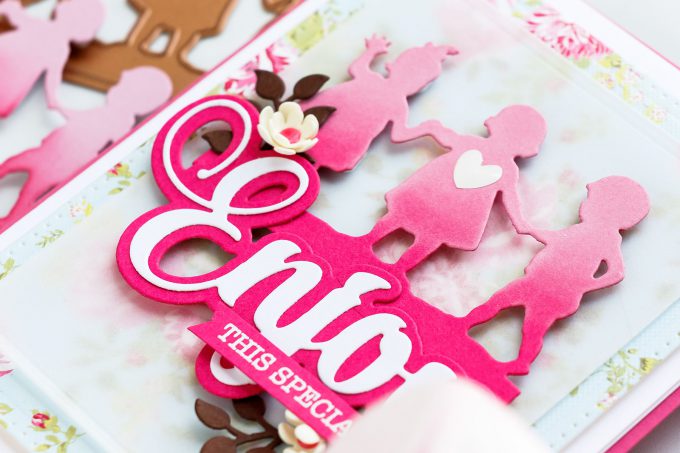
- Die-cut First Friends die out of pink cardstock. Blend white ink to create ombre effect. Foam mount onto vellum panel.
- Die-cut Enjoy out of white and pink cardstock. Adhere white die cut onto pink, foam mount onto vellum panel.
- Die-cut brown leaves. Adhere onto vellum panel.
- Die-cut white foamiran flowers. Shape with the help of heat tool. Adhere onto vellum panel.
- Foam mount vellum panel onto the card.
- White heat emboss “This Special Day” onto pink cardstock. Trim into a strip. Adhere onto the card.
- Add pink flower center.
Supplies for this card (full supply list is available at the end of this post):
S2-295 First Friends Dies, SDS-152 Enjoy Expressions Stamp and Die Set, S4-904 Scored and Pierced Rectangles Dies, S6-147 Swirl Hexagon Petal Box Dies, S3-314 Petite Double Bow and Flowers Dies; Spellbinders PE-100 Platinum 6 Die Cutting And Embossing Machine – 6″ Platform; Spellbinders T-001 Tool ‘N One; First Edition Pretty Posy 6×6 Paper Pad; Hero Arts Layering Vellum; Colored Cardstock (Simon Says Stamp – Doll Pink, Brown); Neenah Solar White 110LB Cardstock; Hero Arts Detail White Embossing Powder; Versamark Watermark Ink Pad; Heat Tool; Foamiran; Nuvo Drops in Carnation Pink; Scrapbook Adhesives White Foam Squares; Scor-tape; Hero Arts Unicorn White Pigment Ink.
CARD DETAILS – FRAMED SILHOUETTE DIE CUTTING
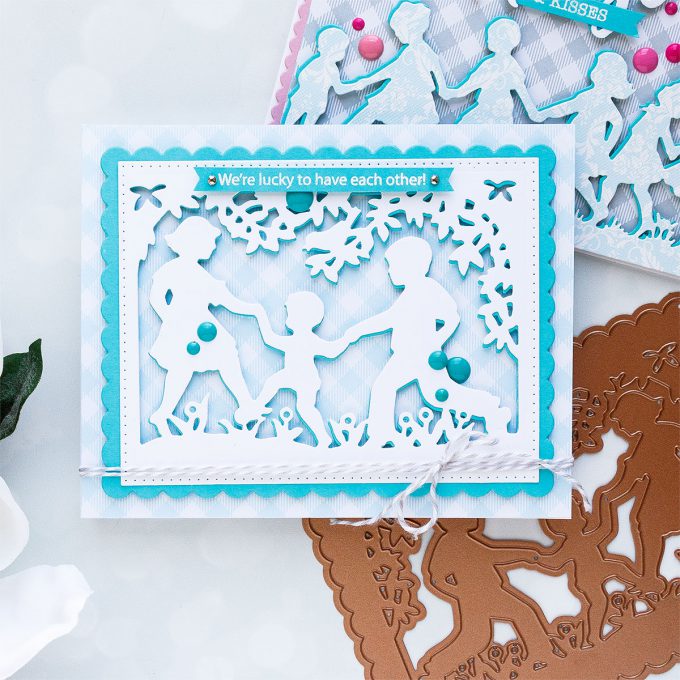
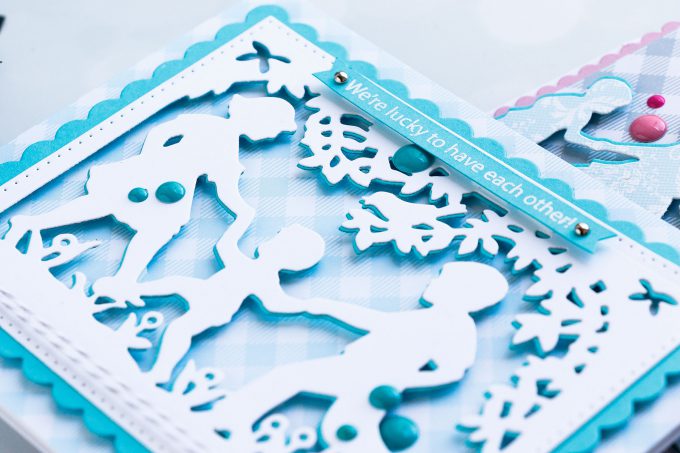
My last card for today features a framed silhouette scene using beautiful S5-349 Little Loves A2 Card Front die from Spellbinders. I kept it monochromatic by using blue and a lot of white.
Instructions:
- Create top folding white card base 4 3⁄4 x 6”.
- Cover front of the card base with patterned paper.
- Die-cut Little Loves A2 card front out of white and blue cardstock. Use a rectangle die to trim the white die cut. Adhere it onto blue and offset slightly.
- Foam mount die cut onto the card.
- White heat emboss sentiment. Cut into a skinny strip. Add brads. Foam mount onto the card.
- Tie gray twine. Embellish card with enamel dots.
Supplies for this card (full supply list is available at the end of this post):
S5-349 Little Loves A2 Card Front Dies, S4-904 Scored and Pierced Rectangles Dies; Spellbinders PE-100 Platinum 6 Die Cutting And Embossing Machine – 6″ Platform; Spellbinders T-001 Tool ‘N One; Lawn Fawn 6×6” Gotta Have Gingham Paper Pad; Colored Cardstock (Simon Says Stamp – Surf Blue); Neenah Solar White 110LB Cardstock; Tsukineko Versamark Watermark Ink; Hero Arts Detail White Embossing Powder; Simon Says Stamp Messages For Everyday Stamp Set; Scrapbook Adhesives White Foam Squares; Scor-tape; Doodlebug Twine – Gray; Blue Enamel Dots; Small Silver Brads.
SUPPLIES
I’m listing the products I used below. Click on the link to go directly to the product. Where available I use compensated affiliate links which means if you make a purchase I receive a small commission at no extra cost to you. Thank you so much for your support!
 Spellbinders First Friends Dies Shop at: SSS | SC | SPEL | AZ |
 Spellbinders Baby’s Garden Dies Shop at: SSS | SC | SPEL | AZ |
 Spellbinders Little Loves A2 Card Front Dies Shop at: SSS | SC | SPEL | AZ |
 Spellbinders Every Day’s a Happy Day Dies Shop at: SSS | SC | SPEL | AZ |
 Spellbinders Enjoy Expressions Stamp and Die Set Shop at: SSS |
 Spellbinders Hugs Expressions Stamp and Die Set Shop at: SSS |
 Spellbinders Wishing Expressions Stamp and Die Set Shop at: SSS |
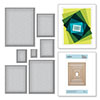 Spellbinders Scored and Pierced Rectangles Shop at: SC | SPEL | AZ |
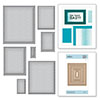 Spellbinders Fancy Edged Rectangles Shop at: SC | SPEL | AZ |
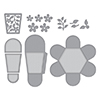 Spellbinders Swirl Hexagon Petal Box Dies Shop at: SSS | SPEL | AZ |
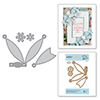 Spellbinders Petite Double Bow and Flowers Dies Shop at: SSS | SC | SPEL | AZ |
 Spellbinders Tool ‘n One Shop at: SSS | SC | SPEL | AZ |
 Spellbinders Platinum Die Cutting Machine Shop at: SSS | SC | SPEL | AZ |
 Simon Says Clear Stamps Messages for Everyday Shop at: SSS |
 Simon Says Stamp Cotton Candy Cardstock Shop at: SSS |
 Simon Says Stamp Doll Pink Cardstock Shop at: SSS |
 Simon Says Stamp Surf Blue Cardstock Shop at: SSS |
 Simon Says Stamp Fog Gray Cardstock Shop at: SSS |
 Simon Says Stamp Dark Chocolate Cardstock Shop at: SSS |
 Hero Arts Classic Vellum Layering Paper Shop at: SSS | SC | HA | AZ |
 Neenah 110 Lb Solar White Cardstock Shop at: SSS | AZ |
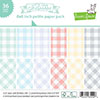 Lawn Fawn Gotta Have Gingham Paper Pack Shop at: SSS | SC | AZ |
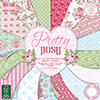 Trimcraft Pretty Posy First Edition Premium Paper Pad Shop at: AZ |
 Hero Arts White Detail Embossing Powder Shop at: SSS | SC | HA | AZ |
 Hero Arts Heat Embossing Gun Shop at: SSS | SC | HA | AZ |
 Tsukineko VersaFine Onyx Black Ink Shop at: SSS | SC | AZ | WF |
 Versamark Watermark Emboss Ink Pad Shop at: SSS | HA | AZ |
 Hero Arts Unicorn White Pigment Ink Pad Shop at: SSS | HA | AZ |
 EK Success Powder Tool Applicator Shop at: SSS | SC | AZ |
 Tonic Carnation Pink Nuvo Drops Shop at: SSS | SC | AZ |
 Scrapbook Adhesives White Foam Squares Shop at: SSS | SC | AZ |
 Scor-Tape 1/8 Inch Crafting Tape Shop at: SSS | AZ |
SAVE ME/PIN ME TO PINTEREST
Like this card idea? Be sure to save it to one of your Pinterest boards for future reference!




Thank you very much for all these techniques. I’m sorry the names were mixed up.
These are fantastic creations!!
Beautiful creations! Love the soft colors you used.
How beautiful these cards are, gorgeous as always!
I loved your first introduction to these dies in the spring and needed to get one of them for sure. I finally have one of them and ready to give it a try. Thanks for more inspiration on using them.
Very sweet cards! I love the silhouettes
Lovely cards Yana! I just love this collection of silhouette dies with the little kids. I’ve been eyeing them up for a while now but I can’t decide which one to get. They’re all so cute! I’d love them all but that’s not possible. Tfs