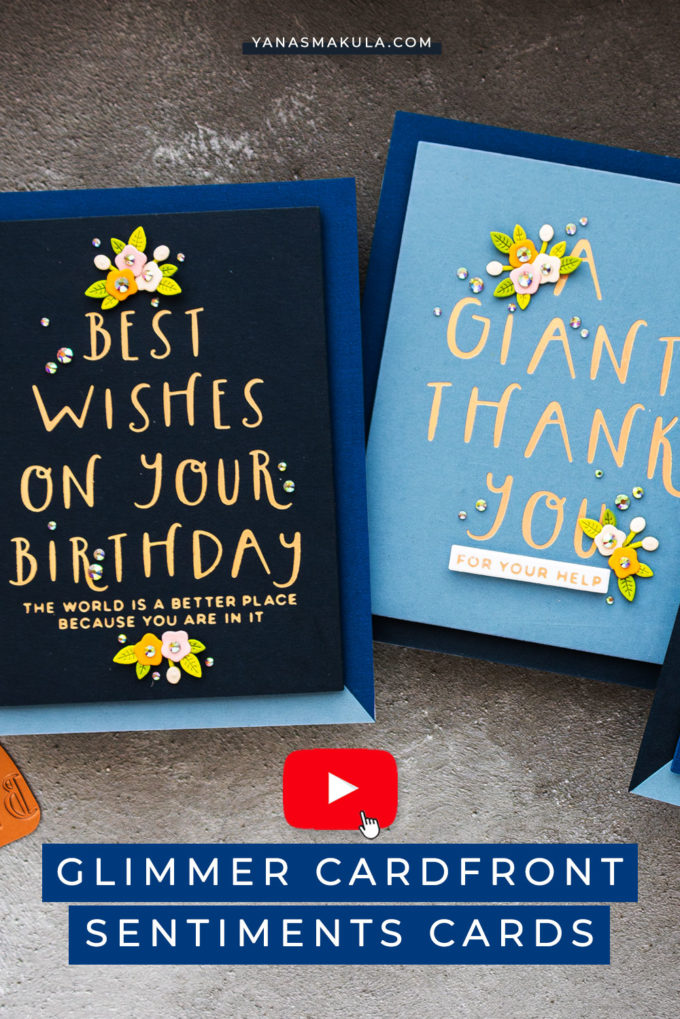
Hello crafters! Today I’m sharing tips for creating with the Spellbinders Glimmer Card Front Sentiments. These were released back in May while I was on vacation and I really wanted to try them out and create with these sentiments as I think they are really cool. There are 6 different sentiment hot foil glimmer plates in this collection, I have 4 out of 6 to show you today.
Like this project? Pin it and save for later | Curious about my project photography? Click for details.
These are all sized perfectly to go on the front of an A2 card, they can be used on larger cards, of course, and the idea is that these easily take center stage on your project. So they are the focal point. To me, that is simply perfect because that means you don’t need to add much to these to create a quick card. I did, however, think of a few ways, a few tips to dress these sentiments up, because I did want to customize my sentiments and I’m sure you’ll want to customize yours too.
VIDEO TUTORIAL
Watch the video below or on my Youtube channel.
TIP #1 – FOIL ON COLORED CARDSTOCK
So my tip #1 is to foil these on colored cardstock. Not just white paper, but play with all of the different colors of cardstock you have!
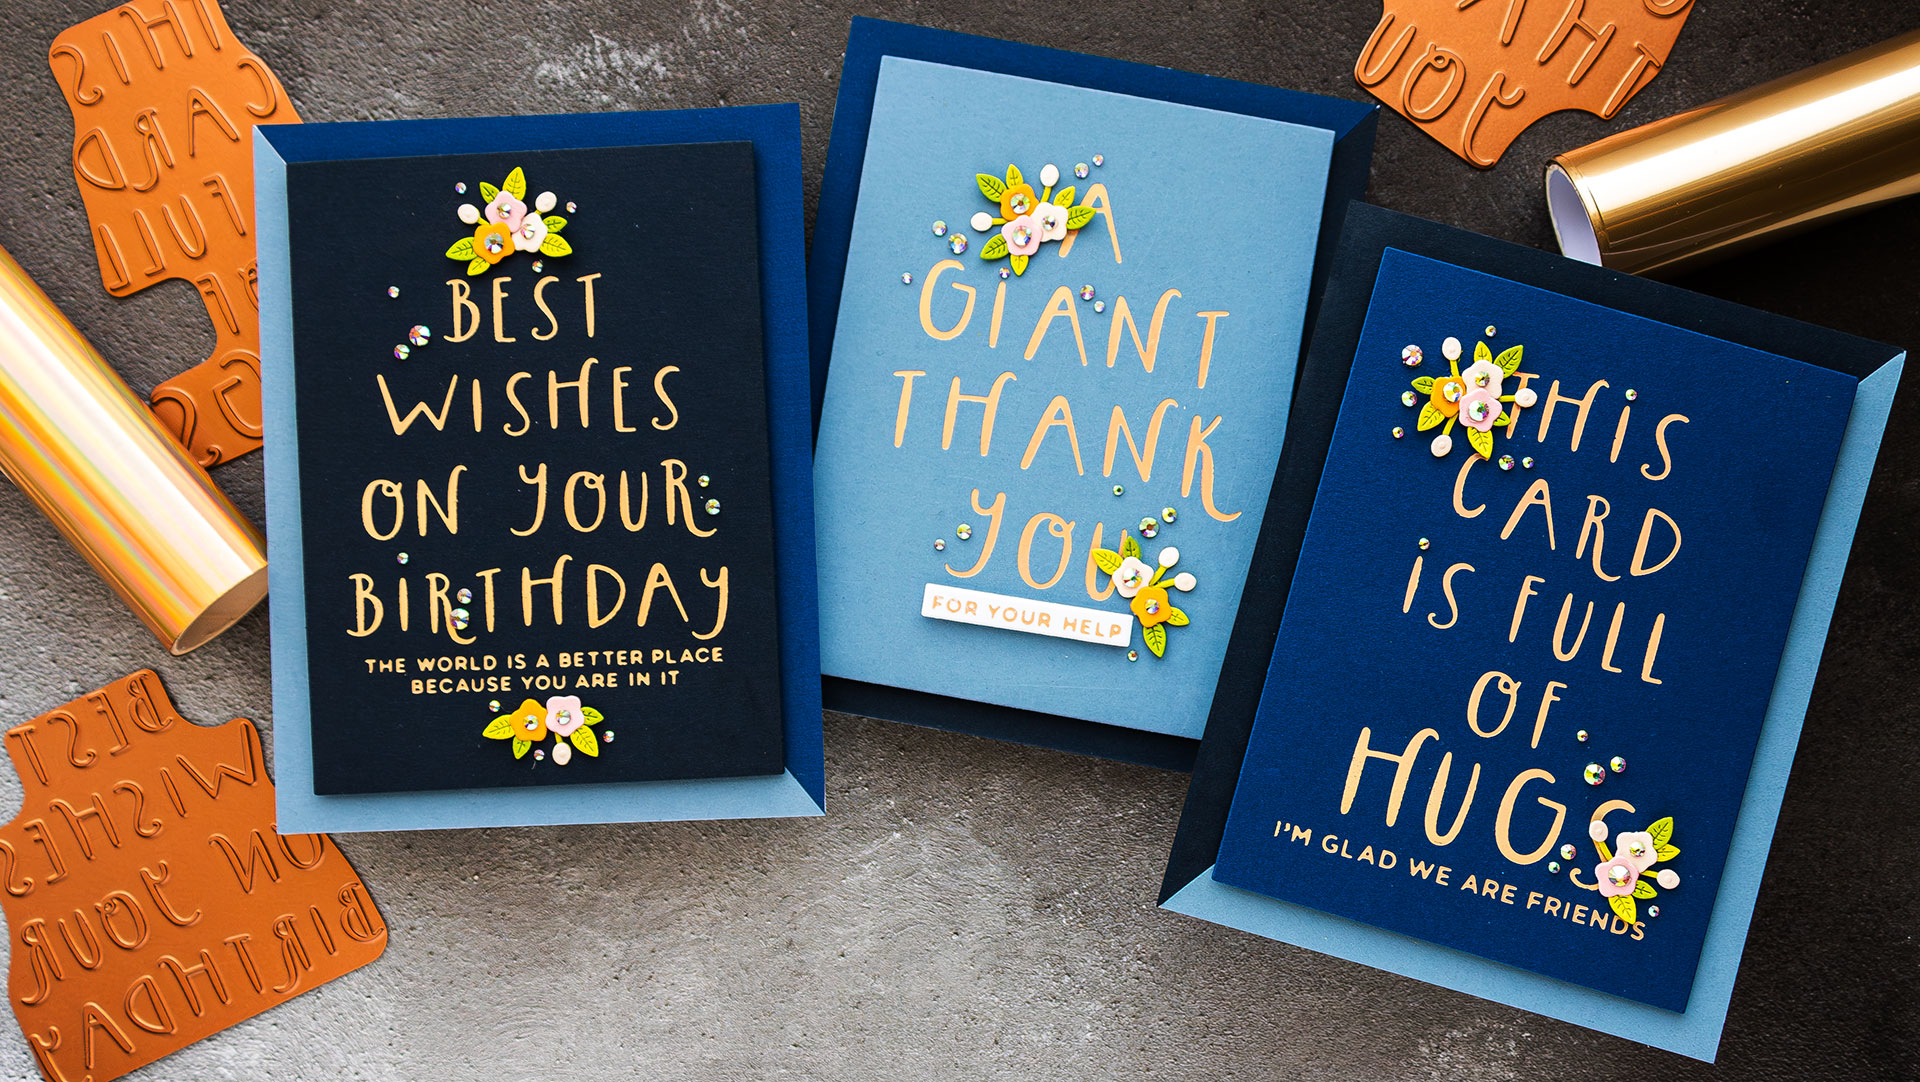
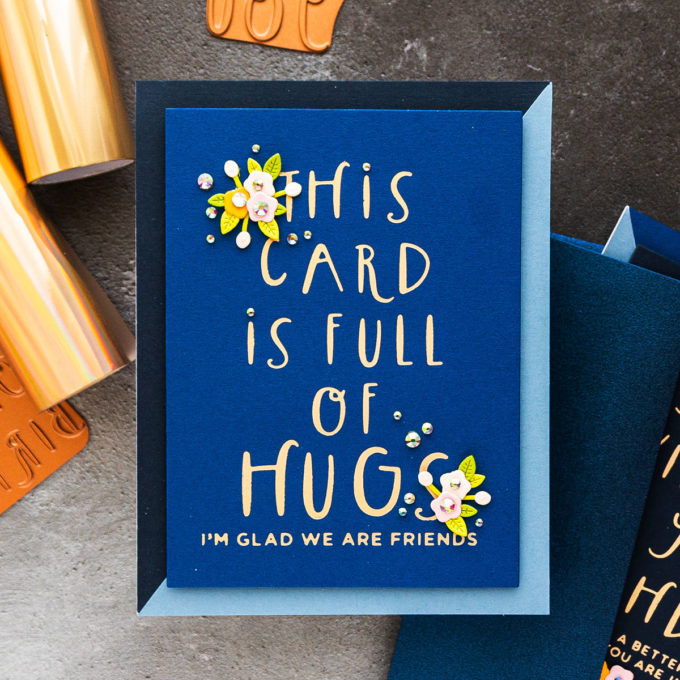
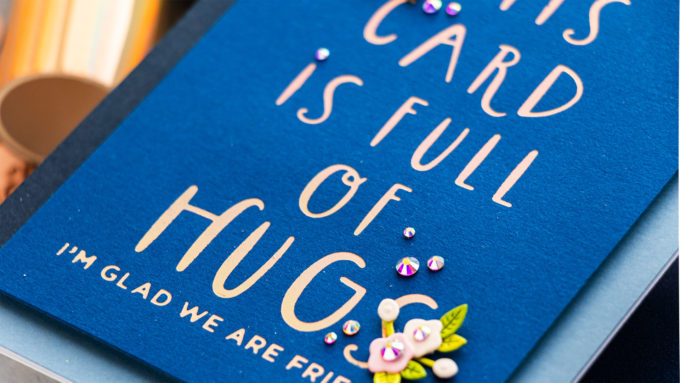
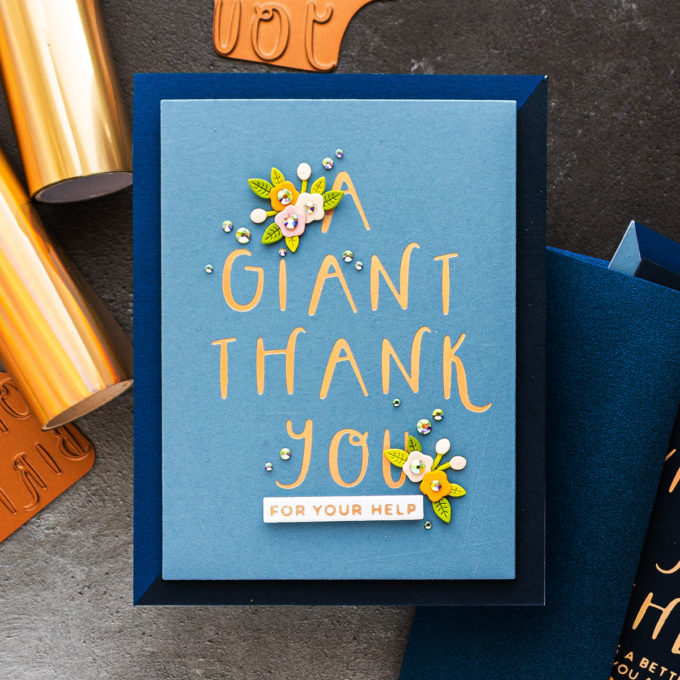
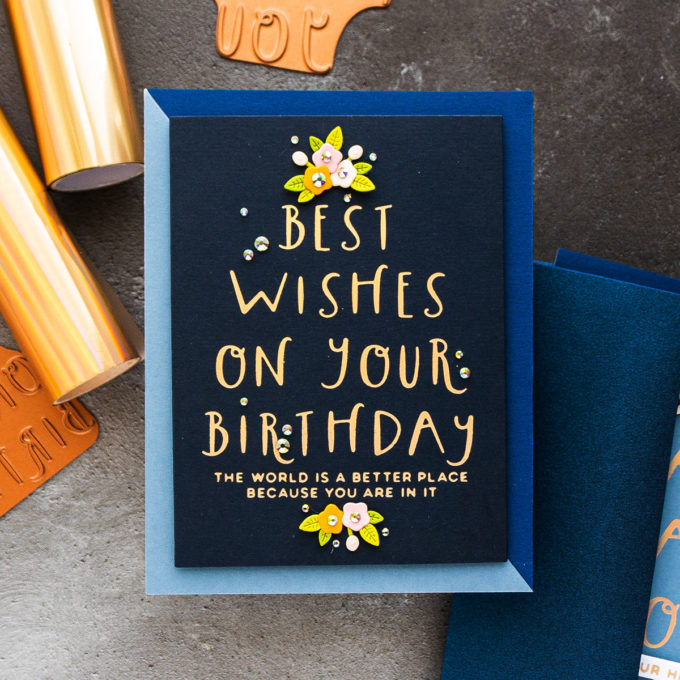
I have the 4 backgrounds foiled in Aura foil on Spellbinders Indigo, Partly Cloudy, Cosmic Sky, and Glacier cardstock, I went with the blue color palette today, but you can do any other colors you want. You can also foil these on patterned paper, make sure the pattern you pick isn’t too busy or your sentiment might get lost.
Alternatively, you can foil them on white paper and do stamping in the background.
TIP #2 – ADD SUB SENTIMENT
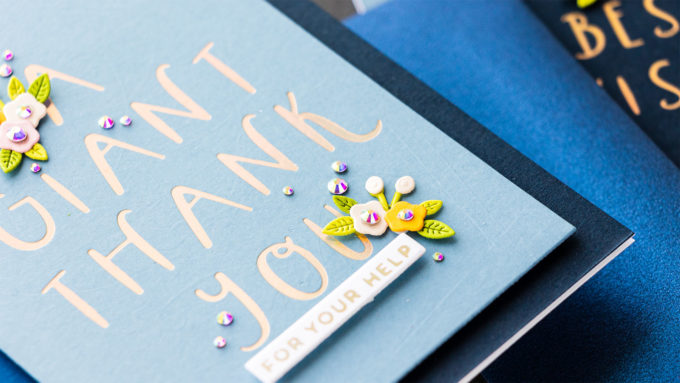
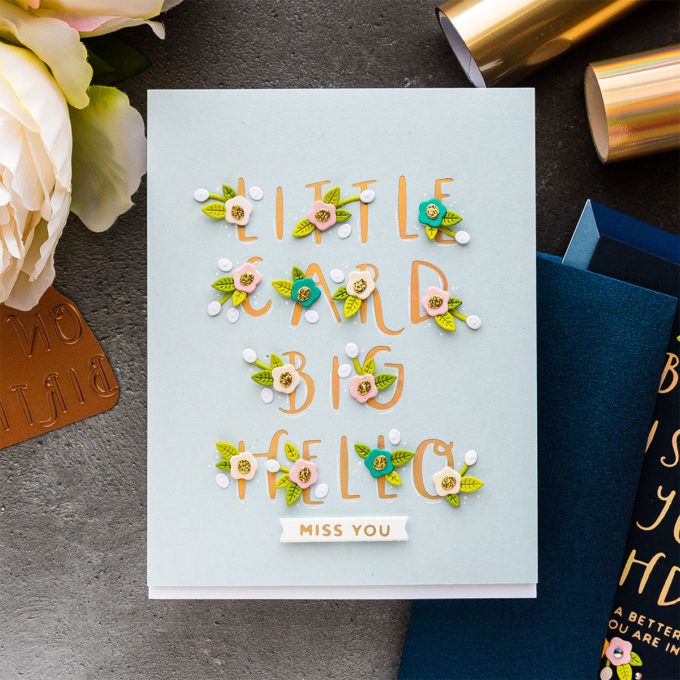
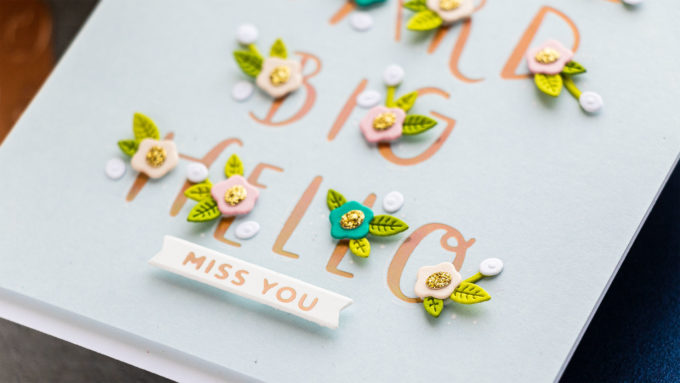
Tip #2 is to add a sub-sentiment to each of these to customize it. You can foil an additional sentiment, stamp an additional sentiment, heat emboss it, you can even die-cut a sentiment to add here. Think of anything you can add to these messages to make them different. For example, for the “Little Card – Big Hello” I did the “Miss you” sentiment.
You can also do pretty much anything else here, maybe something like “long time no see, let’s get coffee”, “get well soon”, or “sending a big hug” so any other sentiment that makes sense with this main message. We all have loads of skinny strip sentiments in our stash, so I’m sure you will be able to find something to add to these. I just used the skinny strip glimmer sentiments from various sets from Spellbinders.
TIP #3 – ADD SHADOWS TO LETTERS
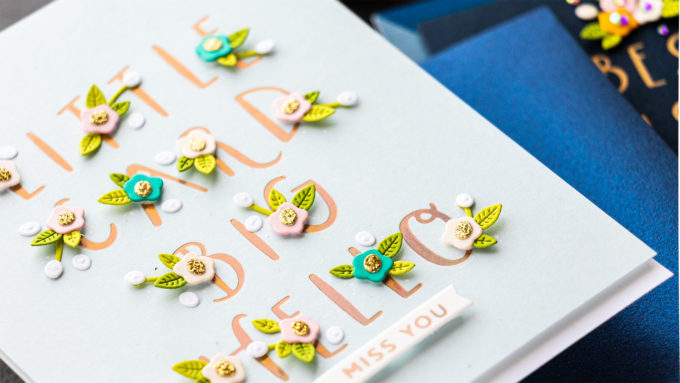
Tip #3 is to add shadows to the foiled letters. I used a white gelly roll pen on one of my cards and simply drew white lines next to each letter mimicking a shadow. I think that’s a neat way to add a little something extra to these foiled sentiments, you can even doodle over the foiled letters using a white or black pen if you want. I didn’t go too crazy here, plus the Glacier background is rather pale, so the white pen detail doesn’t show too much, but it does add a nice and interesting touch.
TIP #4 – ADD EMBELLISHMENTS
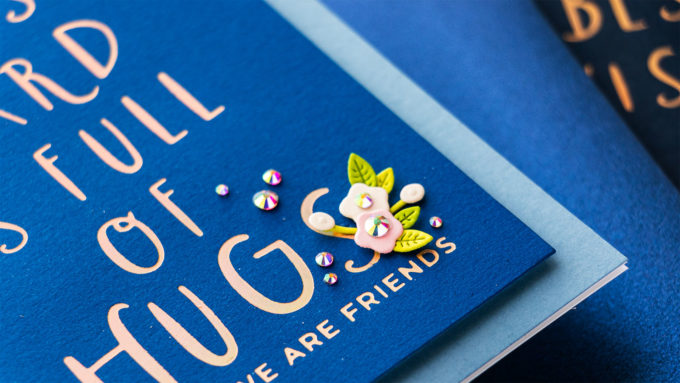
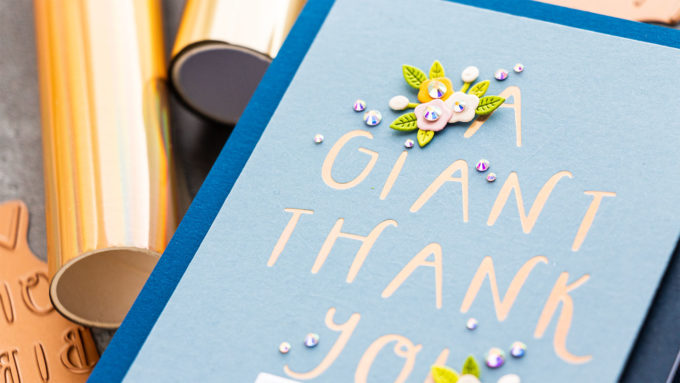
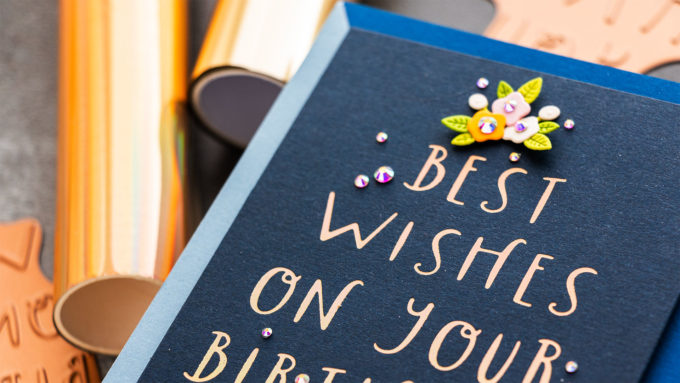
Tip #4 is to embellish these sentiments with some die cuts. You don’t need to add much, just a little bit of something to dress up the letters. I added tiny flowers and leaves to most of my cards, I die cut the flowers from the Mini Blooms & Sprigs floral die set from Spellbinders, this is an older set, but it is still one of my favorites and one that I use over and over again, I just needed to find some tiny flowers and tiny leaves and I added them onto these cards. I did go really crazy on one card and I added a flower onto pretty much every single letter – that’s the card with the Glacier background and the white pen detail. I really wanted to decorate each letter here so I added quite a lot of flowers.
So here are my 4 main tips for dressing up these backgrounds! I trimmed some of the foiled panels down using a rectangle die and I wanted to pop those up over a cool geometric background. So I did simple diagonal backgrounds for these cards – I used the same colors of cardstock that I used for the foiled backgrounds, I cut them to 4 1/4 x 5 1/2″ and cut them diagonally. I then used the 2 other colors for the background. So if my sentiment was foiled on Indigo, I used Cosmic Sky and Partly Cloudy for the background, and then I foam mounted the foiled panel on top.
I also added gems to these cards, I even used the tiny gems as the dot on the letters “i” in the foiled sentiments and I kind of like this look.
Have fun crafting!
SUPPLIES
I’m listing the products I used below. Click on the link to go directly to the product. Where available I use compensated affiliate links which means if you make a purchase I receive a small commission at no extra cost to you. Thank you so much for your support!
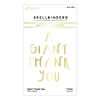 Spellbinders Giant Thank You Glimmer Hot Foil Plate Shop at: SSS | SC | SB USA | SB UK |
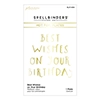 Spellbinders Best Wishes on Your Birthday Glimmer Hot Foil Plate Shop at: SSS | SC | SB USA | SB UK |
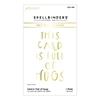 Spellbinders This Card is Full of Hugs Glimmer Hot Foil Plate Shop at: SSS | SC | SB USA | SB UK |
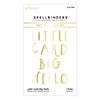 Spellbinders Little Card Big Hello Glimmer Hot Foil Plate Shop at: SSS | SC | SB USA | SB UK |
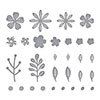 Spellbinders Mini Blooms and Sprigs Shop at: SSS | SC | SB USA | SB UK | AMZ |
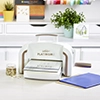 Spellbinders Platinum 6 Die Cutting Machine Shop at: SSS | SC | SB USA | SB UK | AMZ |
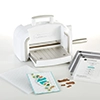 Spellbinders New & Improved Platinum 6 Machine With Universal Plate System Shop at: SSS | SC | SB USA | SB UK |
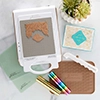 Spellbinders Glimmer Hot Foil System (Bronze) Shop at: SSS | SC | SB USA | SB UK | AMZ |
 Glimmer Hot Foil Roll – Aura Shop at: SSS | SC | SB USA | SB UK | AMZ |
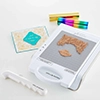 Spellbinders Glimmer Hot Foil System (Platinum) Shop at: SC | SB USA | SB UK |
 Spellbinders Glacier Color Essentials Cardstock Shop at: SC | SB USA | SB UK |
 Spellbinders Cosmic Sky Color Essentials Cardstock Shop at: SC | SB USA |
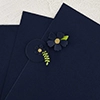 Spellbinders Indigo Color Essentials Cardstock Shop at: SB USA |
 Glassboard Studio True White Glass Craft Mat Shop at: GBS |
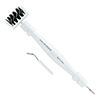 Spellbinders Tool ‘n One – White Shop at: SSS | SC | SB USA | SB UK | AMZ |
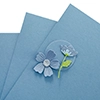 Spellbinders Partly Cloudy Color Essentials Cardstock Shop at: SB USA |
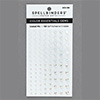 Spellbinders Crystal Mix Color Essential Gems Shop at: SSS | SC | SB USA | AMZ |
 Jewel Picker Tool Shop at: SSS | SC | SB USA | SB UK | AMZ |
 Bearly Art Mini Precision Craft Glue Shop at: SSS | SB USA | AMZ |
 White Foam Squares Shop at: SSS | SC | SB USA | AMZ |
 Sakura Classic White Gelly Roll Pens Set of 3 Shop at: SSS | SC | MFT |



Such lovely cards! I really like the dark backgrounds, something I shy away from! Continued prayer for your beloved country.
Your cards are wonderful! Thank you for sharing these great tips! 🙂
These are sooo Fun!!! I love your cards!!!
Really great cards