This post is also available in English
Hello and welcome back for another Yippee For Yana video! Today we are going to do traditional stamping in combination with hot foiling to create a beautiful, one of a kind greeting card.
Like this project? Pin it and save for later | Curious about my project photography? Click for details.
VIDEO TUTORIAL
Watch the video below or on my Youtube channel.
Like this video? Please give it a big thumbs up (you can do this on Youtube video page right under the video) and share it with a crafty friend! Leave me a comment too, I love hearing from you!
CARD DETAILS
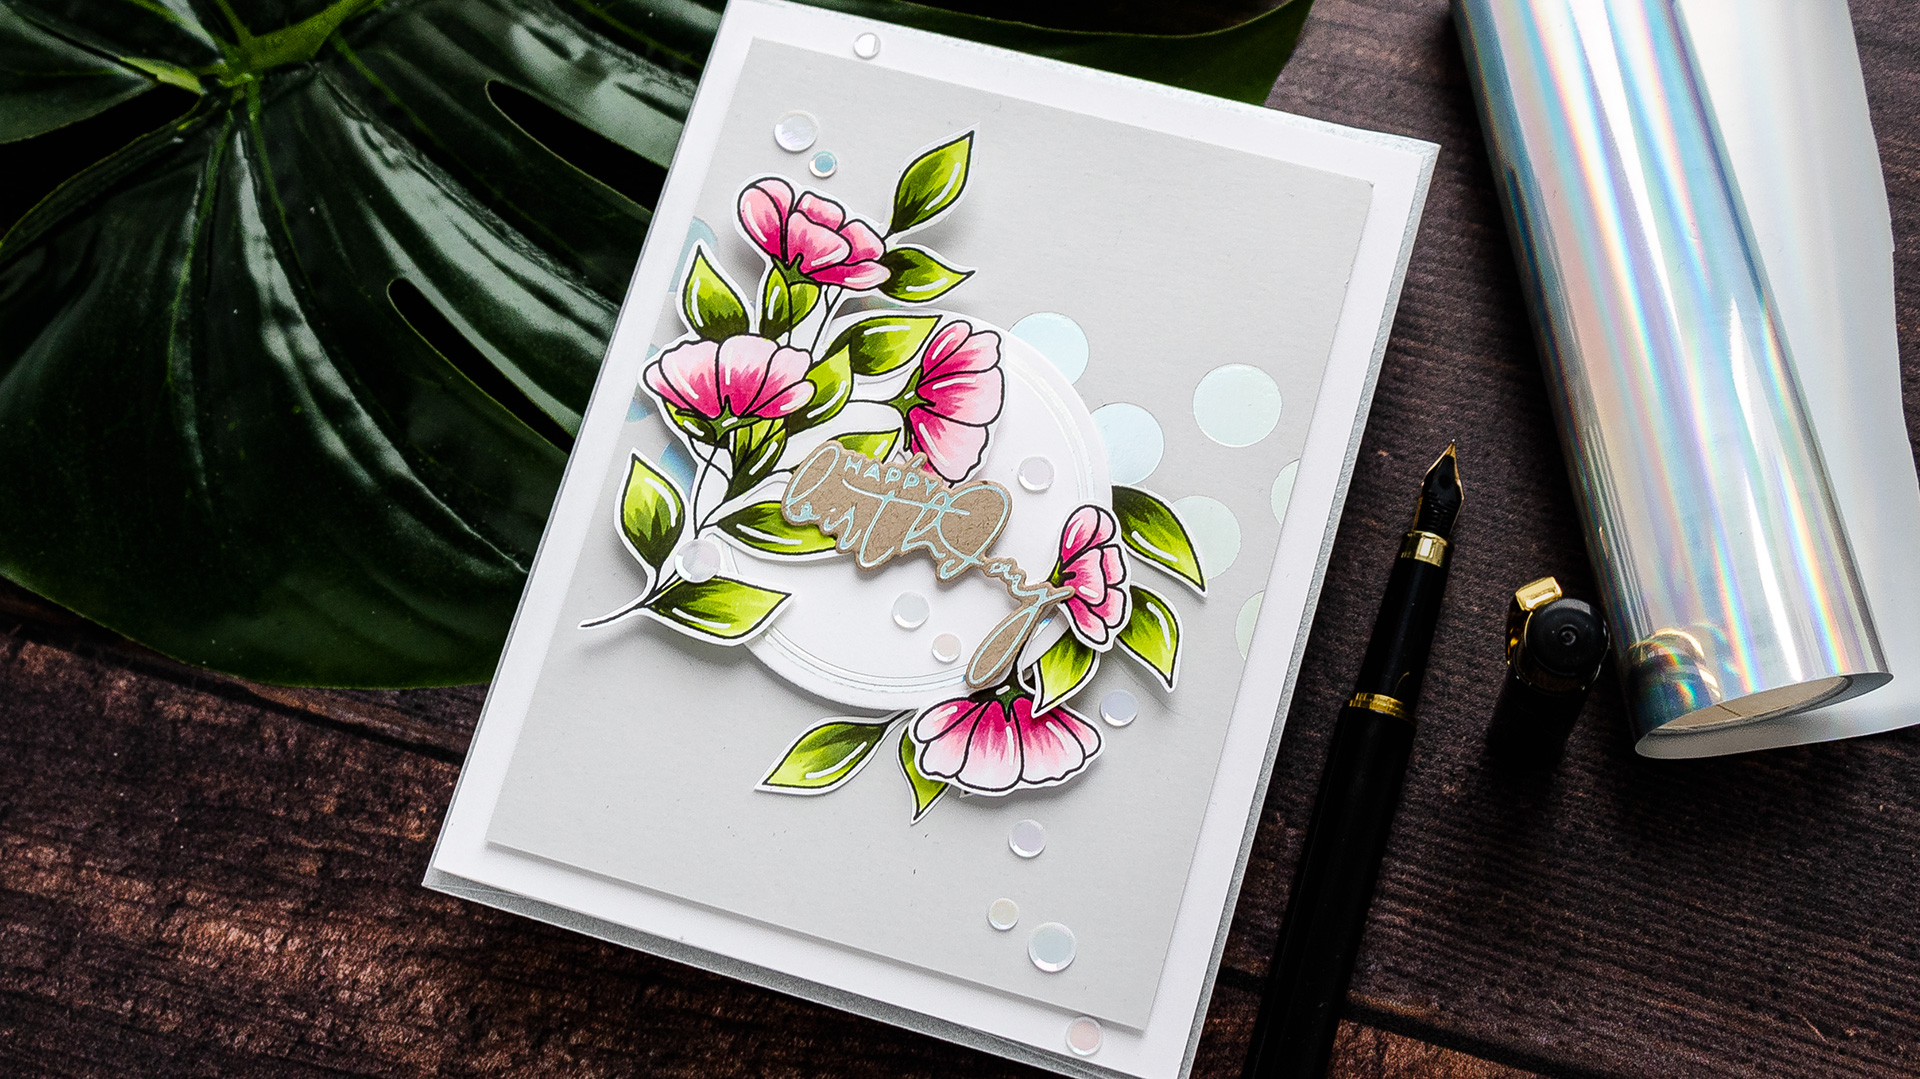
I started to work on my card by stamping several images from the Stronger Together stamp set by Simon Says Stamp in Simon’s Intense Black ink on white cardstock, Neenah Solar White 80lb, with the help of my Mini MISTI stamping tool to be able to double stamp my images if needed.
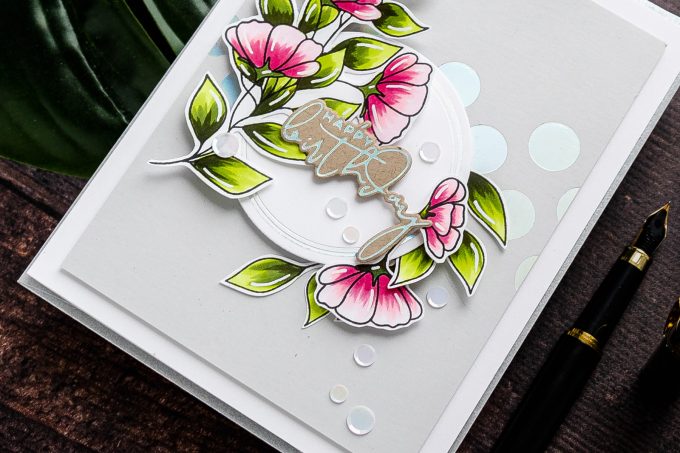
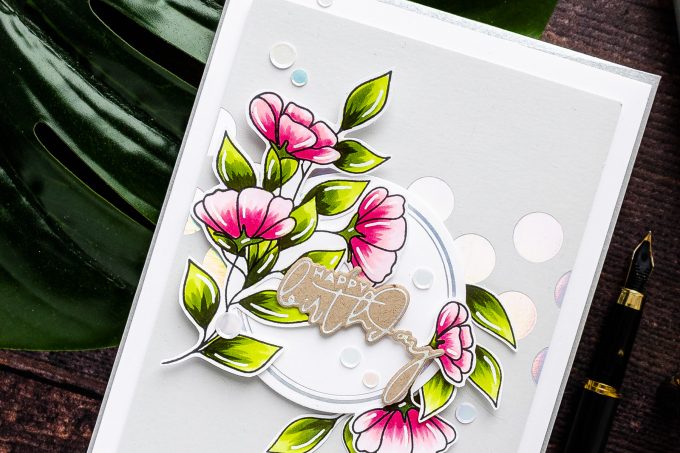
I have a floral cluster, 2 separate flowers – a smaller and a larger one and 2 leafy branches.
Next, I colored images using Copic markers: RV00, RV21 and RV34 markers to color the flowers pink and YG01, YG03, G94, and G99 markers to color the leaves green.
I went with Flick Style coloring, I did not blend the colors together, but rather intentionally left visible flicks or brushstrokes, if you will, on my images.
After my coloring was done I cut the images out using scissors. Next, I did some hot foiling using the Spellbinders Glimmer Hot Foil System. I foiled the Polka Dot strip foil plate from Spellbinders on a piece of Simon Says Stamp Fog cardstock in Spellbinders Prism foil. It is a very pretty foil color that looks like silver at first, but as it catches the light, it shines in all sorts of possible colors. It looks particularly gorgeous when foiled with solid designs.
I also foiled two more pieces for my card – a circle to house some of the flowers and also a sentiment. Both of these Glimmer plates come from my Foiled Basics collection, the circle is from the Foliage Border set and the sentiment is from the Yana’s Sentiment set.
I used a coordinating die for the sentiment to cut it out, the die comes together with the glimmer plate, and to cut a circle out I used the 3rd largest circle from the S4-114 set from Spellbinders. If you don’t have this specific circle die set, look through your stash – I’m sure you’ll be able to find a circle die that goes well with this plate.
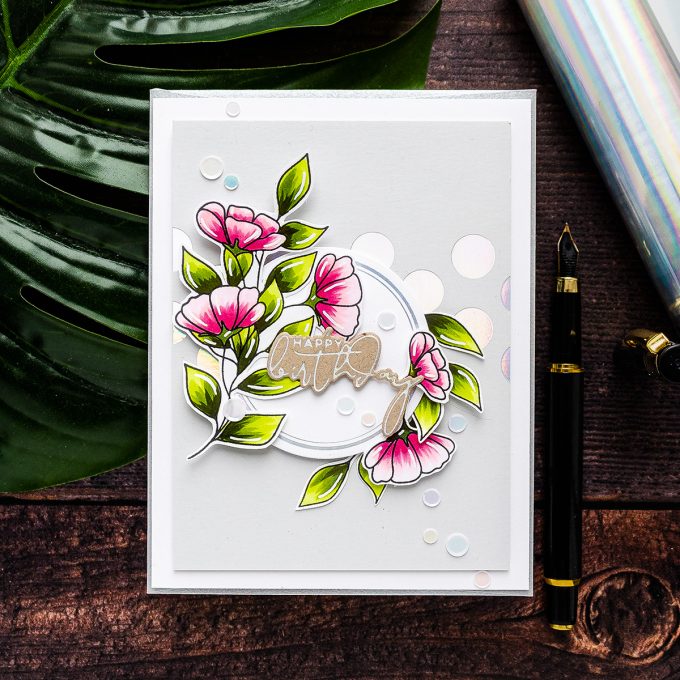
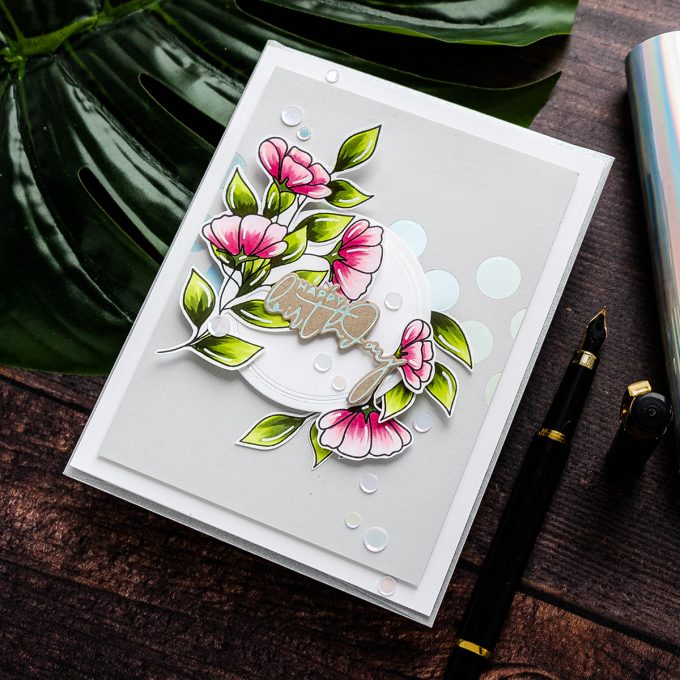
Next, I trimmed the foiled background to 3 3/4 x 5” and foam mounted it to an A2 white side folding card base. I’ve foam mounted the foiled circle, it is not placed in the center, but slightly off to the left. Using glue I adhered the floral cluster onto the circle. Next, I added the Happy Birthday sentiment using foam adhesive squares. I chose to use a birthday sentiment for this card as I seem to constantly lack birthday cards, but this design can be easily adapted to so many different occasions.
I also used glue to adhere leafy branches, I love how they follow the curve of my circle – almost as if they were designed to do so. I happen to love the look of foil with Copic coloring – it is the perfect combo for a handmade card.
Lastly, I decided I wanted to carry on the polka dot theme and add additional dots onto the card. I did that with the help of white sequins from the Strawberry Shortcake sequins mix from Simon Says Stamp – I scattered a bunch of them going diagonally and that finished my project!
Have fun stamping (and foiling)!
SUPPLIES
I’m listing the products I used below. Click on the link to go directly to the product. Where available I use compensated affiliate links which means if you make a purchase I receive a small commission at no extra cost to you. Thank you so much for your support!
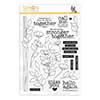 Simon Says Clear Stamps Stronger Together Shop at: SSS |
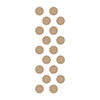 Polka Dot Strip Glimmer Hot Foil Plates Shop at: SSS |
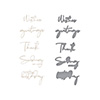 Yana’s Sentiments Glimmer Hot Foil Plate & Die Set Shop at: SSS |
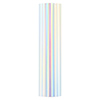 Spellbinders Glimmer Hot Foil Roll – Prism Shop at: SSS |
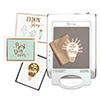 Spellbinders Glimmer Hot Foil System Shop at: SSS |
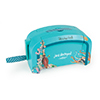 Spellbinders Deep Sea Die Cutting Machine Shop at: SSS |
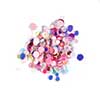 Simon Says Stamp Sequins Strawberry Shortcake Shop at: SSS |
 Neenah 80LB Solar White Cardstock Shop at: SSS |
 Simon Says Stamp Fog Gray Cardstock Shop at: SSS |
 Mini Misti Stamping Tool Shop at: SSS |
 Simon Says Stamp Intense Black Ink Shop at: SSS |
 Copic Sketch Marker RV00 Water Lily Shop at: SSS |
 Copic Sketch Marker RV21 Light Pink Shop at: SSS |
 Copic Sketch Marker RV34 Dark Pink Shop at: SSS |
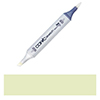 Copic Sketch Marker YG01 Green Bice Shop at: SSS |
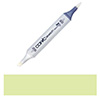 Copic Sketch Marker YG03 Yellow Green Shop at: SSS |
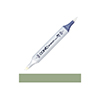 Copic Sketch Marker G94 Grayish Olive Shop at: SSS |
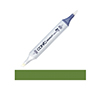 Copic Sketch Marker G99 Olive Green Shop at: SSS |
 White Fun Foam 12 Pack 9 x 12 Shop at: SSS |
 Crystal Ninja Crystal Katana Pick Up Tool Shop at: SSS |
 Simon Says Stamp Craft Tacky Glue Shop at: SSS |
 White Foam Squares Shop at: SSS |
 Sakura Classic White Gelly Roll Pens Set of 3 Shop at: SSS |


Pretty card and I can easily translate the design into something that doesn’t require foiling!! Thanks, Yana!
Your card is beautiful! I just love those polka dots. I really like foiling but have discovered that my Vagabond does not do a very good job. I can’t get complete transfer. I need to try another machine.
Lovely card, Yana – and, what another wonderful tutorial. I learn so many good things from you.
I’ve been on the fence about getting a hot foil system. This post and your dies was the final push I needed!