This post is also available in English
Hello and welcome back for another Yippee For Yana video! Today I’m sharing one of my favorite ways to use my crafty supplies in a non-conventional way, not in the way they were designed!
I’m using the gorgeous Prismatic Snowflake stamp set from Simon – I love that this set features various sizes and designs of snowflakes, from that very large one to very tiny snowflakes. I also have a set of coordinating dies and you’ll want to make sure when you pick supplies to re-create this card, that the stamp set you’ve selected has a set of coordinating dies unless of course, you don’t mind fussy cutting. We will be doing a lot of die-cutting for this card, so I feel like having coordinating dies is a must.
Like this project? Pin it and save for later | Curious about my project photography? Click for details.
VIDEO TUTORIAL
Watch the video below or on my Youtube channel.
Like this video? Please give it a big thumbs up (you can do this on Youtube video page right under the video) and share it with a crafty friend! Leave me a comment too, I love hearing from you!
CARD IDEA
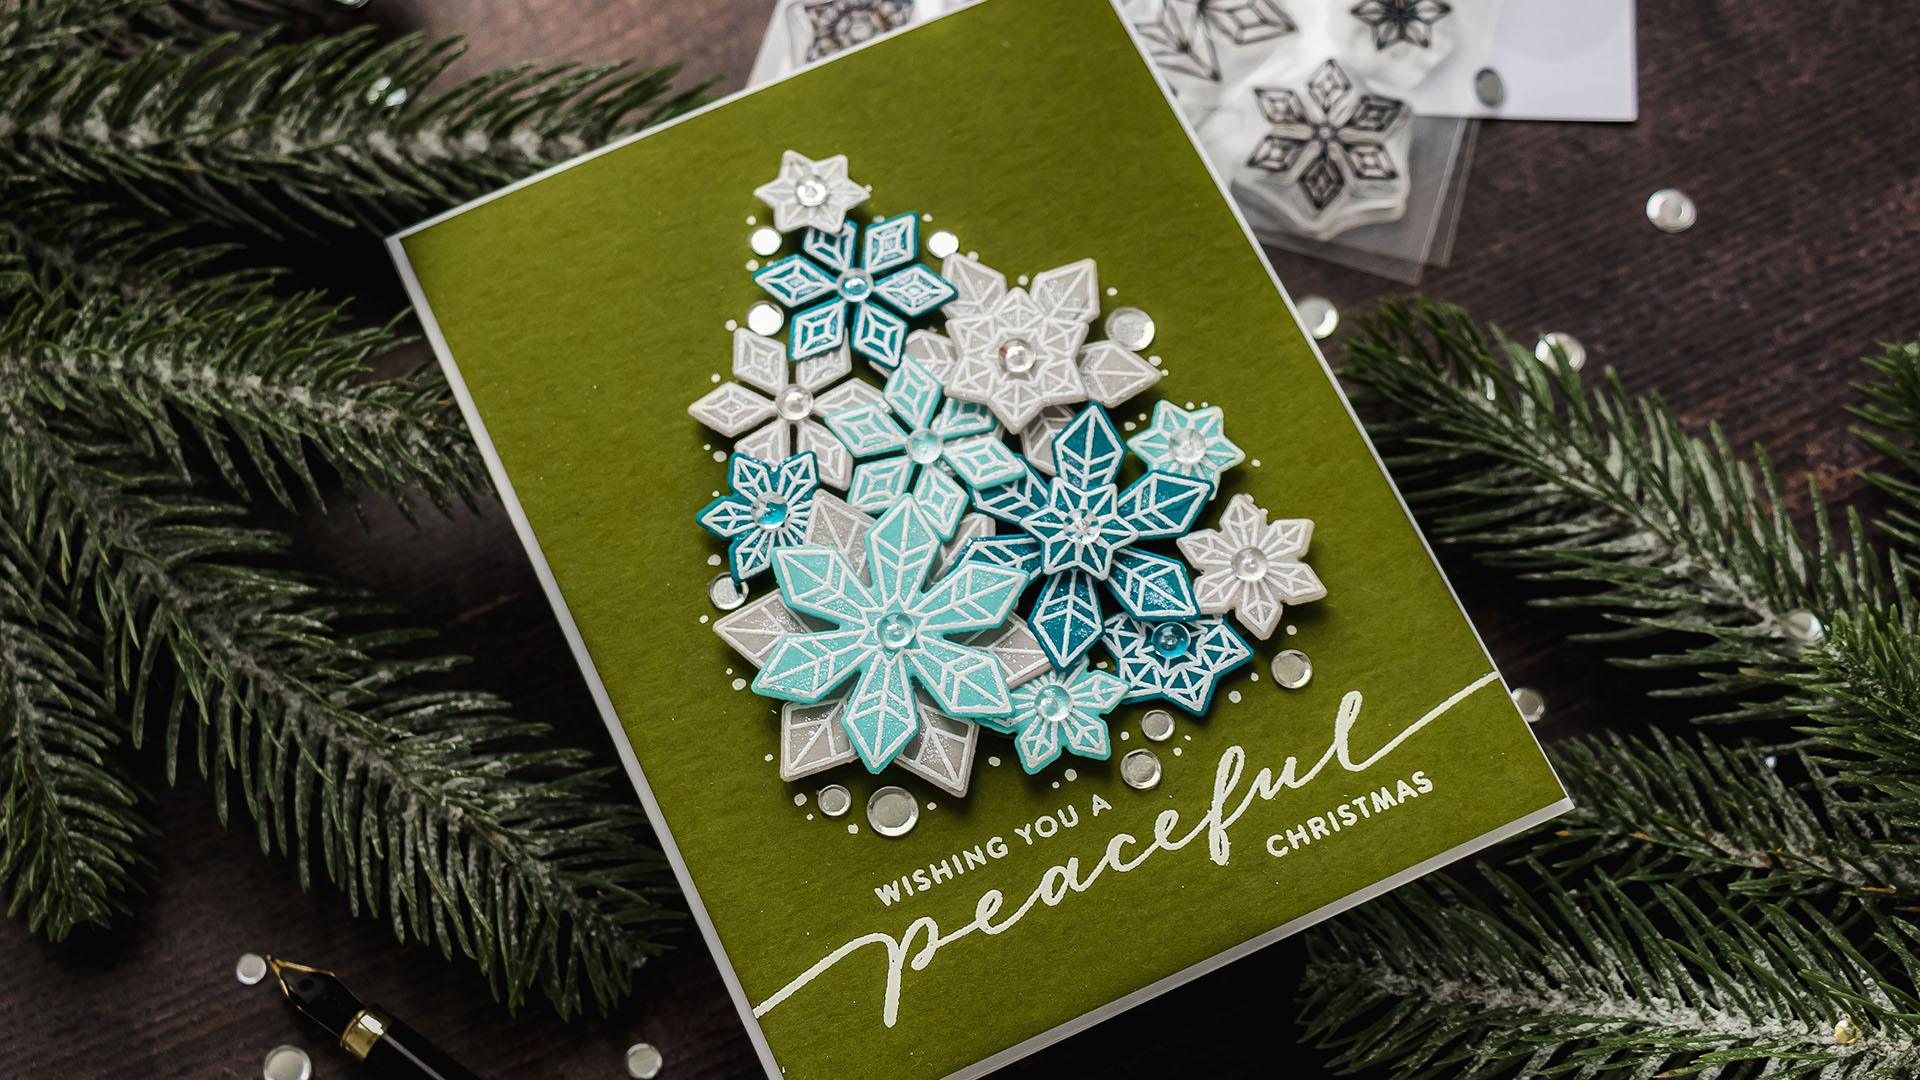
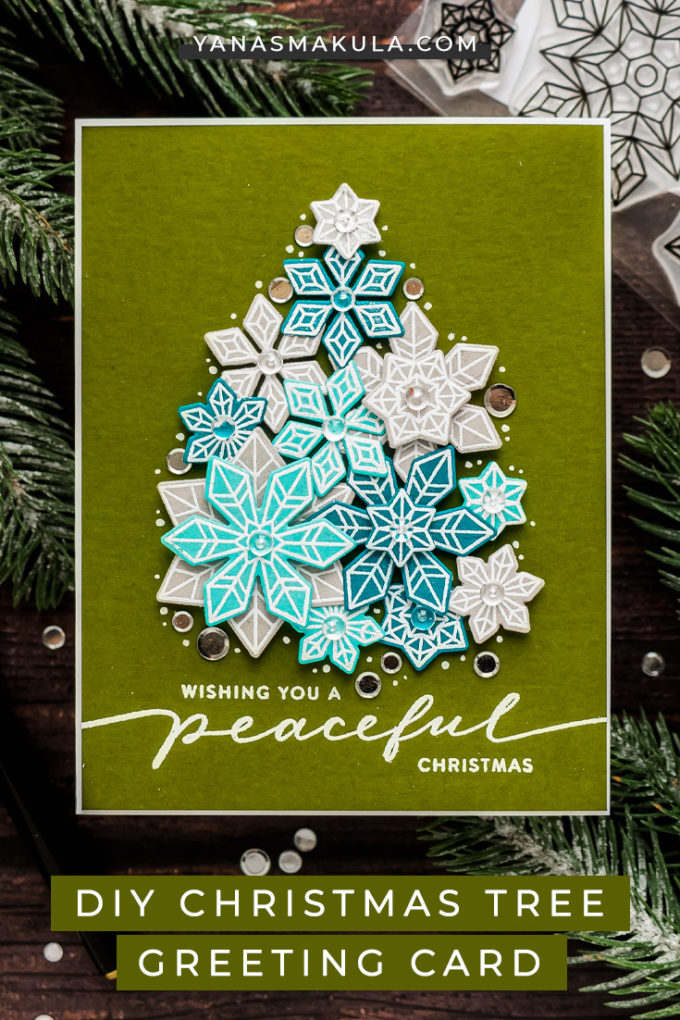
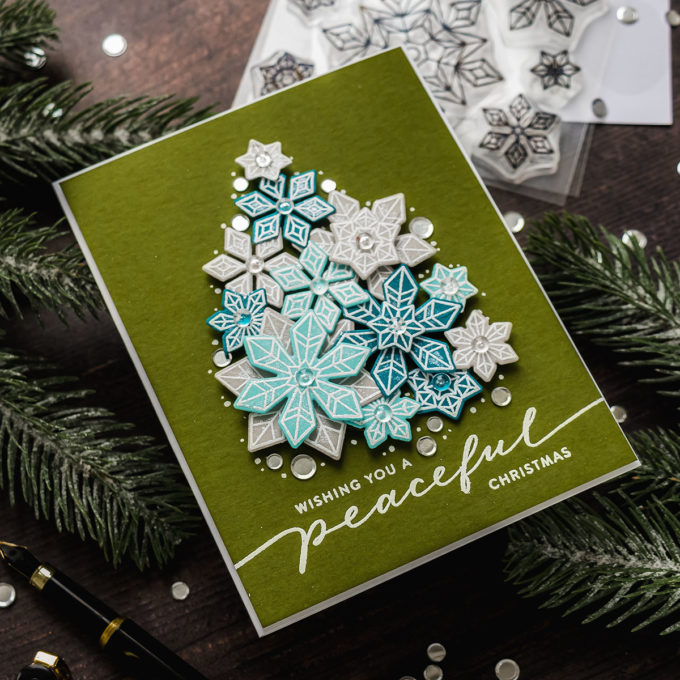
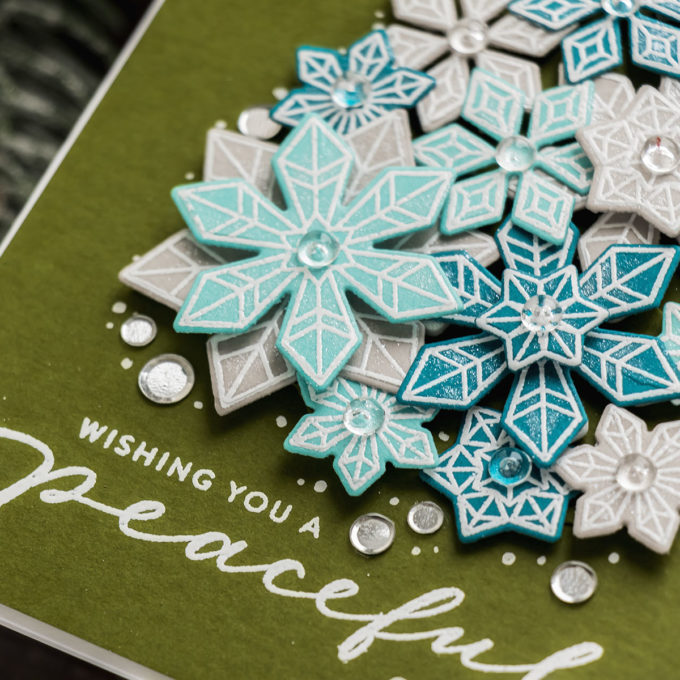
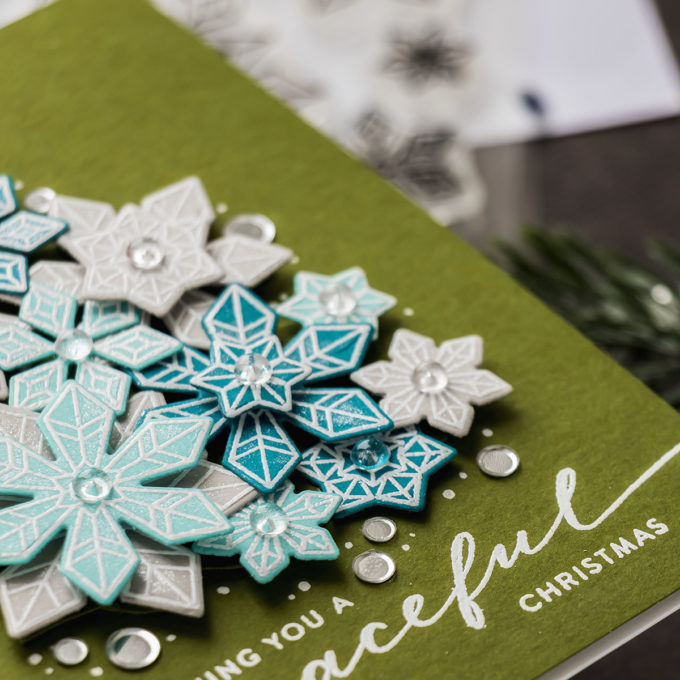
The idea for this card is to create a custom shape, a Christmas tree, using other shape objects, snowflakes.
I picked several sheets of colored card stock and these make the color scheme for my card – Pesto from Hero Arts, Audrey Blue from Simon, Adriatic from Hero Arts, and Fog, from Simon. We will also need white embossing powder and I prefer to use detail white as the snowflake images are rather detailed.
CARD INSTRUCTIONS
Follow these instructions step by step to re-create this card:
- Heat emboss snowflakes from Prismatic Snowflake stamp set in Simon’s white detail embossing powder onto Audrey Blue, Adriatic, and Fog cardstock. Use mini MISTI stamping tool. Cut out using coordinating dies.
- Heat emboss the sentiment from the Holiday Greetings Mix 1 set on Pesto cardstock panel in detail white embossing powder.
- Create a Christmas Tree shape using snowflake die cuts. Foam mount snowflakes onto the panel. Layer additional snowflakes for added dimension.
- Trim snowflake panel to 4 ⅛ x 5 ⅜ “, foam mount to A2 white card base.
- Embellish card and Christmas Tree shape using sequins and clear droplets. Add dots using Sakura White #10 pen.
- Let dry and enjoy!
Have fun stamping!
SUPPLIES
I’m listing the products I used below. Click on the link to go directly to the product. Where available I use compensated affiliate links which means if you make a purchase I receive a small commission at no extra cost to you. Thank you so much for your support!
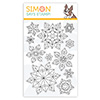 Simon Says Clear Stamps Prismatic Snowflakes Shop at: SSS |
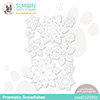 Simon Says Stamp Prismatic Snowflakes Wafer Dies Shop at: SSS |
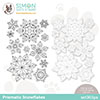 Simon Says Stamps and Dies Prismatic Snowflakes Shop at: SSS |
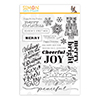 Simon Says Clear Stamps Holiday Greetings Mix 1 Shop at: SSS |
 Mini Misti Stamping Tool Shop at: SSS |
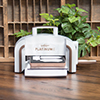 Spellbinders Platinum 6 Die Cutting Machine Shop at: SSS |
 Neenah 110 Lb Solar White Cardstock Shop at: SSS |
 Hero Arts Hero Hues Premium Cardstock Pesto Shop at: SSS |
 Hero Arts Hero Hues Premium Cardstock Adriatic Shop at: SSS |
 Simon Says Stamp Audrey Blue Cardstock Shop at: SSS |
 Simon Says Stamp Fog Gray Cardstock Shop at: SSS |
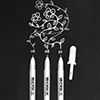 Sakura Classic White Bold Line 10 Pen Shop at: SSS |
 Hero Arts Clear Embossing & Watermark Ink Shop at: SSS |
 Simon Says Stamp Embossing Powder White Detail Shop at: SSS |
 Simon Says Stamp Sequins Silver Lining Shop at: SSS |
 EK Success Powder Tool Applicator Shop at: SSS |
 Hero Arts Heat Embossing Gun Shop at: SSS |
 Tonic Studios 8.5 Inch Paper Trimmer Shop at: SSS |
 White Foam Squares Shop at: SSS |
 Jewel Picker Pick Up Tool Shop at: SSS |
 Simon Says Stamp Craft Tacky Glue Shop at: SSS |
 Pretty Pink Posh 4MM Clear Droplets (small) Shop at: SSS |


Sooo clever!!! Beautiful card!!!
so glad you like it, thank you, Maureen!
Ingenious! Who would have thought that you could create a Christmas tree simply using snowflake stamps. It’s beautiful and festive.
thank you, Patricia! I also want to make an ornament out of snowflake shapes. I think that would look good as well 🙂
Absolutely gorgeous!!!
thanks so much, Stephanie! I’m glad you like it!