This post is also available in English
Hello there! I’m excited to bring you another episode from my by-monthly Yippee For Yana video series for Simon Says Stamp Blog! In today’s video I’m showing how to take cross stitching and quickly apply it onto paper with Waffle Flower cross stitch stamps!
Like this card? Pin it and save for later!
VIDEO TUTORIAL
As always, I filmed a video tutorial showing how to create this project from start to finish. I’m hoping you’ll enjoy it. Watch it below or on my Youtube channel.
Like this video? Please give it a big thumbs up and share with a crafty friend! Drop me a comment too, I love hearing from you!
CARD DETAILS
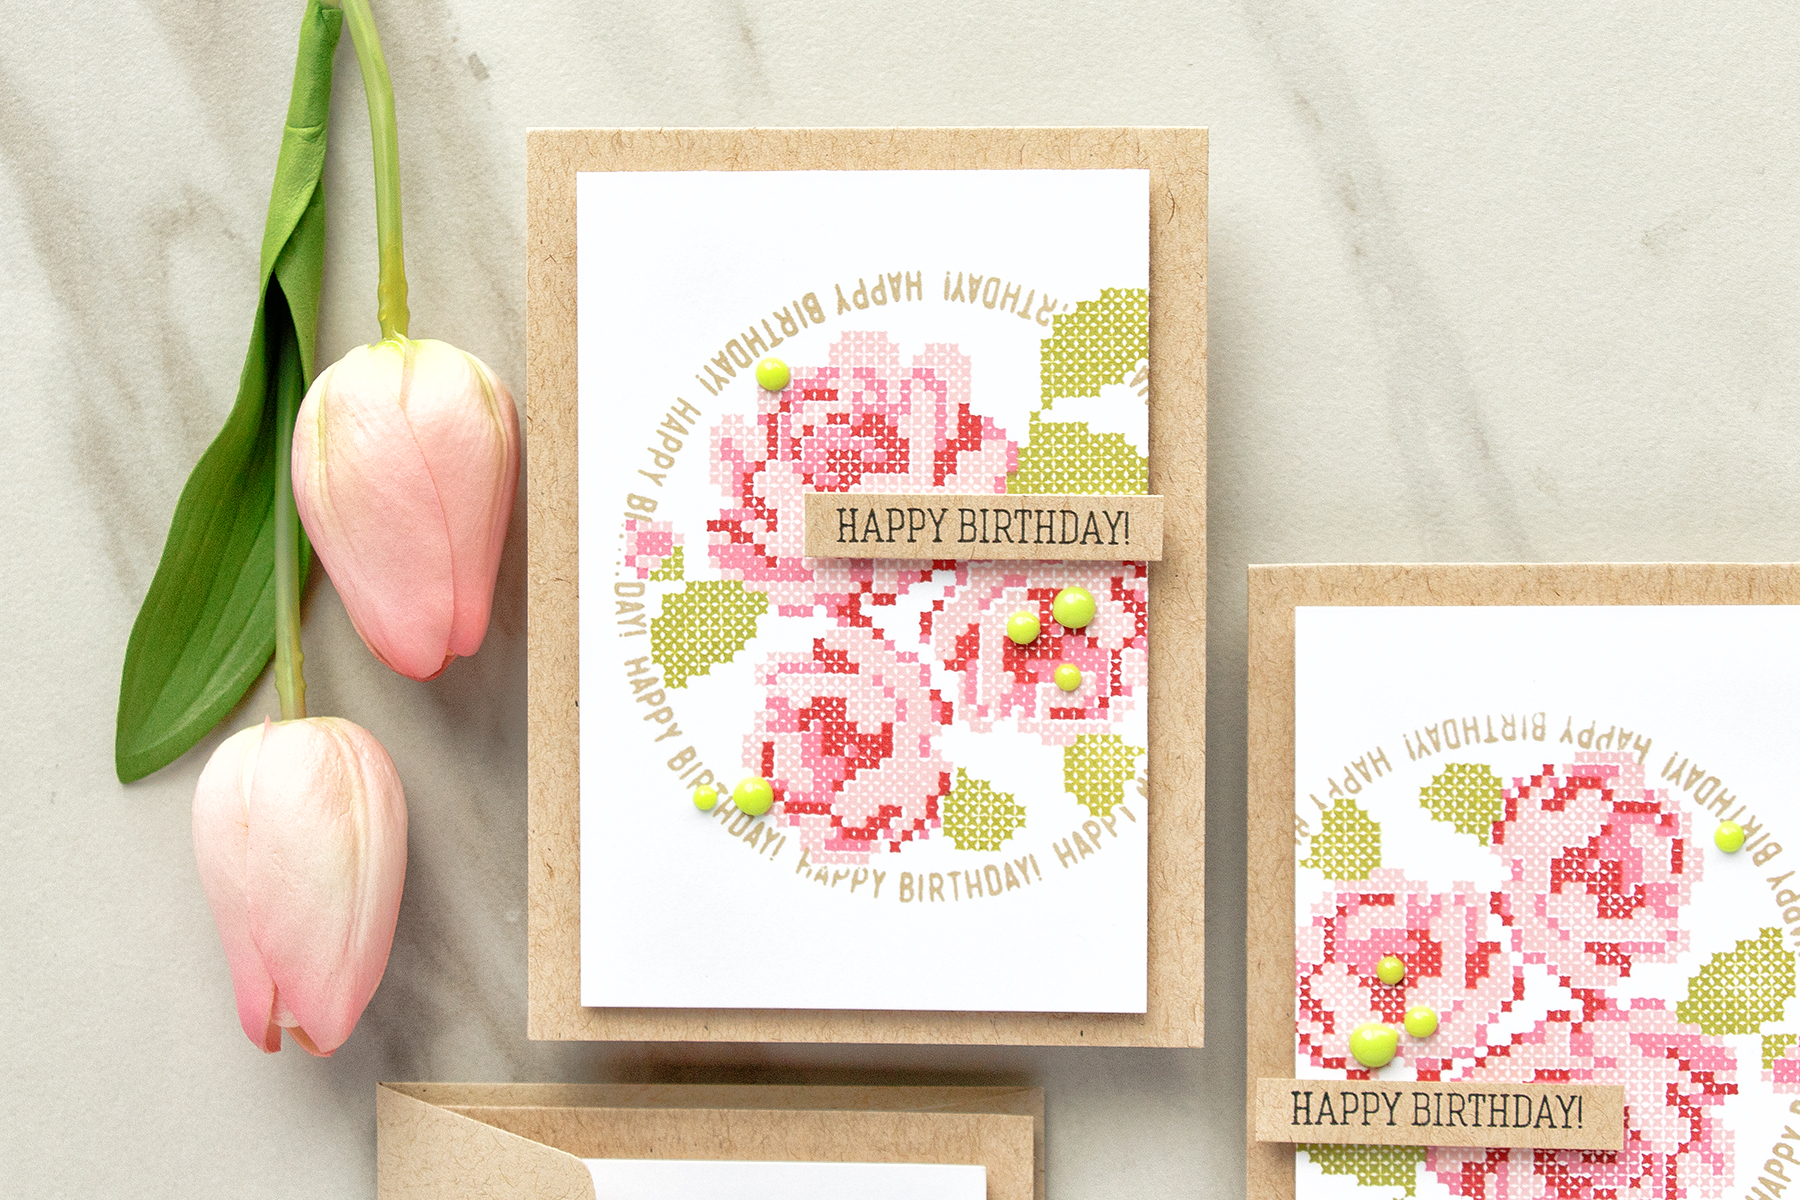
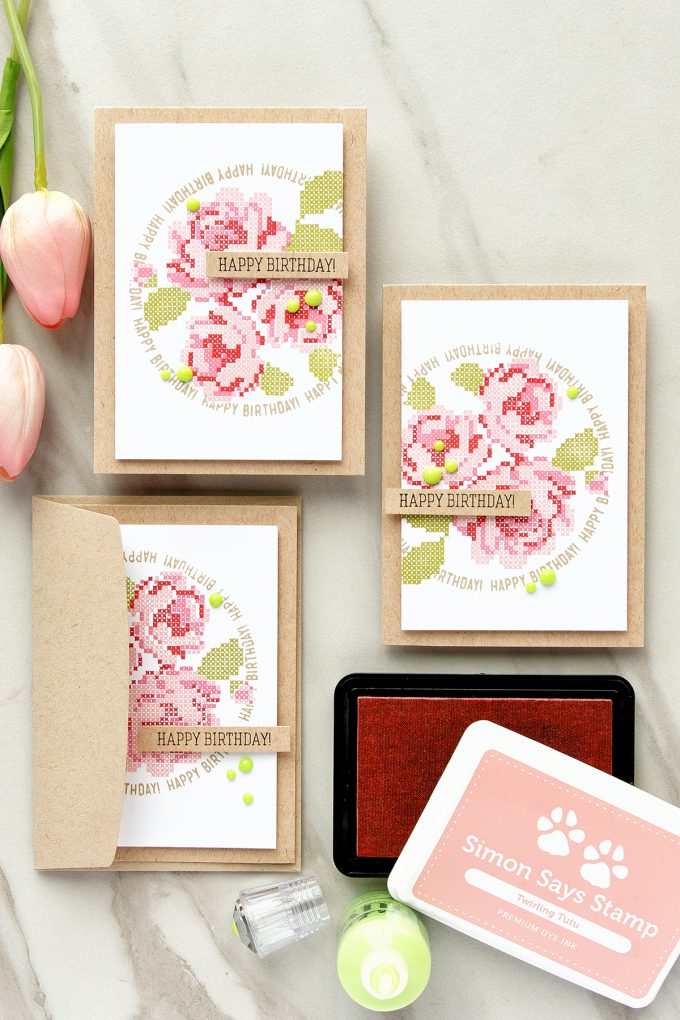
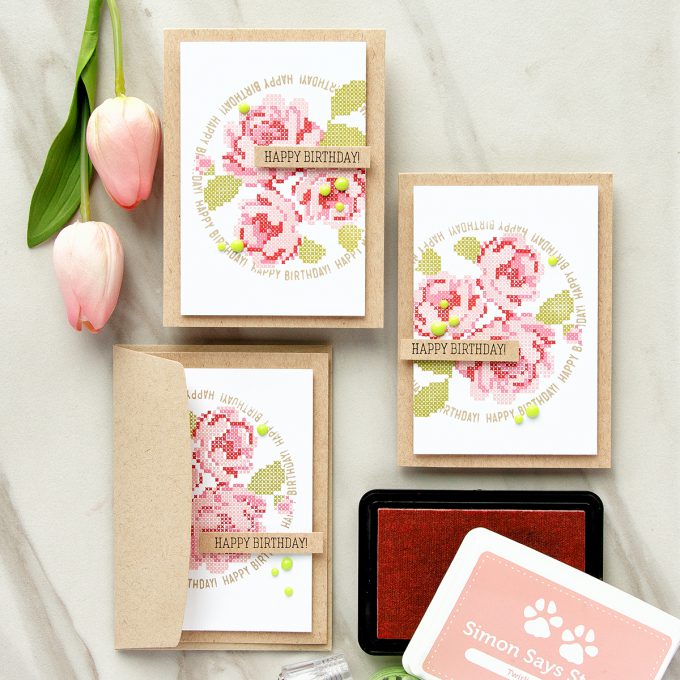
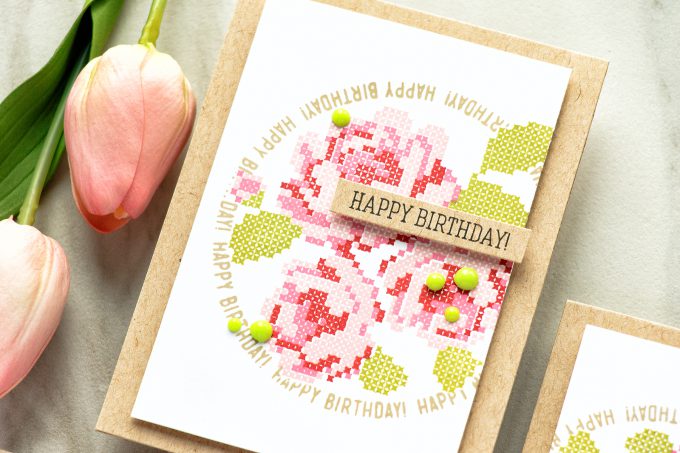
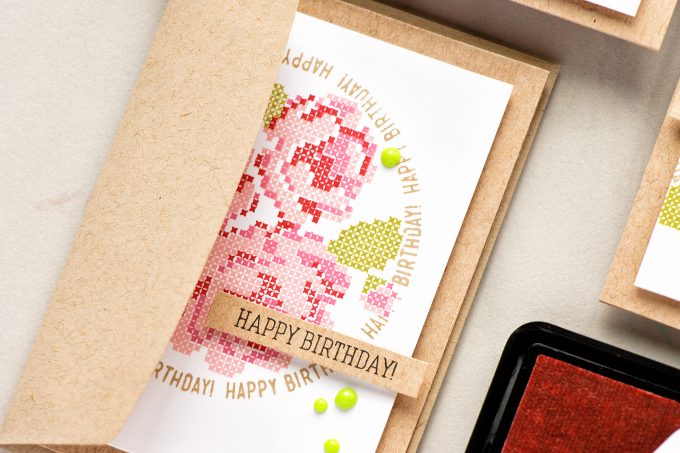
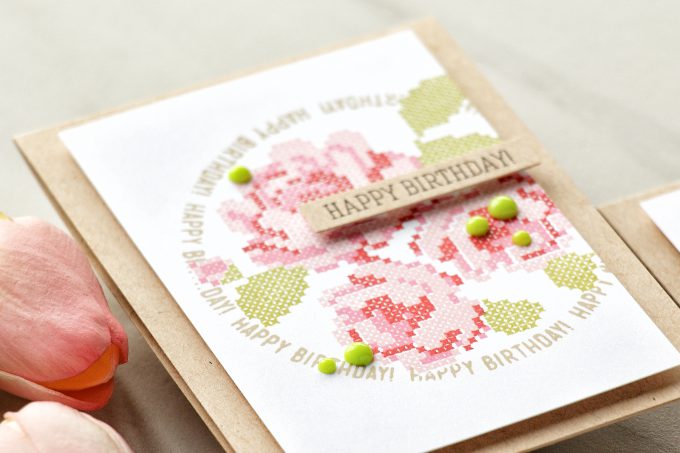
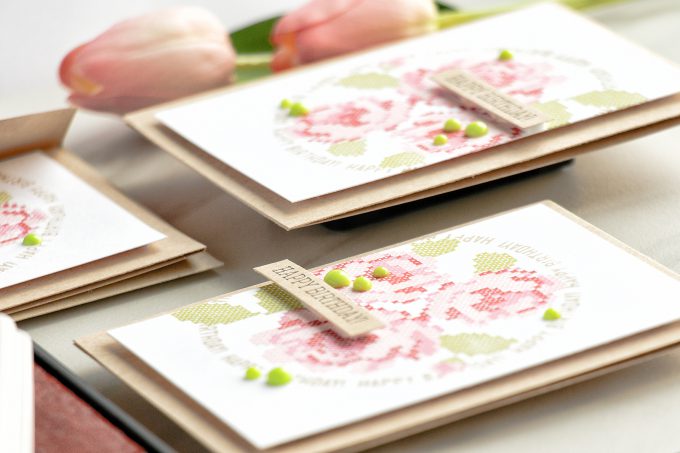
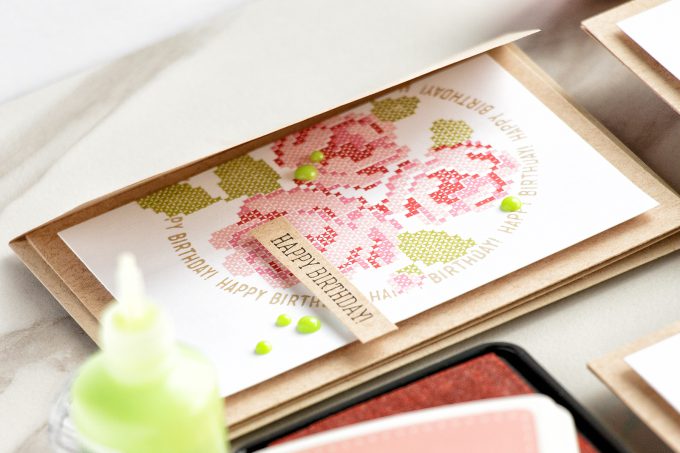
I spotted these stamps at the Creativation show back in January and was very much impressed and fascinated by the concept. I made several almost identical cards using Stitched Roses stamp set.
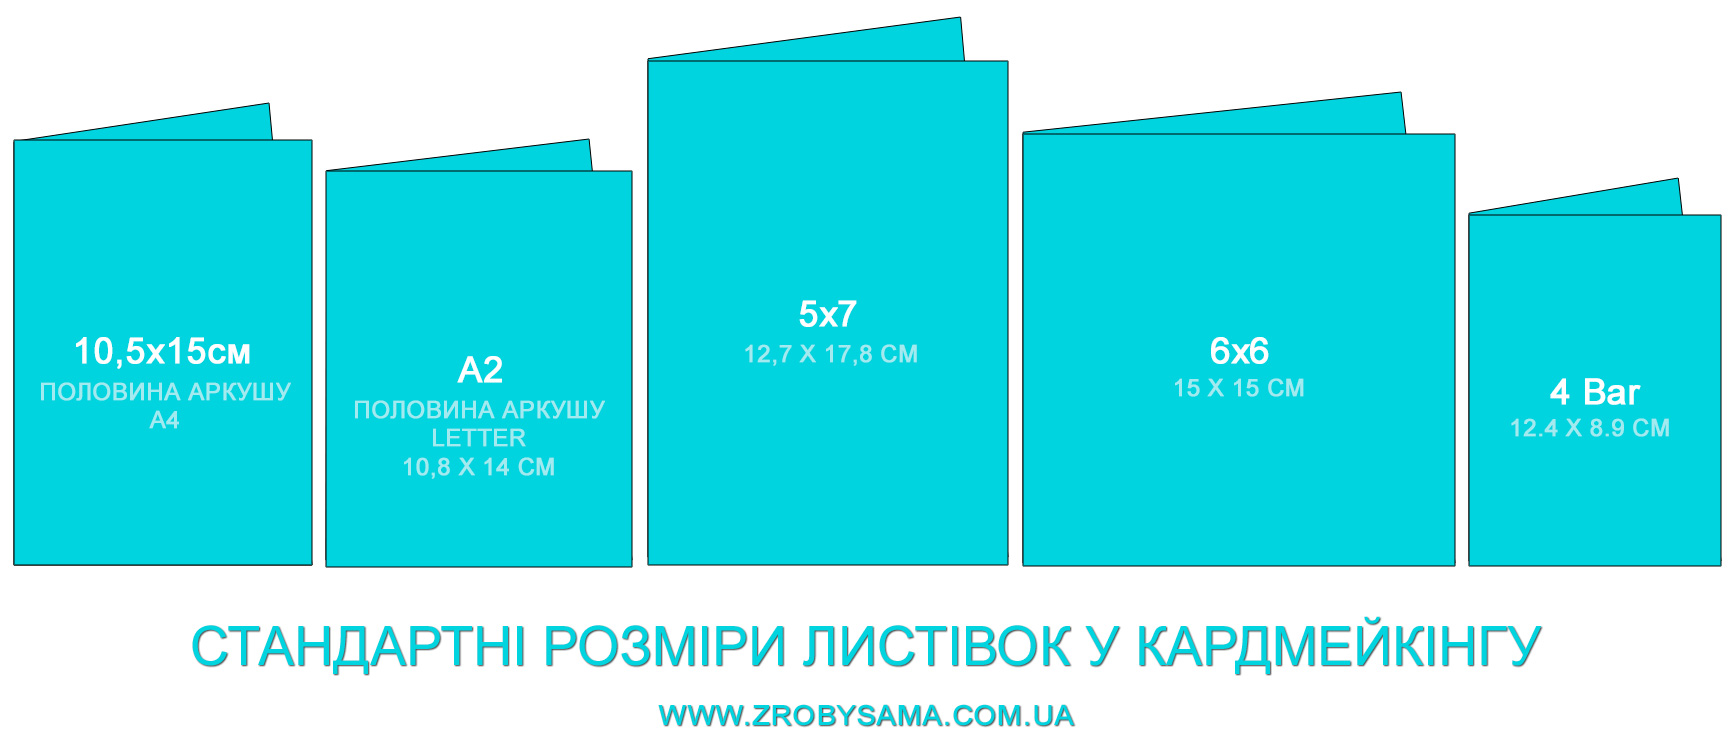
I need to point out that I am making 4 bar cards and not A2 because this size is often deceiving, it might look like these are A2 cards and thus stamped elements look bigger than they really are. So this is just something to keep in mind. Images shown in this video are not going to look as big on an A2 size card.
This handmade card uses Nuvo Drops as a final touch. Want to see 4 other ways you can use Nuvo Drops from Tonic Studios in card making? Check out this article – 5 Ways to Use Nuvo Drops.
Stitched Roses set is a bit difficult to align in a sense that you need to have perfect alignment for great results. I do recommend using a stamp positioner like MISTI just because it makes stamping these roses a much much easier task.
When you look at this stamp set it has the instructions for you right there on the sheet. There are letters and numbers. Numbers indicate which shade of ink needs to be used for that layer – a light, medium and dark. And letters indicate the layers to the same flower. So it’s pretty straightforward, although this stamp set does take a little bit of practice.
The way I like to stamp my images, the way I find it to be easiest for me – I like to start with the top most darkest layer. This way I am able to see much better though my stamp and align my medium and bottom layers much better.
I used Simon Says Stamp Lipstick Red (darkest), Hollyhock (medium) and Twirling Tutu (lightest) ink colors to stamp roses. For my leaves I picked Willow.
To create a sentiment for this card I used a Round Happy Birthday message from the Circle Sayings stamp set from Simon. This is an older set that I have re-discovered recently and I’m loving it for all sorts of cards.
I did some quick masking to stamp it and I used Simon’s Khaki ink color – I feel it’s a perfect match to kraft cardstock I used for the card base for my cards. I also stamped simple Happy Birthday sentiment in black ink onto kraft paper and foam mounted it onto my card over the roses.
You can change up the sentiments and make these cards for another occasion. I think this design would make a great Mother’s Day card and also fabulous Thank You or Miss You cards.
Lastly, I added a few dots using Nuvo Crystal Drops in Apple Green.
SUPPLIES
I’m listing the products I used below. Click on the link to go directly to the product. Where available I use compensated affiliate links which means if you make a purchase I receive a small commission at no extra cost to you. Thank you so much for your support!
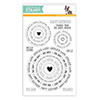 Simon Says Stamp Circle Sayings Stamp Set Shop at: SSS |
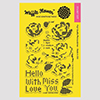 Waffle Flower Stitched Roses Stamp Set Shop at: SSS |
 Simon Says Stamp Willow Dye Ink Pad Shop at: SSS |
 Simon Says Stamp Khaki Dye Ink Pad Shop at: SSS |
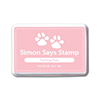 Simon Says Stamp Twirling Tutu Dye Ink Pad Shop at: SSS |
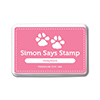 Simon Says Stamp Hollyhock Dye Ink Pad Shop at: SSS |
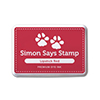 Simon Says Stamp Lipstick Red Ink Pad Shop at: SSS |
 Neenah 80 Solar White Paper Pack 250 Sheets Shop at: SSS |
 Neenah Classic Crest 80 Lb Smooth Desert Storm Shop at: SSS |
 Tsukineko VersaFine Onyx Black Ink Pad Shop at: SSS |
 Mini Misti Stamping Tool Shop at: SSS |
 Scrapbook Adhesives White Foam Squares Shop at: SSS |
 Tonic Apple Green Gloss Nuvo Crystal Drops Shop at: SSS |
 White Fun Foam 12 Pack 9 x 12 Shop at: SSS |
 Waffle Flower Stitched Cup of Tea Stamp Set Shop at: SSS |
 Waffle Flower Stitched Cacti Stamp Set Shop at: SSS |
 Waffle Flower Stitched Unicorn Stamp Set Shop at: SSS |


Your cards are beautiful! I have the cacti and had a heck of a time lining them up yesterday. I thinking I’m going to try your way. Thanks for sharing!
Love this set of cards Yana. Waffle Flower makes amazing stamps!
This is absolutely gorgeous. I love the touch of the round sentiment.
So beautiful Yana, sigh! Perfect color combo and I like the circle stamp around the flowers. I’m looovimg this stamp set. It’s not going on my wish list, Imwant it now, lol. Although it’ll probably be sold out. Thanks for sharing and inspiring.
Wow…I don’t think I know enough adjectives to describe how wonderful I think these cards are…from the colours you chose to the position of the flowers…and that circular sentiment stamp is just perfect. I am continually in awe of your cards! They are absolutely beautiful!!!!
Cool! Your card inspire me to keep these stamps for myself)))