This post is also available in English
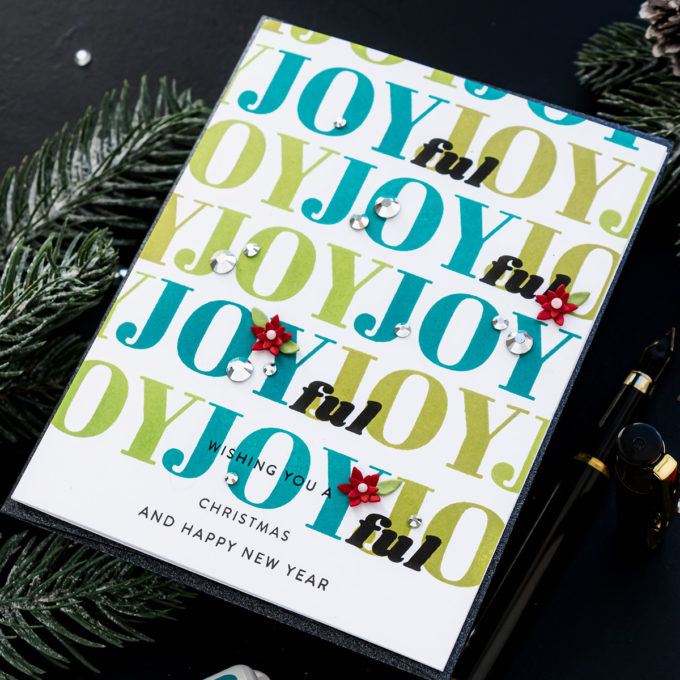
Unless, of course, you manage to cut your finger while cutting the stamp. I didn’t (at least not this time). After posting THIS card, with the die-cut Ho Ho Ho, I was inspired to try this design again, but using stamps, not dies. Luckily, I have plenty of large, beautiful word stamps in my collection. Simon’s Holiday Greetings Mix 1 stamp set was still sitting on my desk from previous projects I made this week (here’s a moment of truth – I don’t really put my stamps back into bins where they are normally stored, not until the point my craft room reaches disaster status, at which point I am forced to drop everything and clean, but aren’t most of us like that?) so it is the one I used.
Like this project? Pin it and save for later | Curious about my project photography? Click for details.
CARD DETAILS
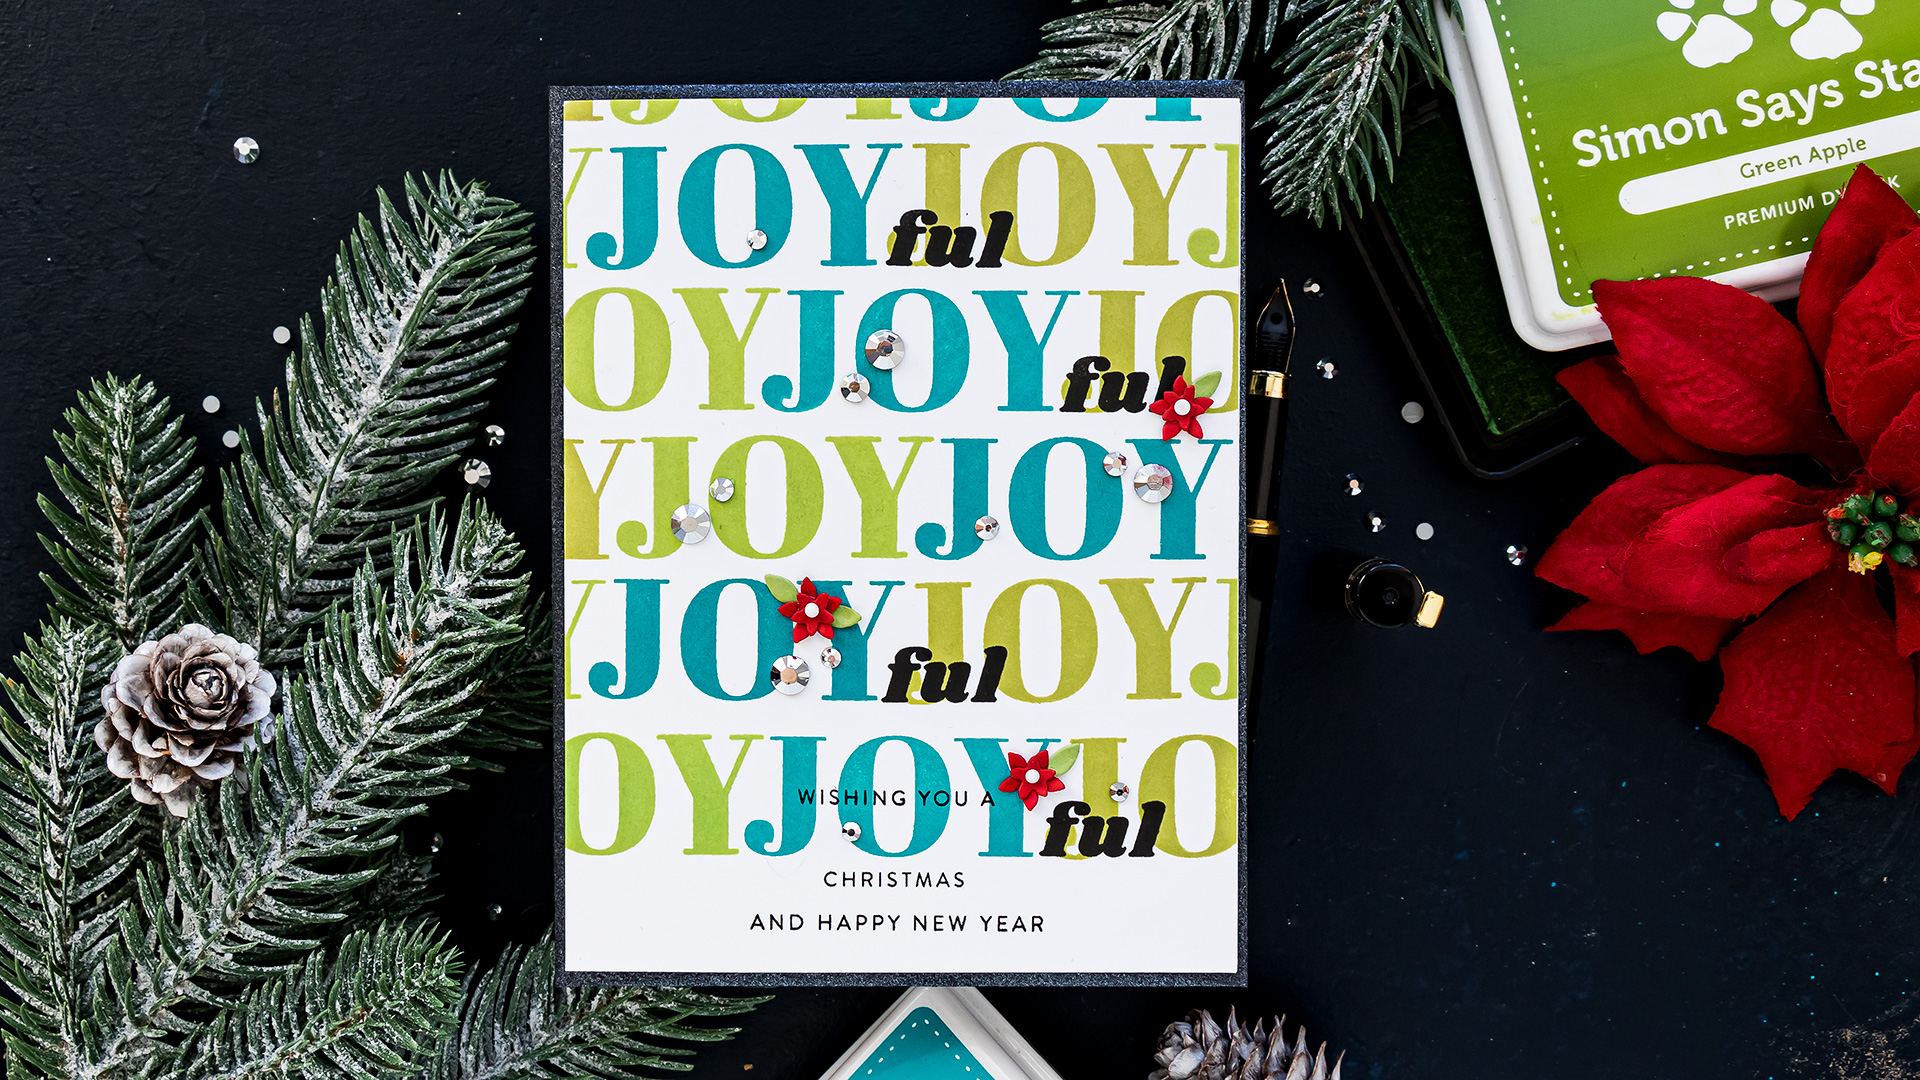
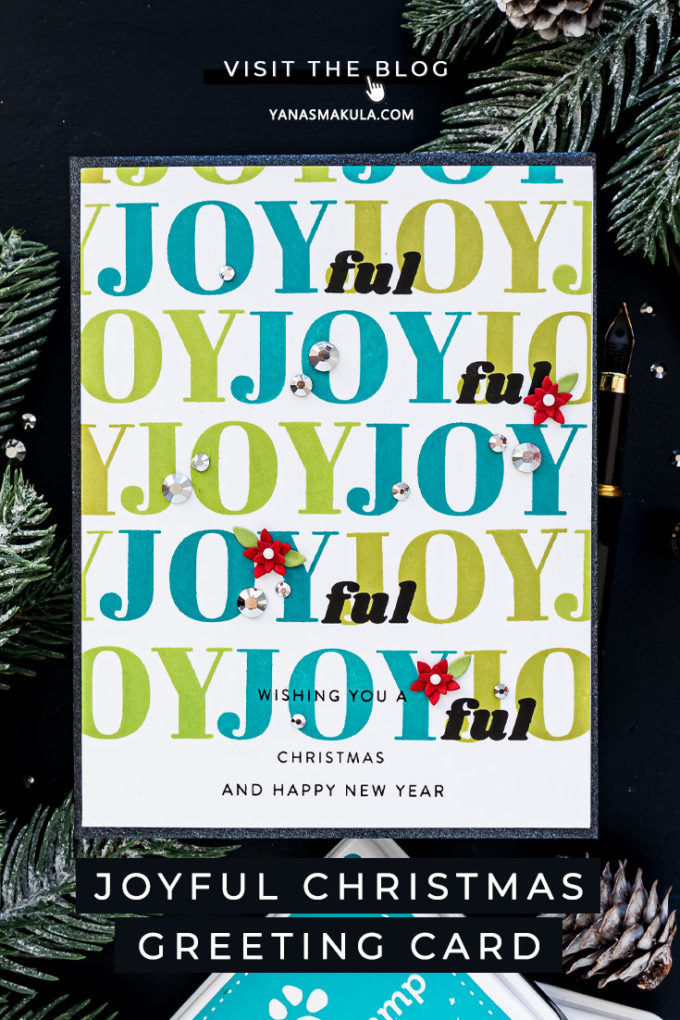
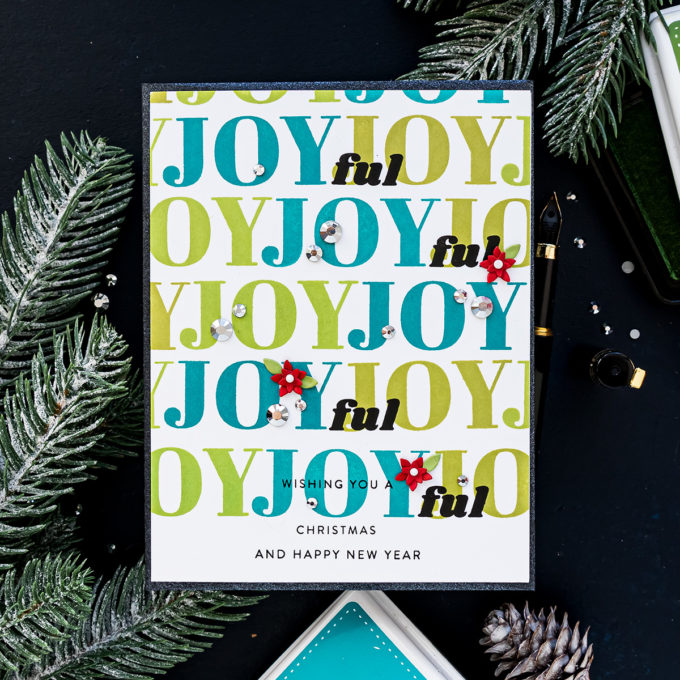
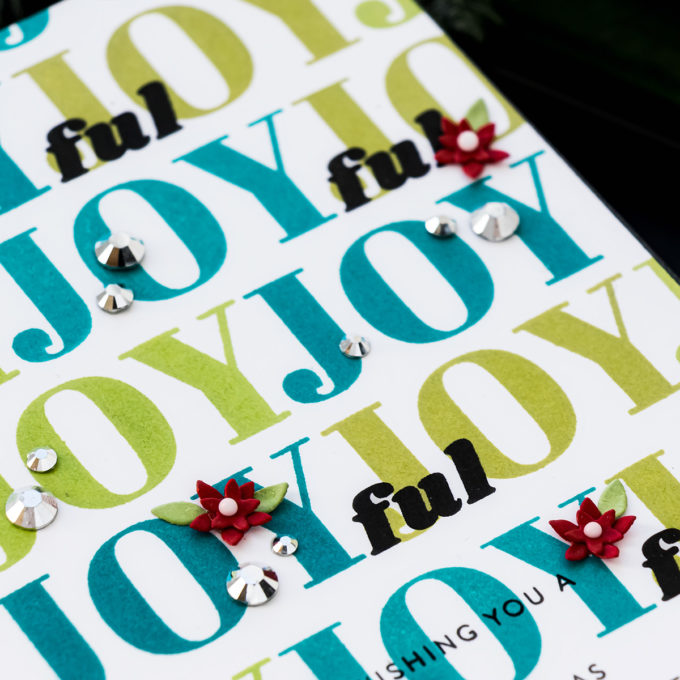
I went the easy route when stamping this card. First, I stamped the bottom middle “JOY” in Simon’s High Dive ink. I didn’t want to have to clean my stamp after each impression, so I figured I needed to stamp all the other High Dive “JOY”s before switching to another color. To do that, I added horizontal grid lines to my panel sectioning it. That allowed me to easily stamp all of the teal “JOY”s on the panel. Next, I stamped all of the “JOY”s in Green Apple ink and finally all in Willow ink finishing the background. I didn’t cover the entire panel with stamping but left the bottom part free as this is where I was planning to stamp my sub-sentiment.
I wanted the sentiment on this card to read “Wishing You a Joyful Christmas and a Happy New Year”. But there was a problem. The background said “JOY”, not “JOYFUL”. So I had to come up with a solution and this is where stamp surgery came into play. The Holiday Greetings Mix 1 stamp set has a stamp that reads “Cheerful”, I figured I could cut the “ful” of “cheerful” and stamp it in black next to the main “JOY”. So that’s what I did. I used Versafine Onyx Black ink for stamping “ful” and the rest of the sentiments on this card.
I adhered my panel to A2 white side folding card base, it is a one layer card. Something was missing. So I die-cut tiny poinsettias from Spellbinders Sunday Drive with Santa die set from red and leaves from green and added 3 poinsettias to my card along with silver jewels (I am all out of gold jewels so this is why I am mostly using silver, I’m trying to use what I currently have in my stash, plus silver looks really nice).
I love the look of overlap stamping – the black over the green. I find this look to be very modern. I’m curious to hear what you think? Is this a yay or a nay card design? What would you do differently?
SUPPLIES
I’m listing the products I used below. Click on the link to go directly to the product. Where available I use compensated affiliate links which means if you make a purchase I receive a small commission at no extra cost to you. Thank you so much for your support!
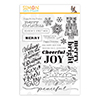 Simon Says Clear Stamps Holiday Greetings Mix 1 Shop at: SSS |
 Spellbinders Sunday Drive With Santa Shop at: SSS |
 Spellbinders Platinum 6 Die Cutting Machine Shop at: SSS |
 Neenah 110 Lb Solar White Cardstock Shop at: SSS |
 Simon Says Stamp Green Apple Cardstock Shop at: SSS |
 Simon Says Stamp Schoolhouse Red Cardstock Shop at: SSS |
 Hero Arts Misti Regular Black Shop at: SSS |
 Misti Stamping Tool Shop at: SSS |
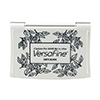 Tsukineko VersaFine Onyx Black Ink Shop at: SSS |
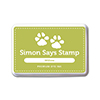 Simon Says Stamp Willow Dye Ink Pad Shop at: SSS |
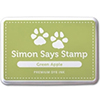 Simon Says Stamp Green Apple Ink Pad Shop at: SSS |
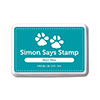 Simon Says Stamp High Dive Dye Ink Pad Shop at: SSS |
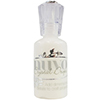 Tonic Gloss White Nuvo Drops Shop at: SSS |
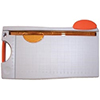 Tonic Studios 8.5 Inch Paper Trimmer Shop at: SSS |
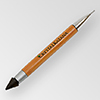 Crystal Ninja Crystal Katana Pick Up Tool Shop at: SSS |
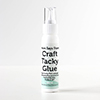 Simon Says Stamp Craft Tacky Glue Shop at: SSS |
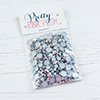 Pretty Pink Posh Metallic Silver Jewels Shop at: SSS |


Very nice card
Love your creative solution. Very pretty and colorful card.
I love this card!! Very cool!!
Very pretty! I’ve seen others cut their stamps, but I’ve never had the courage. Guess it’s time to be brave.
Absolutely brilliant.. You should also have this in Etsy store!