This post is also available in English
I honestly didn’t think I’d enjoy Slimline cardmaking this much! If you haven’t tried it yet – I encourage you to give it a go. It is fun, it is fresh, it is liberating (you have all this extra size to work with). Plus, it is always fun to try new things, wouldn’t you agree?
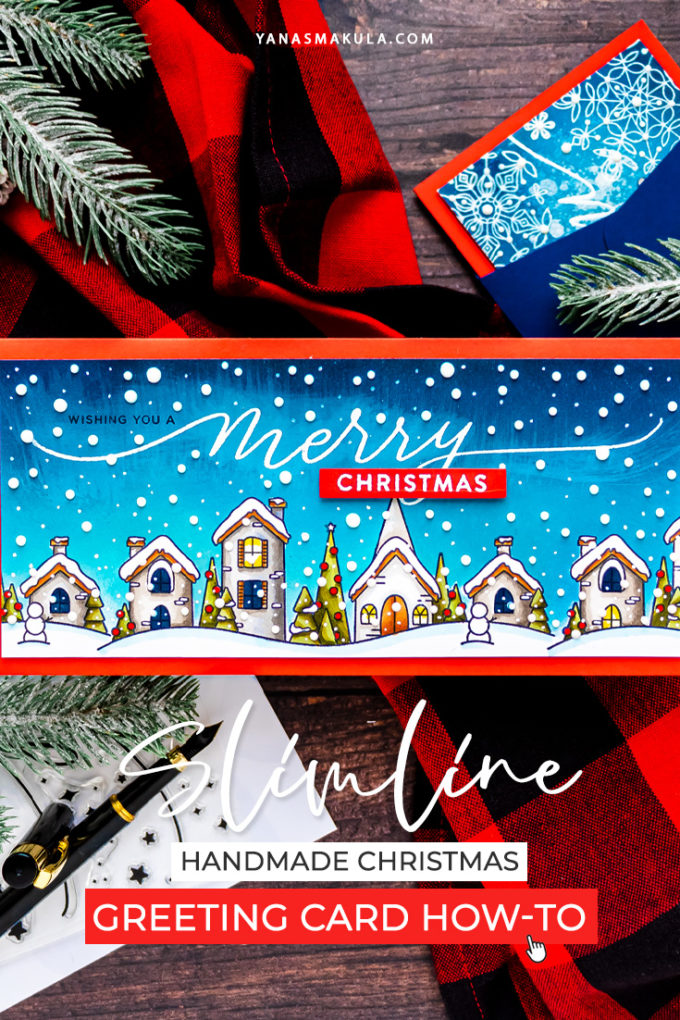
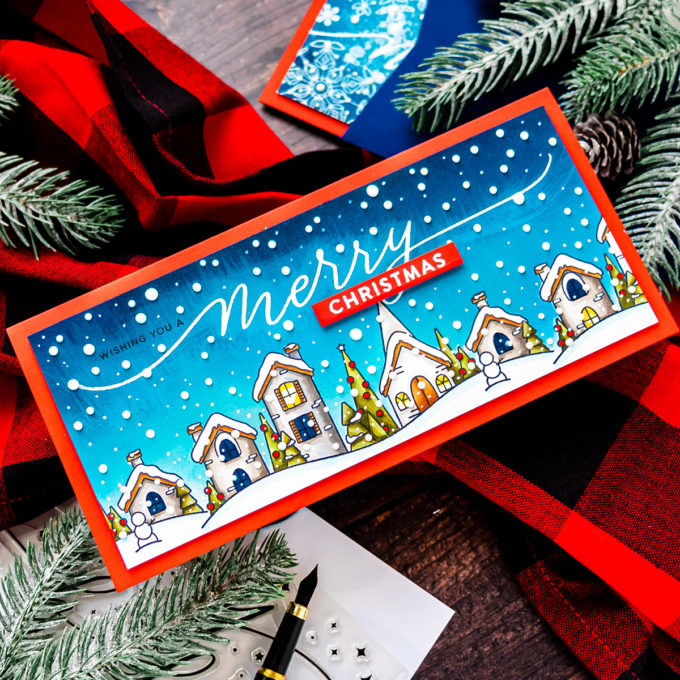
My today’s card combines a slimline product with a regular-sized stamp set for a beautiful snowy village Christmas card. This project is not hard to make and it uses simple cardmaking techniques, more on that below.
Like this project? Pin it and save for later | Curious about my project photography? Click for details.
CARD DETAILS
I used a couple of new favorites for this project – a sentiment set with stunning handwritten-like sentiments and a village set with pretty houses and homes.
Follow these instructions step by step to re-create this card:
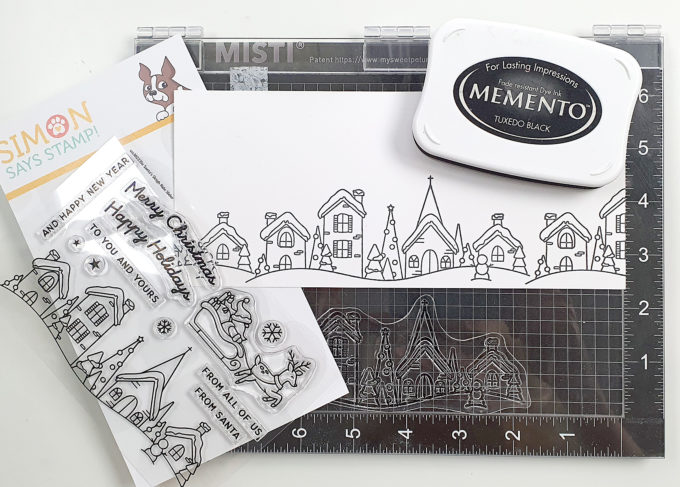
- Using a MISTI stamping tool (or a similar stamp positioner) stamp the village image from the Santa’s Sleigh stamp set in Memento Tuxedo Black ink onto Neenah Solar White 80lb cardstock. I stamped one image in the center of the 3 1/2″ x 8″ panel. Next, I stamped a partial to the left and another partial image to the right stamping it 3 times in total. I didn’t do any masking (I did try, but it looked much better without the masking).
- Stamp the word “Merry” from the Holiday Sparkle Greetings stamp set above the village in clear embossing ink. Cover with White Detail embossing powder and heat set.
- Color the village using Copic markers. I used the following colors: W1, W3, W5, YG93, YG95, YG99, R27, Y11, Y15, B000. Color some windows using yellow markers, but color most using a dark blue, I used B99, this will make it look like there is nobody home.
- Create a mask for the village using masking paper. To do so – stamp the image onto masking paper and cut out using scissors. Position the mask over the colored image. This is probably the most tedious part of the process, but once you make the mask, and if you are careful, you can re-use it several times. So it is worth it. I made one mask and just re-positioned it when doing the next step.
- Ink panel with various shades of blue ink. I used the following: Distress Oxide Speckled Egg, Distress Oxide Mermaid Lagoon, Hero Arts Navy, Hero Arts Intensified Black. You can achieve the same background using other ink pad colors. I prefer to blend with Oxides, but I have a limited collection, so I use what I have and make it work. I worked from the top down making the top of the panel (the top of the sky) much darker and the bottom of the panel (closer to the horizon line) much lighter.
Hero Arts inks will leave a residue on white embossing. To clean that up I spray a cloth with Hero Arta Ultra Clean stamp cleaning solution and gently wipe the embossing. It remover the ink. It can also remove the ink from the paper, so be careful doing this.
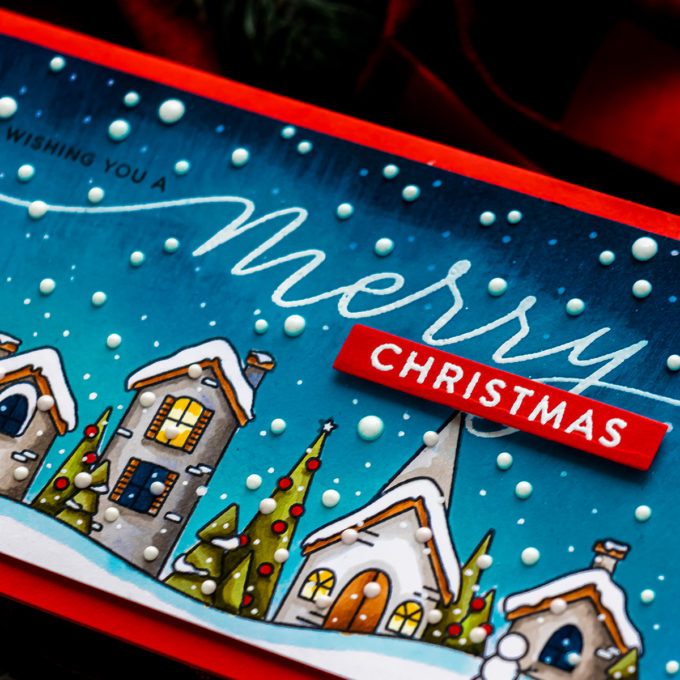
- Stamp “Wishing You A” in black ink next to the “Merry”. I don’t remember which stamp set I used for this, there are many sets with similar sentiments. I also white heat embossed “Christmas” on red cardstock, cut it out and foam mounted under the “Merry”.
- Create a Slimline card base from red cardstock. I took a Letter sheet, scored it at 4″, folded and trimmed creating a 4″ x 8 1/2″ card base. Trim background panel to 3 1/2″ x 8″. Foam mount to the card base.
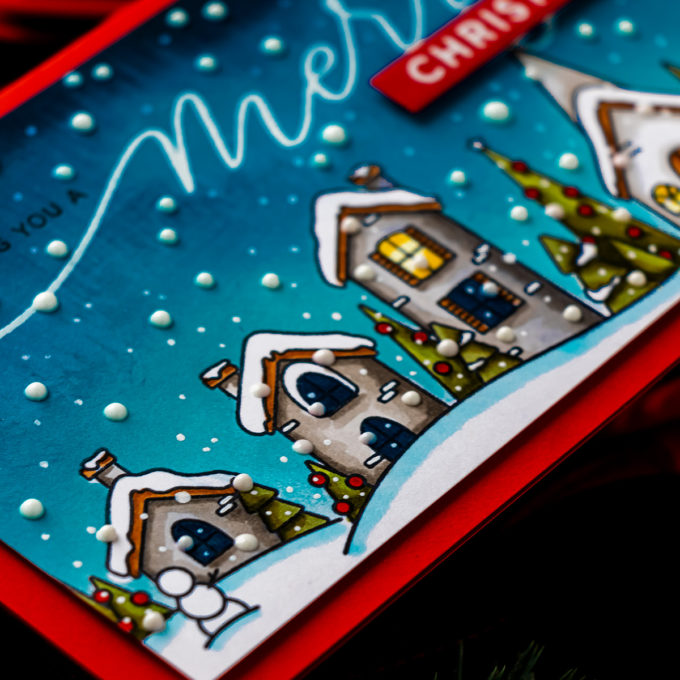
- Use White Nuvo Drops to create falling snow on the card. Add smaller “snowflakes” using a white pen. Make sure the snow goes all the way down covering the buildings and trees to make it look cohesive.
SUPPLIES
I’m listing the products I used below. Click on the link to go directly to the product. Where available I use compensated affiliate links which means if you make a purchase I receive a small commission at no extra cost to you. Thank you so much for your support!
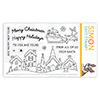 Simon Says Clear Stamps Santa’s Sleigh Ride Slider Shop at: SSS |
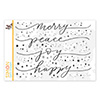 Simon Says Clear Stamps Holiday Sparkle Greetings Shop at: SSS |
 Neenah 110 Lb Solar White Cardstock Shop at: SSS |
 Neenah 80LB Solar White Cardstock Shop at: SSS |
 Simon Says Stamp Schoolhouse Red Cardstock Shop at: SSS |
 Simon Says Stamp Masking Paper Shop at: SSS |
 Hero Arts Misti Regular Black Shop at: SSS |
 Misti Stamping Tool Shop at: SSS |
 Hero Arts Clear Embossing & Watermark Ink Shop at: SSS |
 Hero Arts Navy Ink Pad Shop at: SSS |
 Tim Holtz Distress Oxide Ink Pad Speckled Egg Shop at: SSS |
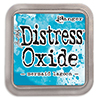 Tim Holtz Distress Oxide Ink Pad Mermaid Lagoon Shop at: SSS |
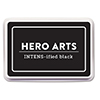 Hero Arts Ink Pad Intens-ified Black Shop at: SSS |
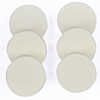 Spellbinders Circle Replacement Foam Shop at: SSS |
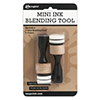 Ranger Mini Round Ink Blending Tools Shop at: SSS |
 Hero Arts White Detail Embossing Powder Shop at: SSS |
 EK Success Powder Tool Applicator Shop at: SSS |
 Tonic Gloss White Nuvo Drops Shop at: SSS |
 Hero Arts Heat Embossing Gun Shop at: SSS |
 Hero Arts Ultra Clean Stamp Cleaner Shop at: SSS |
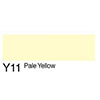 Copic Sketch Marker Y11 Pale Yellow Shop at: SSS |
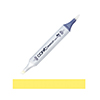 Copic Sketch Marker Y15 Cadmium Yellow Shop at: SSS |
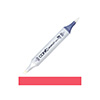 Copic Sketch Marker R27 Cadmium Red Shop at: SSS |
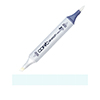 Copic Sketch Marker B000 Pale Porcelain Shop at: SSS |
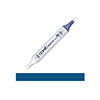 Copic Sketch Marker B99 Agate Dark Blue Shop at: SSS |
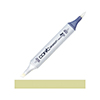 Copic Sketch Marker YG93 Grayish Yellow Shop at: SSS |
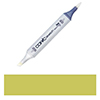 Copic Sketch Marker YG95 Pale Olive Shop at: SSS |
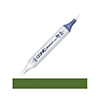 Copic Sketch Marker YG99 Marine Green Shop at: SSS |
 Copic Sketch Marker W1 Warm Gray Shop at: SSS |
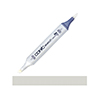 Copic Sketch Marker W3 Warm Gray Shop at: SSS |
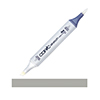 Copic Sketch Marker W5 Warm Gray Shop at: SSS |
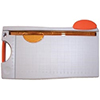 Tonic Studios 8.5 Inch Paper Trimmer Shop at: SSS |
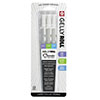 Sakura Classic White Gelly Roll Pens Set of 3 Shop at: SSS |
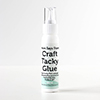 Simon Says Stamp Craft Tacky Glue Shop at: SSS |
 White Foam Squares Shop at: SSS |




Love your work SO much, Yana. You rock!! Thanks for showing a cute card – I got this stamp set, so I might try this one.
Lori S in PA
Soooo Beautiful!!! I’m really loving these red and blue cards!!!
I had to comment about your absolutely beautiful Christmas cards!! This is just another one of all the fabulous cards you have inspired us with!
So pretty and am getting into the slimline cards, also.