Hello, crafters. Welcome back for another Yippee For Yana video! In this video, I am making quick and easy Christmas cards with some simple techniques that anyone can do.
Like this project? Pin it and save for later | Curious about my project photography? Click for details.
VIDEO TUTORIAL
Watch the video below or on my Youtube channel.
CARDS DETAILS
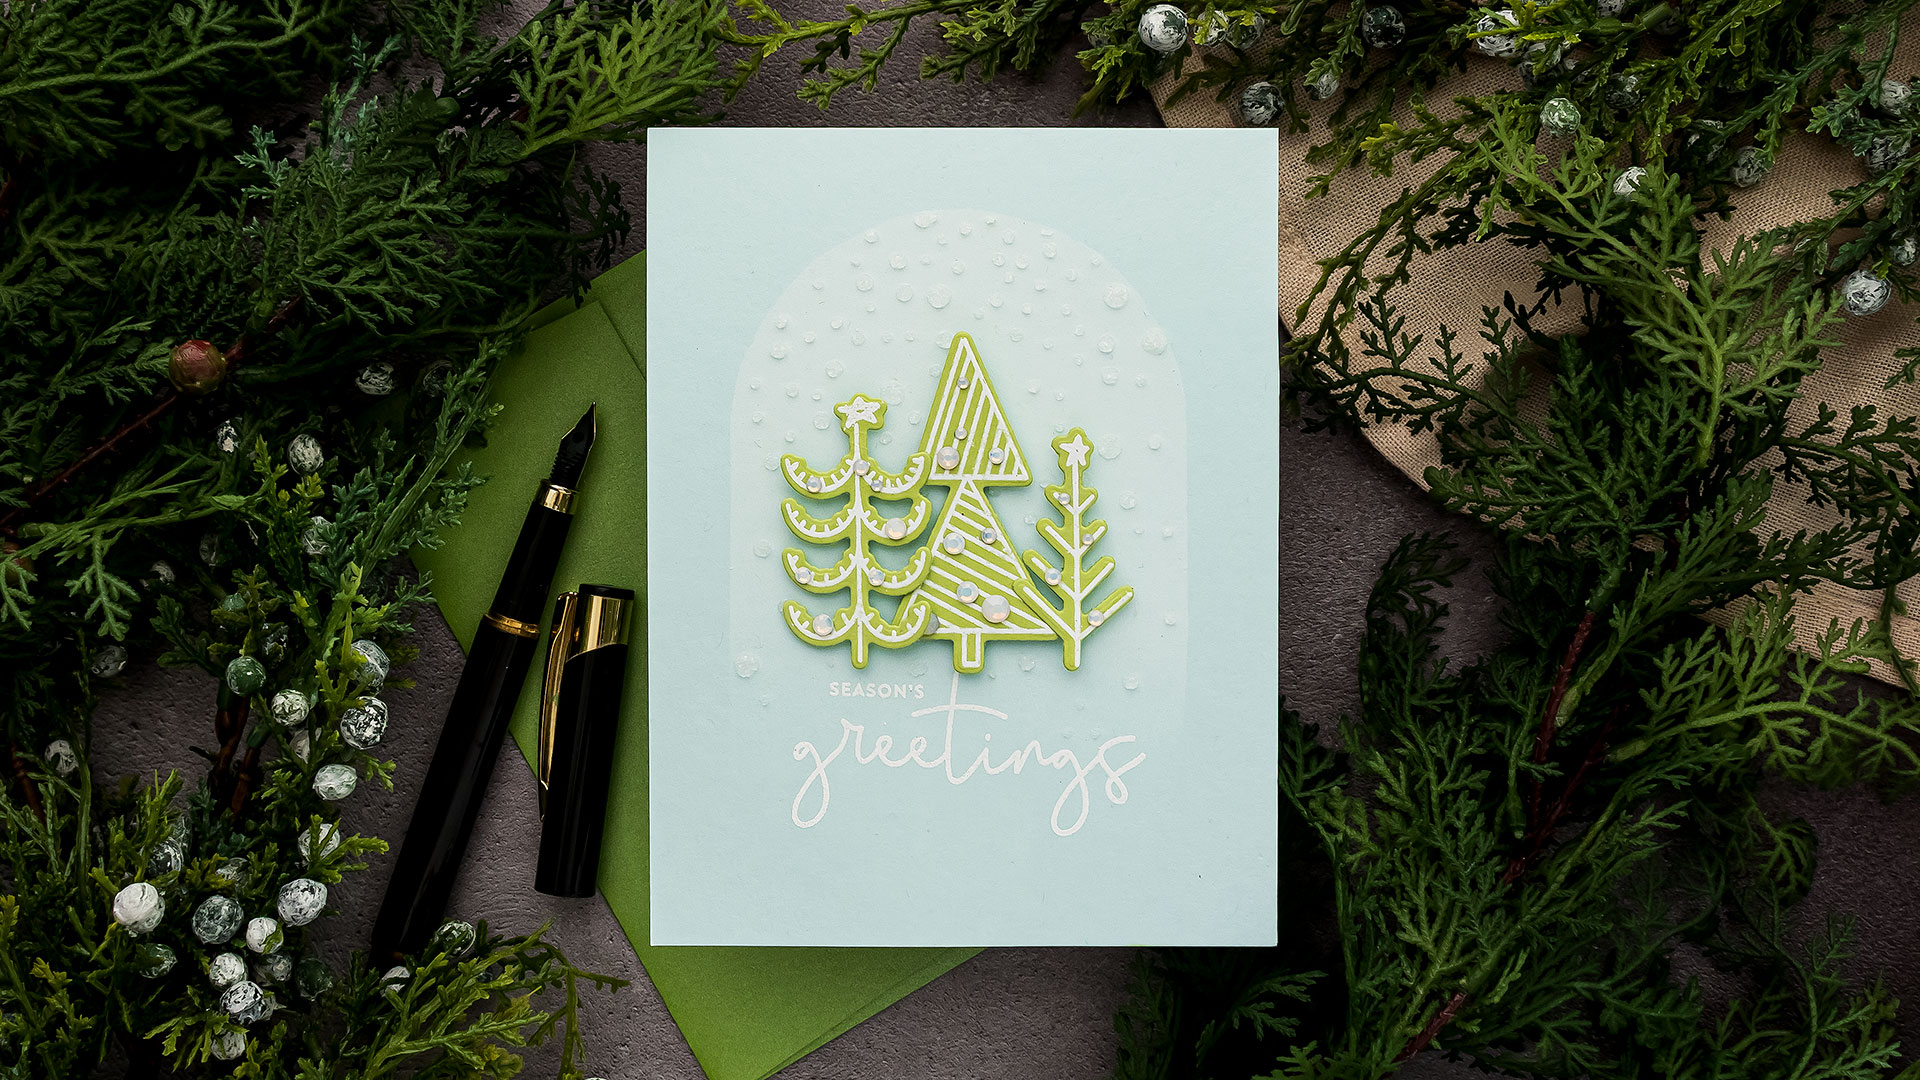
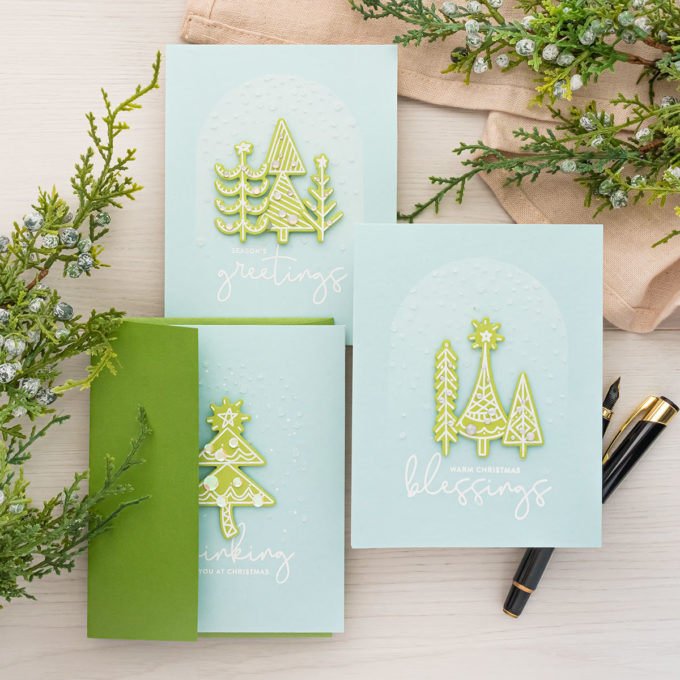
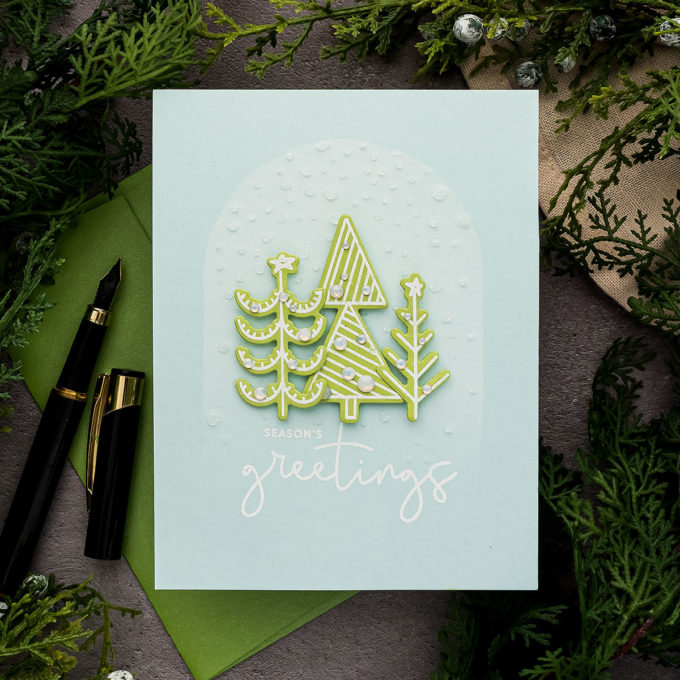
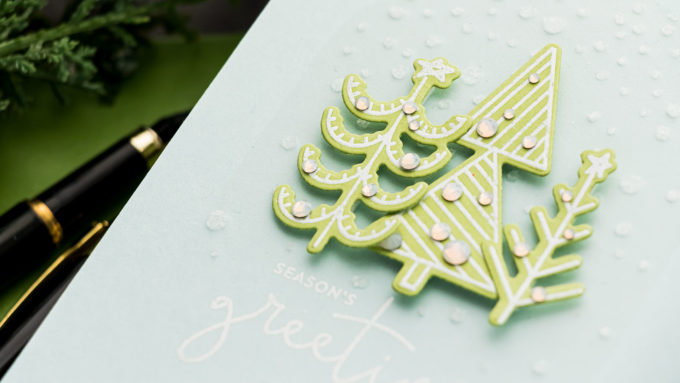
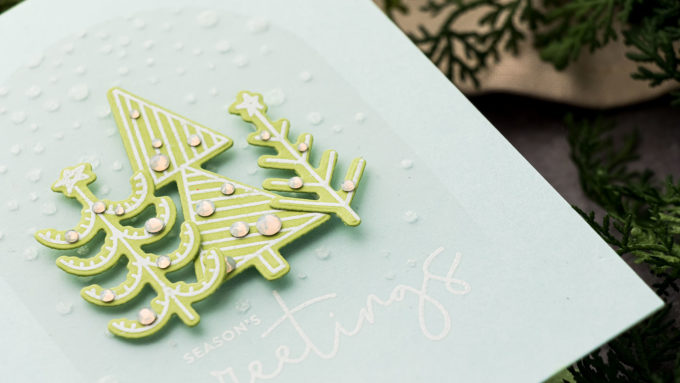
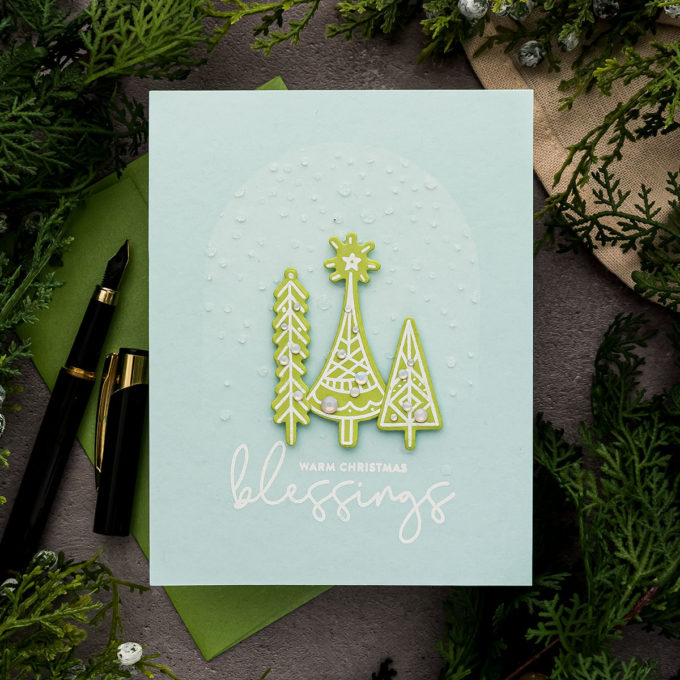
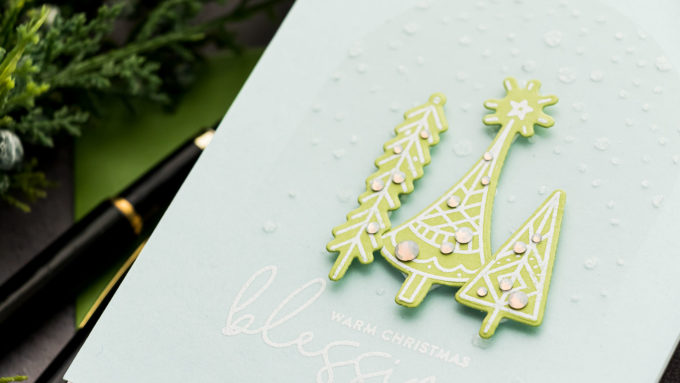
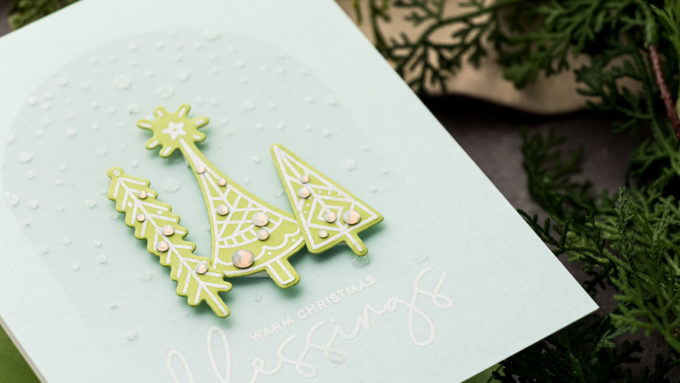
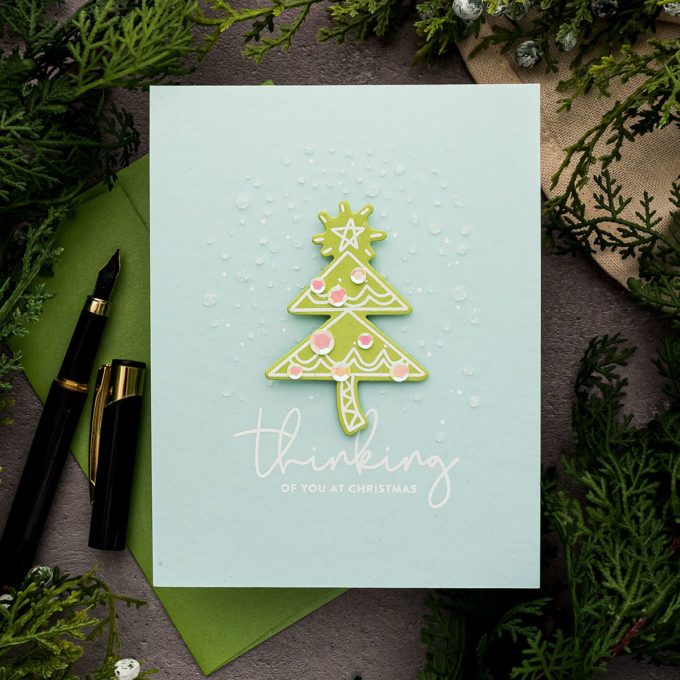
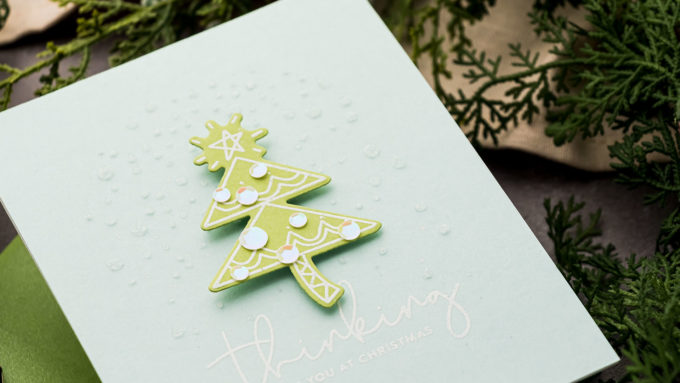
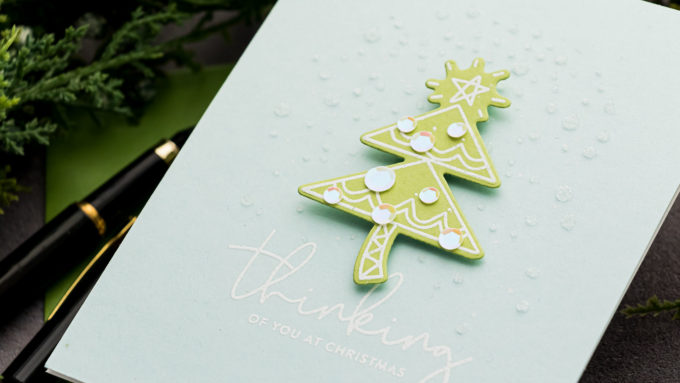
I started working on my cards by heat embossing the trees from the Merry Christmas Trees set in white embossing powder on Green Apple cardstock. Next, I used the coordinating dies and cut all of these trees out. The trees will create the focal point of my cards.
Next, I thought about a background. I wanted to use colored cardstock for the background and planned to go with the Sea Glass cardstock, which is a very pretty light blue, I love using it for Christmas cards. But I didn’t want to just add my Christmas tree onto the background and call it done, I wanted to do something else and I had this idea to create a snowy dome around the tree and around the sentiment. Almost like a snow globe, but without the clearly defined bottom.
I didn’t have the exact dome snow stencil in my stash, but I did have other supplies that I knew I could use to execute my idea.
First, I looked for a dome-shaped object in my stash and I found a glimmer plate from Spellbinders. The shape was perfect for what I had in mind so I used that. If you don’t have this shape or a similar shape you can use, you can use a circle shape, trace the top half of the circle, then draw vertical lines, and then a horizontal line to complete the dome shape. It doesn’t have to be perfect. It is not going to go on our finished card. What this is going to be – a mask.
I traced this onto printer paper and cut my shape out making sure to keep the outline shape intact. For my next step, I heat-embossed sentiments in white embossing powder onto Sea Glass panels cut to 4 ¼ x 5 ½”. The sentiments come from the Christmas Blessing Stamp set by Simon.
Next, I placed my makeshift mask onto the panel and added a Falling Snow stencil on top. I used grit paste in Snowfall from Tim Holtz to create the snow effect on my card.
You can also step this design up a bit, by adding some basic ink blending before applying the paste. I ink-blended Simon’s white pigment ink before applying the grid paste to add a bit of definition to the dome shape.
I adhered my panels to A2 top folding card bases and next, I added my heat-embossed trees on top. This design is very simple, yet it looks beautiful and elegant, and clean.
I also added some embellishments – sequins and gems. Have fun creating!
SUPPLIES
I’m listing the products I used below. Click on the link to go directly to the product. Where available I use compensated affiliate links which means if you make a purchase I receive a small commission at no extra cost to you. Thank you so much for your support!
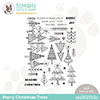 Simon Says Clear Stamps Merry Christmas Trees Shop at: SSS |
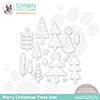 Simon Says Stamp Merry Christmas Trees Wafer Dies Shop at: SSS |
 Simon Says Stamps and Dies Merry Christmas Trees Shop at: SSS |
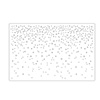 Simon Says Stamp Stencil Large Falling Snow Slimline Shop at: SSS |
 Spellbinders Platinum 6 Die Cutting Machine Shop at: SSS |
 Spellbinders Platinum Die Cutting Machine Shop at: SSS |
 Simon Says Stamp Sea Glass Cardstock Shop at: SSS |
 Simon Says Stamp Green Apple Cardstock Shop at: SSS |
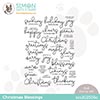 Simon Says Clear Stamps Christmas Blessings Shop at: SSS |
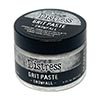 Tim Holtz Distress Snowfall Holiday Grit Paste Shop at: SSS |
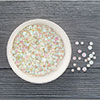 Spellbinders Aura Opalescent Color Essentials Sequins Shop at: SSS |
 Mini MISTI Stamping Tool Shop at: SSS |
 Spellbinders Clear Embossing & Watermark Ink Pad Shop at: SSS |
 Tim Holtz Distress Palette Knife 2 Pack Shop at: SSS |
 Simon Says Stamp White Pigment Ink Pad Shop at: SSS |
 Hero Arts White Detail Embossing Powder Shop at: SSS |
 Spellbinders Color Essentials Gems in Opal Shop at: SSS |
 Ek Success Powder Tool Applicator Shop at: SSS |
 Wagner Precision Heat Tool Shop at: SSS |
 Bearly Art Mini Precision Craft Glue Shop at: SSS |
 White Foam Squares Shop at: SSS |
 Sakura Classic White Gelly Roll Pens Set of 3 Shop at: SSS |


These are gorgeous and I love the snow dome idea