This post is also available in English
Hi everyone! Thanks for popping in today. I have a quick card and video tutorial featuring one of my favorite background techniques – adding dimensional accents with Glossy Accents or Nuvo Glaze.
Like this project? Pin it and save for later | Curious about my project photography? Click for details.
VIDEO TUTORIAL
As always, I filmed a video tutorial showing how to create this project from start to finish. I’m hoping you’ll enjoy it. Watch it below or on my Youtube channel:
Like this video? Please give it a big thumbs up (you can do this on Youtube video page right under the video) and share with a crafty friend! Leave me a comment too, I love hearing from you!
CARD DETAILS
I have shared this technique in the past, once on my Youtube Channel and once in a blog post over on my blog without a video showing several cards with unique backgrounds created with the help of Altenew and Simon Says Stamp stamps.
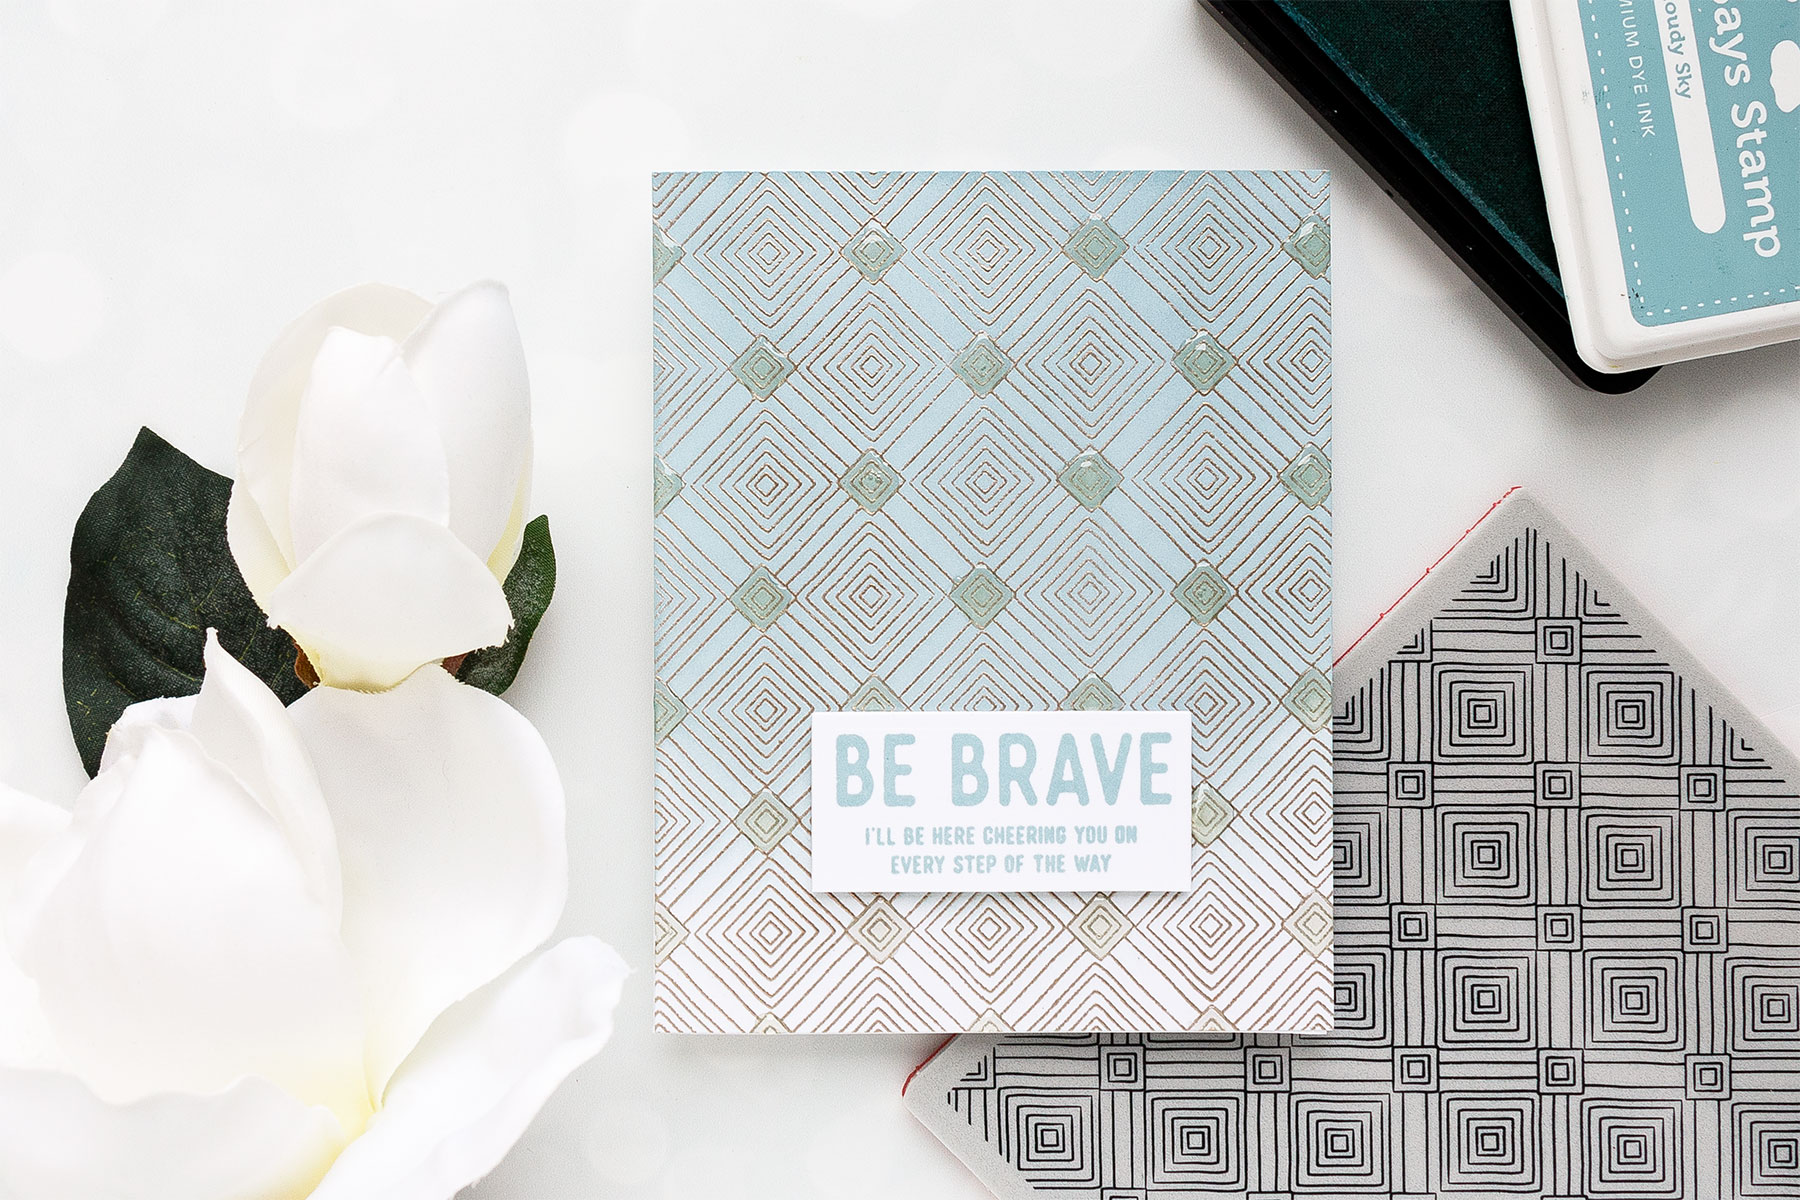
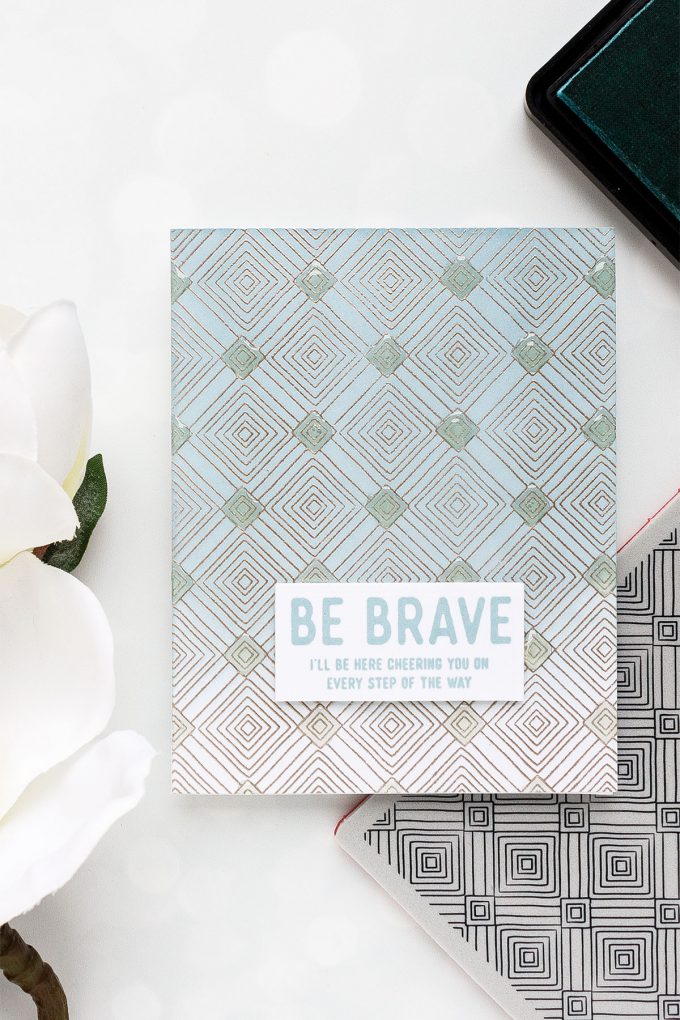
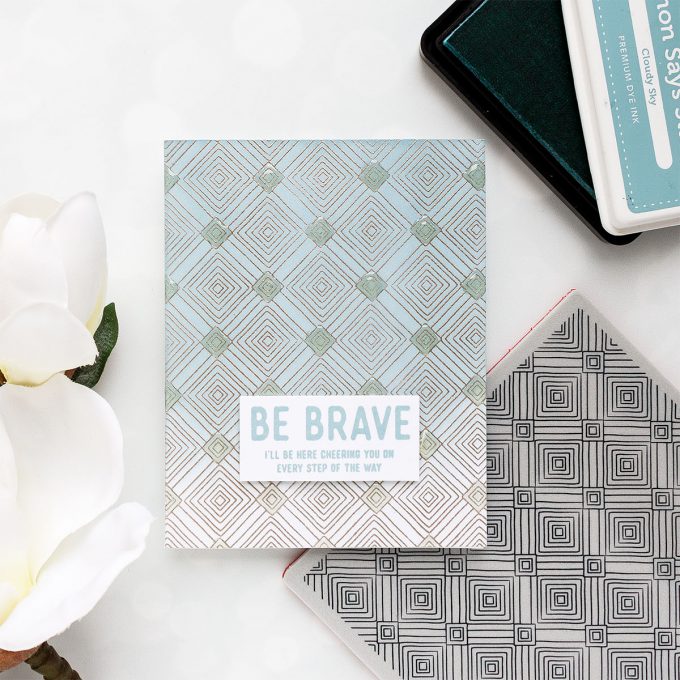
This technique doesn’t work with every kind of background stamp, but it will work with select few. I wanted to revisit this technique again here with this new background stamp from Simon. The stamp that I am using today is the Deco Diamonds 6×6 Cling Background stamp from Sending Sunshine release.
I started to work on my card by stamping background in Versamark ink onto white cardstock using my stamp platform. Next I covered it with Platinum embossing powder from Hero Arts and heat set it.
I didn’t want this background to be plain white so I added some ink blending going in an ombre fashion from the darkest at the top to white at the bottom and I used Simon Says stamp Cloud Sky dye ink for this along with a Ranger Mini Round ink blending tool.
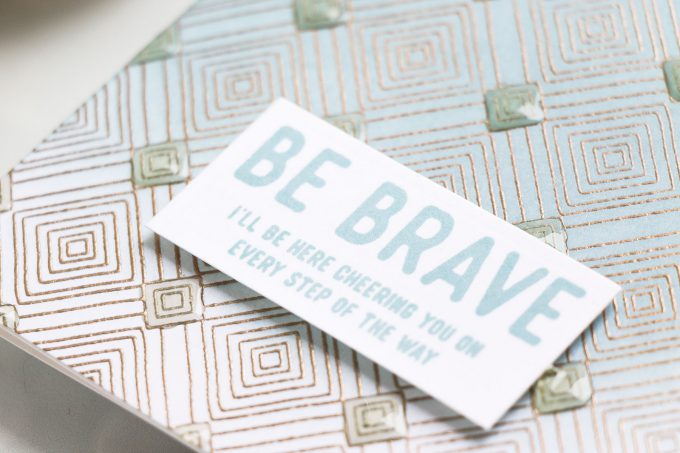
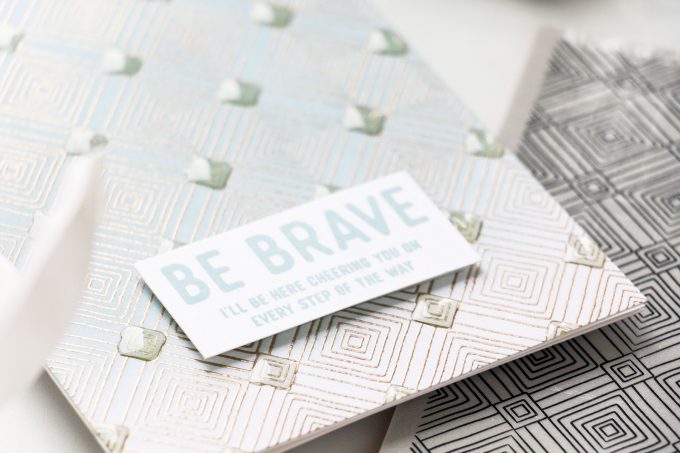
Next, I stamped a sentiment and I went with “Be Brave – I’ll be here cheering you on every step of the way” and I used the same ink color for my stamping to achieve a monochromatic look on my finished card. I used foam tape from Scrapbook adhesives and foam mounted it onto my card.
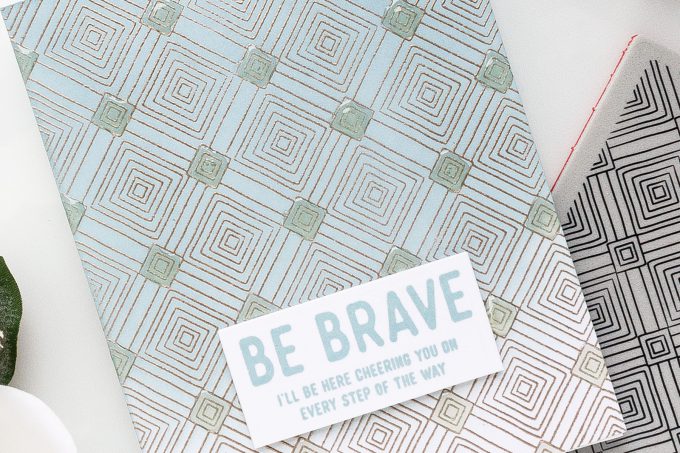
And now comes the more fun part of this card making – adding the dimensional accents. For this you can use several products, I used Glossy Accents, in the past I’ve used Nuvo Glaze from Tonic (but I am all out of the Glaze). I would not recommend using Nuvo Clear drops as if you cover a large area they might crack.
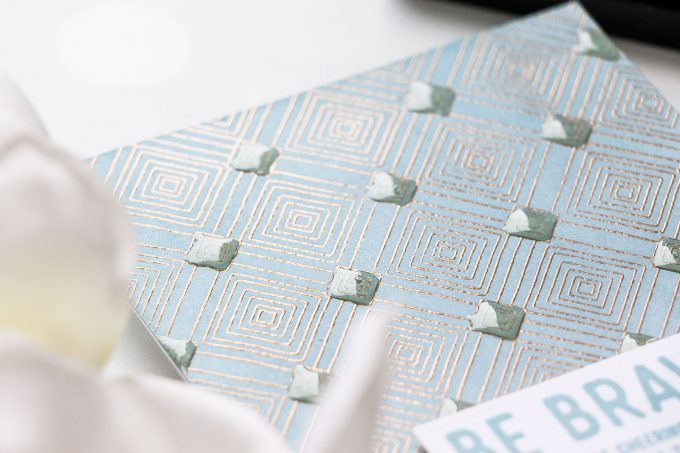
I decided I wanted to fill in every little diamond with the Glossy accents to turn it into a dimensional element, so carefully filled each one of them in using my glossy accents. I also used a pokey end of my tool n one to help the glossy accents fill in the shape and also used it to correct any mistakes where I had glossy accents go outside the line. Once the background was coated I left it to dry over night. And my card was done!
SUPPLIES
I’m listing the products I used below. Click on the link to go directly to the product. Where available I use compensated affiliate links which means if you make a purchase I receive a small commission at no extra cost to you. Thank you so much for your support!
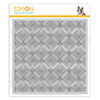 Simon Says Cling Stamp Deco Diamonds Background Shop at: SSS |
 CZ Design Clear Stamps Yes You Can Shop at: SSS |
 Simon Says Stamp Cloudy Sky Dye Ink Pad Shop at: SSS |
 Ranger Glossy Accents Glue Dimensional Adhesive Shop at: SSS |
 Neenah 110 Lb Solar White Cardstock Shop at: SSS |
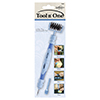 Spellbinders Tool ‘n One Shop at: SSS |
 Hero Arts Platinum Embossing Powder PW117 Shop at: SSS |
 Hero Arts Heat Embossing Gun Shop at: SSS |
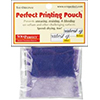 ScraPerfect Crafting Pouch Shop at: SSS |
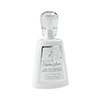 Tonic Crystal Glaze Nuvo Shop at: SSS |
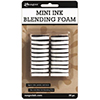 Ranger Mini Round Foam Refils Shop at: SSS |
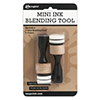 Ranger Mini Round Ink Blending Tools Shop at: SSS |
 Scor-Tape 1/8 Inch Crafting Tape Shop at: SSS |
 Tim Holtz Tonic Craft Stamp Platform Shop at: SSS |
 Scrapbook Adhesives White Foam Squares Shop at: SSS |


I love these large background stamps, I haven’t got any at present as I am only just starting out with my crafting but I do intend to invest in some in the future. You make it look so easy to create a project from one of these Yana, thank you for sharing. :O)
GORGEOUS! Love the ombre in that soft blue. The large background stamp is fantastic!
Love the Glossy Accents. What a great idea to add some dimension!
It’s very beautiful !! I love this background stamp too 🙂
Just a question : what difference does that make to stamp first and apply colours afterwards (rather than applying colour first and stamping second) ?
thank you, Lisa! If you plan to do just stamping (no heat embossing) it doesn’t matter.
But if you apply color first and do heat embossing later – you’ll have to wait for the ink blending to dry to be able to heat emboss neatly. That can take a lot of time depending how heavy you went with the ink blending.
So to save time it makes sense to heat emboss first and ink blend afterwards.
So pretty and wonderful colors. I love the glossy accents touch. Always so inspiring.
Fun card! Love the solar burst stencil and the Bohemian Lace stamp in this release.
Yana this is such a pretty card. The “background” is gorgeous.
WHAT A BEAUTIFUL CLASSIC CARD! LOVE THIS, YANA!!!! 😉