This post is also available in English
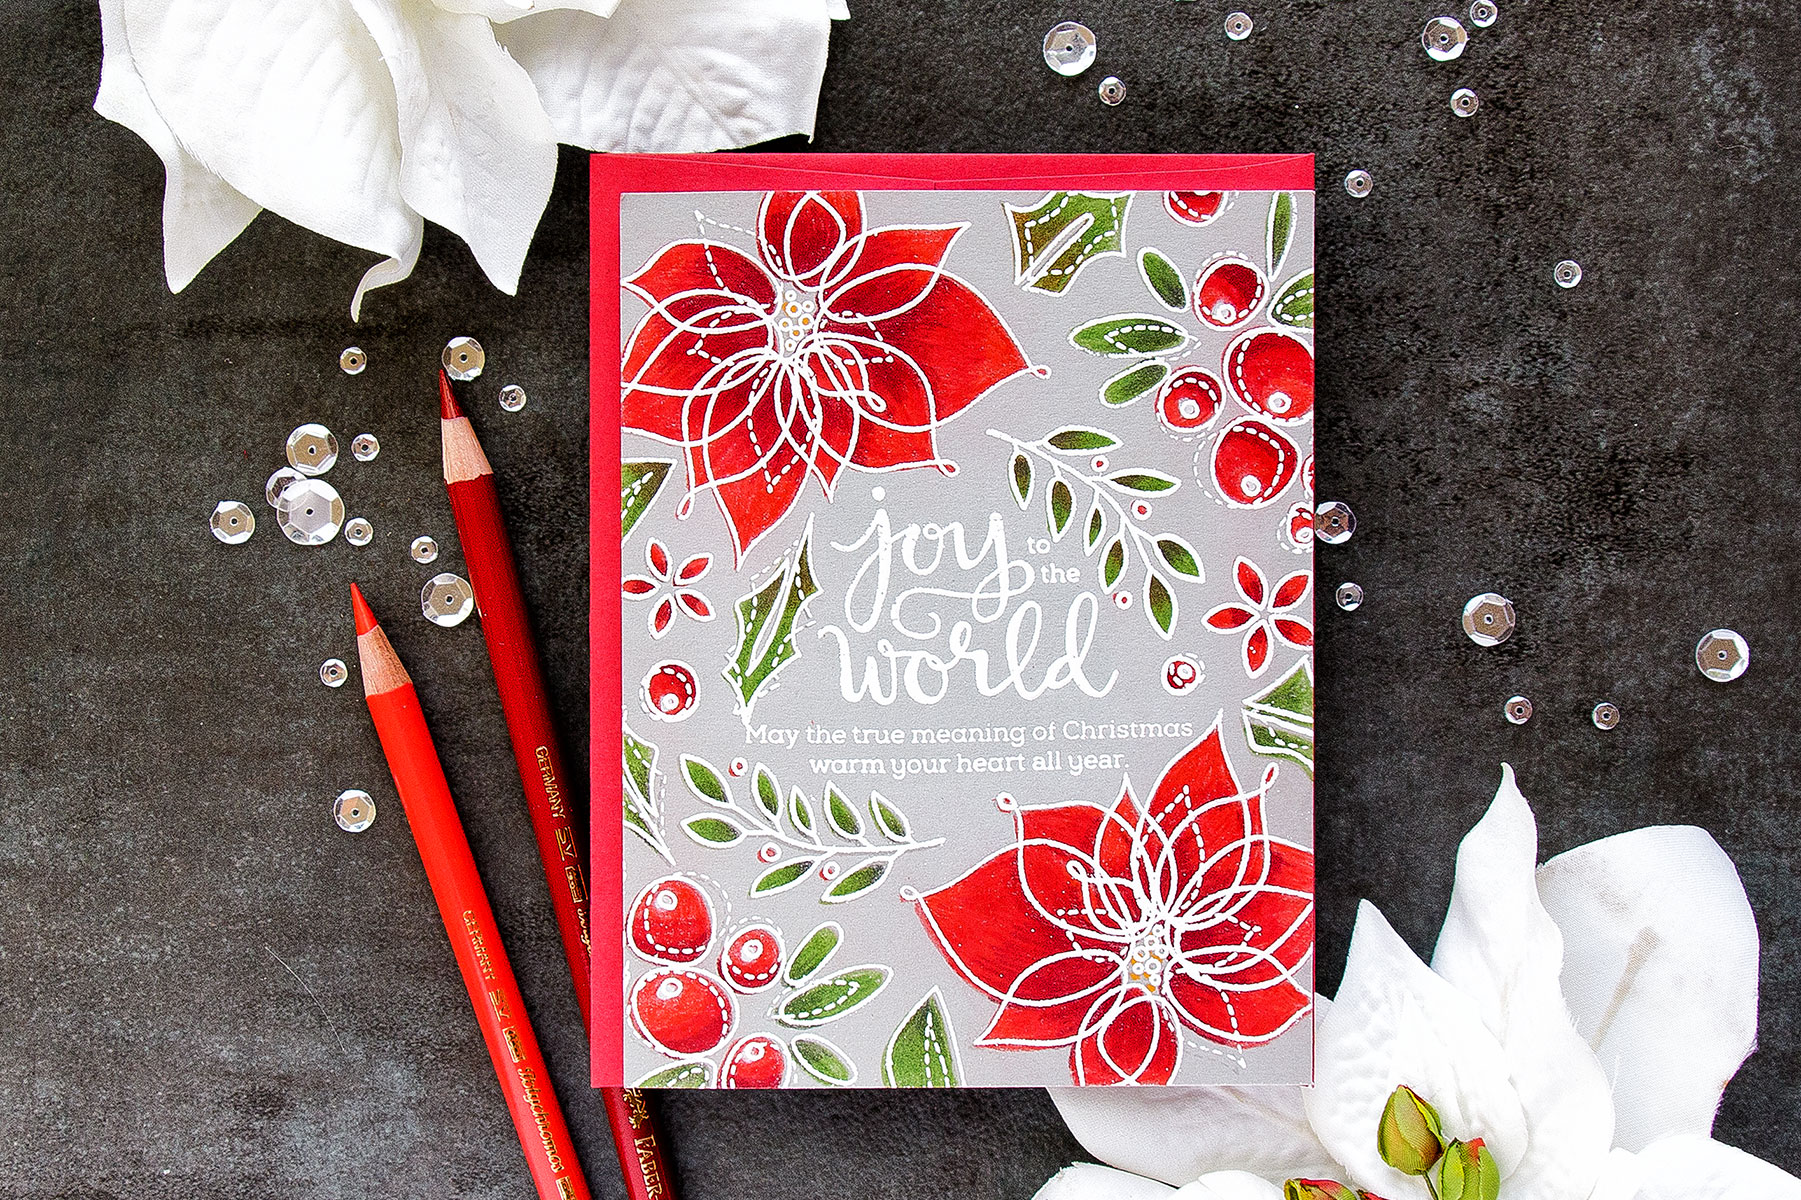
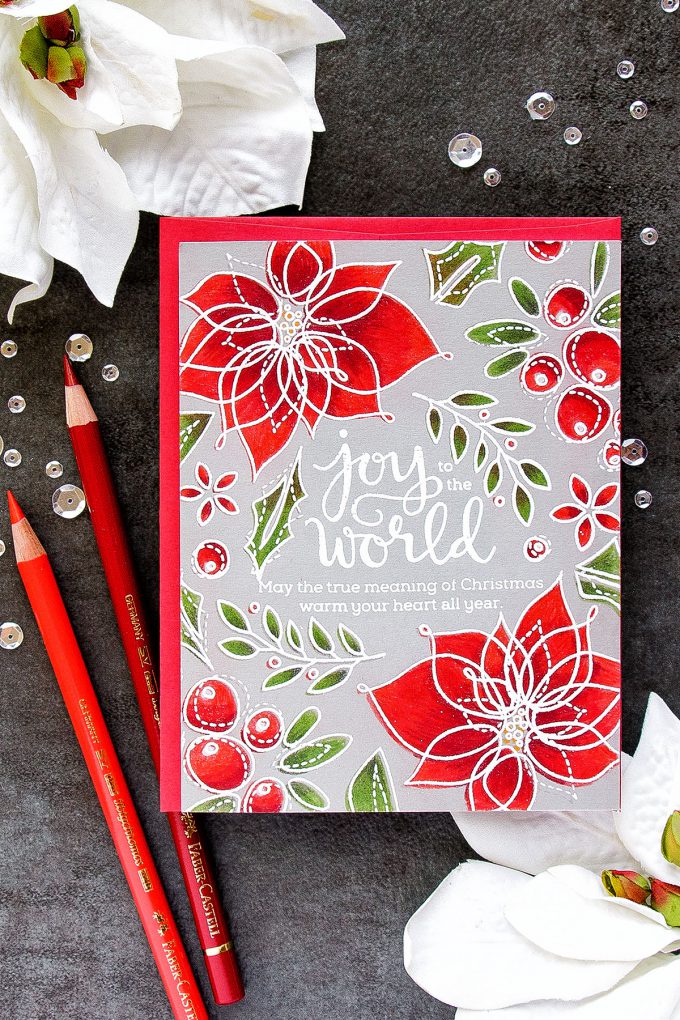
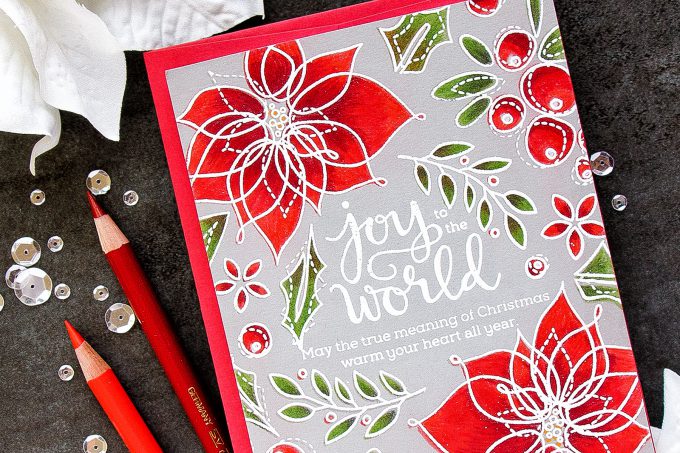
Hi everyone! Welcome back for another episode from my by-monthly Yippee For Yana video series for Simon Says Stamp Blog! In today’s episode I want to show a one layer colorful Christmas card created with the help of stamps and colored pencils and share some coloring tricks (or rather one trick) over white heat embossing.
Like this project? Pin it and save for later | Curious about my project photography? Click for details.
VIDEO TUTORIAL
As always, I filmed a video tutorial showing how to create this project from start to finish. I’m hoping you’ll enjoy it. Watch it below or on my Youtube channel.
Like this video? Please give it a big thumbs up (you can do this on Youtube video page right under the video) and share with a crafty friend! Leave me a comment too, I love hearing from you!
CARD DETAILS
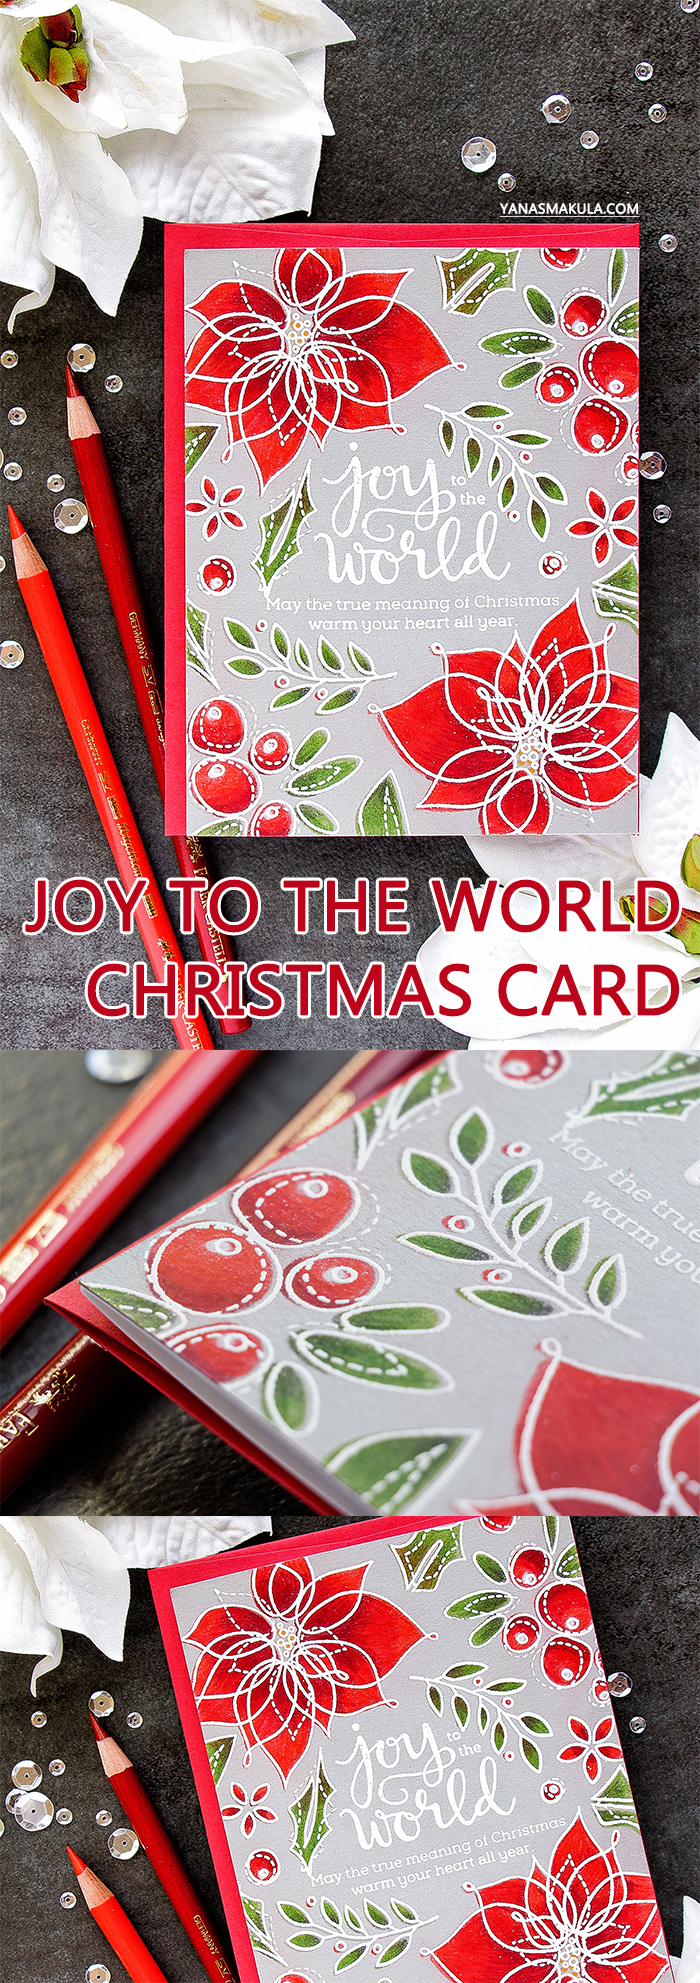
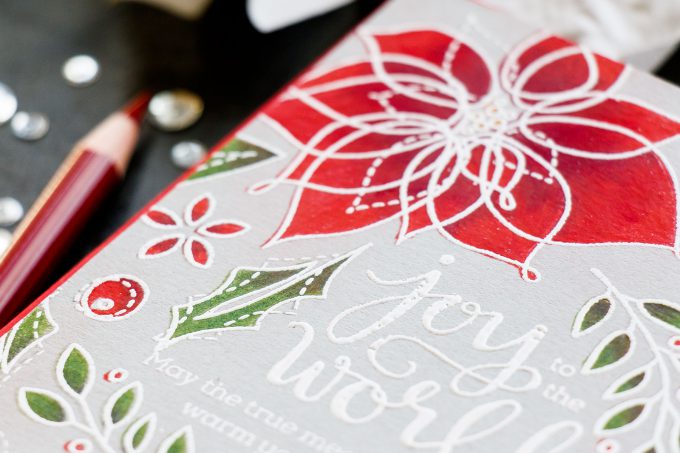
I started working on my card by heat embossing sentiment from the Peace on Earth stamp set in Hero Arts white embossing powder onto Smoke Gray cardstock panel cut to 4 1/4 by 5 ½”.
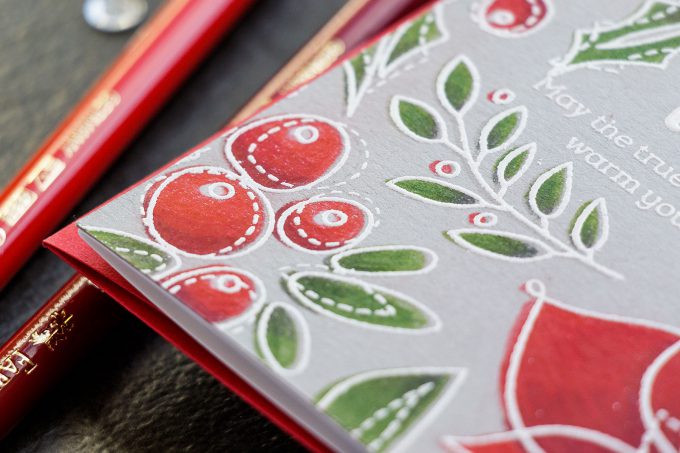
I’ve been coloring a lot with colored pencils on black and very dark gray papers with gold or antique gold heat embossing but I never actually tried it with white. And this is where I encountered my problem – as I was coloring images I kept accidentally going over the heat embossed line and coloring the line with my pencil. This probably does happen when you color a gold heat embossed image, but it’s much less visible.
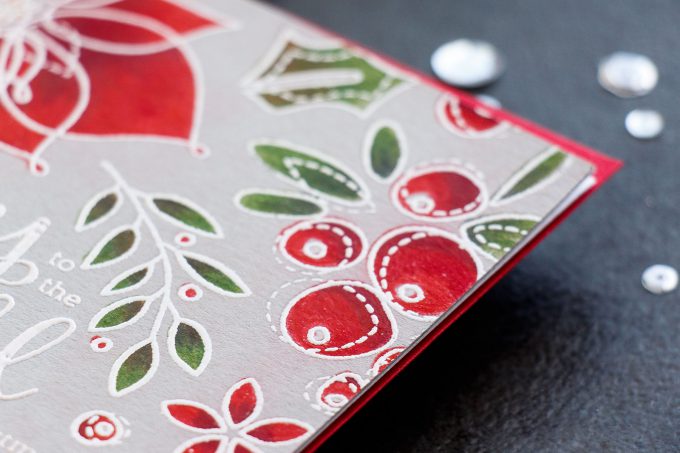
I decided I would do my coloring first and would heat emboss images later. This simple trick really did help to solve the problem. The process ended up being the following – I arranged images I wanted to use for my background on the door of my MISTI stamp positioner (you need to use a stamp positioning tool for this technique unless you are very good at eyeballing and double stamping). Placed my background panel inside the misti and stamped images in light color of ink.
You can use watermark embossing ink, I used Simon’s’ Fog ink. Next, I colored images with pencils as if doing a no-line coloring (I made sure to stay inside the line); repositioned the panel inside the MISTI, prepped for heat embossing, stamped the images that were still mounted on the MISTI door in clear embossing ink and heat embossed in white embossing powder.
This does take longer vs heat embossing and coloring, but it gives a much cleaner look. You can even do this if you find pencils dull the color of metallic embossing powder after coloring. Plus this allows to use highly detailed images like this poinsettia – there are a lot of dashed lined to this image that aren’t that easy to color around, but if they aren’t there when you do your coloring – you don’t have to worry about them.
I used Polychromos Pencils from Faber Castell, you can also use Prismacolors for this. I’ve been enjoying coloring with my Polychromos so this is why I picked those today. Once my background was finished I adhered it onto an A2 side folding card base and that pretty much finished my project. This is a one layer card – perfect to send in the mail!
I hope you’ll give this idea a try. Have fun stamping!
ONE DAY DAY ONLY SALE
Heads up! There’s a one day only sale happening at Simon! 30% off all Simon brand products – don’t miss this opportunity to pick up the items you’ve had on your wish list!
SUPPLIES
I’m listing the products I used below. Click on the link to go directly to the product. Where available I use compensated affiliate links which means if you make a purchase I receive a small commission at no extra cost to you. Thank you so much for your support!
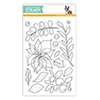 Simon Says Clear Stamps Winter Flowers Shop at: SSS |
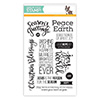 Simon Says Clear Stamps Peace on Earth Shop at: SSS |
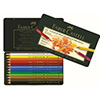 Faber-Castell Polychromos Colored Pencils 12 Piece Set Shop at: SSS |
 Simon Says Stamp Embossing Ink Pad Shop at: SSS |
 Simon Says Stamp Small Teflon Bone Folder Tool Shop at: SSS |
 Simon Says Stamp Smoke Cardstock Shop at: SSS |
 Neenah 110 Lb Solar White Cardstock Shop at: SSS |
 Hero Arts Heat Embossing Gun PW200 Shop at: SSS |
 Hero Arts White Embossing Powder PW110 Shop at: SSS |
 ScraPerfect Crafting Pouch Shop at: SSS |
 Misti Stamping Tool Shop at: SSS |
 Misti Creative Corners Positioning Pieces Shop at: SSS |
 Tonic Studios 8.5 Inch Paper Trimmer Shop at: SSS |
PIN THIS PROJECT
Are you on Pinterest? I’d love for your to pin this project if you like it! Thanks!



Thanks for sharing this tip. I tried stamping an image (on black) that had some small details in it; gold embossed and then colored. My coloring went over the embossing and … that was the end of that card idea. It was a mess. I appreciate this tip and now can go back and try that card idea again! Thank you, Yana!
Love this beautiful bright and cheerful card 🙂
Beautiful card! It is so cheery and festive and it really is a beautiful stamp. Thank you for sharing the helpful tips
This is truly stunning Yana.
Excellent tip!!
Beautiful Card. I love the vibrant colors and the gray sets the color off in a unique and handsome way. Keep the good ideas coming. Love your trend toward single layer and contemporary. You are inspiring.
This card is extremely BEAUTIFUL!!!! I love it so much!!!! Great tip on coloring then embossing. Love that you used colored pencils on grey paper. Such a unique look. Love love love it!!
Beautiful card!! Definitely worth the extra work……can’t wait to try this .
So beautiful Yana!!
I love your card! Thank you for the video and your idea to white emboss after coloring.
Love this card! I always wondered how to colour in embossed images and now I know. Such a beautiful card and great idea to use a grey background – it really makes the red pop! Thanks Yana, I’m now a subscriber