This post is also available in English
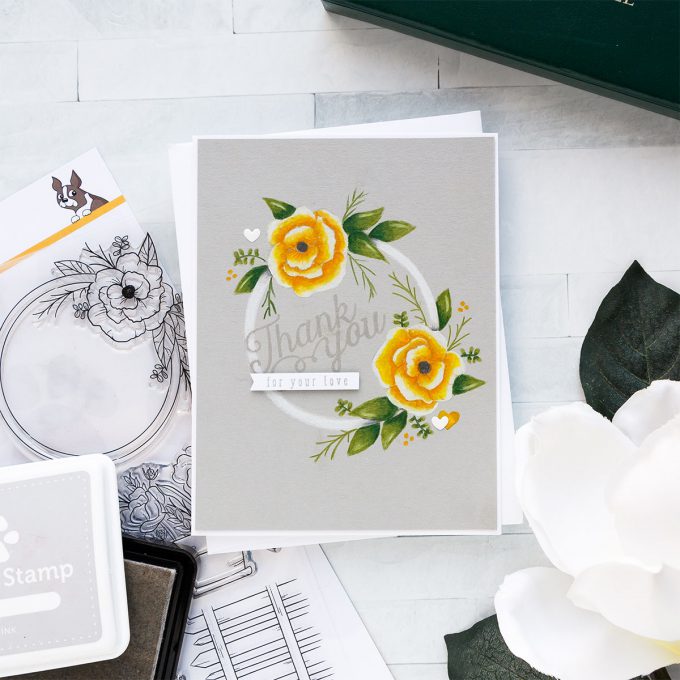
Hello friends, welcome back for another Yippee For Yana video! Today I’m using a stamp set from Simon’s August Card Kit – beautiful Mandy’s Flowers. I thought it would be a good idea to create a simple pencil colored card using one of the images from this set.
Like this project? Pin it and save for later | Curious about my project photography? Click for details.
VIDEO TUTORIAL
As always, I filmed a video tutorial showing how to create this project from start to finish. I’m hoping you’ll enjoy it. Watch it below or on my Youtube channel:
Like this video? Please give it a big thumbs up (you can do this on Youtube video page right under the video) and share with a crafty friend! Leave me a comment too, I love hearing from you!
CARD DETAILS
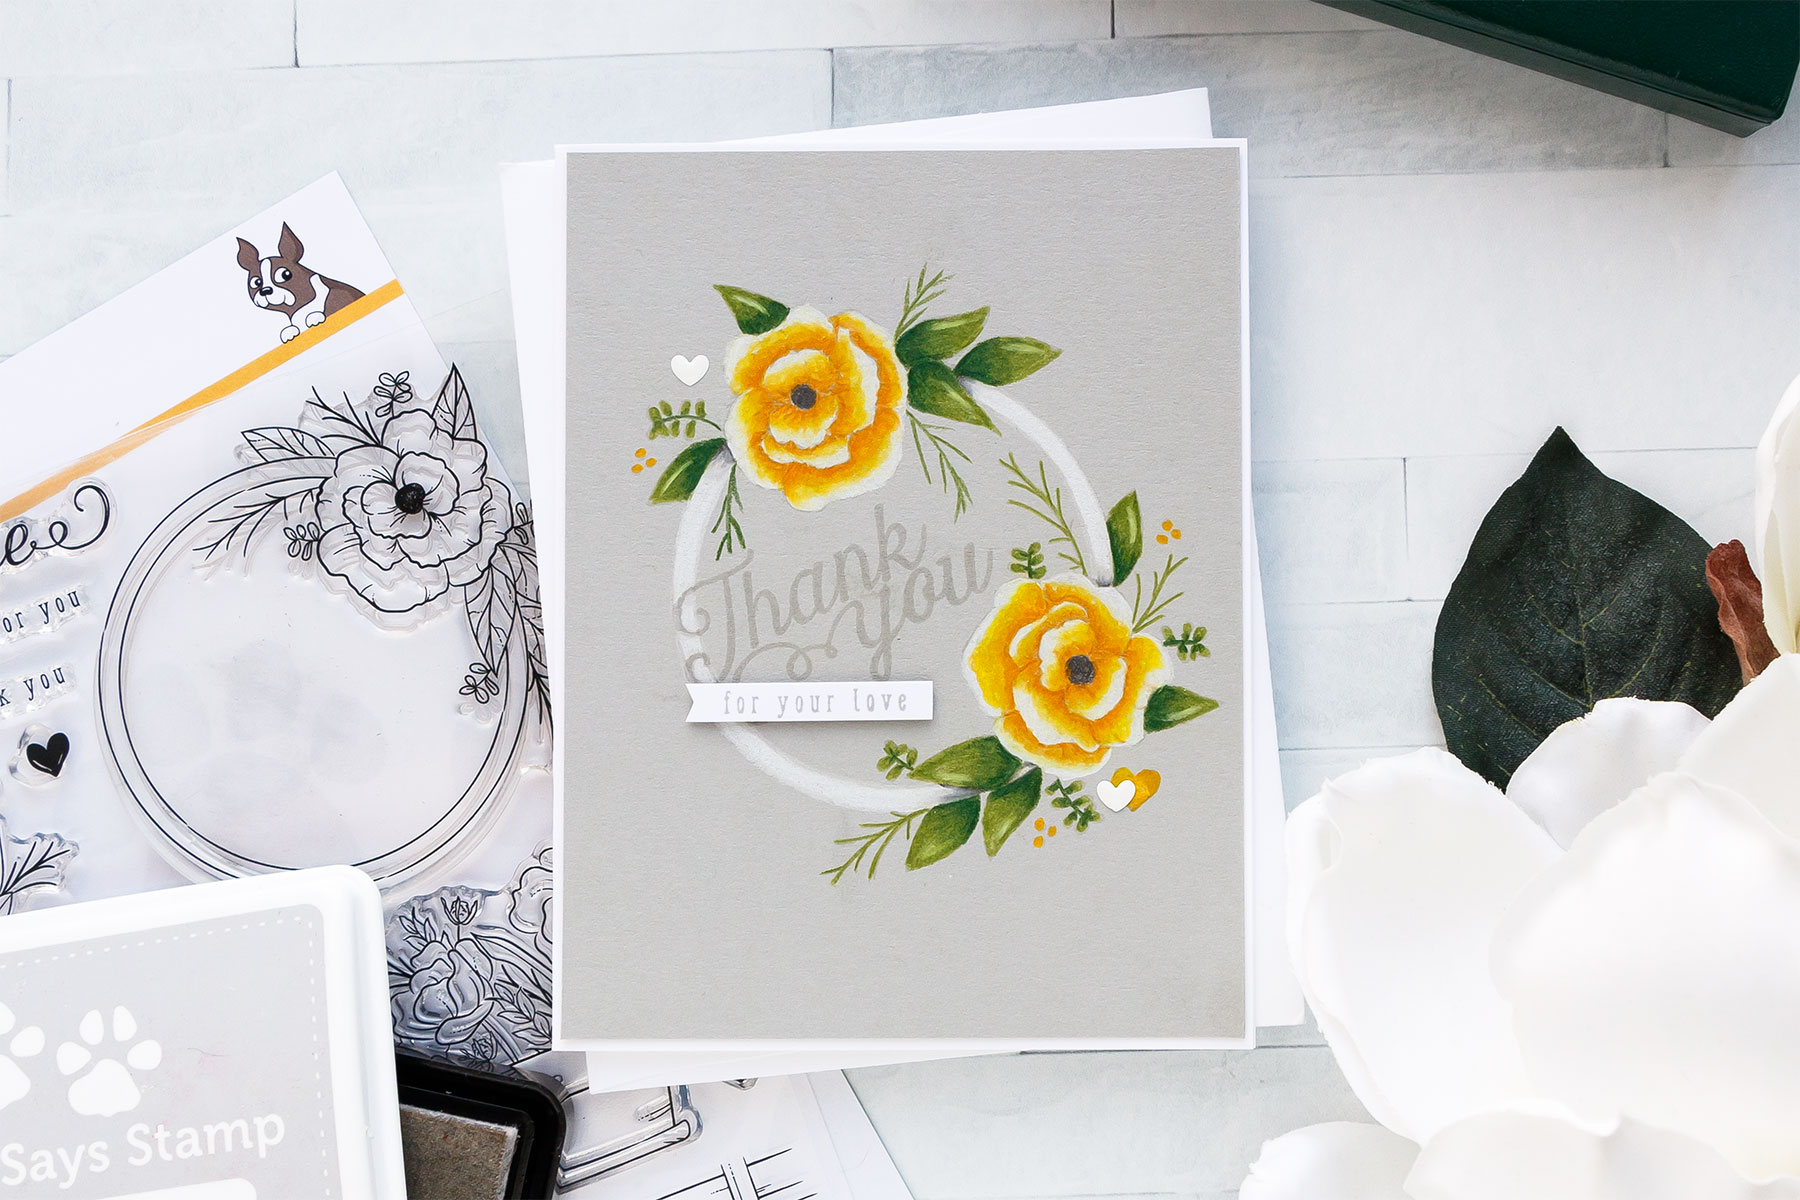
I started to work on my card by stamping image in Simon’s Fog ink onto a piece of Smoke Gray cardstock. When it comes to colored pencils I always think it’s a good idea to color on non-white paper (as I can always use my Copic markers to color on white).
To color this image I used Polychromos pencils from Faber Castell. I used the following pencils:
● #167 Permanent Green Olive, #166 Green Yellowish, #170 May Green;
● #274 Warm Grey V, #270 Warm Grey I, #101 White
● #109 Dark Chrome Yellow, #108 Dark Cadmium Yellow, #107 Cadmium Yellow
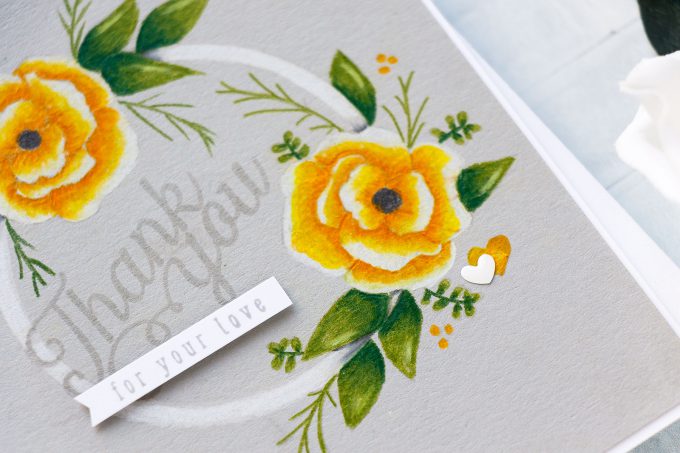
When I color with pencils I use the pencils themselves to blend the colors, I burnish with my pencils. I start with light hand and as I get to the final layer of color I apply heavy pressure to burnish my coloring. The burnishing action smoothes out the tooth of the paper and prevents it from accepting more pigment or more color on top. So that’s why you don’t want to use heavy hand right away when you just begin your coloring or you’ll flatten all of that tooth that the paper has and you will not be able to apply more color.
Once my initial flower was colored I created a mask and stamped another flower along with a few leaves to build up my image and colored it in the same way as before.
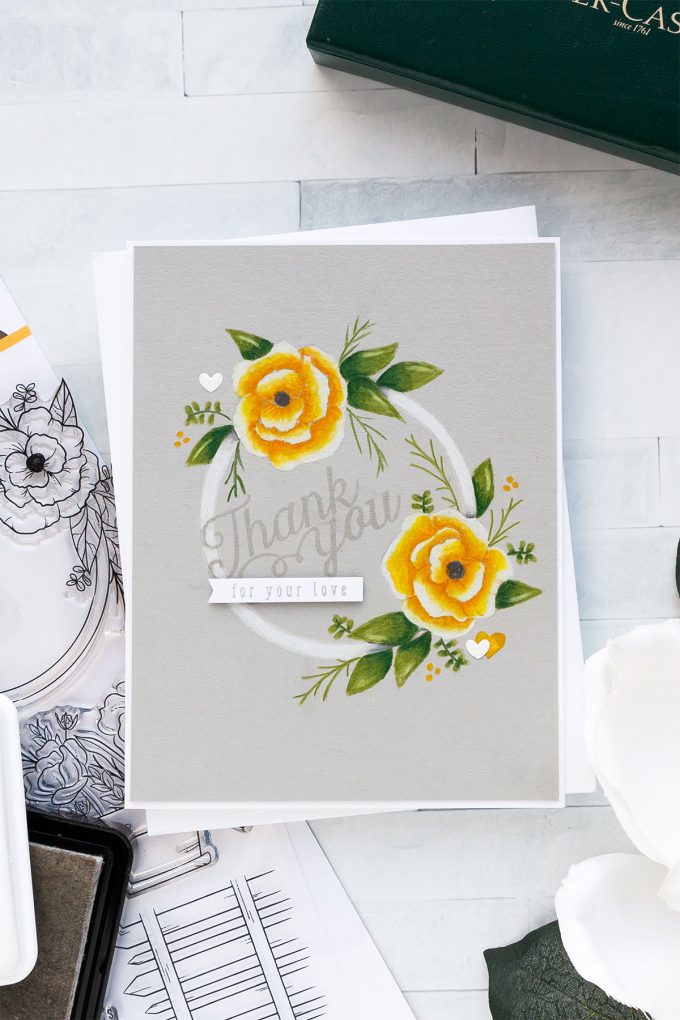
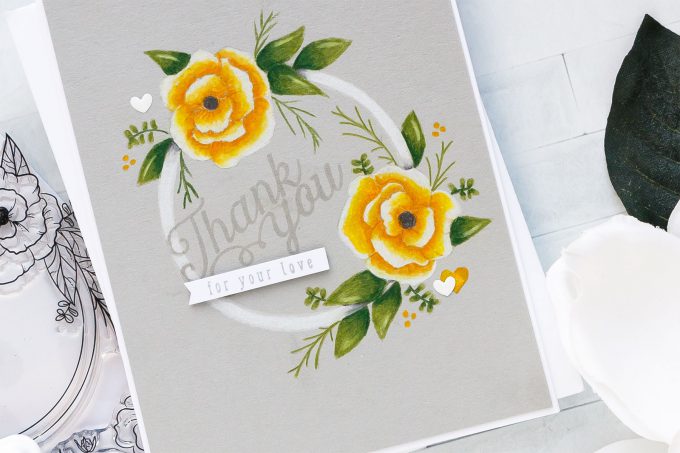
After my coloring was done I stamped sentiment that reads “Thank You For Your Love” in Smoke ink. I also added a few more stamped images – a little heart, a little branch and a few clusters of tiny dots (and again, colored those with colored pencils). To color the circle frame I used my white pencil along with a light and a dark gray to create shadows from the florals.
I also hand drew a few additional branches here and there to fill this image in. I could have stamped those, but I didn’t want the top flower looking exactly like the bottom one. I stamped “For Your Love” sentiment part in smoke ink onto white paper, I cut it into a little strip and foam mounted onto the card. I also added a few little enamel hearts that came in my August kit and adhered this panel onto an A2 white card base.
Have fun stamping!
SUPPLIES
I’m listing the products I used below. Click on the link to go directly to the product. Where available I use compensated affiliate links which means if you make a purchase I receive a small commission at no extra cost to you. Thank you so much for your support!
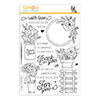 Simon Says Clear Stamps Mandy’s Flowers Shop at: SSS |
 Simon Says Stamp Smoke Cardstock Shop at: SSS |
 Simon Says Stamp Smoke Gray Ink Pad Shop at: SSS |
 Simon Says Stamp Fog Dye Ink Pad Shop at: SSS |
 Simon Says Stamp Masking Paper Shop at: SSS |
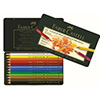 Faber-Castell Polychromos 12 Set Shop at: SSS |
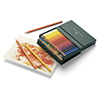 Faber-Castell Polychromos 36 Set Shop at: SSS |
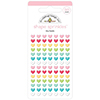 Doodlebug Tiny Hearts Enamel Shapes So Punny Shop at: SSS |
 Neenah 110 Lb Solar White Cardstock Shop at: SSS |
 Mini Misti Stamping Tool Shop at: SSS |
 Scrapbook Adhesives Thin White Foam Squares Shop at: SSS |
 Tonic Spring-cut Fine Tip Detail Scissors Shop at: SSS |
 Scor-Tape 1/8 Inch Crafting Tape Shop at: SSS |
SAVE ME/PIN ME TO PINTEREST
Like this card idea? Be sure to save it to one of your Pinterest boards for future reference!


This is so beautiful Yana, your cards are so elegant. Gorgeous card!
Yana, I love your cards, and I love your pencil coloring on this soft smoke card stock! Exquisite! Hugs!
Love it when you do pencil coloring. I’ve tried it in the past and not liked my results. However, every time I watch you, I pick up new pointers that I missed before. I am much more comfortable with copics and watercolor, so want to start using my pencile too. Thank you for inspiration!
Gorgeous card, as always. I just acquired some grey card stock, so I’ll give it a try! thanks for the video!
SUPER VIDEO, Yana! I do the small circular motion too, especially when I want a light coat, tone put down. Different motions, give different results! SUCH A BEAUTIFUL CARD!!!!!!!!!!! 😉
yes! it’s the way to go 🙂 thank you, Becky!
Yana, did the pencils you used came in a set already, or did you purchase them separately?
some of these did come in the set (I have a 36 set + about 34 more pencils that I got separately), but a few I purchased separately. If you are looking to start with Polychromos it’s best to get a small set and just test them, give them a try. They are more expensive than Prismacolors pencils and they are a bit different, not everybody likes that difference.
Gorgeous coloring!! I love this beautiful card!
I am really going to have to try colouring with my coloured pencils on coloured card stock rather than white or vanilla. TFS this project Yana :O) xxx
Another gorgeous card. I love watching you create with your coloured pencils. I have a full set of Prismacolor pencils but every time I watch you colouring I want a set of Polychromos. Why do you prefer them? What makes them stand out?