This post is also available in English
Hello there! Thank you for stopping by to help celebrate the new release from Simon Says Stamp – all about Love! I’ve already shared one card & video tutorial on my blog yesterday – check it out for more inspiration and have 4 more projects to share today!
Like this project? Pin it and save for later | Curious about my project photography? Click for details.
VIDEO TUTORIAL
As always, I filmed a video tutorial showing how to create this project from start to finish. I’m hoping you’ll enjoy it. Watch it below or on my Youtube channel.
Like this video? Please give it a big thumbs up (you can do this on Youtube video page right under the video) and share with a crafty friend! Leave me a comment too, I love hearing from you!
CARD DETAILS – INK BLENDING + DRY EMBOSSING
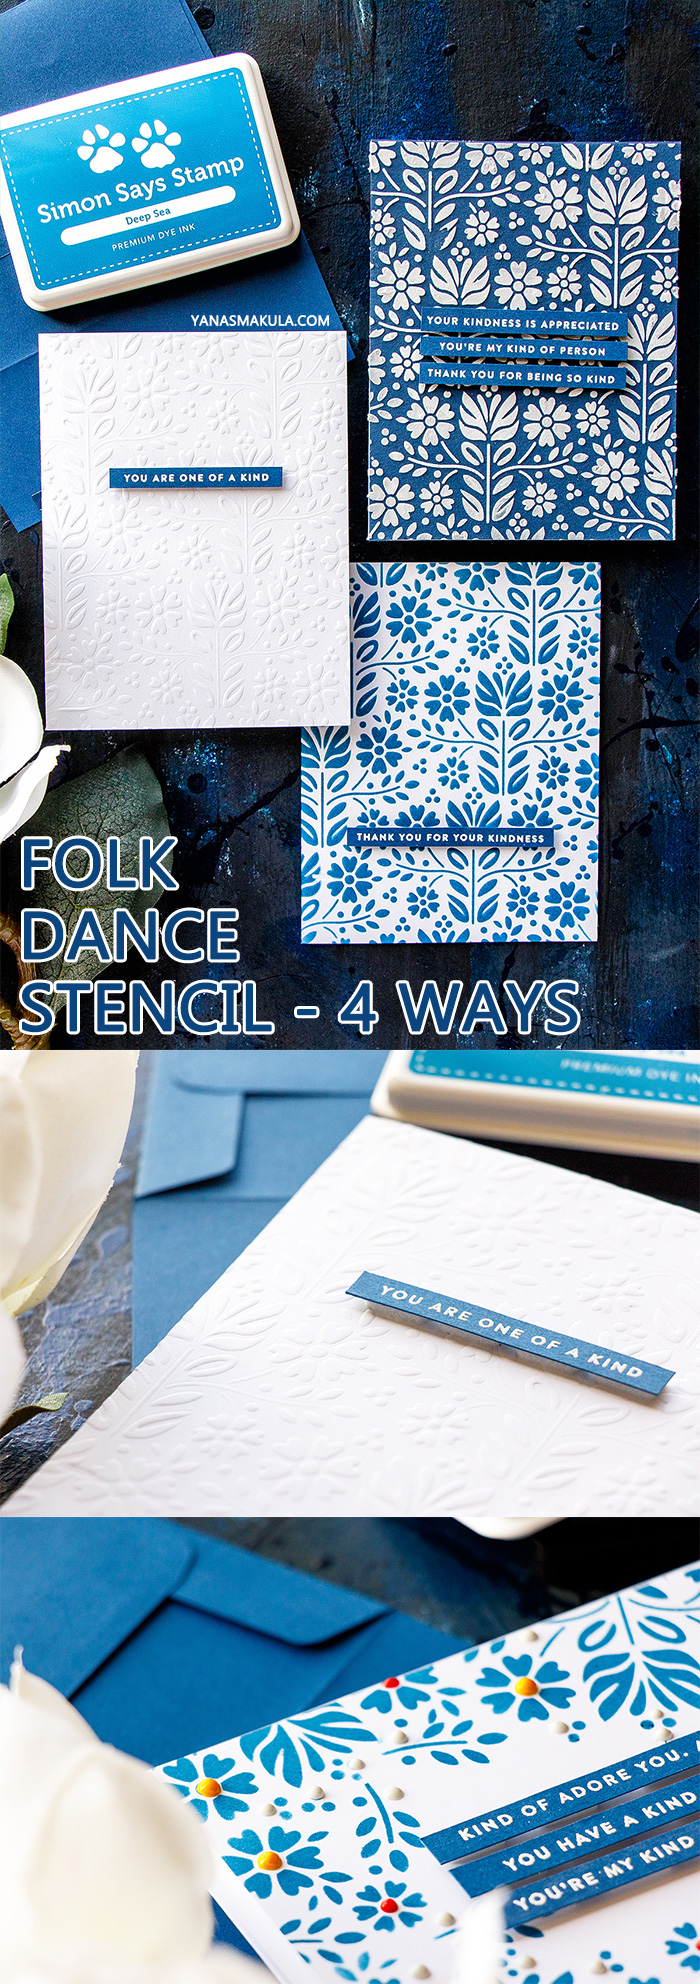
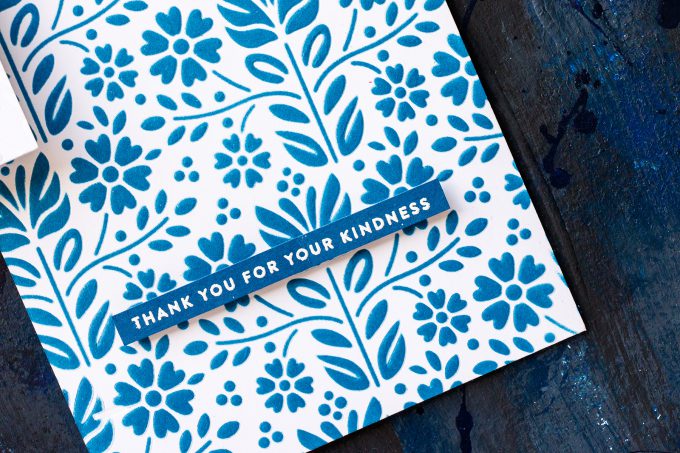
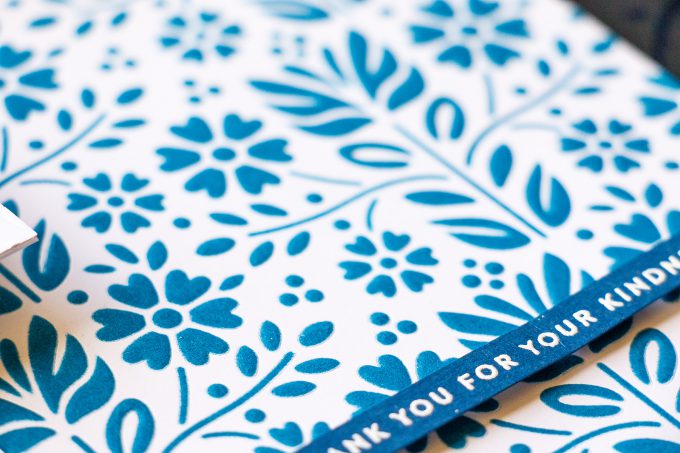
I love working with stencils as there’s just a ton of things that they can be used for. One of the ways to use it, the most common way, is to apply ink through the stencil to create a beautiful background. I used Simon’s Deep Sea ink, it’s a nice deep blue, and blended color through the Folk Dance stencil onto my paper to create a bold background.
This particular design looked very Scandinavian to me, and I associate blue with this style so I knew I wanted to use a lot of blue, mainly blue color for my cards today. I blended this ink rather heavily onto the paper and I just went with one solid color. If you have smaller ink blending tools, like little daubers, you can do selective ink blending and blend the flowers in red and yellow and keep the leaves blue.
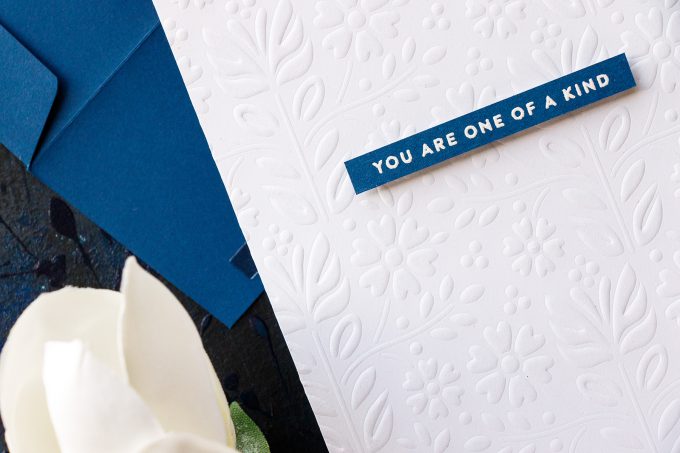
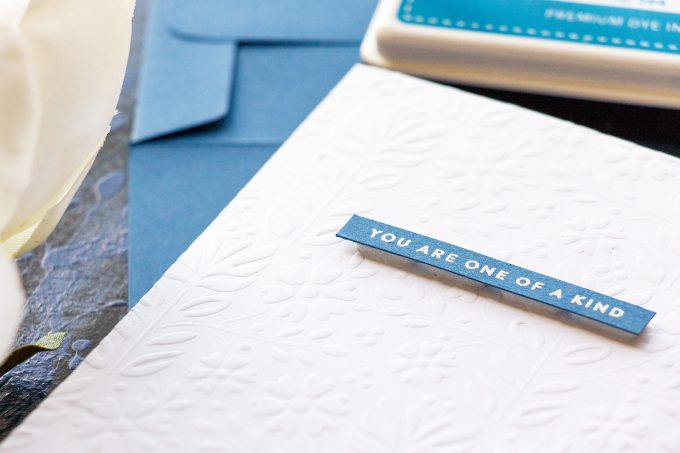
You can also dry emboss with the stencil – its like en embossing folder, it can emboss your paper but the impression is not going to be as deep. I used my Platinum die cutting machine from Spellbinders to dry emboss my ink blended background as well as just a piece of white cardstock with the help of the stencil.
I just love this look of white on white – there’s just nothing quite like it. You can also try it on colored cardstock, but white is a winner in my book.
CARD DETAILS – TEXTURE PASTE
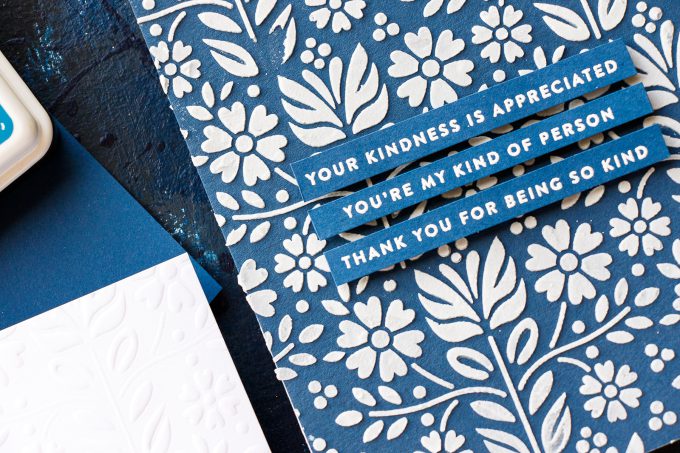
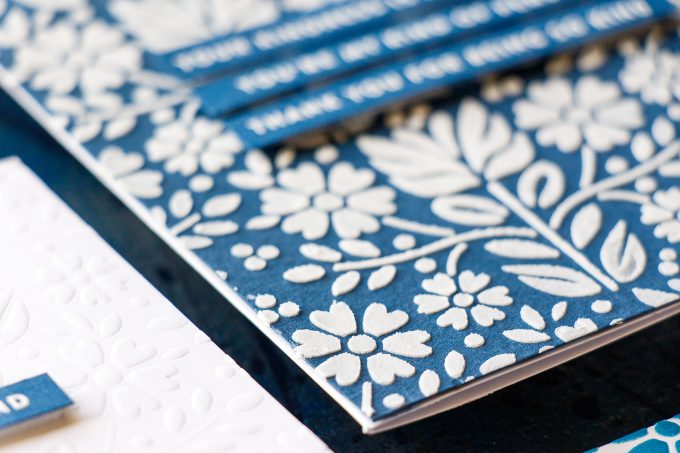
Another thing I like to use my stencils with is texture paste. I used texture paste from Ranger and applied a very heavy layer of my paste onto Soft Navy cardstock from Simon Says Stamp – still going for that white and blue look.
I loved the result, I got dimension, I got texture – I basically got everything I wanted from this background with this paste.
CARD DETAILS – ALTERING THE STENCIL WITH MASKING
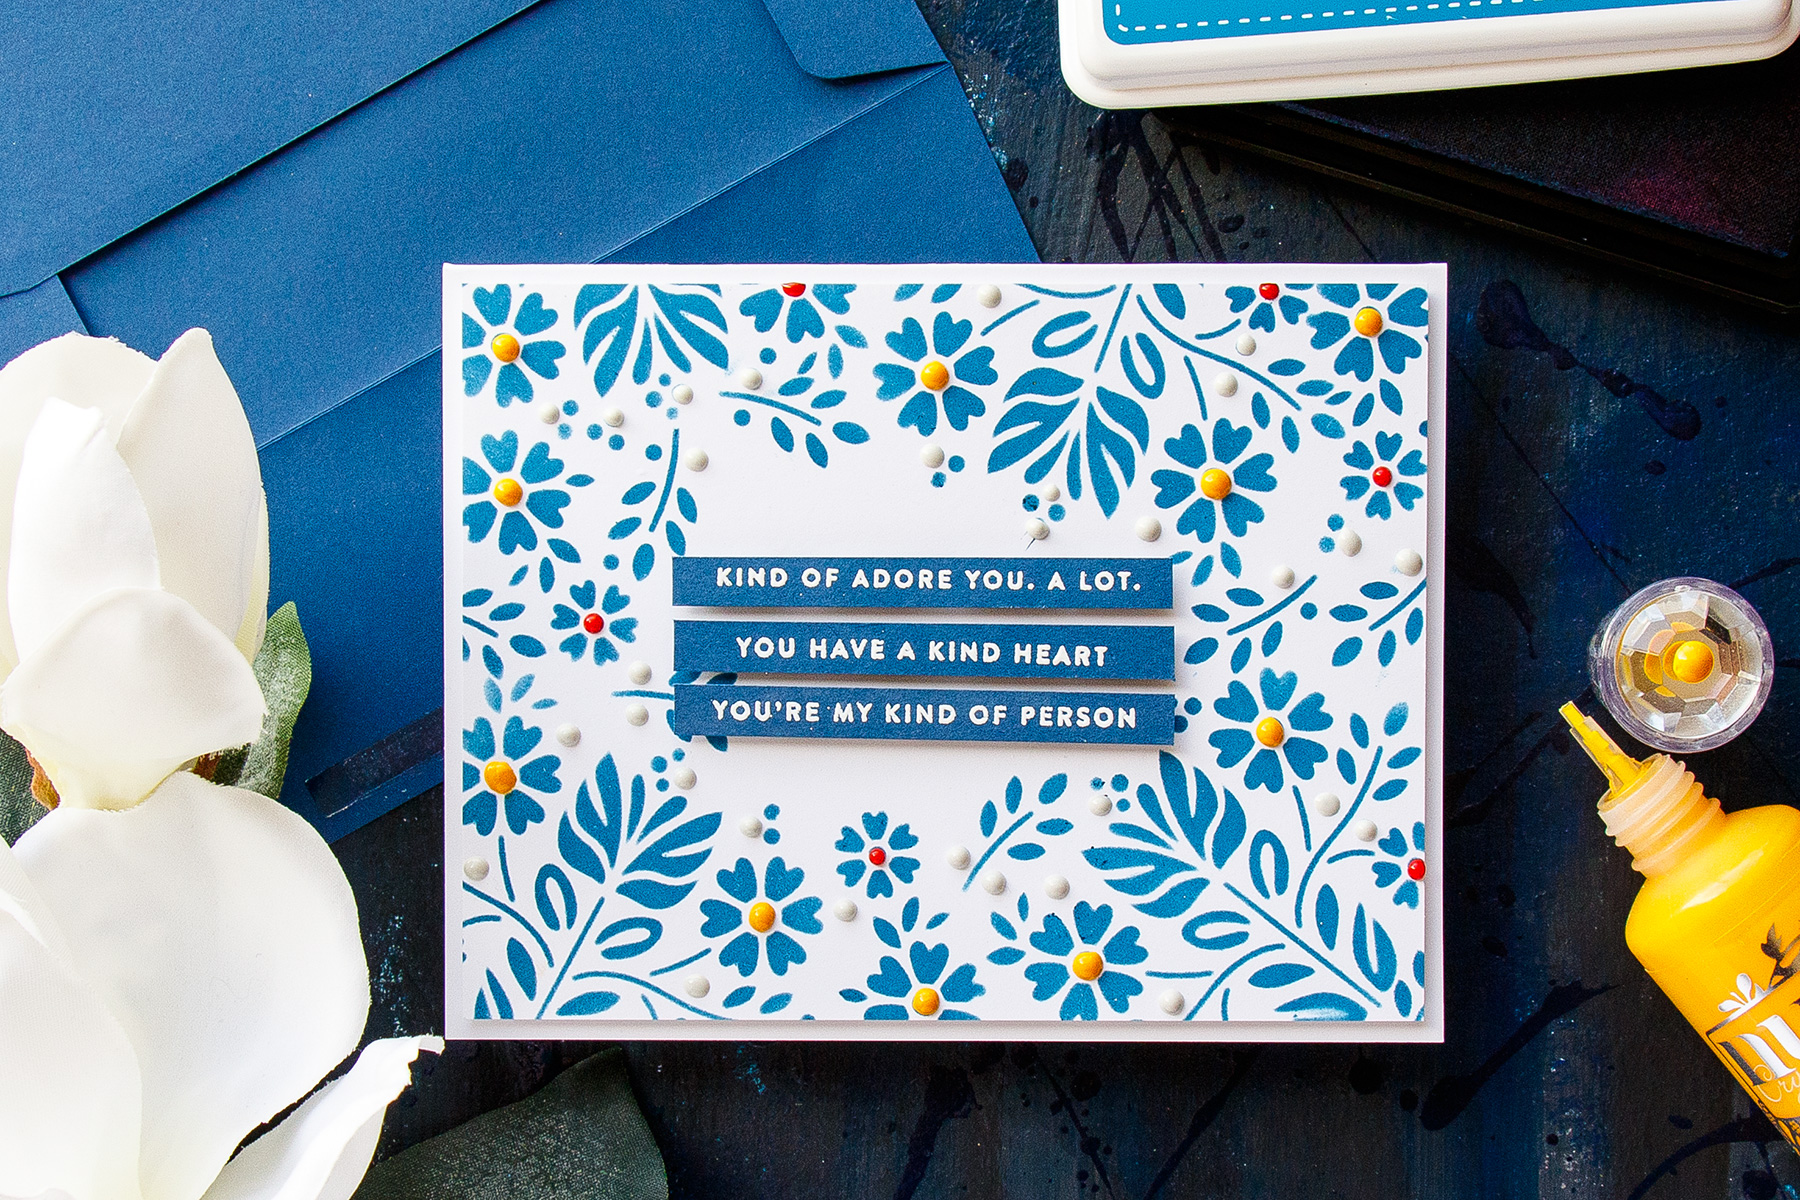
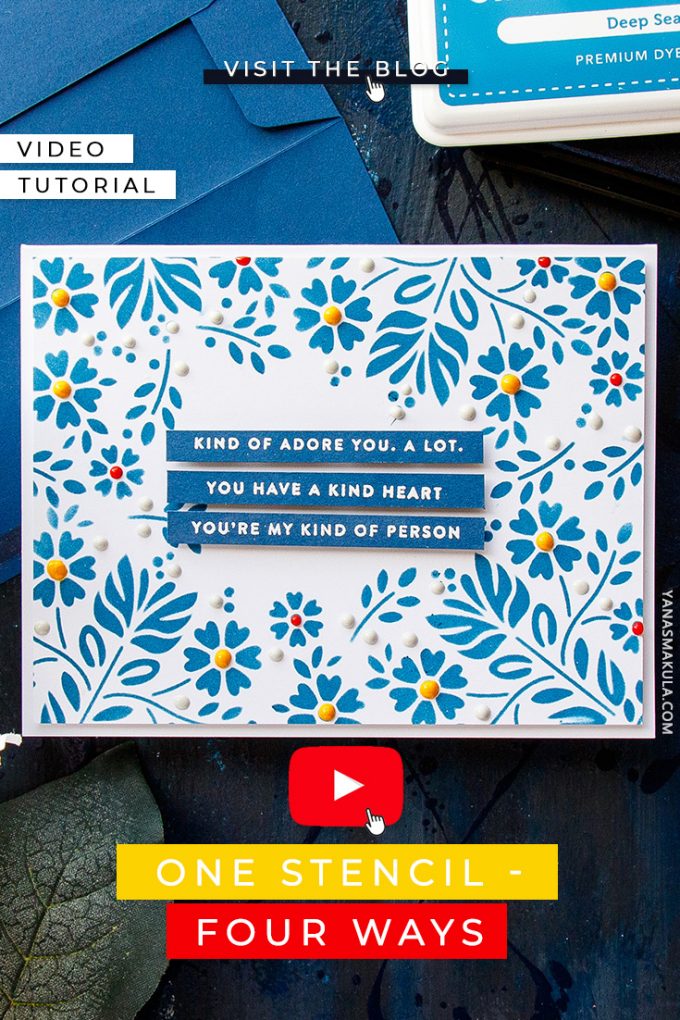
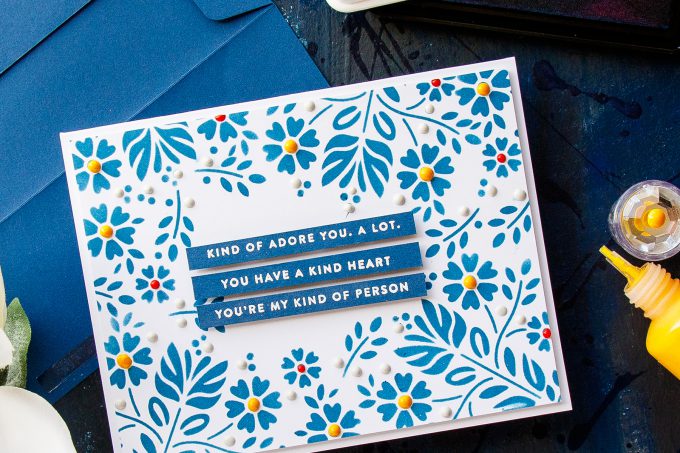
One last thing I wanted to share is using just parts of a stencil. I masked some areas of my stencil so that I could change up the look. This stencil has a pattern to it – there are repeating elements on it, and I wanted to break it up apart without actually physically breaking the stencil; I wanted to use these elements separately to create a different arrangement on my background. I still used the same elements, I simply changed how they were arranged on my background.
This handmade card uses Nuvo Drops to create flower centers. Want to see 4 other ways you can use Nuvo Drops from Tonic Studios in card making? Check out this article – 5 Ways to Use Nuvo Drops.
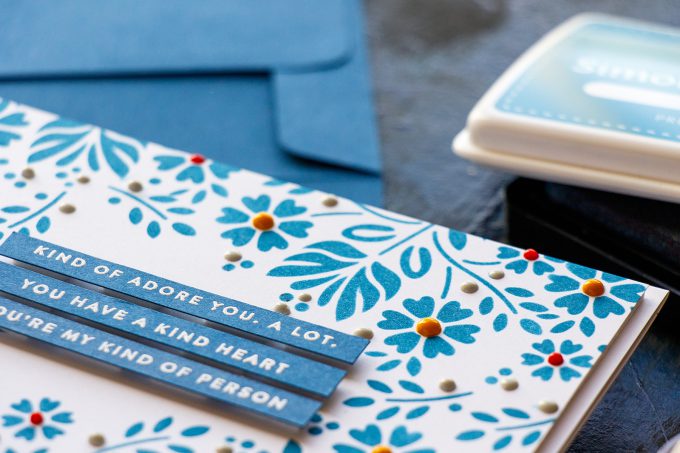
I blended the same Soft Navy ink and formed a floral frame keeping the central part of my panel white. I think I had the most fun creating this background – as it gave me a completely different look to my card.
I also added a bit of color this background by using my Nuvo drops in yellow, red and gray. I used gray for the filler dots – so any blue dots that weren’t flower centers I coated a lot of those in gray and than used yellow as the flower center for large flowers and red for the small flowers. And I loved how I was able to easily add color to this background. And this also helped me to cover up some of the imperfect blending spots that I had on my card.
The sentiments for all 4 of my projects came from an older stamp set from Simon – I heat embossed them in white embossing powder onto blue cardstock, trimmed into strips and foam mounted onto the cards.
GIVEAWAY! (NOW CLOSED)
Simon Says Stamp is giving away a $25 coupon to every stop on the hop from the blog comment section. So leave a comment below for your chance to win! Winners will be announced on Simon’s blog on Wednesday.
HOP ALONG WITH US!
Simon Says Stamp Blog
Jennifer McGuire
Kristina Werner
Laura Bassen
Yana Smakula – you are here!
Debby Hughes
Nina-Marie Trapani
Nichol Spohr
Suzy Plantamura
Jessica Frost-Ballas
Heather Ruwe
Lisa Addesa
SUPPLIES
I’m listing the products I used below. Click on the link to go directly to the product. Where available I use compensated affiliate links which means if you make a purchase I receive a small commission at no extra cost to you. Thank you so much for your support
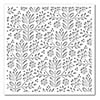 Simon Says Stencils Folk Dance Shop at: SSS |
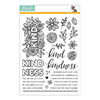 Simon Says Clear Stamps Kind Flowers Shop at: SSS |
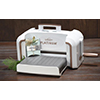 Spellbinders Platinum Die Cutting Machine Shop at: SSS |
 Hero Arts White Embossing Powder PW110 Shop at: SSS |
 Hero Arts Heat Embossing Gun PW200 Shop at: SSS |
 Neenah 110 Lb Solar White Cardstock Shop at: SSS |
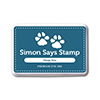 Simon Says Stam Deep Sea Dye Ink Pad Shop at: SSS |
 Simon Says Stamp Embossing Ink Pad Shop at: SSS |
 Simon Says Stamp Soft Navy Cardstock Shop at: SSS |
 Simon Says Stamp White Pigment Ink Pad Shop at: SSS |
 Spellbinders Magnetic Handy Mat Shop at: SSS |
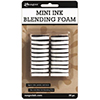 Ranger Mini Round Foam Refils Shop at: SSS |
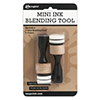 Ranger Mini Round Ink Blending Tools Shop at: SSS |
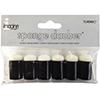 Tsukineko 6 Sponge Daubers Tools Shop at: SSS |
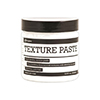 Ranger Texture Paste Shop at: SSS |
 Tonic Metal Palette Knife Shop at: SSS |
 Tonic Oyster Gray Nuvo Crystal Drops Shop at: SSS |
 Tonic English Mustard Nuvo Crystal Drops Shop at: SSS |
 Tonic Red Berry Gloss Nuvo Crystal Drops Shop at: SSS |
 ScraPerfect Crafting Pouch Shop at: SSS |
 Tonic Studios 8.5 Inch Paper Trimmer Shop at: SSS |
 Scor-tape 2 1/2 Inch Crafting Tape Shop at: SSS |
 White Fun Foam 12 Pack 9 x 12 Shop at: SSS |
 Scrapbook Adhesives White Foam Squares Shop at: SSS |
PIN THIS PROJECT
Are you on Pinterest? I’d love for your to pin this project if you like it! Thanks!


Absolutely Beautiful!
What a perfect take on the feel of that fabulous stencil.
Beautiful cards! Thanks for the inspiration.
Thanks for all of the inspiration on how to use this stencil! I just purchased it and can’t wait to try out your ideas!
Love all of the blues. Stunning projects
I love all the different techniques you can do with a stencil. The cards are beautiful!
Very clever, the way you used the stencil four different ways! I always love the fun ideas and creative inspiration you show us! The video is great, too!
I love your process.
Hophop
I loved each and everyone of them,, thank you so much for sharing,, I didnt know we could emboss stencil ,, n the masking card looks all so prettey 🙂 cheers 🙂