This post is also available in English
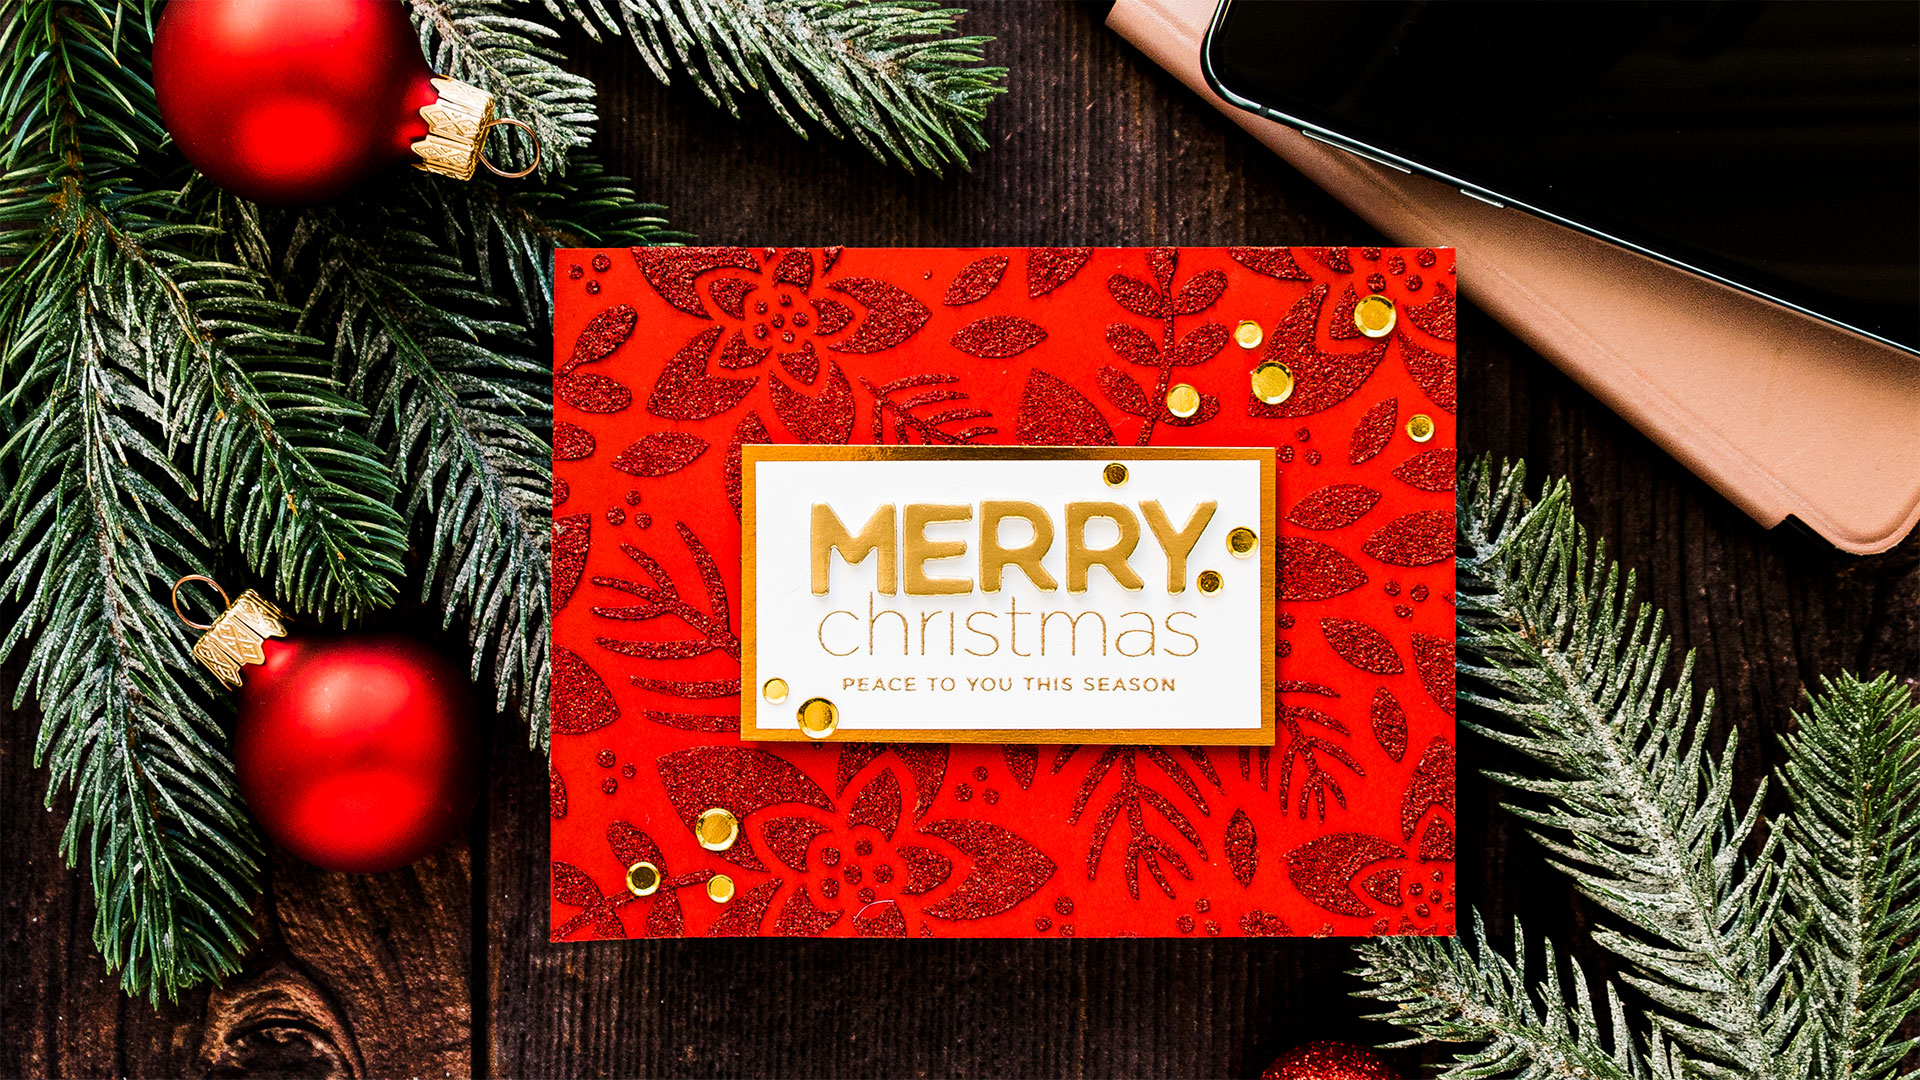
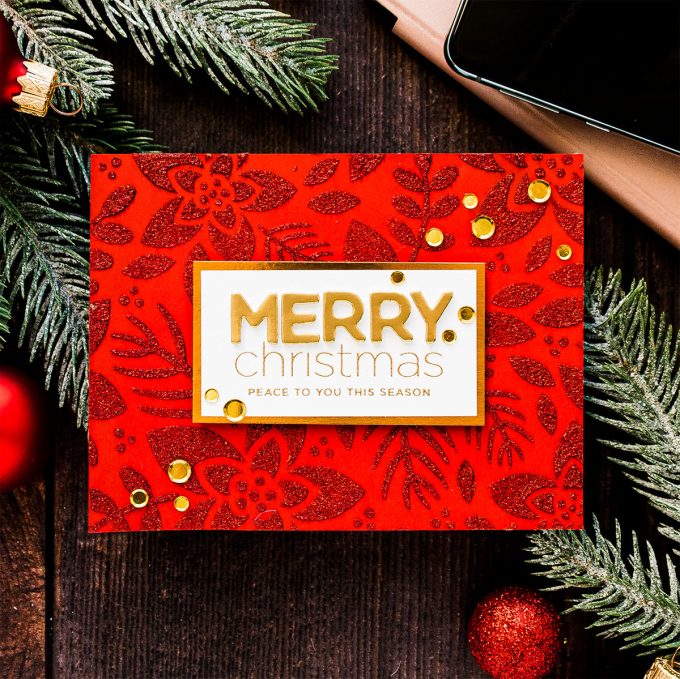
Red. Do you love red? I think it’s a very beautiful, yes dangerous color. I love red, especially around the Holidays. I love subtle hints of red as well as a full-blown red background. Today’s card features a stunning tone on tone glitter paste background in red with subtle hints of gold. This card design is easy to make and easy to mass-produce should you need multiples.
Like this project? Pin it and save for later | Curious about my project photography? Click for details.
CARD DETAILS
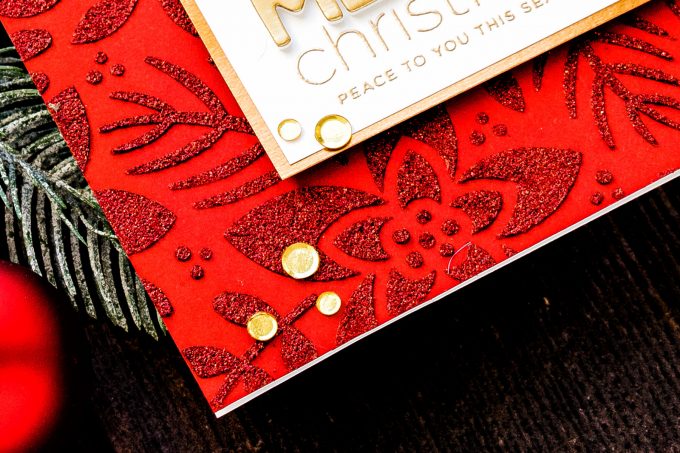
I started to work on this project by applying red glitter paste through Simon’s Winter Floral stencil onto a red cardstock panel. This paste, the Garnet Red by Tonic Studios, is rather amazing for Christmas projects such as this one. It is easy to work with (but you do need to work fast and wash your tools quickly), it doesn’t take long to dry and it looks simply beautiful.
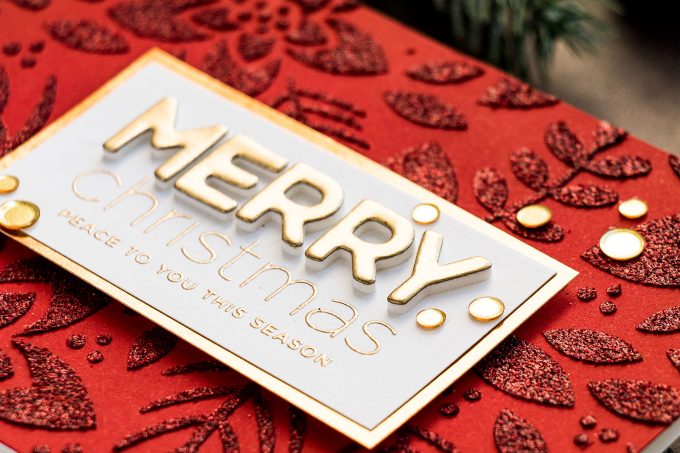
With the paste applied to the background, I set it aside to dry and started to work on a sentiment. I love the dimensional letters stickers from Pebbles (they were included in one of Simon’s card kits recently), especially the foiled finished. I wanted to use the letters to spell a part of the sentiment. Looking through my stash I found one that reads “Merry Christmas. Peace to you this season” and decided to spell “Merry” using stickers. I heat embossed the rest of the sentiment in Simon’s Antique Gold embossing powder and added “Merry” above the sentiment making sure it was aligned and centered.
I trimmed the sentiment panel down and adhered to a panel of foil cardstock from Tim Holtz (a few sheets were included in one of Simon’s card kits, but there’s a full pack available – this cardstock is just amazing). By the time I was done with sentiment panel my background panel has had enough time to dry, I adhered it to an A2 white top folding card base.
Next, with the help of foam adhesive squares, I added the sentiment panel in the center of the card. To add more gold to this project I scattered several gold confetti pieces going diagonally from the bottom left to top right corners of the project.
I love simple card designs like this. They feel very classy to me, yet still very eye-catching and beautiful. I hope you like this card idea!
SUPPLIES
I’m listing the products I used below. Click on the link to go directly to the product. Where available I use compensated affiliate links which means if you make a purchase I receive a small commission at no extra cost to you. Thank you so much for your support!
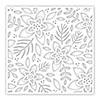 Simon Says Stamp Stencil Winter Floral Shop at: SSS |
 CZ Design Clear Stamps Clean Line Christmas Shop at: SSS |
 Simon Says Stamp Schoolhouse Red Cardstock Shop at: SSS |
 Neenah 110 Lb Solar White Cardstock Shop at: SSS |
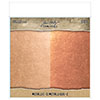 Tim Holtz Idea-ology 8 X 8 Paper Stash Metallic Shop at: SSS |
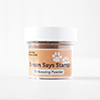 Simon Says Stamp Antique Gold Embossing Powder Shop at: SSS |
 Simon Says Stamp Stay Gold Sequins Shop at: SSS |
 Hero Arts Heat Embossing Gun Shop at: SSS |
 EK Success Powder Tool Applicator Shop at: SSS |
 Simon Says Stamp Embossing Ink Pad Shop at: SSS |
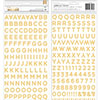 Pebbles Inc. Jen Hadfield Anne Foil Foam Letter Stickers Shop at: SSS |
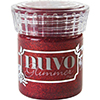 Tonic Garnet Red Nuvo Glimmer Paste 954n Shop at: SSS |
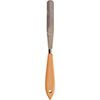 Tonic Metal Palette Knife Shop at: SSS |
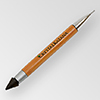 Crystal Ninja Crystal Katana Pick Up Tool Shop at: SSS |
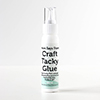 Simon Says Stamp Craft Tacky Glue Shop at: SSS |
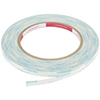 Scor-Tape 1/8 Inch Crafting Tape Shop at: SSS |


