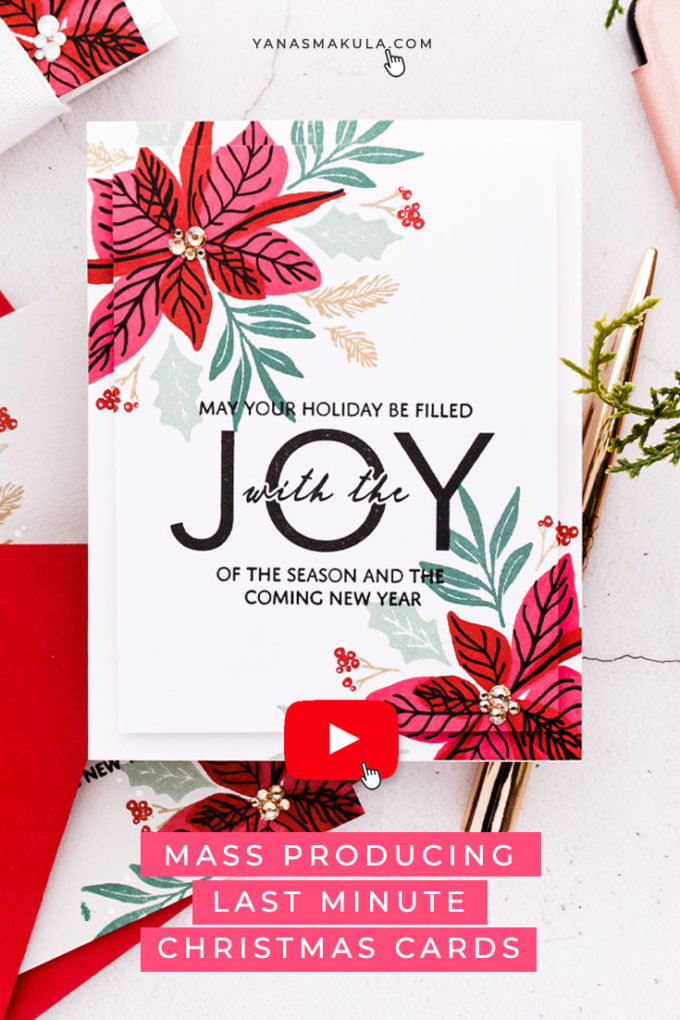
Hello and welcome back for another Yippee For Yana video! In this video, I’m talking about mass producing last-minute Christmas cards.
Like this project? Pin it and save for later | Curious about my project photography? Click for details.
VIDEO TUTORIAL
Watch the video below or on my Youtube channel.
Like this video? Please give it a big thumbs up (you can do this on Youtube video page right under the video) and share it with a crafty friend! Leave me a comment too, I love hearing from you!
CARD DETAILS
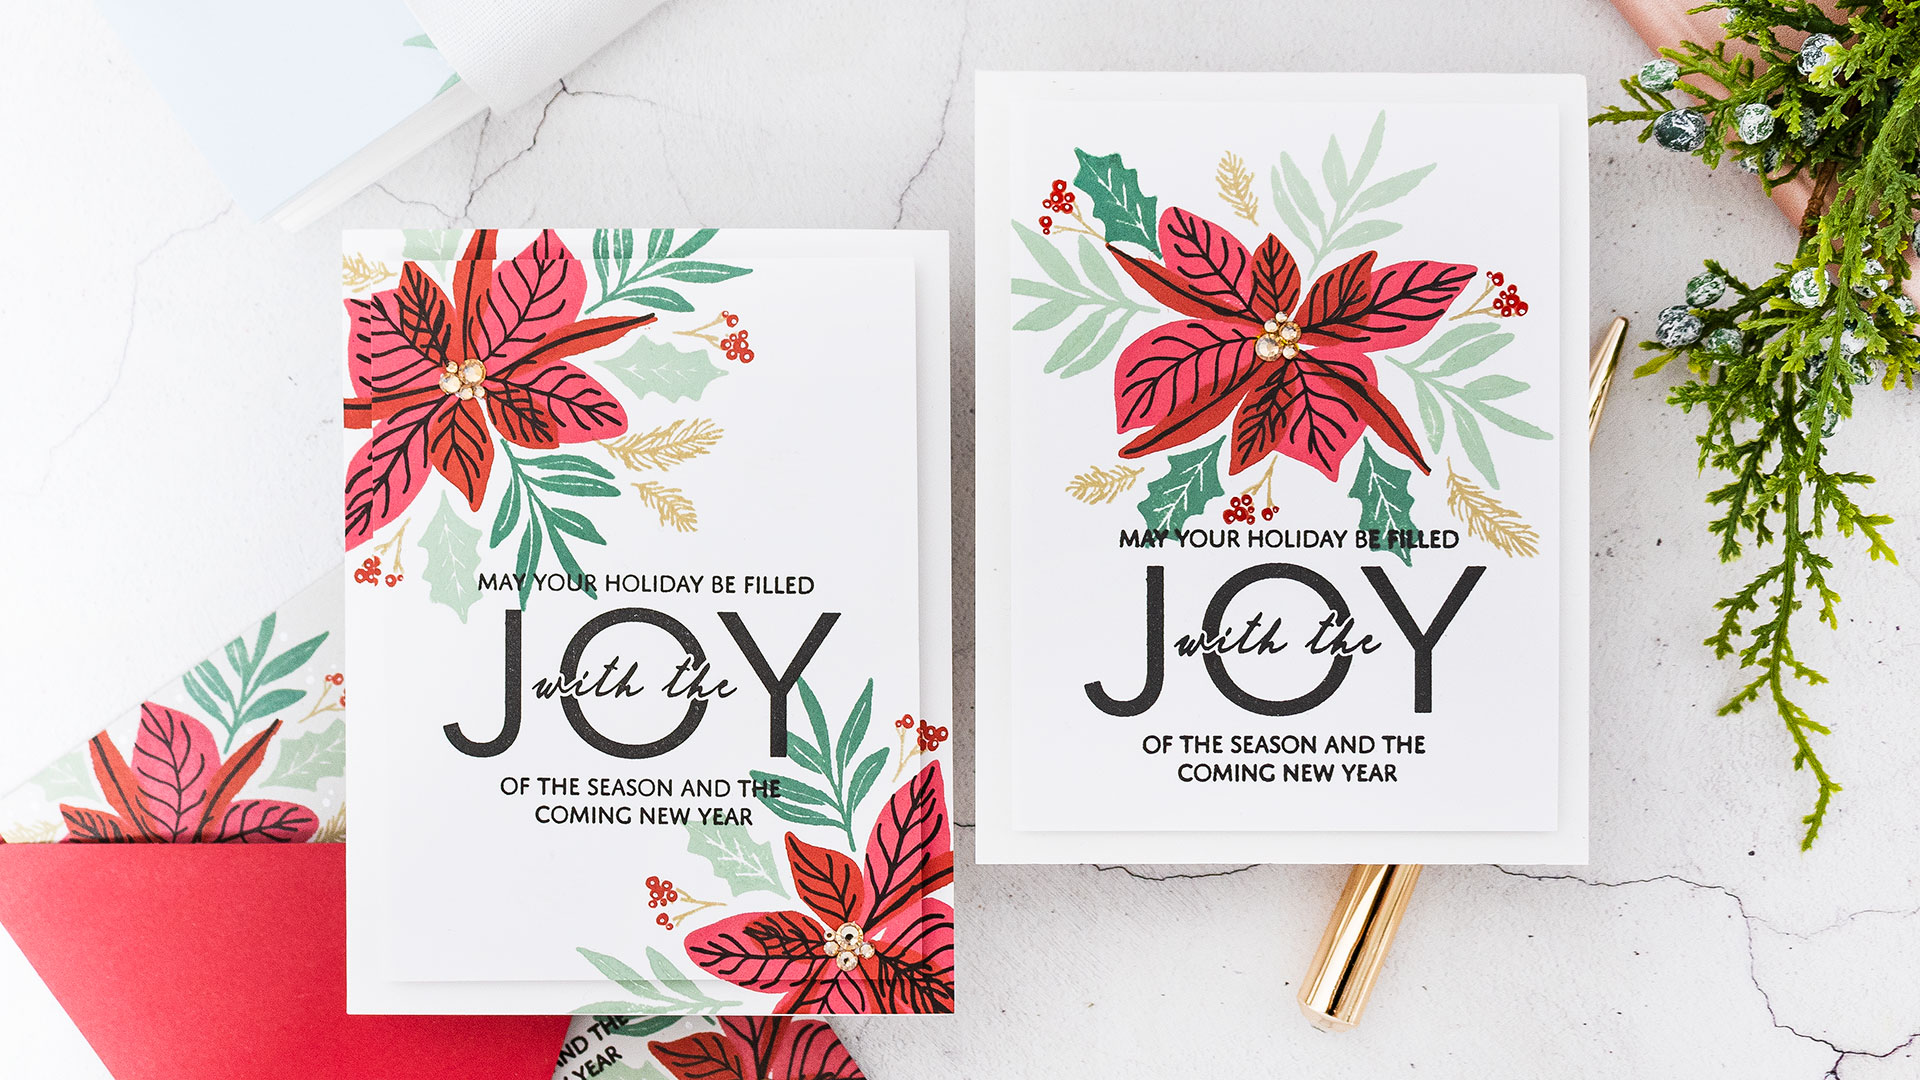
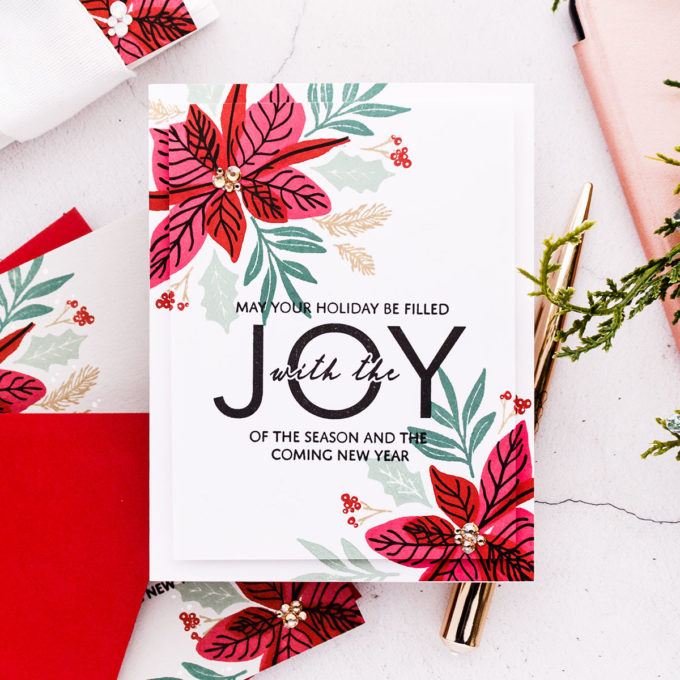
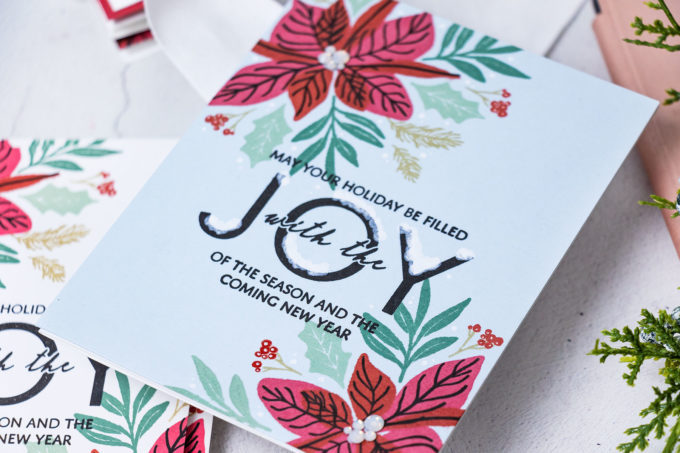
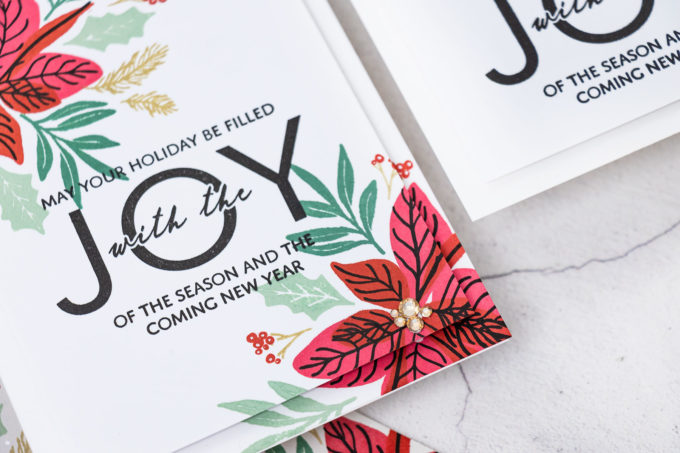
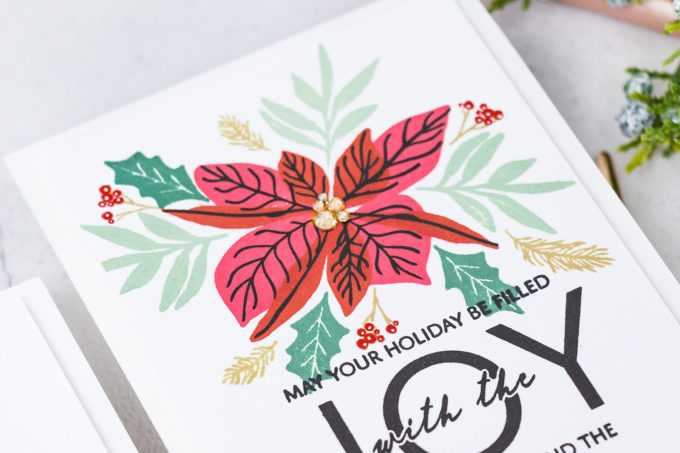
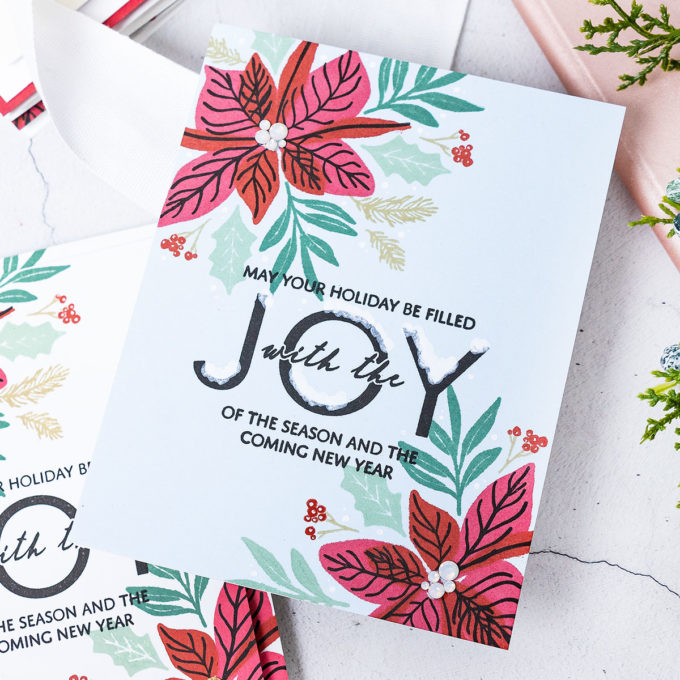
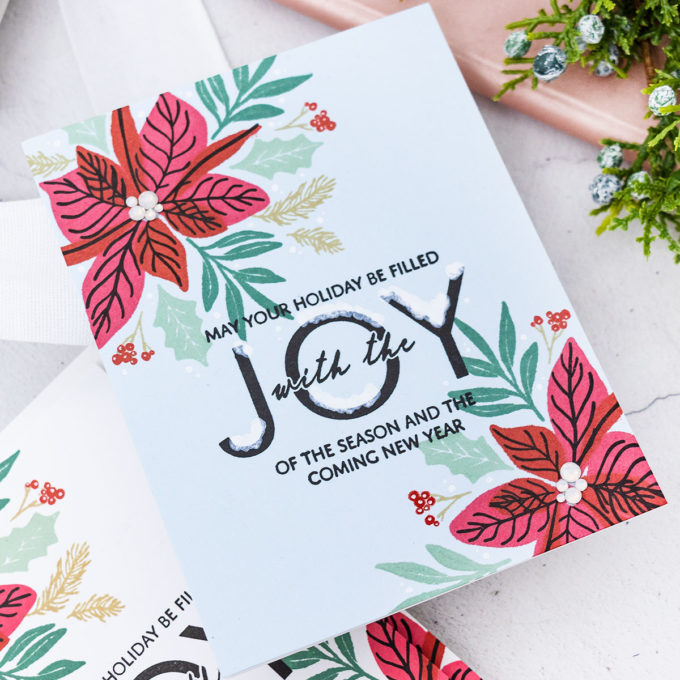
I often like to test stamp my card designs on a piece of scrap paper and I did that for these cards. I stamped 2 different designs using identical products. One has less stamping, and the other one requires a bit more stamping. Probably twice as much. If you are pressed for time, you can pick the design with a single poinsettia and you’ll be able to stamp that much faster and make twice as many cards versus stamping the design with 2 poinsettias.
With design selected I moved onto selecting the paper I wanted to do my stamping on. I knew I’d stamp the majority of my cards on white cardstock. I like to use Simon’s 120lb or 130lb cardstock, but I also love to stamp on colored cardstock so I picked several very light colored cardstock sheets from my stash (see supply list below). You need to go with light colors, because your stamping won’t be visible or as prominent on dark colors of cardstock.
The next step is to set up your MISTI or whatever other stamping tool you have. The key to quick stamping here is of course using a stamping tool as that will allow you to stamp a bunch of identical panels in very little time.
Having placed my blank panel inside the MISTI I then place the test stamped design on top and I used that as a guide. I already have this beautiful design all figured out, I don’t need to re-invent it, I can use it as an exact guide for image placement. So I placed the stamps over it and aligned the stamps over the previously made impressions.
From there, I stamped away. If you plan to make say 20 cards, I would stamp a few additional panels just in case, as you might mess up some during the process (I messed 2 of my panels up). The stamps I picked are from Simon – the sentiment comes from the Inside Christmas Greetings set and the poinsettia comes from the Happy Poinsettia set.
My cards consist of only stamping. I don’t have any die cutting, there’s no foiling, no embossing, no anything else, just simple beautiful solid stamping.
The poinsettia stamp set has coordinating dies and I have shared another card on my blog where I used the dies to step my design up. For mass producing cards, and especially for cards that I plan to mail I prefer to keep them simpler, I prefer to eliminate the extra steps, if possible, such as die cutting in this case and I prefer to keep the number of layers to a minimum, most of these cards are one layer with just a handful being 2 layer cards.
The design of the poinsettia allows you to nestle the leaves in between the petals or the leaves of the poinsettia, so you don’t need to do any masking or to die-cut the elements to create a beautiful design.
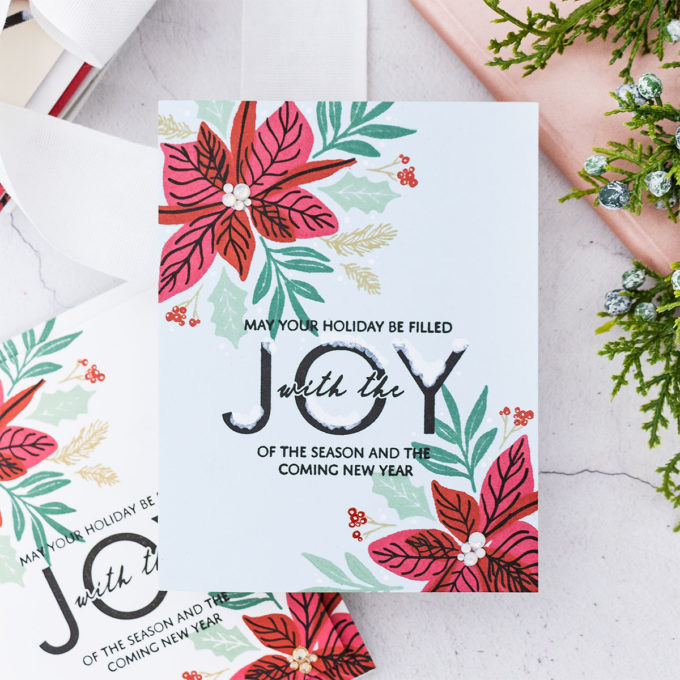
Stamping on colored cardstock will give you slightly different results, the colors of ink will look different, but this gives you more options while still using the same card design. I particularly liked stamping this on gray and also on blue because this allowed me later, to use a white pen to add white accents to my cards.
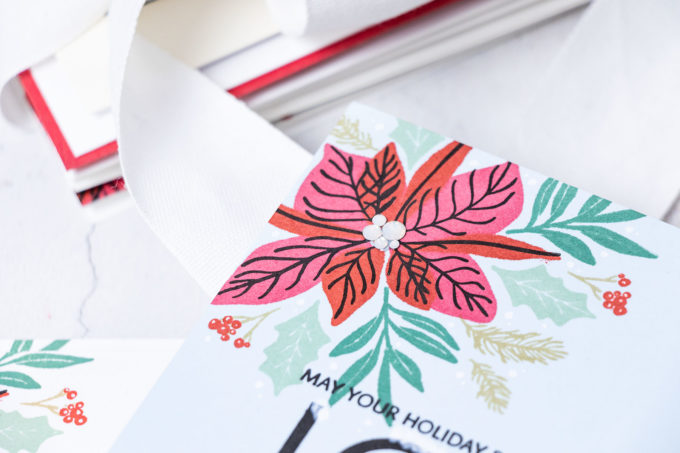
To assemble the cards I used different approaches. The panels with the single poinsettias were trimmed 1/4” from each side and I foam mounted them onto A2 whit3 card bases. I used a white pen and added some snow accents to the cards stamped on colored backgrounds and added white dot highlights to the berries on each card.
The designs with the 2 poinsettias were adhered onto A2 card bases as is, I didn’t trim them. If you have extra panels by the time you are finished making your cards you can add an element of 3D decoupage to them. You need 2 identical panels – adhere one directly onto the card base, next trim the other one down about 1/4” on each side and foam mount on top This gives a beautiful dimension and a continuous design on your card front.
Lastly, you can add some gems – I decided to use gems for the poinsettia centers and I adhered gems in various sizes to create the irregular centers for my flowers.
Have fun stamping and Merry Christmas!
SUPPLIES
I’m listing the products I used below. Click on the link to go directly to the product. Where available I use compensated affiliate links which means if you make a purchase I receive a small commission at no extra cost to you. Thank you so much for your support!
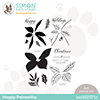 Simon Says Clear Stamps Happy Poinsettia Shop at: SSS |
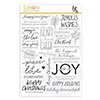 Simon Says Clear Stamps Inside Christmas Greetings Shop at: SSS |
 Simon Says Stamp White A2 Top Fold Scored Cards Shop at: SSS |
 Simon Says Stamp White Cardstock 120LB Shop at: SSS |
 Simon Says Stamp Mega Thick White Cardstock 130LB Shop at: SSS |
 Simon Says Stamp Sea Glass Cardstock Shop at: SSS |
 Simon Says Stamp Fog Gray Cardstock Shop at: SSS |
 Simon Says Stamp Cream Off White Cardstock Shop at: SSS |
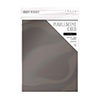 Tonic Onyx Black Pearlescent Cardstock Shop at: SSS |
 Mini MISTI Stamping Tool Shop at: SSS |
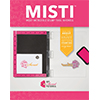 MISTI Stamping Tool Shop at: SSS |
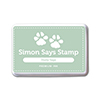 Simon Says Stamp Dusty Sage Dye Ink Pad Shop at: SSS |
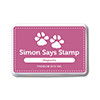 Simon Says Stamp Magnolia Dye Ink Pad Shop at: SSS |
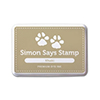 Simon Says Stamp Khaki Ink Pad Shop at: SSS |
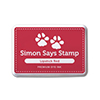 Simon Says Stamp Lipstick Red Ink Pad Shop at: SSS |
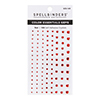 Spellbinders Red Mix Color Essentials Gems Shop at: SSS |
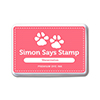 Simon Says Stamp Watermelon Dye Ink Pad Shop at: SSS |
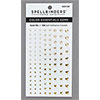 Spellbinders Gold Mix Color Essential Gems Shop at: SSS |
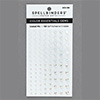 Spellbinders Crystal Mix Color Essential Gems Shop at: SSS |
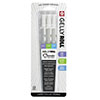 Sakura Classic White Gelly Roll Pens Set of 3 Shop at: SSS |
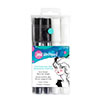 Spellbinders Jane Davenport Snow Queen Story Time Paint Pen Shop at: SSS |


PERFECT timing! how did you know I needed “last minute” cards? These are beautiful!
I think we all need them at this point 🙂 thank you, June!
Beautiful cards and video tutorial Yana!!
thank you, Kathy! I’m glad you like them!
Thanks, Yana! You’re an angel to give us these ideas at this point in the prep cycle. With how challenging school is (again!) this year, IDK how many handmade cards I am sending this Xmas, but the answer is “fewer than I would like.” Oh well… I never realized that the Happy Poinsettia set was so perfect for not having to mask. I’m not a big fan of masking. I do it occasionally but I try to avoid it. I also really like that sentiment set. I will see if I have it. My catalogue is at home and I am at school just now (6:55 pm). Like a mother’s work, a teacher’s is seemingly never done.
Thx again and love your cards!!
Lori S in PA
I liked that idea of making a sketch so that you could line up the stamps for the final card fronts. Saves allot of guesswork and perfect every time. Great cards. Thank you.