Hello, crafters. Welcome back for another Yippee For Yana video! What do you do on the inside of your card? Truth be told, I rarely do anything and I just keep it boring and blank. But this time I challenged myself to continue the card design from the front to the inside of my card! I hope you’ll join me and create a card with a simple design repeated on the inside.
Like this project? Pin it and save it for later | Curious about my project photography? Click for details.
VIDEO TUTORIAL
Watch the video below or on my Youtube channel.
CARD DETAILS
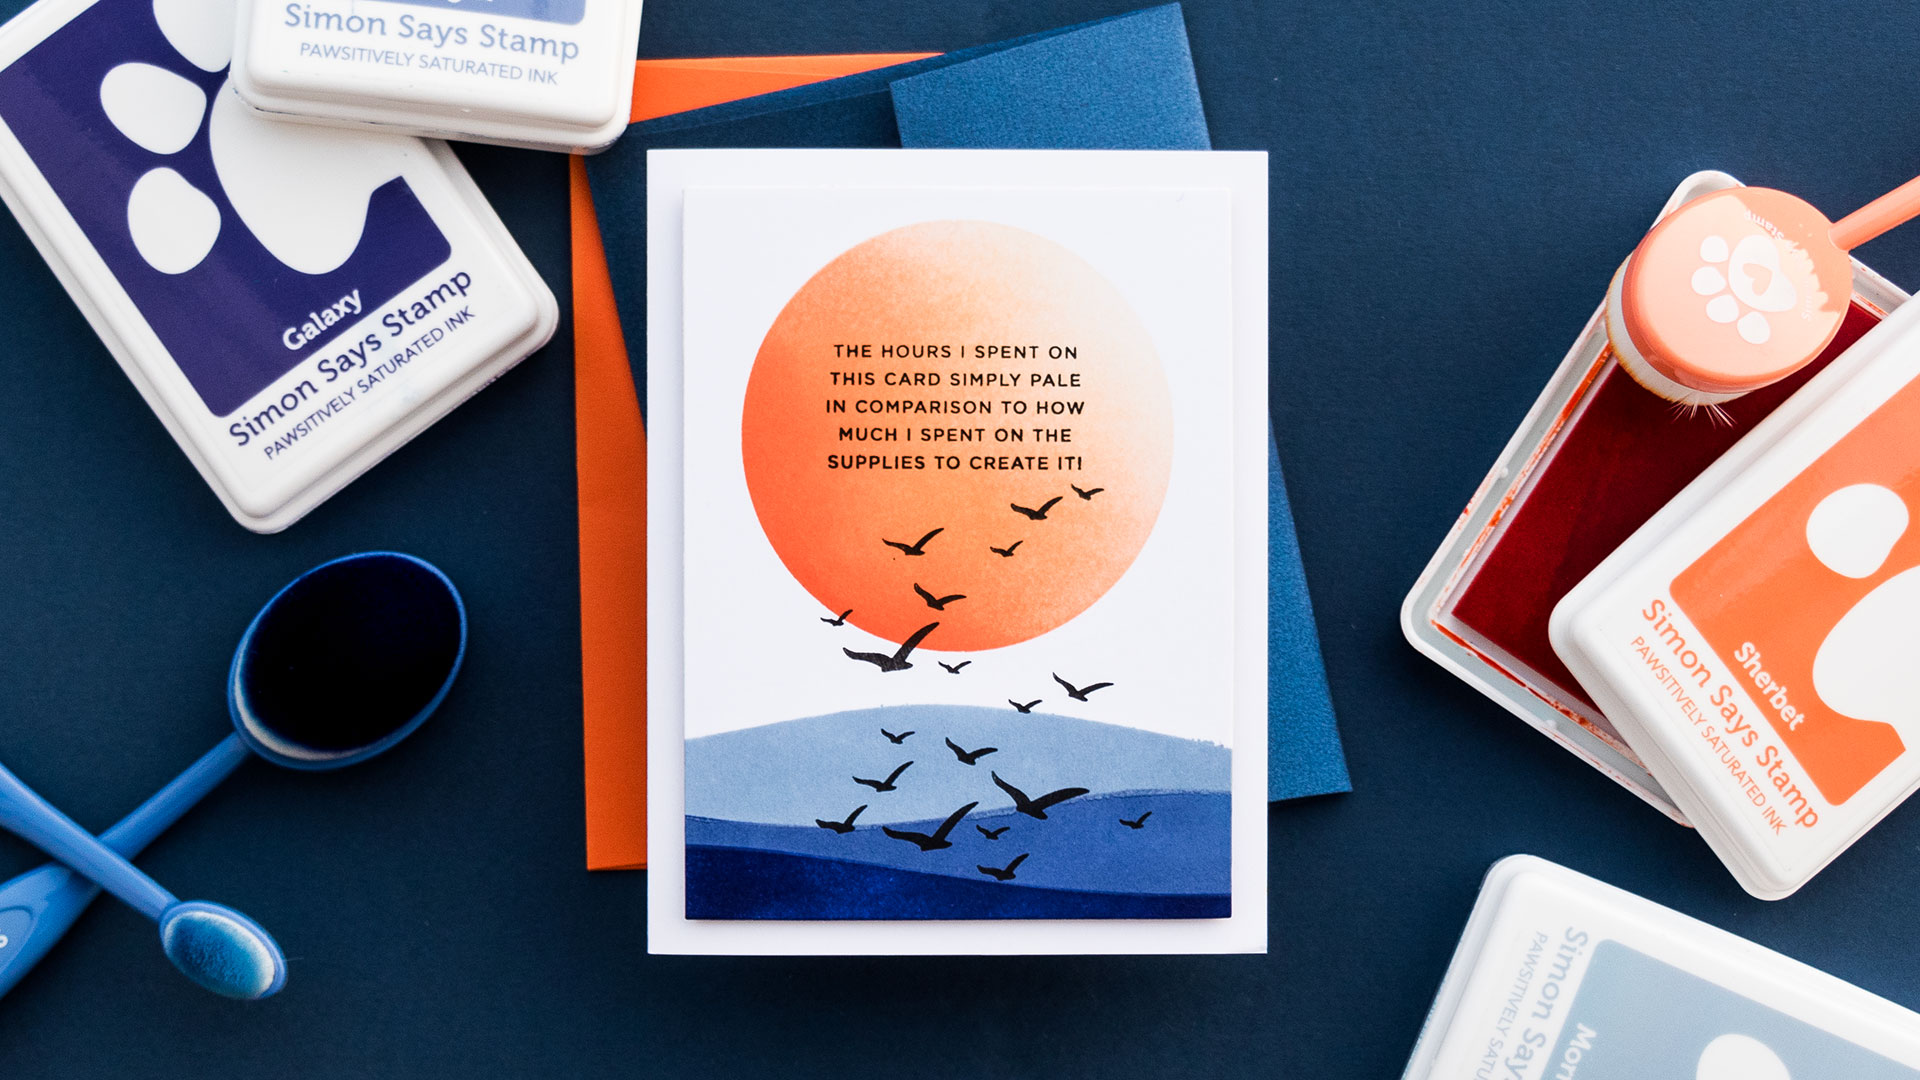
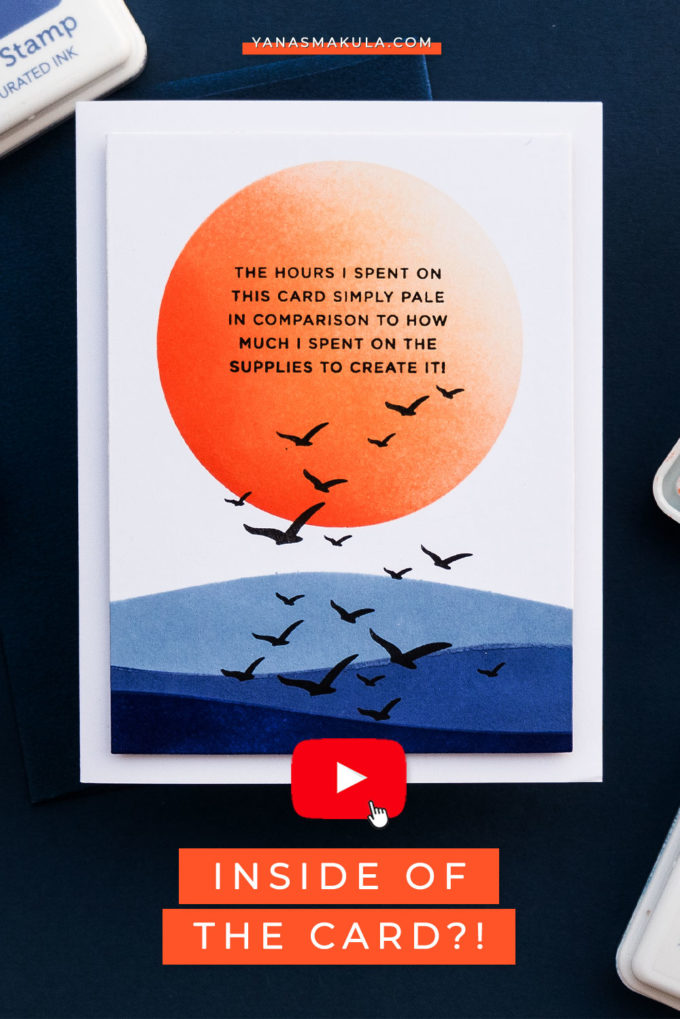
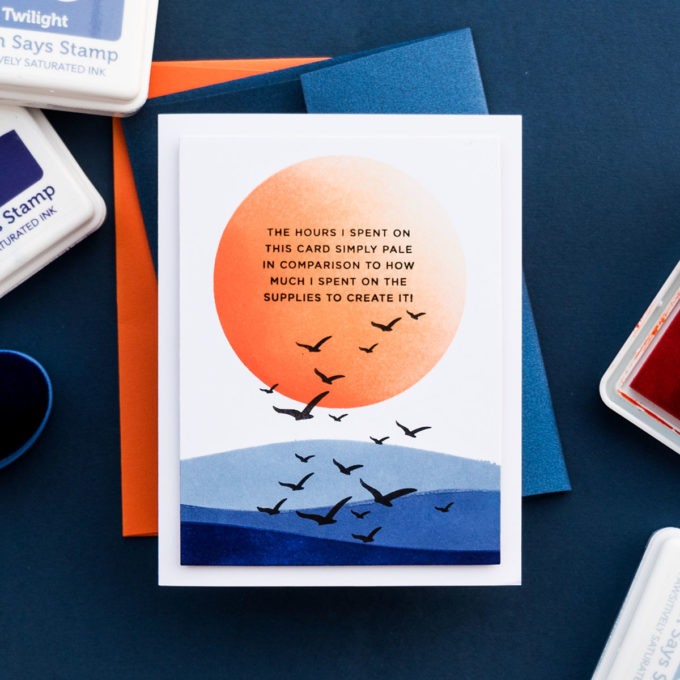
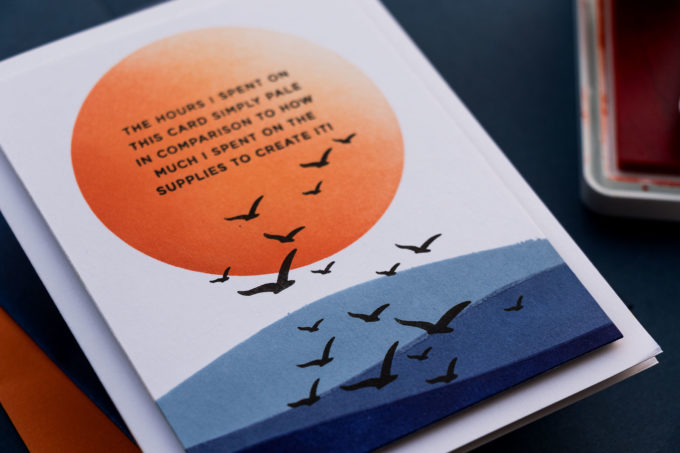
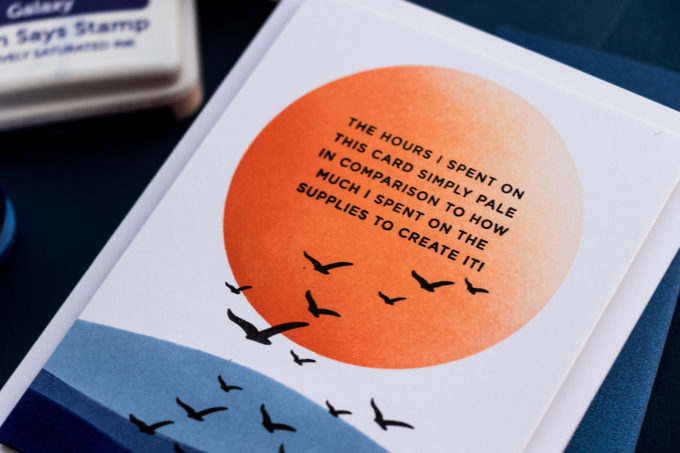
I used the circle mask from Simon Says Stamp to ink blend a sun using 3 shades of orange ink – Cantalope, Sherbet, and Mandarin. Next, I used the Horizon Line stencil, this stencil has a brilliant design, you can simply slide your cardstock panel into or between the sections that you want to ink blend and you not only have the stencil but also the mask to protect the areas you have already blended. I used Galaxy, Twilight, and Morning to ink blend the bottom part of my panel. Next, I used a rectangle die and I trimmed this panel down.
Next, I used my mini MISTI stamping tool and stamped the sentiment in the center of the sun. I was going for a snarky card and my sentiment reads – The hours I spend on this card simply pale in comparison to how much I spend on the supplies to create it! This stamp is from Cathy Zielske, who is the master of unique and snarky sentiments! I stamped this in VersaFine Onyx black ink.
Next, I stamped a bunch of bird silhouettes – these come from 2 different stamp sets from Simon and these happen to be among my favorites, I keep going back to these sets again and again – these are the Seas and Greetings and the Your Light sets.
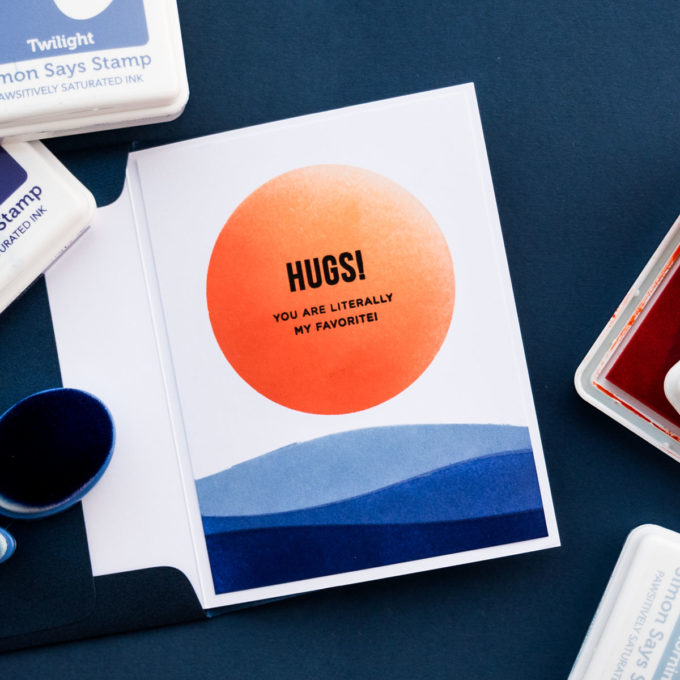
Next, I foam-mounted this panel onto the A2 card base. Now let’s talk about the inside of the card! Typically the inside is left blank, this time I challenged myself to repeat the card design on the inside and I ink-blended an identical panel.
I stamped a different sentiment, this one reads Hugs! You Are Literally My favorite and I adhered to this panel on the inside of my card and I love this result!
Have fun creating!
SUPPLIES
I’m listing the products I used below. Click on the link to go directly to the product. Where available I use compensated affiliate links which means if you make a purchase I receive a small commission at no extra cost to you. Thank you so much for your support!
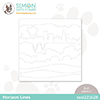 Simon Says Stamp Stencil on the Horizon Lines Shop at: SSS |
 Simon Says Stamp Stencil Circle Masks Shop at: SSS |
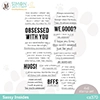 Cz Design Clear Stamps Sassy Insides Shop at: SSS |
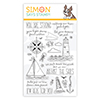 Simon Says Clear Stamps Your Light Shop at: SSS |
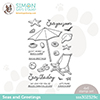 Simon Says Clear Stamps Seas and Greetings Shop at: SSS |
 Simon Says Stamp Pawsitively Saturated Ink Pad Twilight Shop at: SSS |
 Simon Says Stamp Pawsitively Saturated Ink Pad Cantaloupe Shop at: SSS |
 Simon Says Stamp Pawsitively Saturated Ink Pad Sherbet Shop at: SSS |
 Simon Says Stamp Pawsitively Saturated Ink Pad Morning Shop at: SSS |
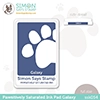 Simon Says Stamp Pawsitively Saturated Ink Pad Galaxy Shop at: SSS |
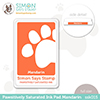 Simon Says Stamp Pawsitively Saturated Ink Pad Mandarin Shop at: SSS |
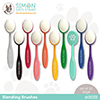 Simon Says Stamp Blending Brush Set Large Shop at: SSS |
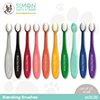 Simon Says Stamp Blending Brush Set Small Shop at: SSS |
 Neenah 80lb Solar White Cardstock Shop at: SSS |
 Tsukineko Versafine Onyx Black Ink Shop at: SSS |
 Fun Foam Sheets Shop at: SSS |


So fun!!