This post is also available in English
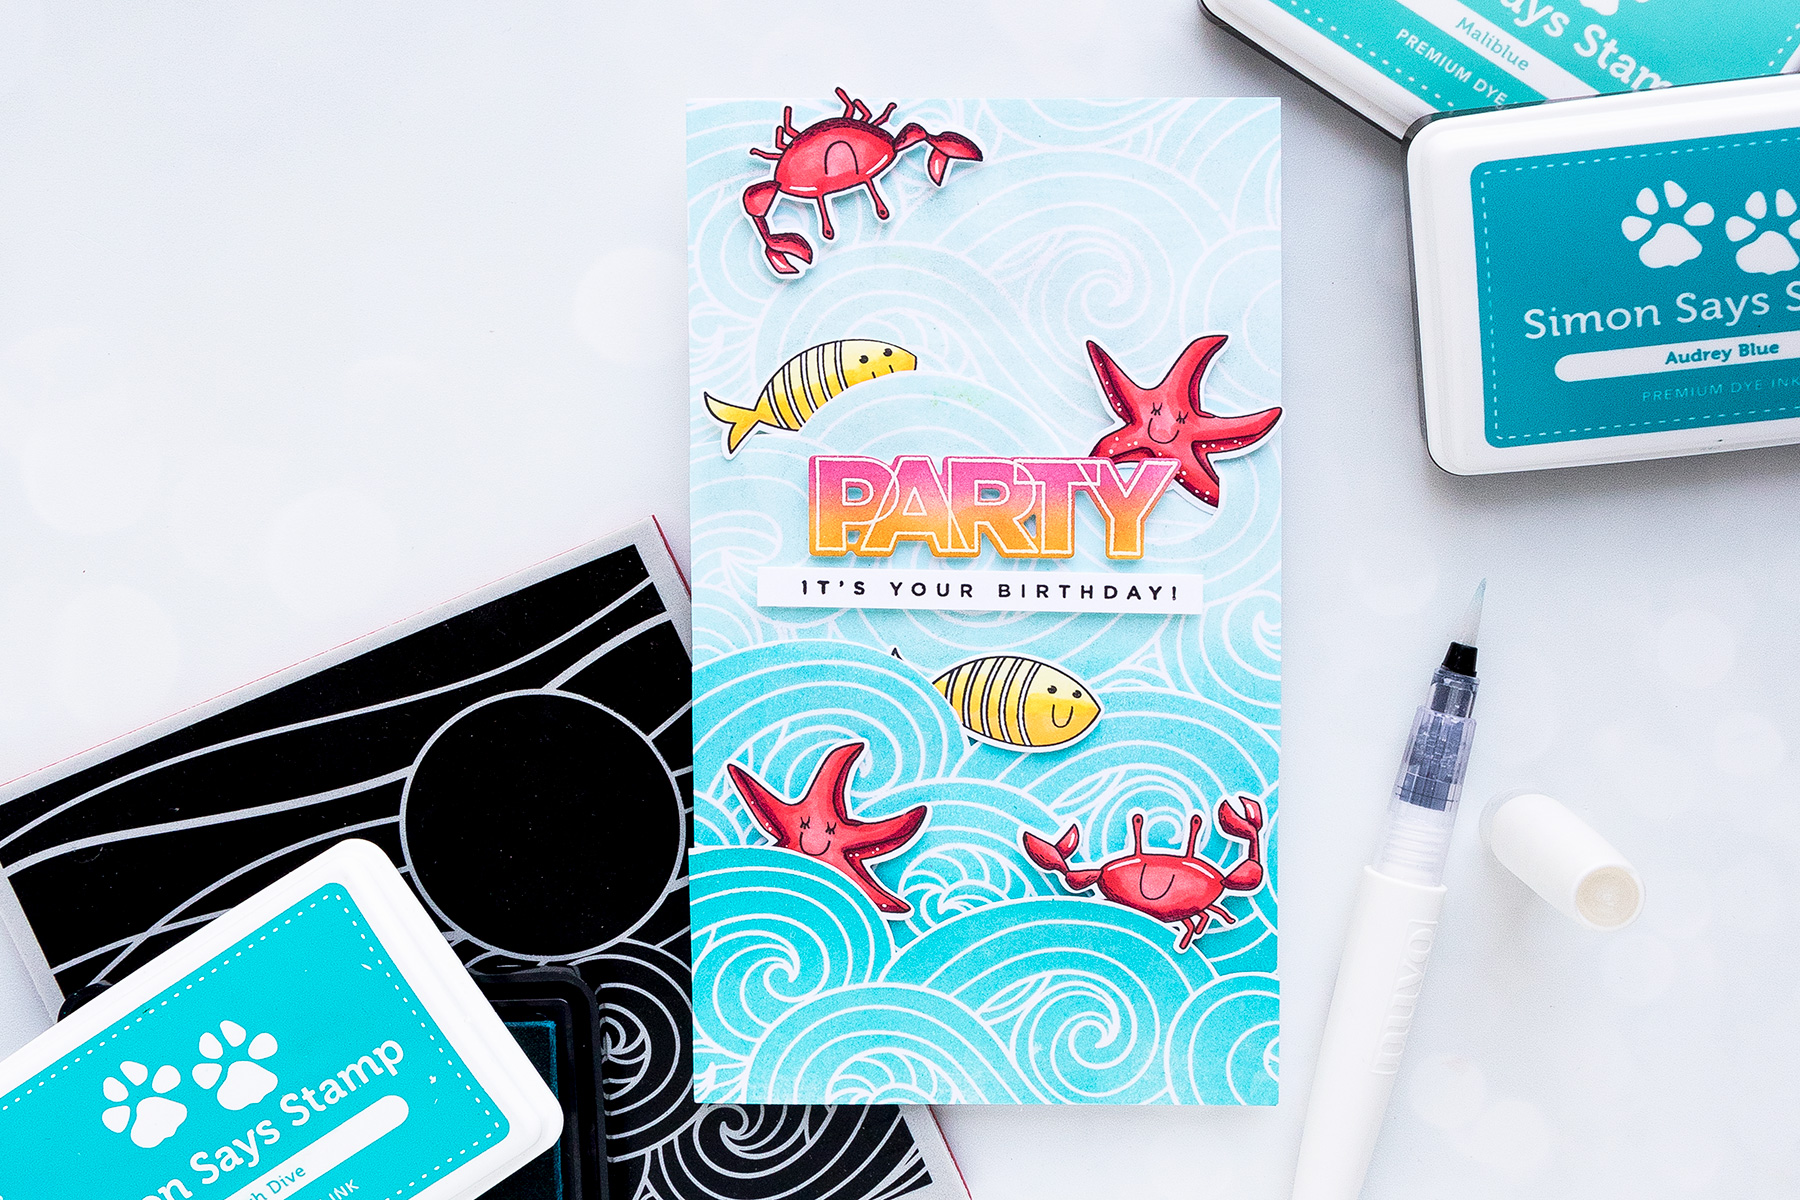
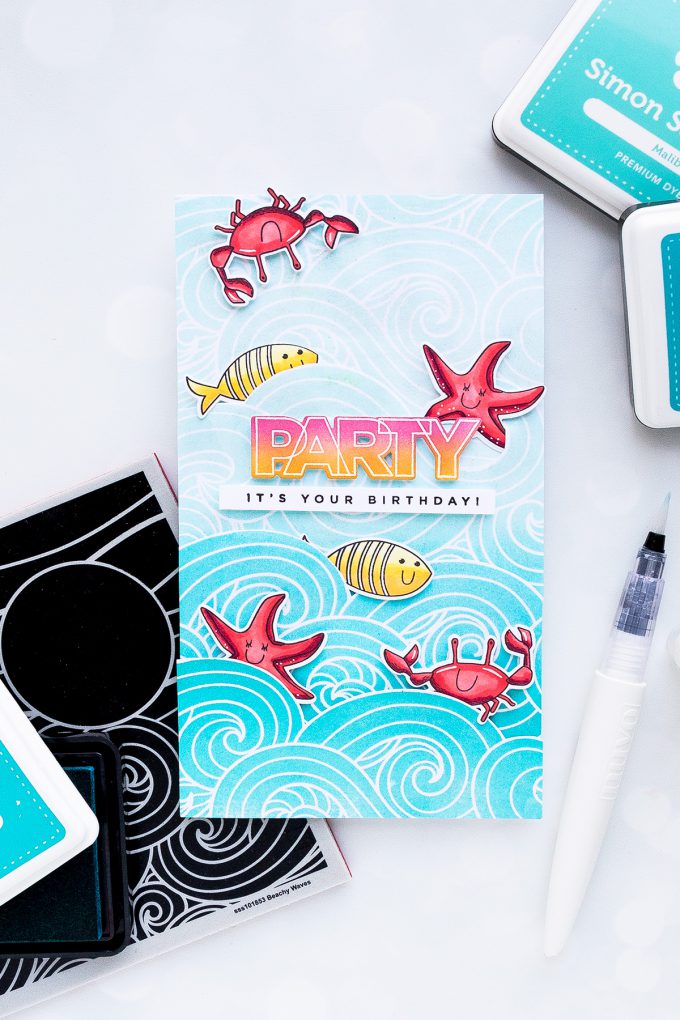
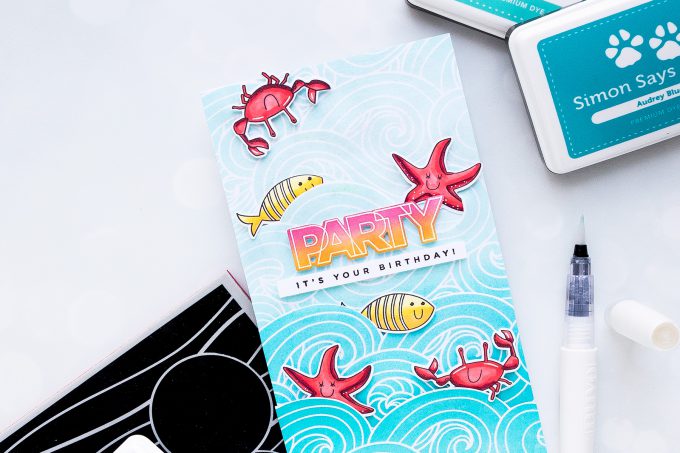
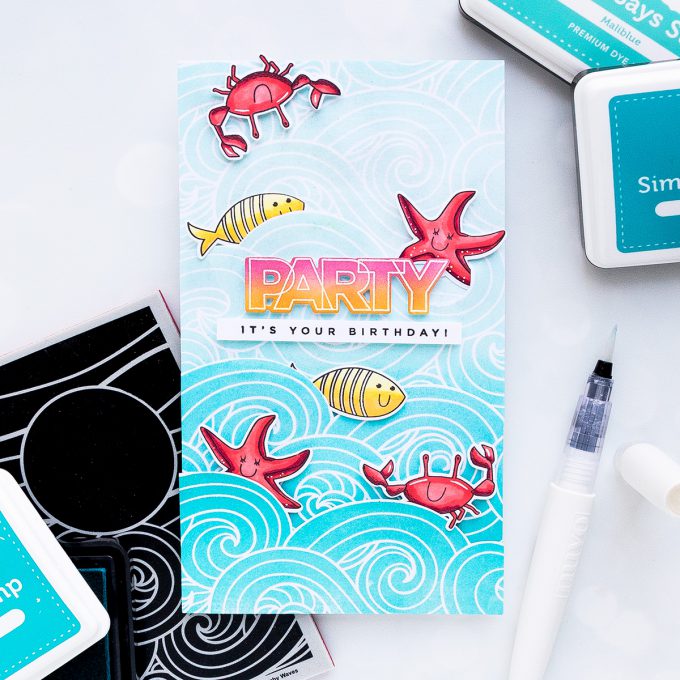
Hello friends, welcome back for another Yippee For Yana video! I love the Beachy Waves background stamp from Simon’s Recent release and I’ve been wanting to use it for some cards. I’m going to show you how you can use just a portion of the background and extend it cover the front of an A2 or even bigger card.
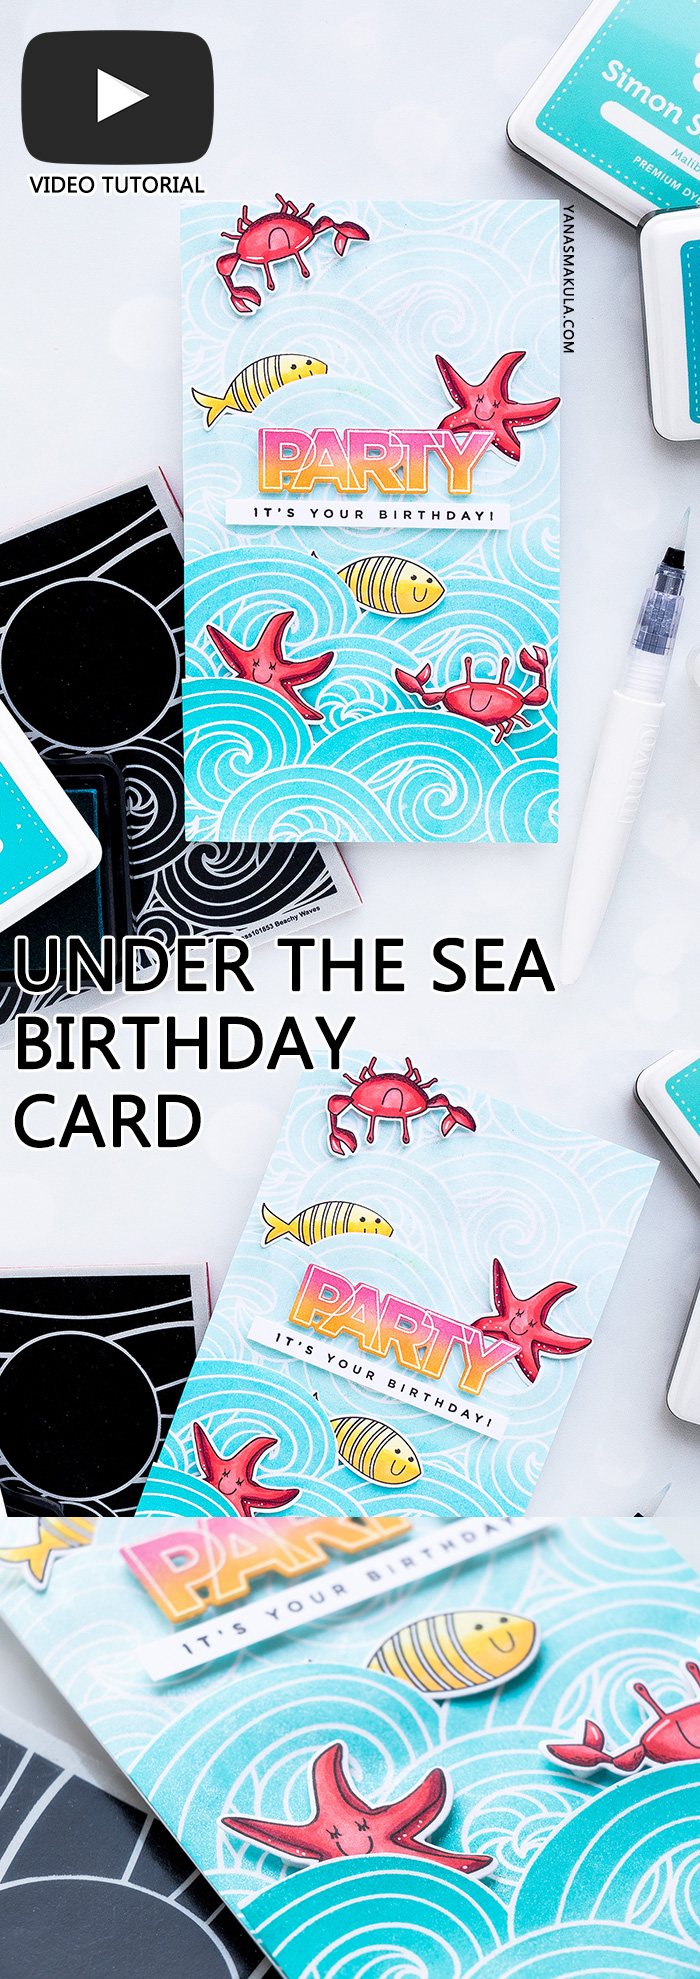
Like this project? Pin it and save for later | Curious about my project photography? Click for details.
VIDEO TUTORIAL
As always, I filmed a video tutorial showing how to create this project from start to finish. I’m hoping you’ll enjoy it. Watch it below or on my Youtube channel:
Like this video? Please give it a big thumbs up (you can do this on Youtube video page right under the video) and share with a crafty friend! Leave me a comment too, I love hearing from you!
CARD DETAILS
I’m using Simon’s Dye inks in delicious Summer colors – High Dive, Audrey Blue and Maliblue colors; these are just the most perfect shades of blue and are oh so so awesome for Summer stamping or ink blending. I have a serious crush on the Maliblue color – I’ve been using it a ton this Summer.
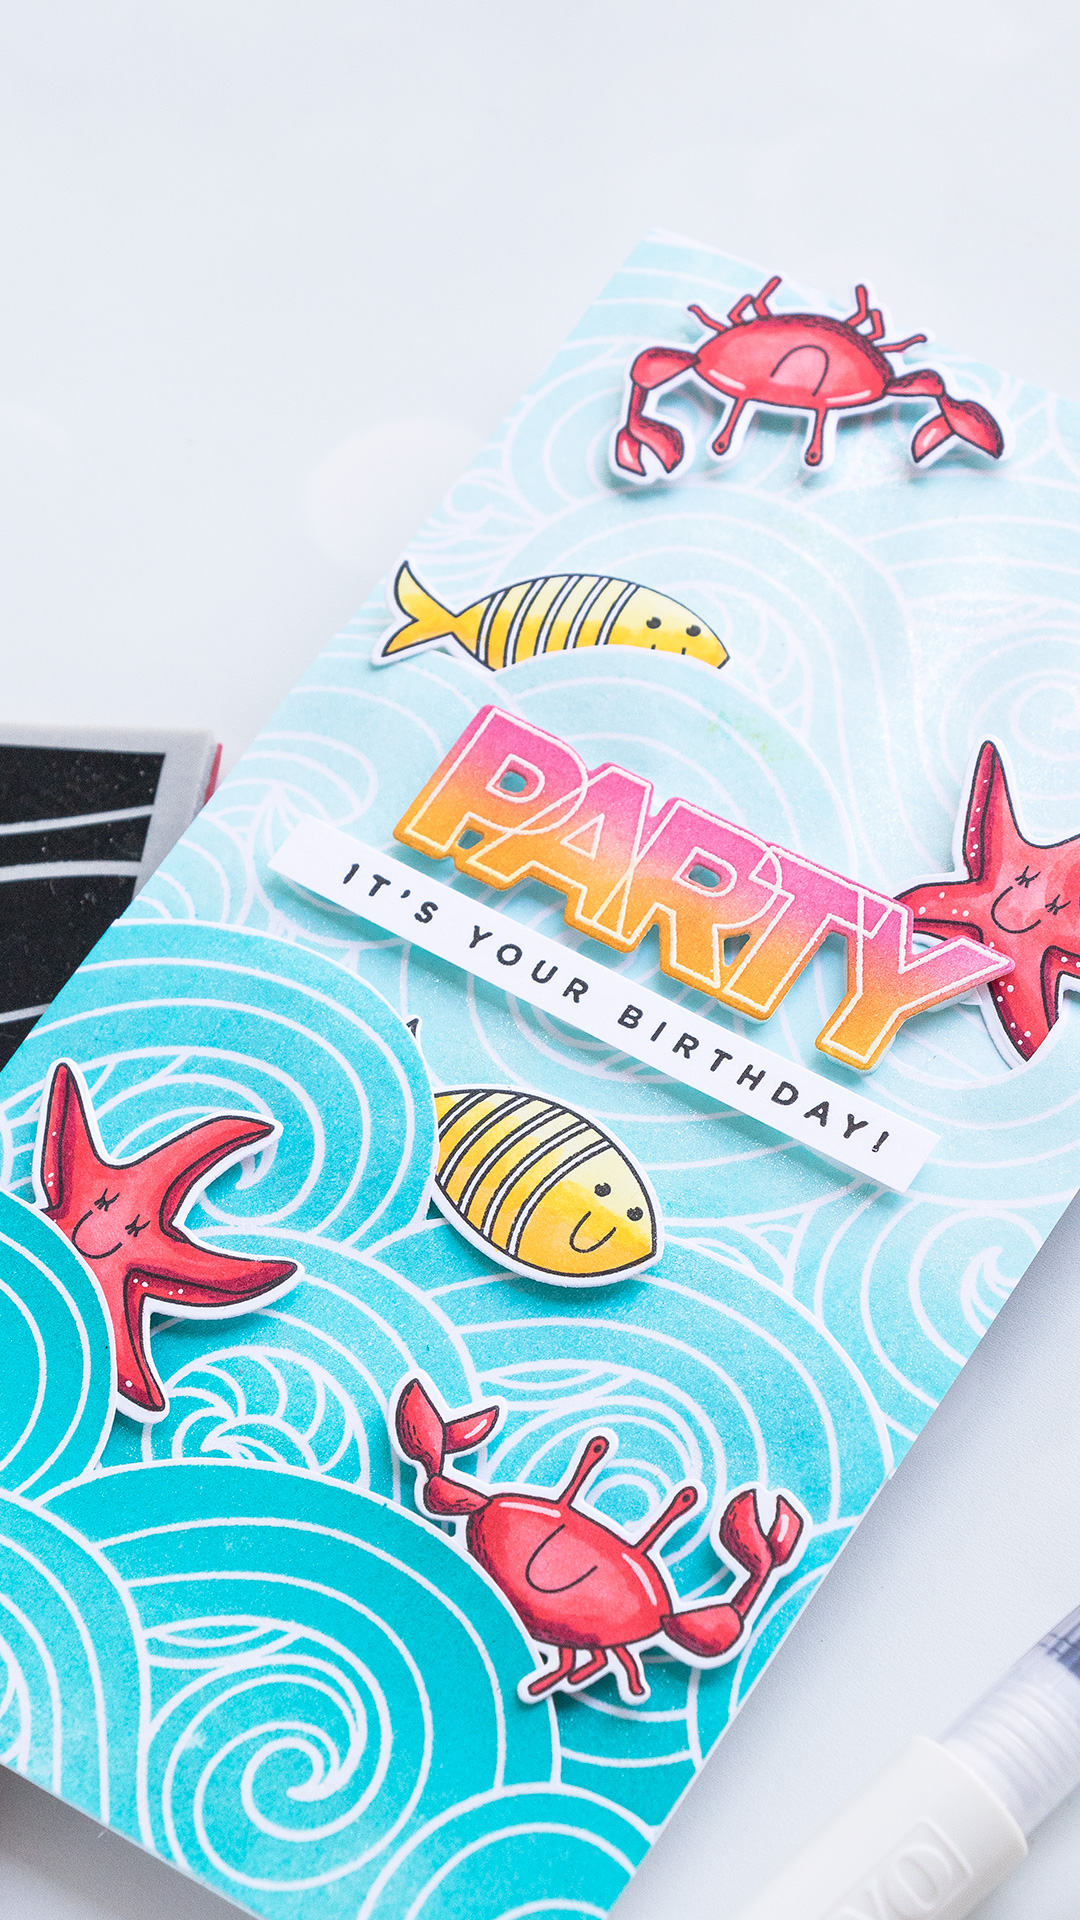
The trick here is to stamp the portion of the Beachy Waves background (the waves portion) onto separate pieces of paper multiple times and piece each portion together with the others to create a continuous background for a card.
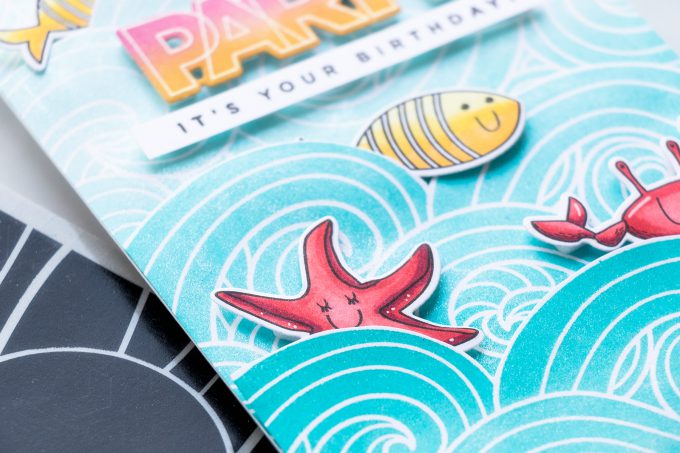
I want my background have a gradient to it, the bottom portion of my waves is going to be darkest, and the top – lightest so I’m using multiple shades of blue when inking the stamp for each portion. Starting with High Dive and Audrey Blue for the bottom, Audrey Blue and Maliblue for the middle and Maliblue for the top.
To simplify this you can totally ink up one section with High Dive, one using Audrey Blue and one using Maliblue.
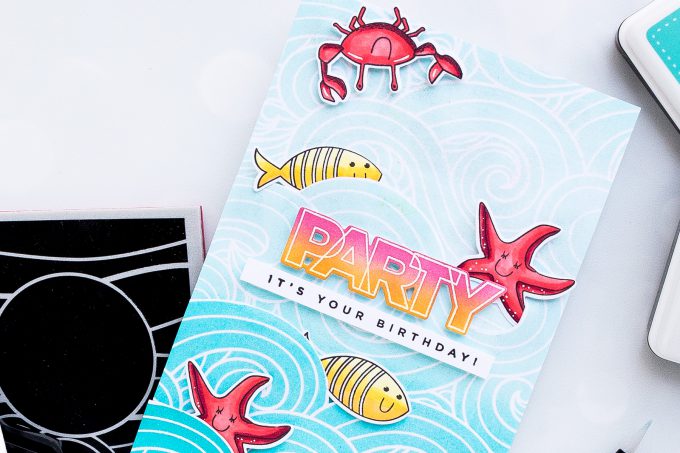
To help me piece these layers together I used scissors and cut along the wave lines. At first I wanted to make an A2 card, but later seeing how I had a ton of background space I decide to make a taller card. I am always inspired by Kristina Werner and how she makes these super fun tall cards and I decided to give one a try. My card ended up being 4 1/4 wide by 7 3/4” tall.
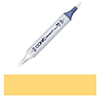
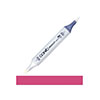
Next I stamped critters from Under The Sea Animals stamp set. I used Simon’s Intense Black ink and stamped 2 of each – crab, fish and starfish. I used Copic markers in R39, R24, R22, Y35, Y15 and Y11 to do simple coloring. Later, I added white pen details to crab and starfish.
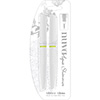
I also need a sentiment and for this I white heat embossed “Party” from Cathy’s Birthday Palooza stamp set. I used Sunshine and Hollyhock inks from Simon for some emboss resist ink bleeding. Using coordinating dies I cut these out and arranged on my card with the help of foam adhesive. I also stamped “It’s Your Birthday” and foam mounted it under the “Party”. Lastly, I used my Tonic Studio shimmer pen and coated my entire background with this shimmer.
Have fun stamping!
SUPPLIES
I’m listing the products I used below. Click on the link to go directly to the product. Where available I use compensated affiliate links which means if you make a purchase I receive a small commission at no extra cost to you. Thank you so much for your support!
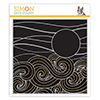 Simon Says Cling Rubber Stamp Beachy Waves Shop at: SSS |
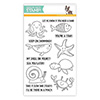 Simon Says Stamp Under the Sea Animals Shop at: SSS |
 Simon Says Stamp Under the Sea Animals Dies Shop at: SSS |
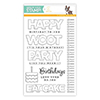 CZ Design Clear Stamps Birthday Palooza Shop at: SSS |
 CZ Design Wafer Dies Birthday Palooza Shop at: SSS |
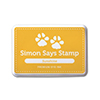 Simon Says Stamp Sunshine Ink Pad Shop at: SSS |
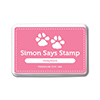 Simon Says Stamp Hollyhock Ink Pad Shop at: SSS |
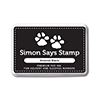 Simon Says Stamp Intense Black Ink Shop at: SSS |
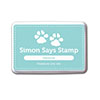 Simon Says Stamp Maliblue Ink Pad Shop at: SSS |
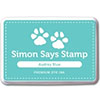 Simon Says Stamp Audrey Blue Dye Ink Pad Shop at: SSS |
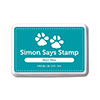 Simon Says Stamp High Dive Dye Ink Pad Shop at: SSS |
 Spellbinders Tool ‘n One Shop at: SSS |
 Spellbinders Magnetic Handy Mat Shop at: SSS |
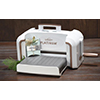 Spellbinders Platinum Die Cutting Machine Shop at: SSS |
 Neenah 80LB Solar White Cardstock Shop at: SSS |
 Neenah 110 Lb Solar White Cardstock Shop at: SSS |
 Versamark Watermark Emboss Ink Pad Shop at: SSS |
 Hero Arts Heat Embossing Gun Shop at: SSS |
 Hero Arts White Embossing Powder Shop at: SSS |
 Mini Misti Stamping Tool Shop at: SSS |
 EK Success Powder Tool Applicator Shop at: SSS |
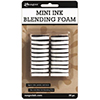 Ranger Mini Round Foam Refils Shop at: SSS |
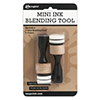 Ranger Mini Round Ink Blending Tools Shop at: SSS |
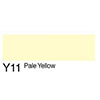 Copic Sketch Marker Y11 Pale Yellow Shop at: SSS |
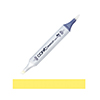 Copic Sketch Marker Y15 Cadmium Yellow Shop at: SSS |
 Copic Sketch Marker Y35 Maize Shop at: SSS |
 Copic Sketch Marker R22 Light Prawn Shop at: SSS |
 Copic Sketch Marker R24 Prawn Shop at: SSS |
 Copic Sketch Marker R39 Garnet Shop at: SSS |
 Tim Holtz Tonic Craft Stamp Platform Shop at: SSS |
 Tonic Aqua Shimmer Pen Nuvo Shop at: SSS |
 Sakura Classic White Bold Line 10 Pen Shop at: SSS |
 Scrapbook Adhesives White Foam Squares Shop at: SSS |
 Scor-Tape 1/8 Inch Crafting Tape Shop at: SSS |
SAVE ME/PIN ME TO PINTEREST
Like this card idea? Be sure to save it to one of your Pinterest boards for future reference!


This is a really delightful scene. Thanks for the inspiration.
This is one super cool card! 🙂
What a great idea and a “cool”(!) card!!! I’ve been stuck making standard cards most of the time. I do use a larger sized card when using Spellbinder dies. I went to a stamp expo in Phoenix a while back and as a gift entrees were given a pack of card stock/envelopes to make this size card. I went into confusion!!! Had NO idea what that was about. After a few days I finally got it … I could make a card in a different card size!!!! Have I done it yet? Ah, Nope! Would also like to try making some smaller cards as well (like 4×4-ish size). Thanks for the reminder to push outsize of the norm. Hope you’re having a good summer.
This is a really cute card Yana, I love the fact that you have gone out of your comfort zone and created a card that is a different size to that you normally make. I think that it is necessary for this design that it is tall in order to fit in all the sentiment and waves etc. Thank you for sharing this with us crafters. :O) xx
Love this! Good to try something different once in a while. I made a card repeatedly using SSS Garden Stems Tag die to fit inside a #10 business envelope and just loved it! Should make some more. I’ll try posting it on Instagram later today. Thanks for your inspiration!
I love this fun, unique card. Your coloring is beautiful. I tend to stick to A2 cards. I’ve bought A2 envelopes in bulk, so it’s just easier for me to mail them. I do love this card, though, so maybe I’ll venture out of my comfort zone and try a different size.
Cute card—I love that background stamp. I make a variety of card sizes, but try to consider envelope sizes (I don’t mind if the envelope is a bit roomy).
So cute! I love the waves!!
Great card! Love the waves stamp. I sometimes venture out and do a 5X7 card. It’s fun to try different sizes.