This post is also available in English
Hello friends and happy Sunday! Hubby and I did a bit of travelling yesterday – went to see Pima Air and Space museum in Tucson (loved it, it’s a great educational place to visit). We got home a bit late and thus I wasn’t able to finish my post ahead of time, I was hoping to publish it early this morning to coincide with the card kit release (as I am using the stamp set from card kit). I just finished my video and thus happy to blog it and share with you right away!
Like this project? Pin it and save for later | Curious about my project photography? Click for details.
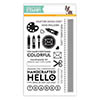
Anyhow, the 14th of the month marks a new Card Kit release from Simon Says Stamp and this month kit is all about crafty friends! I haven’t had the time to play with anything from my kit but the stamp set – it is a must have I think for those of us who like to send cards not just to family and friends but to crafty friends as well!
VIDEO TUTORIAL
As always, I filmed a video tutorial showing how to create this project from start to finish. I’m hoping you’ll enjoy it. Watch it below or on my Youtube channel.
Like this video? Please give it a big thumbs up (you can do this on Youtube video page right under the video) and share with a crafty friend! Leave me a comment too, I love hearing from you!
CARD DETAILS
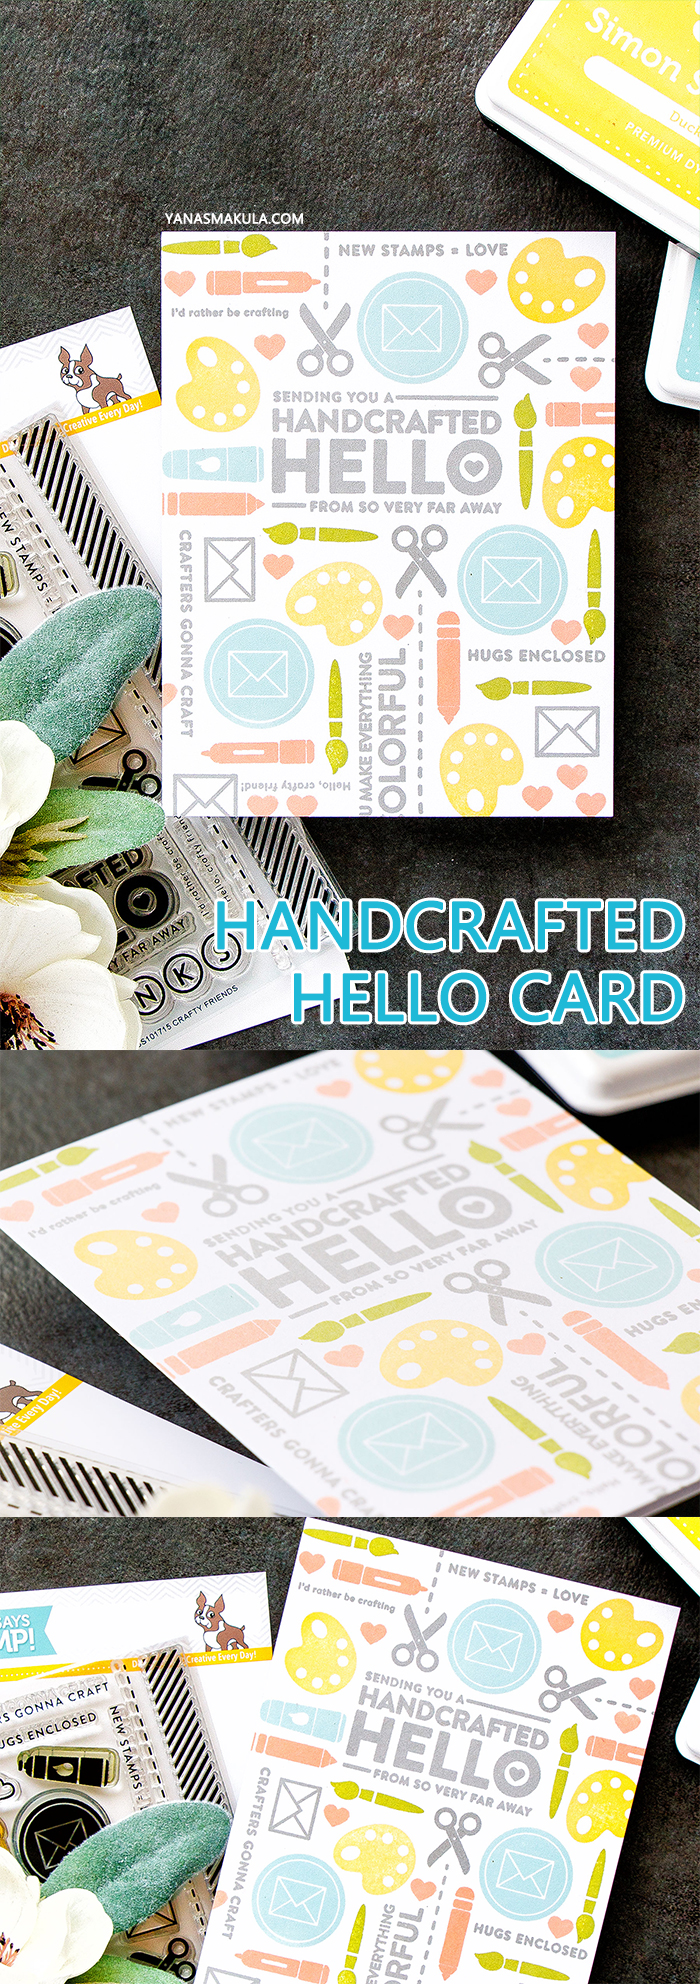
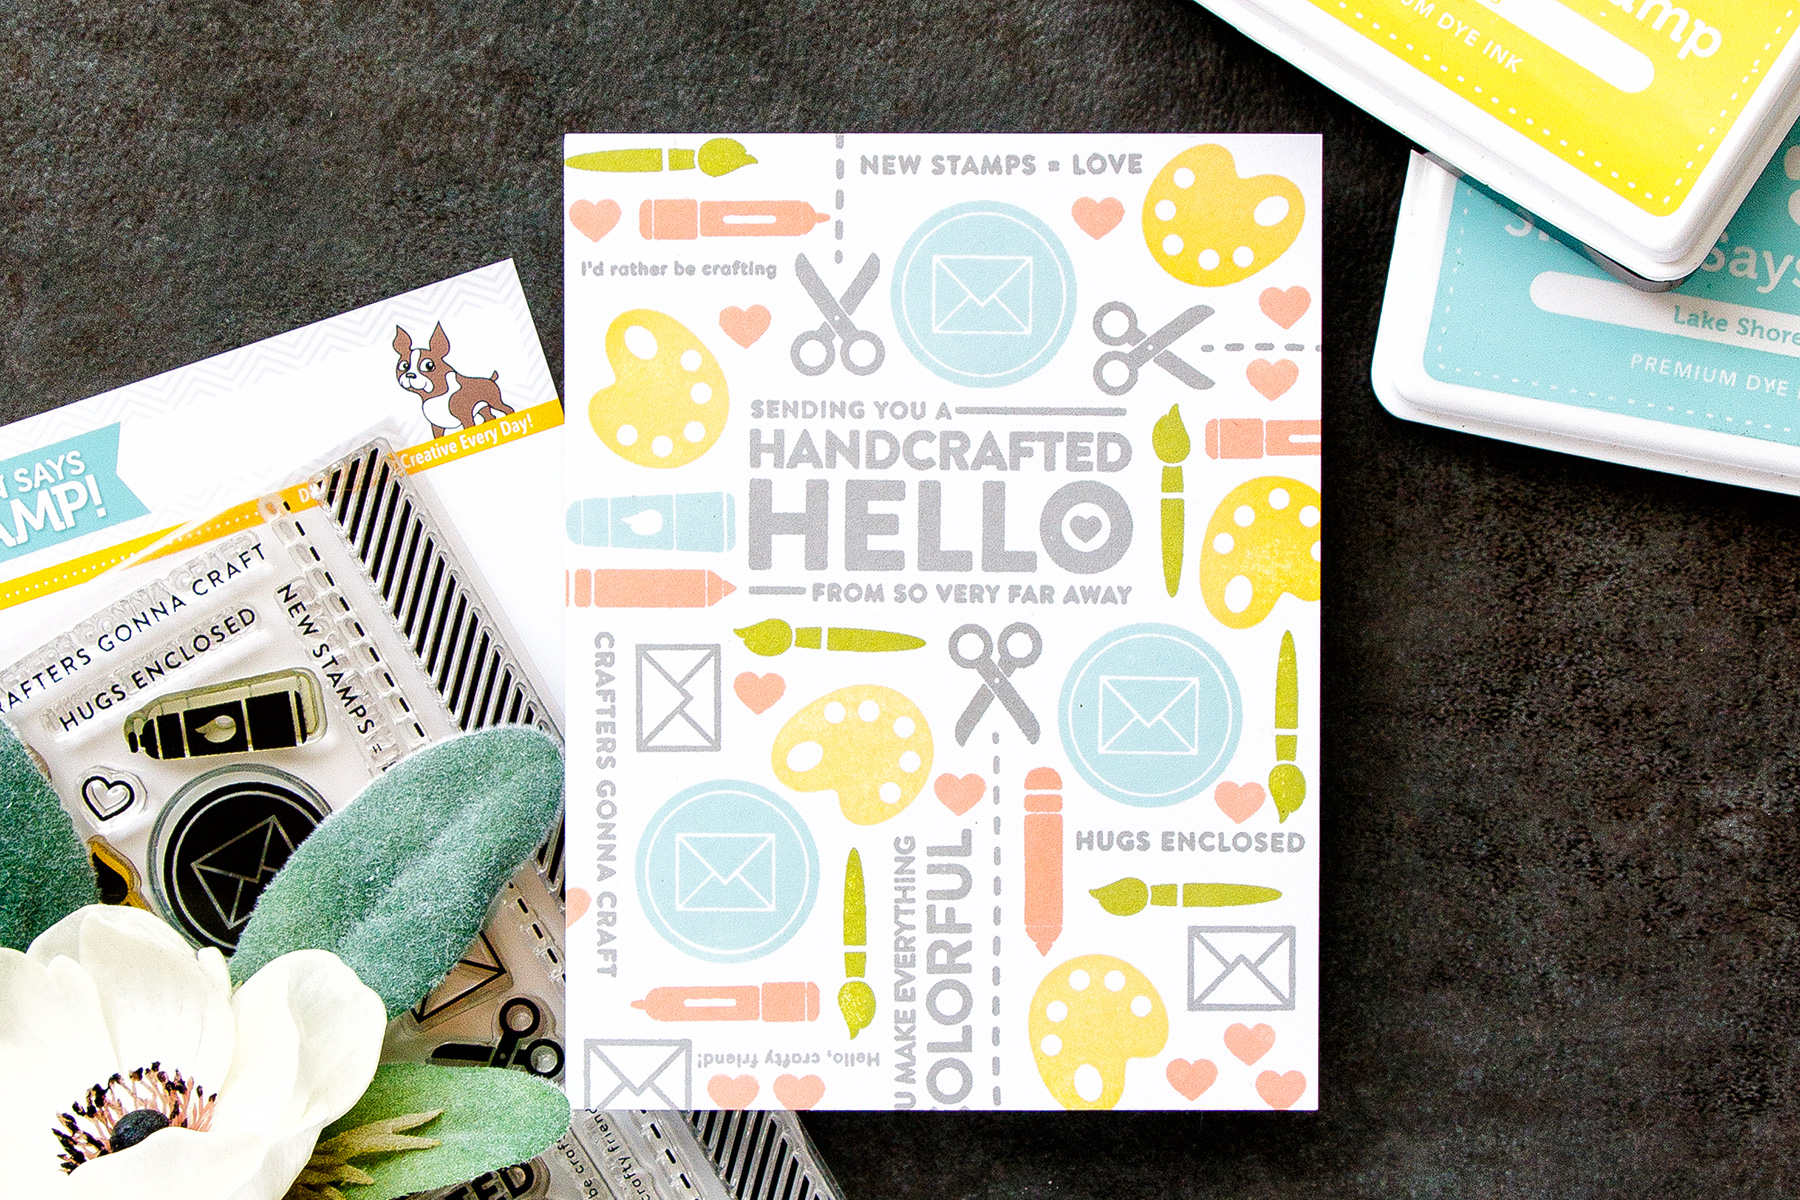
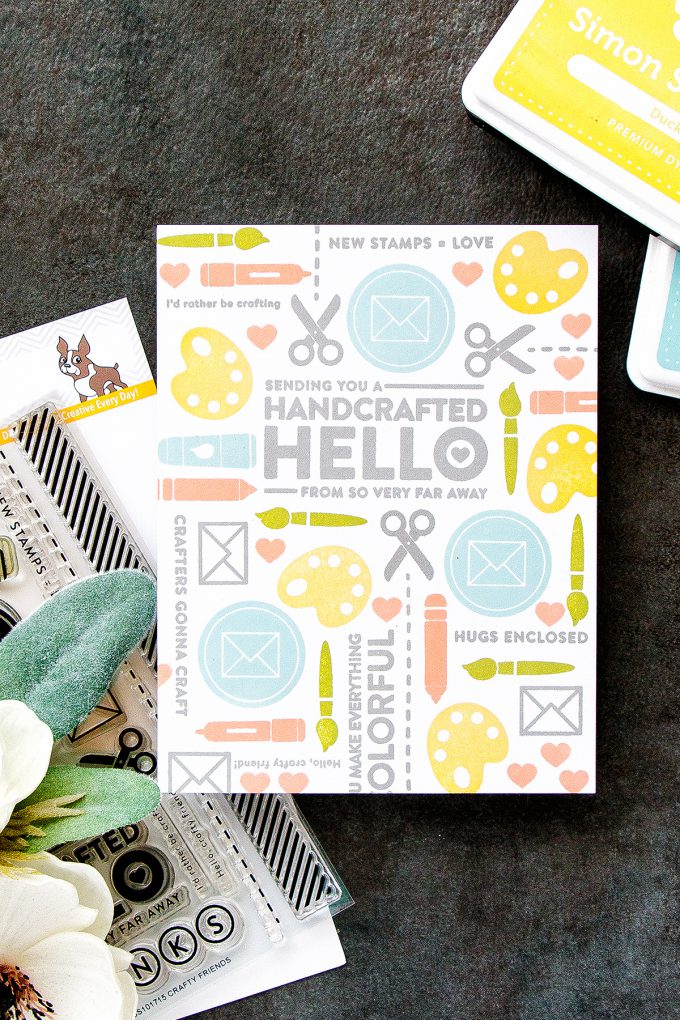
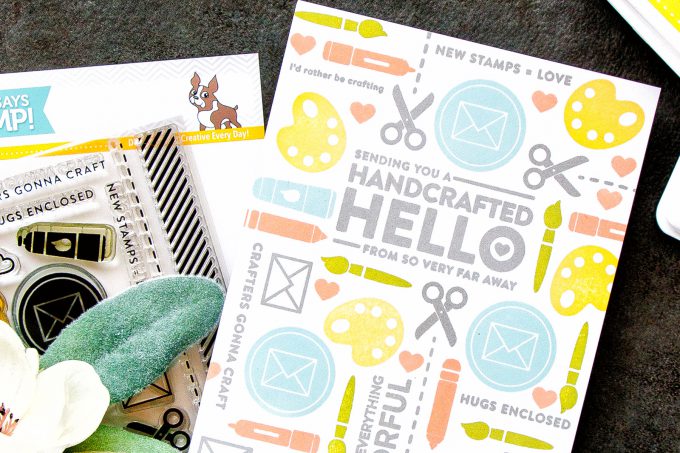
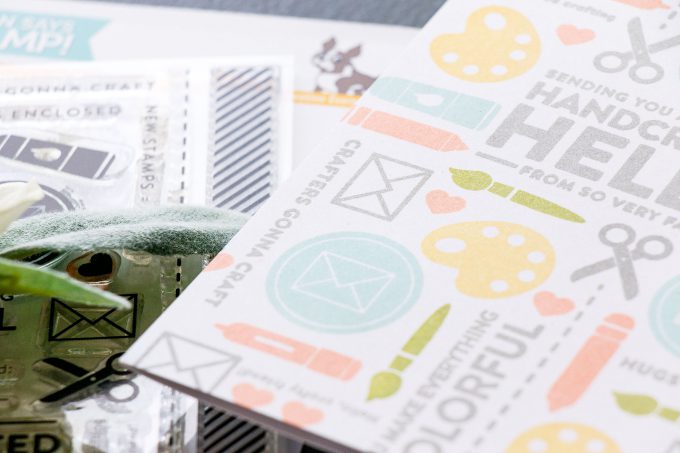
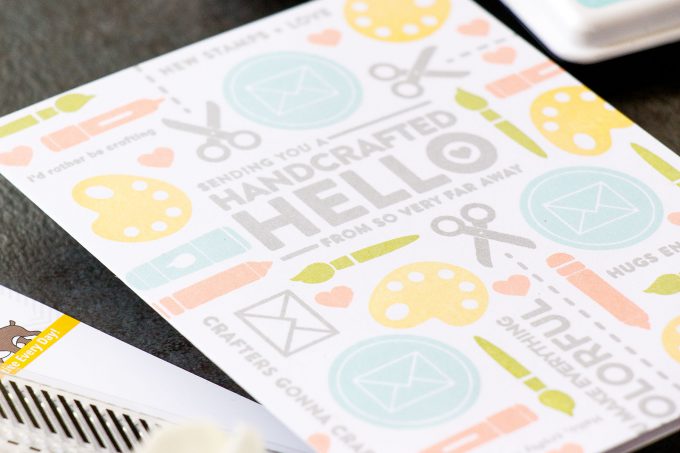
I used Crafty Friends stamp set to stamp a basic pattern for a card and I also filmed a video tutorial for those of you who want to try to stamp a pattern using your small individual images but maybe have been afraid to try or didn’t have time to try or didn’t know where to start. So hopefully this video will give you a little nudge and will encourage to pull out your small stamps – be it stamps from this Crafty Friends stamp set or any other stamp set and actually stamp a pattern for a card. If you do end up stamping something – please it somewhere and tag me, I’d love to see it. Seeing what you guys make using the ideas that I share makes me incredibly happy and grateful.
I decided not to reinvent the wheel in terms of color combos and used one of Shari’s combos from her Color Coordinates videos for Simon – Sweet Pea. The colors are Apricot, Duckling, Willow and Lake Shores – all of these are Simon Says Stamp ink colors and she also listed Desert Storm which is a paper color, but I substituted this with Smoke – a nice dark gray.
I’m not going to go into details about how I stamped this background – be sure to watch my video tutorial above. At the end of the video I also share another background, identically stamped, but on a dark background. I had an idea and wanted to test it to see how it would look so I did and share my results at the end. Let me know what you think!
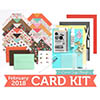
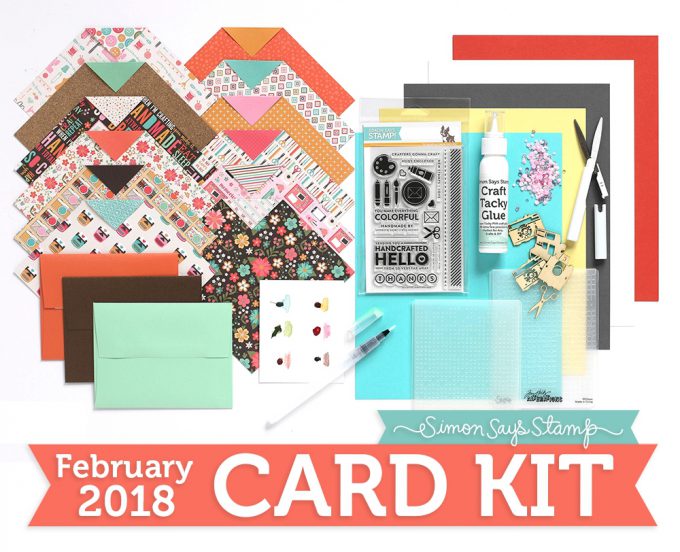
FEBRUARY 2018 CARD KIT
You can subscribe to Simon Says Stamp card kit of the month program for $24.95 plus shipping and handling. Kits can also be purchased individually at Simon Says Stamp store for $29.95 plus Shipping and Handling, you can also purchase many of the elements of the kit separately.
SUPPLIES
I’m listing the products I used below. Click on the link to go directly to the product. Where available I use compensated affiliate links which means if you make a purchase I receive a small commission at no extra cost to you. Thank you so much for your support
 Simon Says Stamp Card Kit Subscription Shop at: SSS |
 Simon Says Stamp Card Kit of the Month February Shop at: SSS |
 Simon Says Stamp Crafty Friend Stamp Set Shop at: SSS |
 Simon Says Stamp Duckling Dye Ink Pad Shop at: SSS |
 Simon Says Stamp Willow Dye Ink Pad Shop at: SSS |
 Simon Says Stamp Lake Shores Dye Ink Pad Shop at: SSS |
 Simon Says Stamp Smoke Gray Dye Ink Pad Shop at: SSS |
 Simon Says Stamp Apricot Dye Ink Pad Shop at: SSS |
 Neenah 80LB Solar White Cardstock Shop at: SSS |
 Neenah 110 Lb Solar White Cardstock Shop at: SSS |
 Mini Misti Stamping Tool Shop at: SSS |
PIN THIS PROJECT
Are you on Pinterest? I’d love for your to pin this project if you like it! Thanks!



Love this tutorial…great tips and will definitely have to try this technique. Can I ask, what is attached to your scissors? I never get tired of your creations and tutorials. Thanks so much for sharing your talent.
Such great cards and kit. I definitely prefer the white background. The more I see the white backgrounds the more I prefer that over the blue.
I love that craft supplies background ! So fun !
[margessw(at)icloud(dot)com]
I love seeing your tips and techniques. Great idea on the color themes and stamping biggest first. The dark blue background looks great. I like both cards. It would be scary adding the dark blue but it worked. Thanks for your videos.
Soft and lovely card!!
Love your cards today, they are so pretty!! Love the white background.
Great cards ! The colored background is really great as with the embossing, the colors of the stamped images is more vibrant, and I think this is my favorite version.
Personally, I prefer the white background. It gives a cleaner, more graphic look.
Fantastic card Yana, I like the colours you’ve used and the nice clean layout on the white, would make a great paper to use when crafting.
I dunno, your stamped backgrounds always look so planned and ‘meant to be”. There is balance and uniformity once the piece is done. Mine always end up a hot mess! I have paid special attention to your tips and tricks and promise not to give up on this technique just yet! Thanks for the inspiration.
So adorable card! love the colors so much.
Yana I really enjoy learning from you! I prefer the white background over the navy. Thank you for sharing and teaching!
Love your cards and video, Yana, thank you! I’m going to try it! I definitely prefer the white background!
Yana, this card is perfect just as it is. I love that you tried the dark blue background in the video and I think it is a great technique, just not for the particular card. You are an amazing stamper and I am always inspired by your creativity. Hugs
I had fun making a card like yours and posted it on my blog HERE: http://stampingtower.blogspot.com/2018/02/caseing-ipad.html