This post is also available in English
Hello and welcome back for another Yippee For Yana video! In this video, I wanted to show you a handmade Christmas card that combines hot foiling with stamping. There are many tricks to foiling, little nuances, and I attempted to cover as many of them as possible in today’s video.
Like this project? Pin it and save for later | Curious about my project photography? Click for details.
VIDEO TUTORIAL
Watch the video below or on my Youtube channel.
Like this video? Please give it a big thumbs up (you can do this on Youtube video page right under the video) and share it with a crafty friend! Leave me a comment too, I love hearing from you!
CARD DETAILS
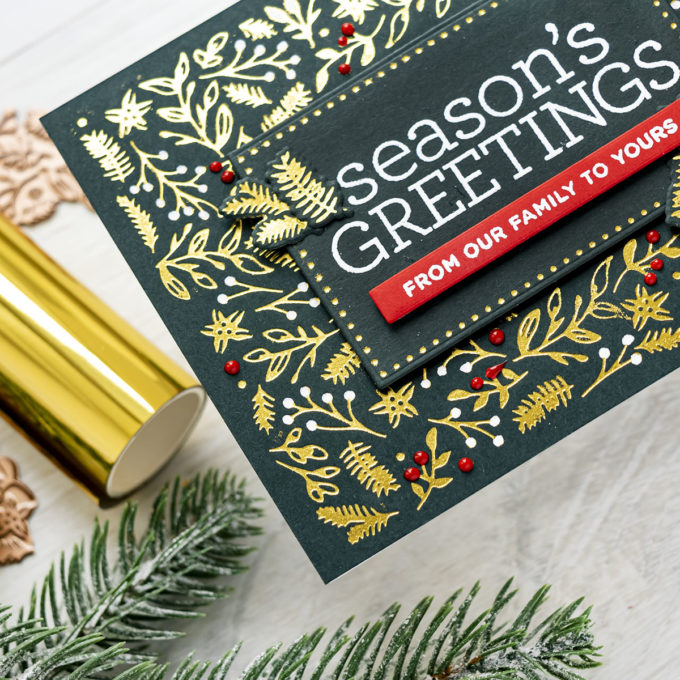
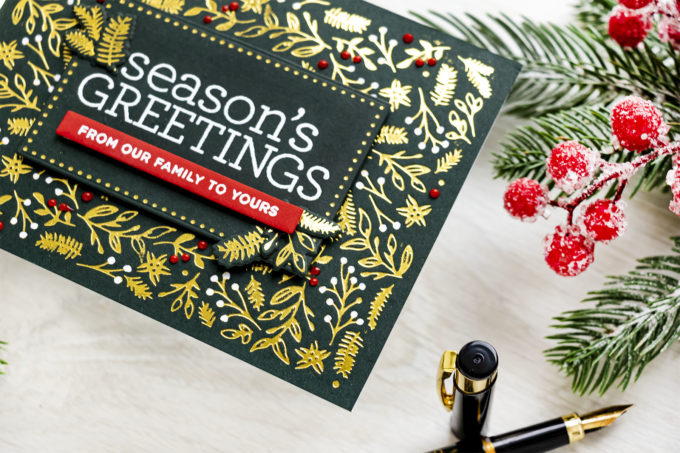
I’ve picked the Christmas Foliage glimmer plate from Spellbinders to create this card, it is from my Christmas Glimmer 2020 collection. It is a half plate and designed to be foiled twice to create an A2 card background. You foil it once, then you flip it and foil it once more to cover the entire card front. Be sure to watch my video for the how-to. It is an easy to use glimmer plate and, provided you use the right type of cardstock, you’ll get perfect foiled results in no-time!
Follow these instructions step-by-step to re-create this card:
- Foil Christmas Foliage background glimmer plate twice in gold foil on Simon Says Stamp Midnight Green cardstock. Use the “hinge method” as described HERE for precise placement when foiling.
- Adhere foiled background to A2 white top folding card base
- Foil a dotted frame using Spellbinders Essential Glimmer Rectangle glimmer plate on the same cardstock using the same foil. Cut out using a rectangle die.
- Heat emboss a sentiment from the Good Cheer stamp set in white embossing powder. Heat emboss sub sentiment in white embossing powder on red cardstock. Foam mount both onto the card.
- Foil additional foliage pieces using the Christmas Foliage Circle Border plate. Die-cut using the dies included in the set. Adhere to card.
- “Color” the background by adding red berries using Nuvo Drops in Red Berry and white dots using Sakura White #10 pen.
- Let dry and enjoy!
Hot foiling can be very tricky. Sometimes I have “bad foiling days” – when no matter the paper, the foil, the plate, I still get unsatisfactory results. I hope you’ll give hot foiling a try. It is a beautiful technique that gives stunning, one of kind results, but requires a lot of patience and practice. Have fun foiling!
SUPPLIES
I’m listing the products I used below. Click on the link to go directly to the product. Where available I use compensated affiliate links which means if you make a purchase I receive a small commission at no extra cost to you. Thank you so much for your support!
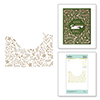 Christmas Foliage Background Glimmer Hot Foil Plate Shop at: SSS |
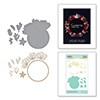 Christmas Foliage Circle Border Glimmer Hot Foil Plate and Dies Shop at: SSS |
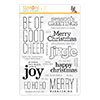 Cz Design Clear Stamps Good Cheer Shop at: SSS |
 Spellbinders Quick Trimmer Shop at: SSS |
 Spellbinders Quick Trimmer Replacement Blades Shop at: SSS |
 Spellbinders Hot Foil Roll – Gold Shop at: SSS |
 Spellbinders Essential Glimmer Rectangles Hot Foil Plates Shop at: SSS |
 Spellbinders Platinum 6 Die Cutting Machine Shop at: SSS |
 Spellbinders Glimmer Hot Foil System Shop at: SSS |
 Neenah 110 Lb Solar White Cardstock Shop at: SSS |
 Simon Says Stamp Card Stock 100# Midnight Green Shop at: SSS |
 Simon Says Stamp Lipstick Red Cardstock Shop at: SSS |
 Mini Misti Stamping Tool Shop at: SSS |
 Hero Arts Clear Embossing & Watermark Ink Shop at: SSS |
 Simon Says Stamp Embossing Powder White Fine Detail Shop at: SSS |
 EK Success Powder Tool Applicator Shop at: SSS |
 Tonic Red Berry Gloss Nuvo Crystal Drops Shop at: SSS |
 Hero Arts Heat Embossing Gun Shop at: SSS |
 Sakura Classic White Gelly Roll Pens Set of 3 Shop at: SSS |
 Tonic Studios 8.5 Inch Paper Trimmer Shop at: SSS |
 White Foam Squares Shop at: SSS |




Your card is stunning and loved it. Thank you for all the foiling tips as am just learning and sometimes it gets very frustrating when you don’t know how you went wrong. All the tips certainly do help allot.