This post is also available in English
Hello and welcome back for another Yippee For Yana video! It’s been a long time since I did any pattern or background stamping using non background stamps; and since pattern stamping is one of my favorite ways to make backgrounds for my handmade cards I challenged myself to find a floral stamp I like and use it to create a pretty background for a card.
Like this project? Pin it and save for later | Curious about my project photography? Click for details.
VIDEO TUTORIAL
Watch the video below or on my Youtube channel.
Like this video? Please give it a big thumbs up (you can do this on Youtube video page right under the video) and share it with a crafty friend! Leave me a comment too, I love hearing from you!
CARD DETAILS
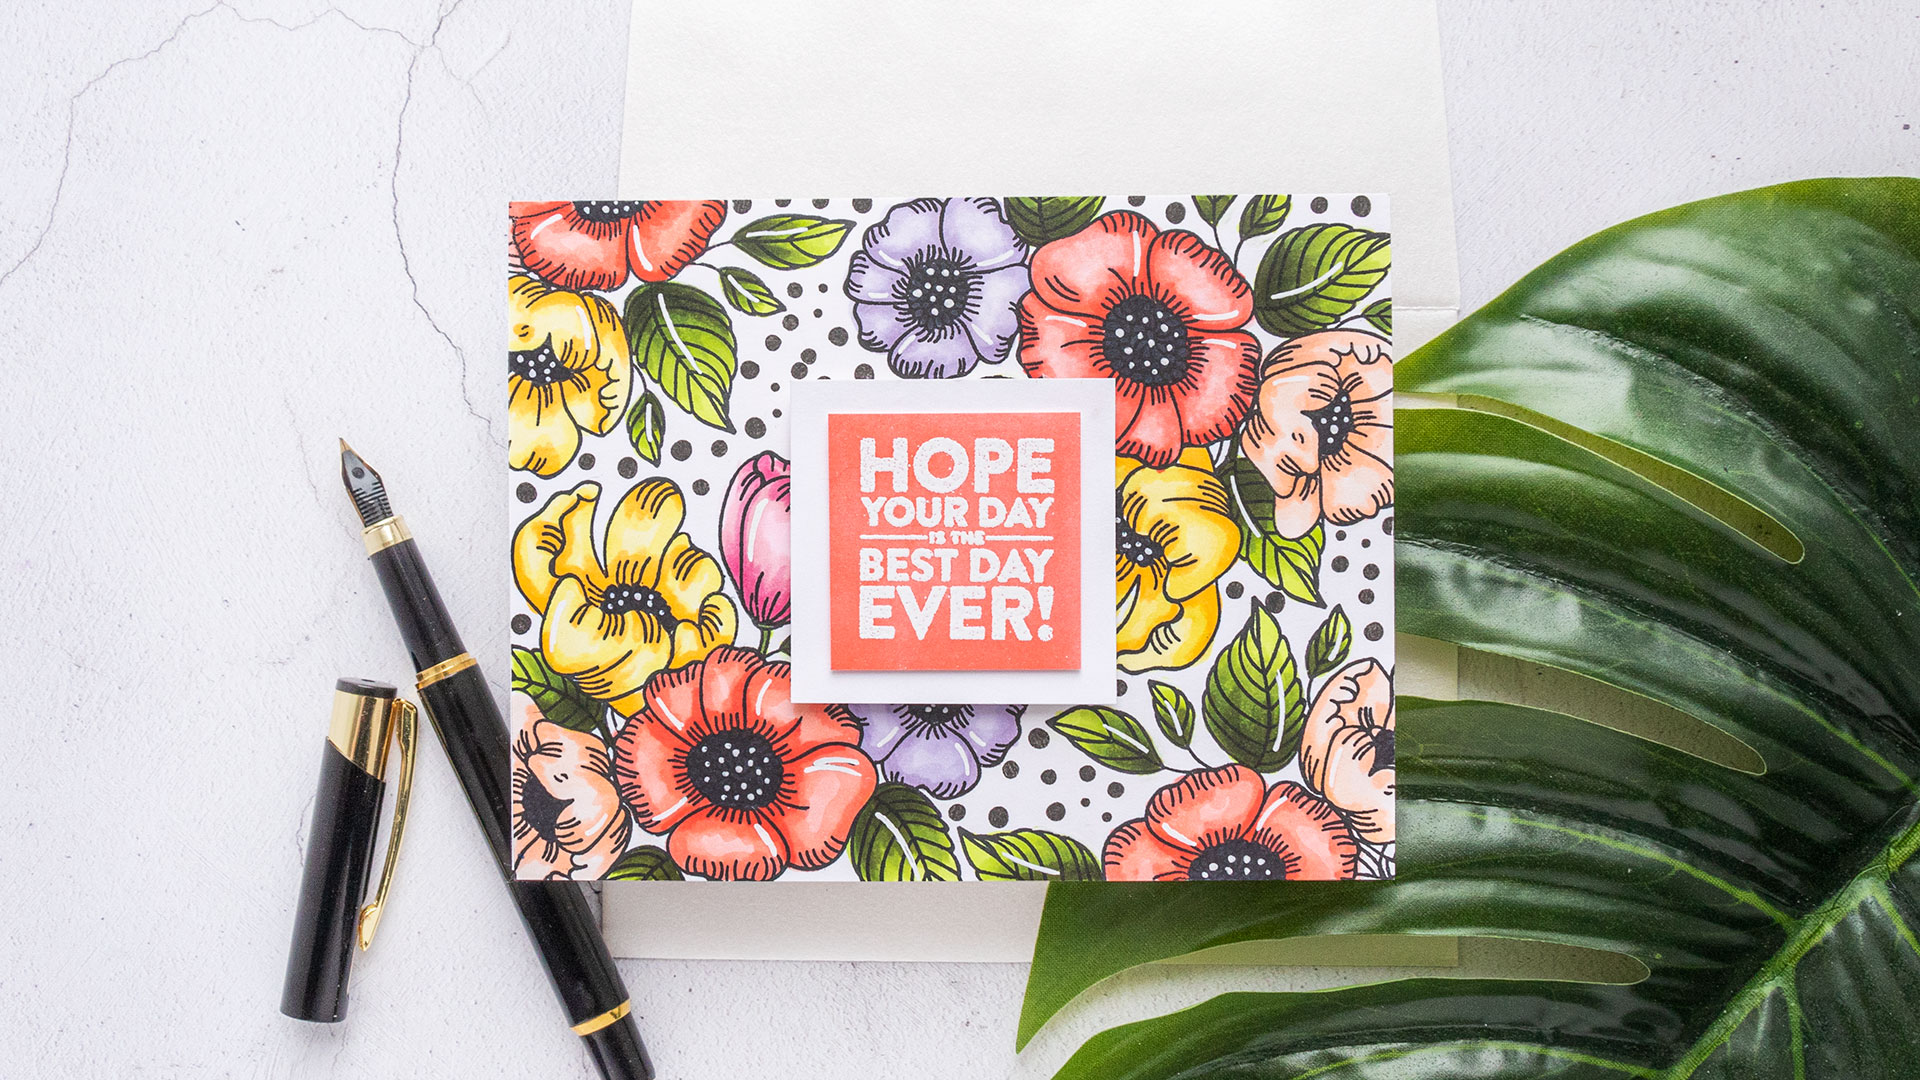
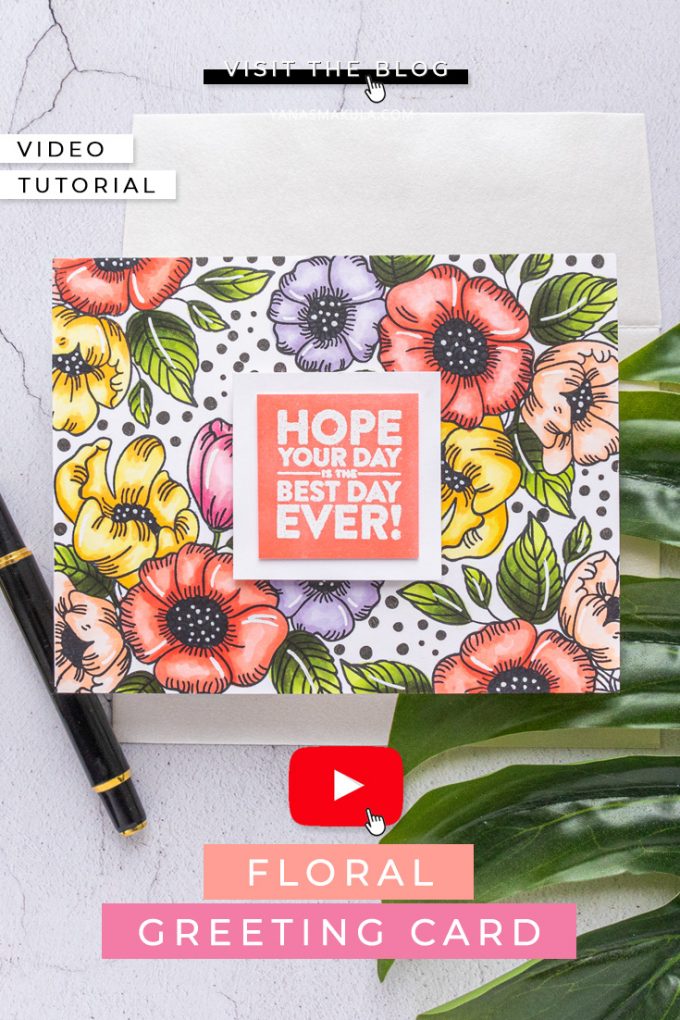
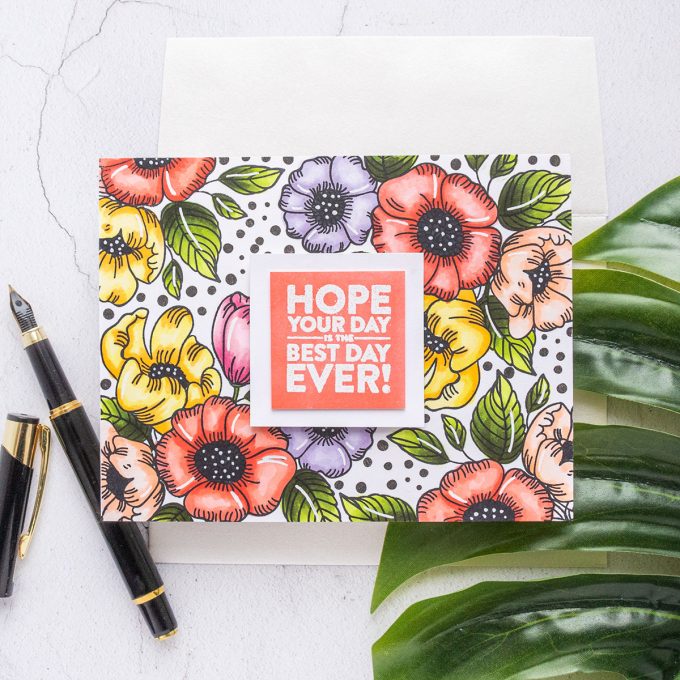
I picked the floral cluster from the Thankful Flowers stamp set. I pulled out my MISTI stamping tool, Simon’s Intense Black ink, and Neenah Solar White 80 lb cardstock and stamped my heart out. It only took 4 impressions to cover the panel for an A2 card and I made sure to rotate the floral cluster so that my stamping didn’t look identical. I would like to make this card again, but use a gray ink pad instead of black for stamping the flower outline, or perhaps even do some heat embossing in gold or like gold color for a softer look.
Having stamped the background I picked several colors, I settled on a color combo, and from there I picked my Copic markers to do the coloring. I started by coloring the leaves for the panel. I used YG01, YG03, G94 and G99 markers to color the leaves. Next, I used R20, R22 and R24 markers to color some of the flowers red; Y35, Y13 and Y11 markers to color some flowers yellow; RV34, RV11 and RV00 to color some flowers pink; and finally the last flower was colored using violets, BV11, BV00 and BV000.
The flower centers were colored using a C9 marker to look almost black. I wish I had picked a lighter color, maybe a C7 marker or a C5, I think that would have looked a bit better.
The stamp set, the Thankful Flowers includes small dot clusters and so I used those dots to fill the gaps in between the images. I stamped them in black ink and I used Versafine Onyx Black for this.
To create a sentiment I used an R22 marker and colored a piece of white cardstock to create a custom color paper. Next, I waited for the paper to dry and then heat embossed a simple sentiment that reads “Hope Your Day is the Best Day Ever” in white embossing powder; the sentiment comes from the Birthday Word Mix 1 set from Simon Says Stamp.
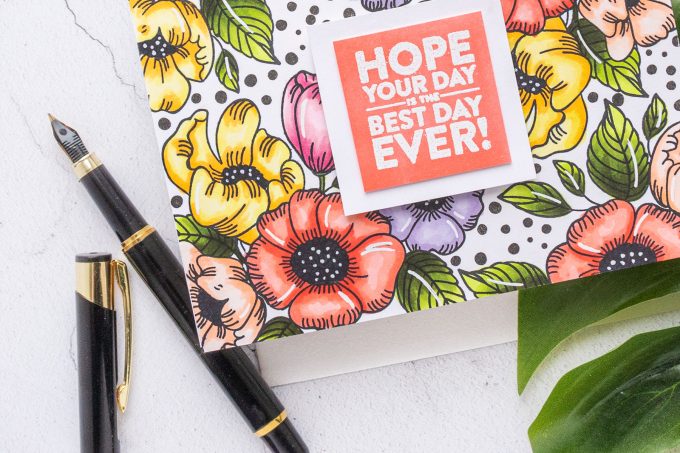
I cut the sentiment out using my paper trimmer and adhered 3 pieces of scrap cardstock to the back of the panel to create dimension. I wanted to add some dimension, but I didn’t want to use foam adhesive squares as that would have added too much dimension, so I added just a little bit to dimension by adhering 3 panels of cardstock. Then I used foam adhesive to adhere the sentiment panel to the card.
I also used a white pen and added white dot details to the flower center and added highlights to some of the flower petals.
I hope you like this card idea!
Have fun stamping!
SUPPLIES
I’m listing the products I used below. Click on the link to go directly to the product. Where available I use compensated affiliate links which means if you make a purchase I receive a small commission at no extra cost to you. Thank you so much for your support!
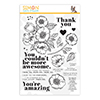 Simon Says Clear Stamps Thankful Flowers Shop at: SSS |
 Neenah 80LB Solar White Cardstock Shop at: SSS |
 Tsukineko VersaFine Onyx Black Ink Shop at: SSS |
 Misti Stamping Tool Shop at: SSS |
 Simon Says Stamp Embossing Ink Pad Shop at: SSS |
 Hero Arts White Detail Embossing Powder Shop at: SSS |
 EK Success Powder Tool Applicator Shop at: SSS |
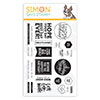 Simon Says Clear Stamps Birthday Word Mix 1 Shop at: SSS |
 Hero Arts Heat Embossing Gun Shop at: SSS |
 Simon Says Stamp Intense Black Ink Shop at: SSS |
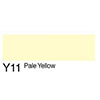 Copic Sketch Marker Y11 Pale Yellow Shop at: SSS |
 Copic Sketch Marker Y13 Lemon Yellow Shop at: SSS |
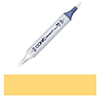 Copic Sketch Marker Y35 Maize Shop at: SSS |
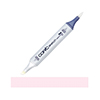 Copic Sketch Marker RV00 Water Lily Shop at: SSS |
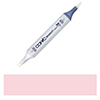 Copic Sketch Marker RV11 Pink Shop at: SSS |
 Copic Sketch Marker R20 Blush Pink Shop at: SSS |
 Copic Sketch Marker R22 Light Prawn Shop at: SSS |
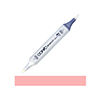 Copic Sketch Marker RV34 Dark Pink Shop at: SSS |
 Copic Sketch Marker R24 Prawn Shop at: SSS |
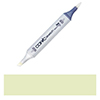 Copic Sketch Marker YG01 Green Bice Shop at: SSS |
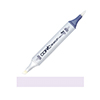 Copic Sketch Marker Bv000 Iridescent Mauve Shop at: SSS |
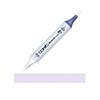 Copic Sketch Marker BV00 Mauve Shadow Shop at: SSS |
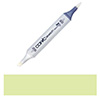 Copic Sketch Marker YG03 Yellow Green Shop at: SSS |
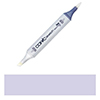 Copic Sketch Marker BV11 Soft Violet Shop at: SSS |
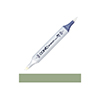 Copic Sketch Marker G94 Grayish Olive Shop at: SSS |
 Copic Sketch Marker G99 Olive Green Shop at: SSS |
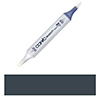 Copic Sketch Marker C9 Cool Gray Grey Shop at: SSS |
 Simon Says Stamp Craft Tacky Glue Shop at: SSS |
 Sakura Classic White Gelly Roll Pens Set of 3 Shop at: SSS |


I’m not able to access the video, but the card sure is pretty! Thanks, Yana
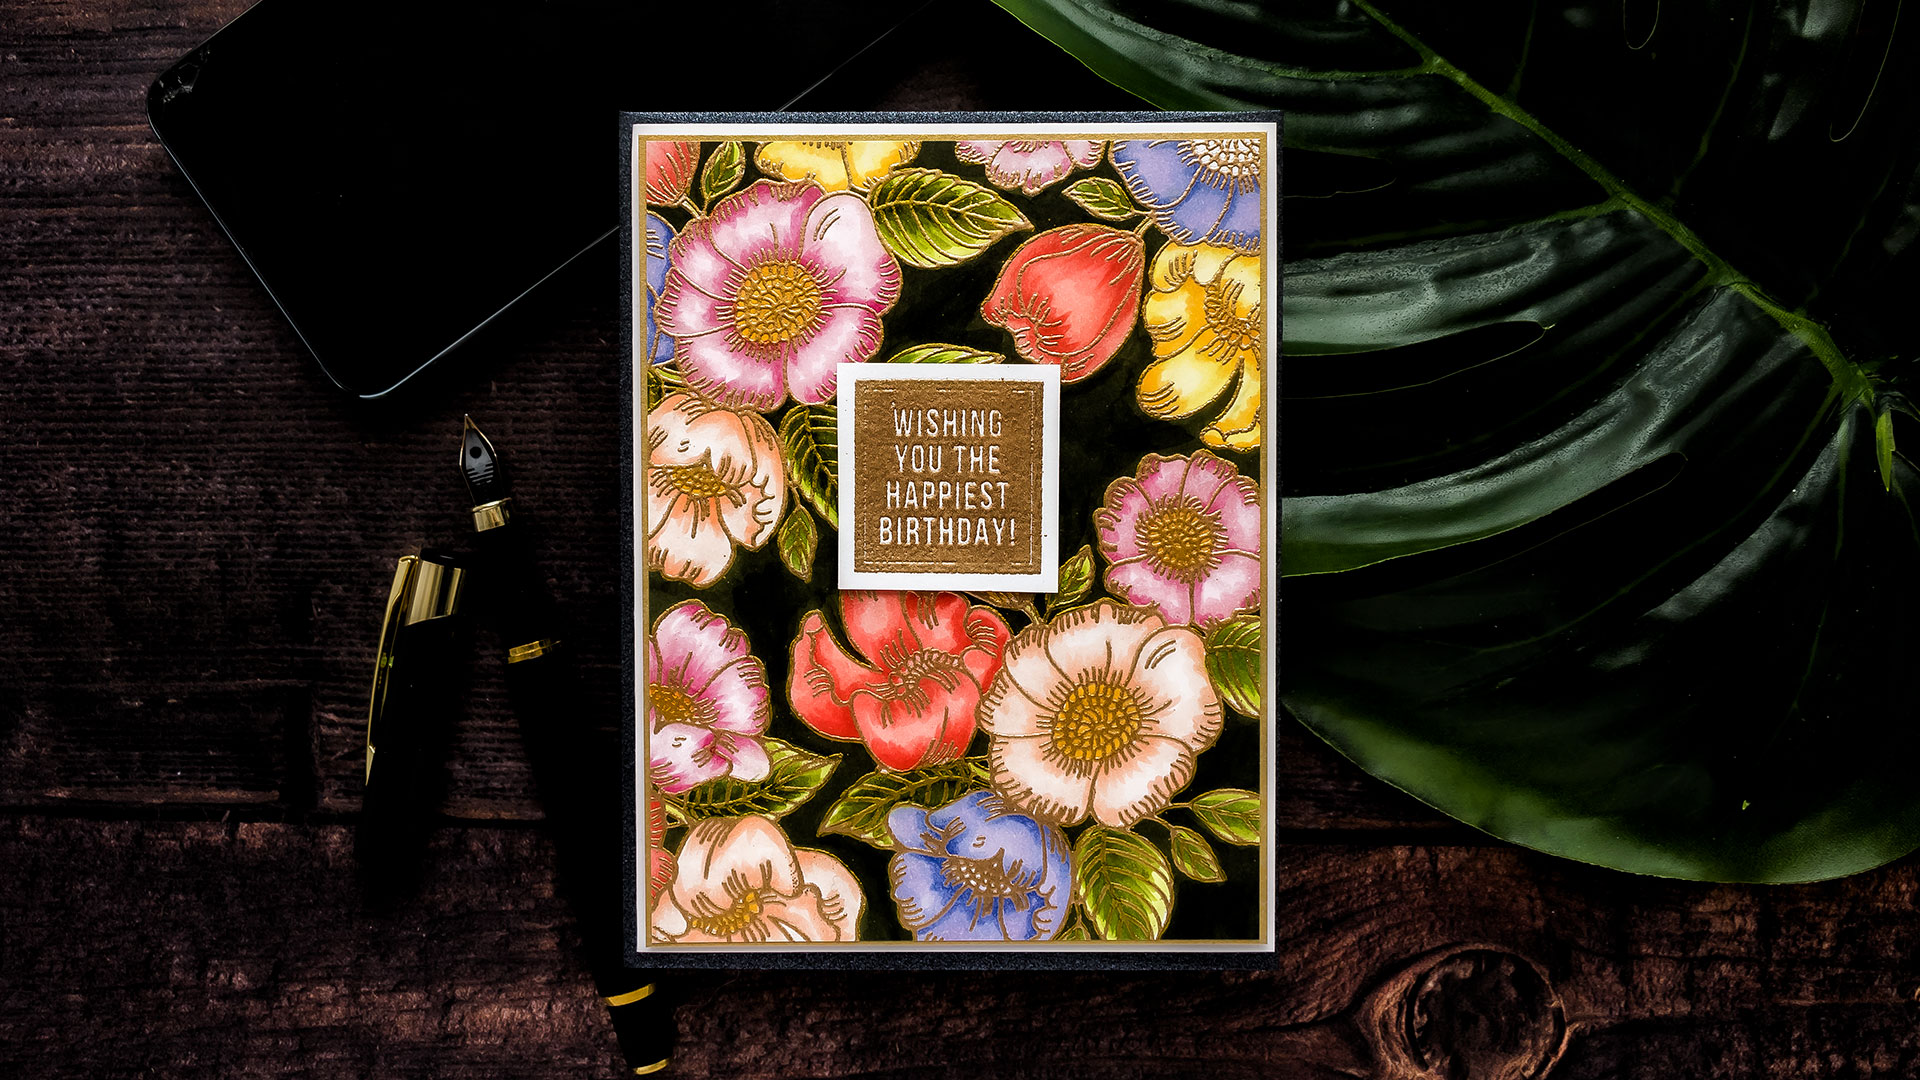
I like both design. Using different medium makes the same design having a different regard on the design.
Merci Yana , your vidéo are always very well explanatory and the choice of colors are always makes the design come alive.
Yolande