This post is also available in English
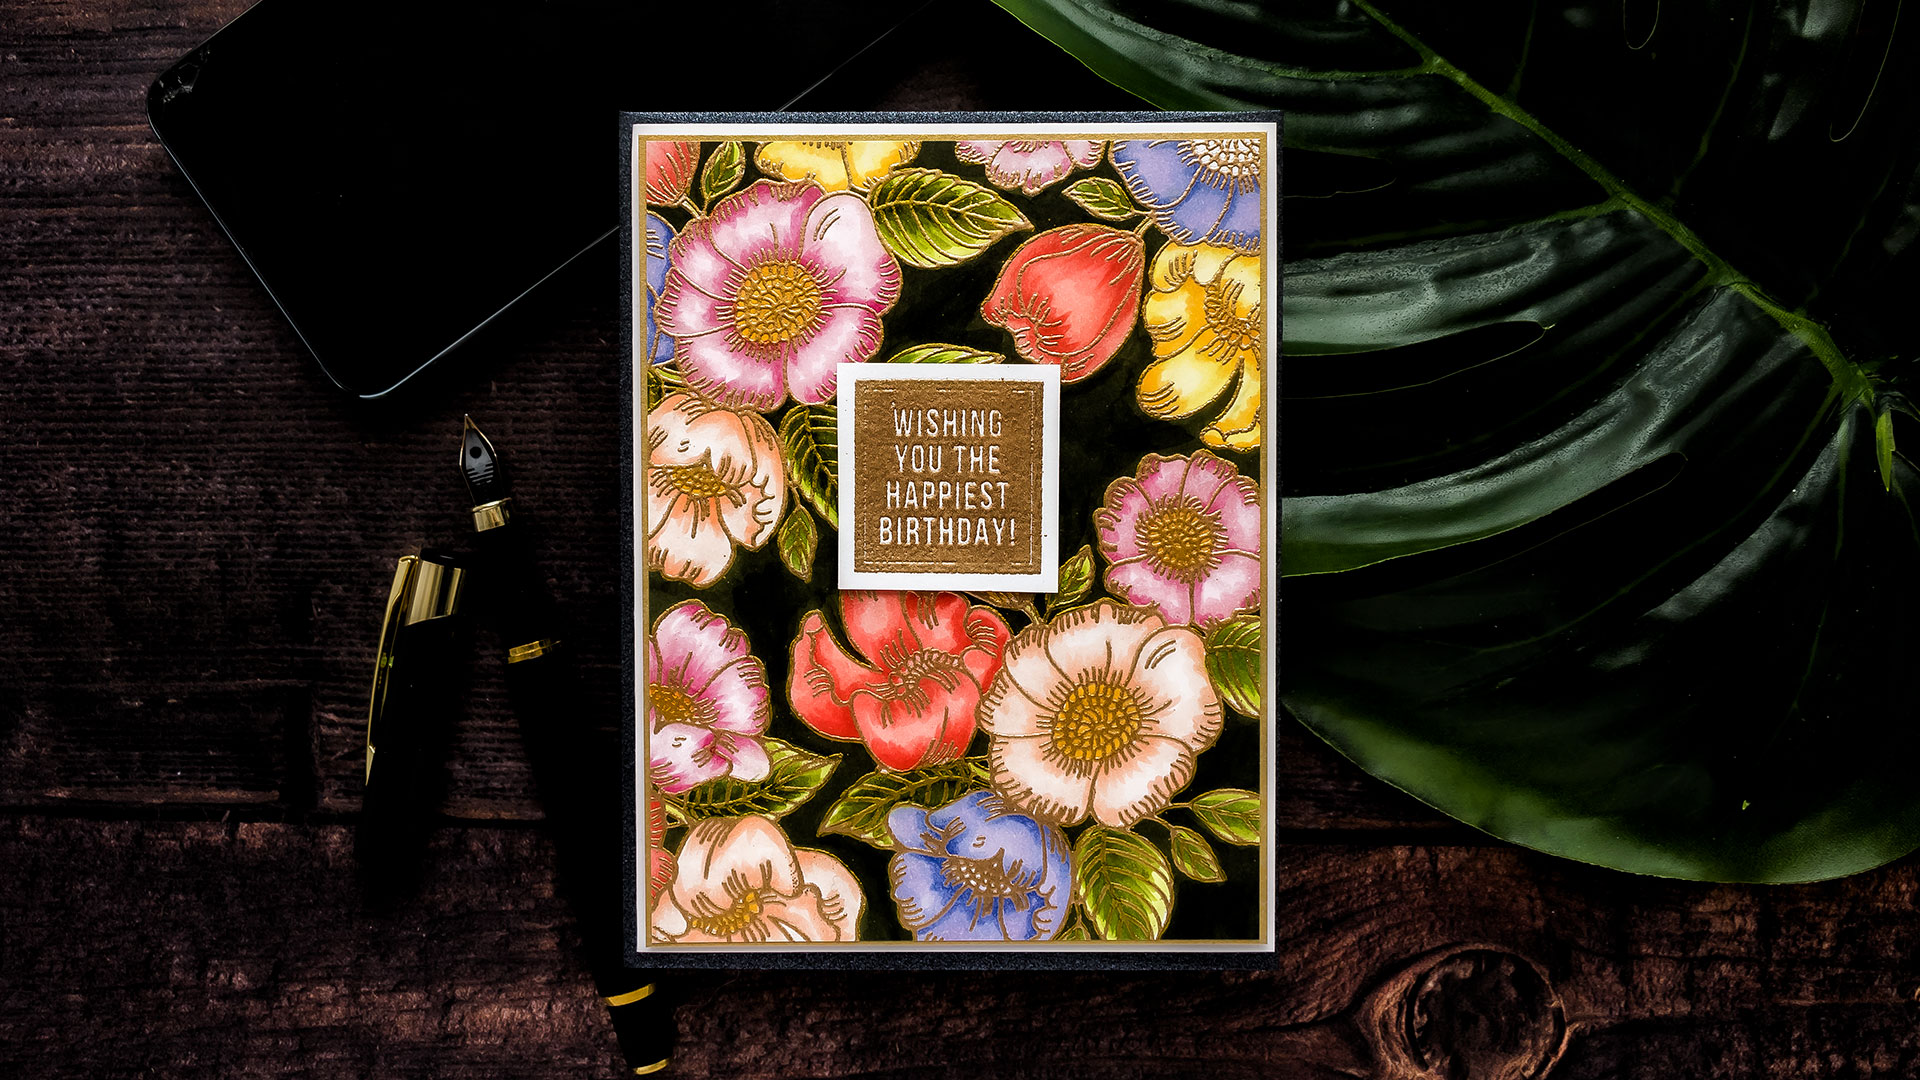
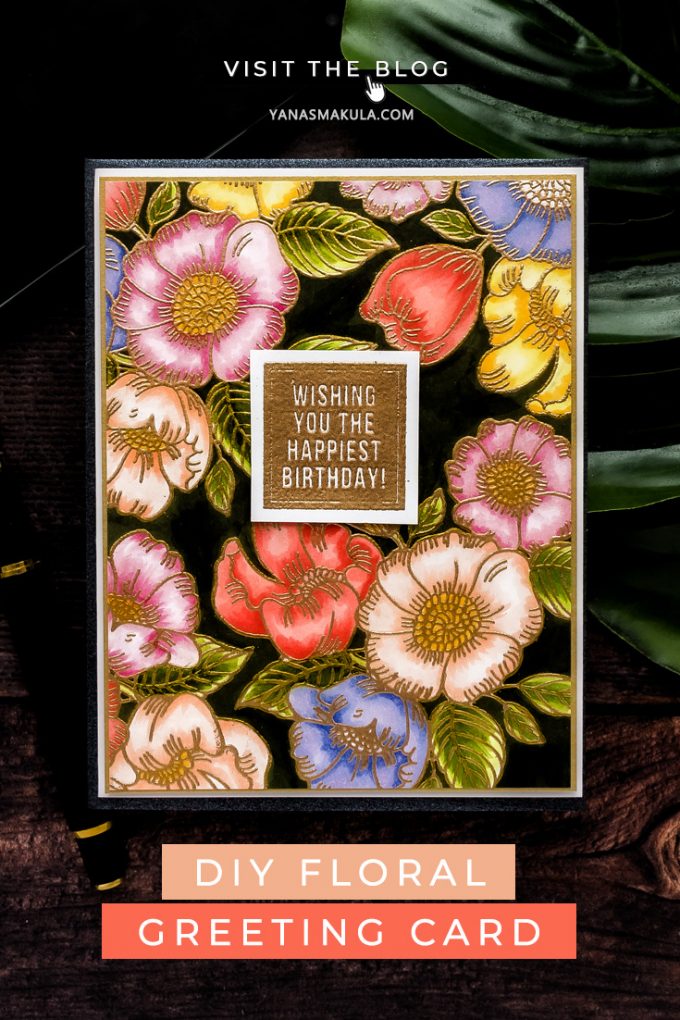
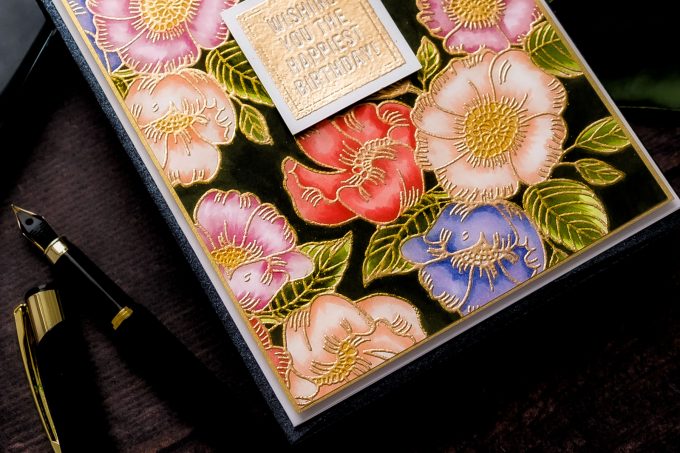
Hello, friends. In my previous post, I mentioned I wanted to try a different approach to the background I had made and while I had some free time this weekend I went ahead and colored another card. I used the exact same supplies, but the end result ended up being dramatically different by switching up just 2 things.
Like this project? Pin it and save for later | Curious about my project photography? Click for details.
CARD DETAILS
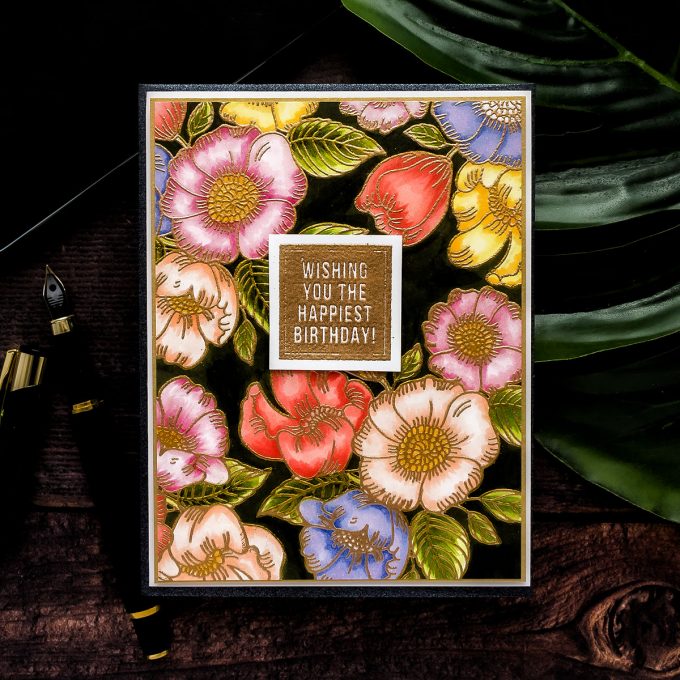
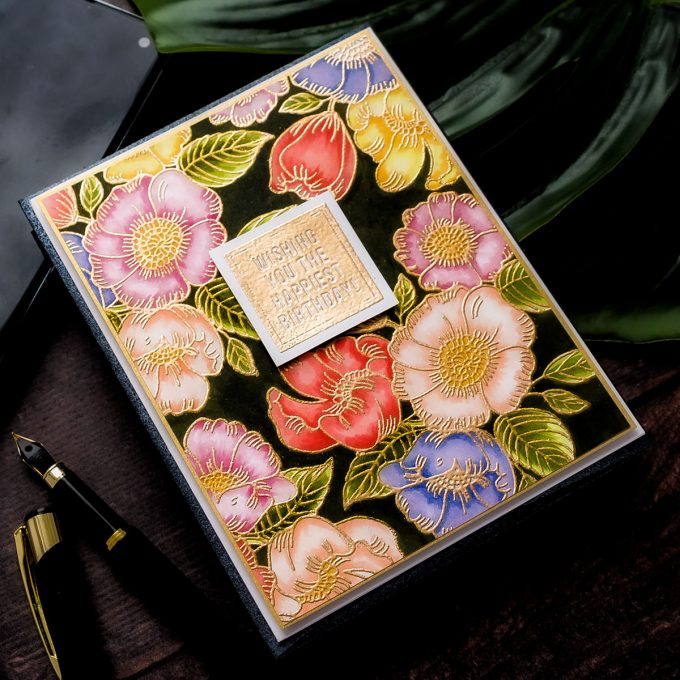
I used the same floral cluster from the Thankful Flowers stamp set, but instead of stamping it in black ink I heat embossed it in Antique Gold embossing powder. This one thick made a world of a difference and already significantly changed the look of the card.
Next, I used the same colors of Copic markers and colored the flowers and leaves in. I used YG01, YG03, G94, and G99 markers to color the leaves. Next, I used R20, R22 and R24 markers to color some of the flowers red; Y35, Y13 and Y11 markers to color some flowers yellow; RV34, RV11, and RV00 to color some flowers pink; and finally the last flower was colored using violets, BV11, BV00, and BV000.
I know a lot of you are worried about coloring next to heat embossing. Watch THIS video tutorial for a workaround. I hope you’ll give it a go!
With the flowers colored I used the G99 marker, the darkest green in my collection, and colored the background in. WOW! What a variation that made. it transformed a simple floral card to a dramatic and eye-catching design.
I added a heat embossed birthday sentiment, the sentiment comes from the Birthday Word Mix 1 set from Simon Says Stamp, and called this card done!
Which one do you like more? This card or one shared here?
SUPPLIES
I’m listing the products I used below. Click on the link to go directly to the product. Where available I use compensated affiliate links which means if you make a purchase I receive a small commission at no extra cost to you. Thank you so much for your support!
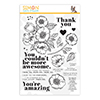 Simon Says Clear Stamps Thankful Flowers Shop at: SSS |
 Simon Says Clear Stamps Birthday Word Mix 1 Shop at: SSS |
 Neenah 80LB Solar White Cardstock Shop at: SSS |
 Tsukineko VersaFine Onyx Black Ink Shop at: SSS |
 Misti Stamping Tool Shop at: SSS |
 Simon Says Stamp Antique Gold Embossing Powder Shop at: SSS |
 Simon Says Stamp Embossing Ink Pad Shop at: SSS |
 EK Success Powder Tool Applicator Shop at: SSS |
 Hero Arts Heat Embossing Gun Shop at: SSS |
 Copic Sketch Marker Y11 Pale Yellow Shop at: SSS |
 Copic Sketch Marker Y13 Lemon Yellow Shop at: SSS |
 Copic Sketch Marker Y35 Maize Shop at: SSS |
 Copic Sketch Marker RV00 Water Lily Shop at: SSS |
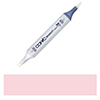 Copic Sketch Marker RV11 Pink Shop at: SSS |
 Copic Sketch Marker R20 Blush Pink Shop at: SSS |
 Copic Sketch Marker R22 Light Prawn Shop at: SSS |
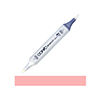 Copic Sketch Marker RV34 Dark Pink Shop at: SSS |
 Copic Sketch Marker R24 Prawn Shop at: SSS |
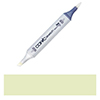 Copic Sketch Marker YG01 Green Bice Shop at: SSS |
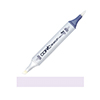 Copic Sketch Marker Bv000 Iridescent Mauve Shop at: SSS |
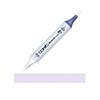 Copic Sketch Marker BV00 Mauve Shadow Shop at: SSS |
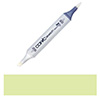 Copic Sketch Marker YG03 Yellow Green Shop at: SSS |
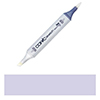 Copic Sketch Marker BV11 Soft Violet Shop at: SSS |
 Copic Sketch Marker G94 Grayish Olive Shop at: SSS |
 Copic Sketch Marker G99 Olive Green Shop at: SSS |
 Simon Says Stamp Craft Tacky Glue Shop at: SSS |


Liked the first one but after seeing this card I couldn’t believe those two little changes made such a difference. Fabulous card.
I do love your floral cards! This one is stunning!
This card is beautiful! I’m going to try this!
They are both beautiful but this one (with the darker background) is stunning!!!!
So very gorgeous!!
HOLY COW! I can’t believe the difference this makes and that it’s the same design!!!! Absolutely stunning on black. Stay health and thank you, Yana.
Wow!!!! Really Stunning card!!!!
Oooooo! So dramatic! Love this one best! Love that pop of blue!
I like both cards but this one is definitely my favorite. Thanks for sharing both of them!
Wow! Stunning! I love the other card but you took this one to the next level! Fabulous job Yana! TFS
I like this one (dark background) best. It’s gorgeous.
Girl, seriously, you ROCKED this card. I absolutely love black card stock and this card is out of this world. Fabulous job, Yana!
Beyond stunning….
Yana, with this one you had to color over/with the already embossed images didn’t you? Because you had to move the image in order to restamp it…. Or did you stamp it once, color it, emboss it, then stamp it again, color it, emboss it, and then move it? I guess I just figured it out — or at least the way I’ll have to do it because I am not as skilled with copics as you are — yet. 🙂
Mary, yes. I heat embossed it all first and then colored it all 🙂