This post is also available in English
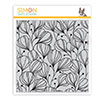
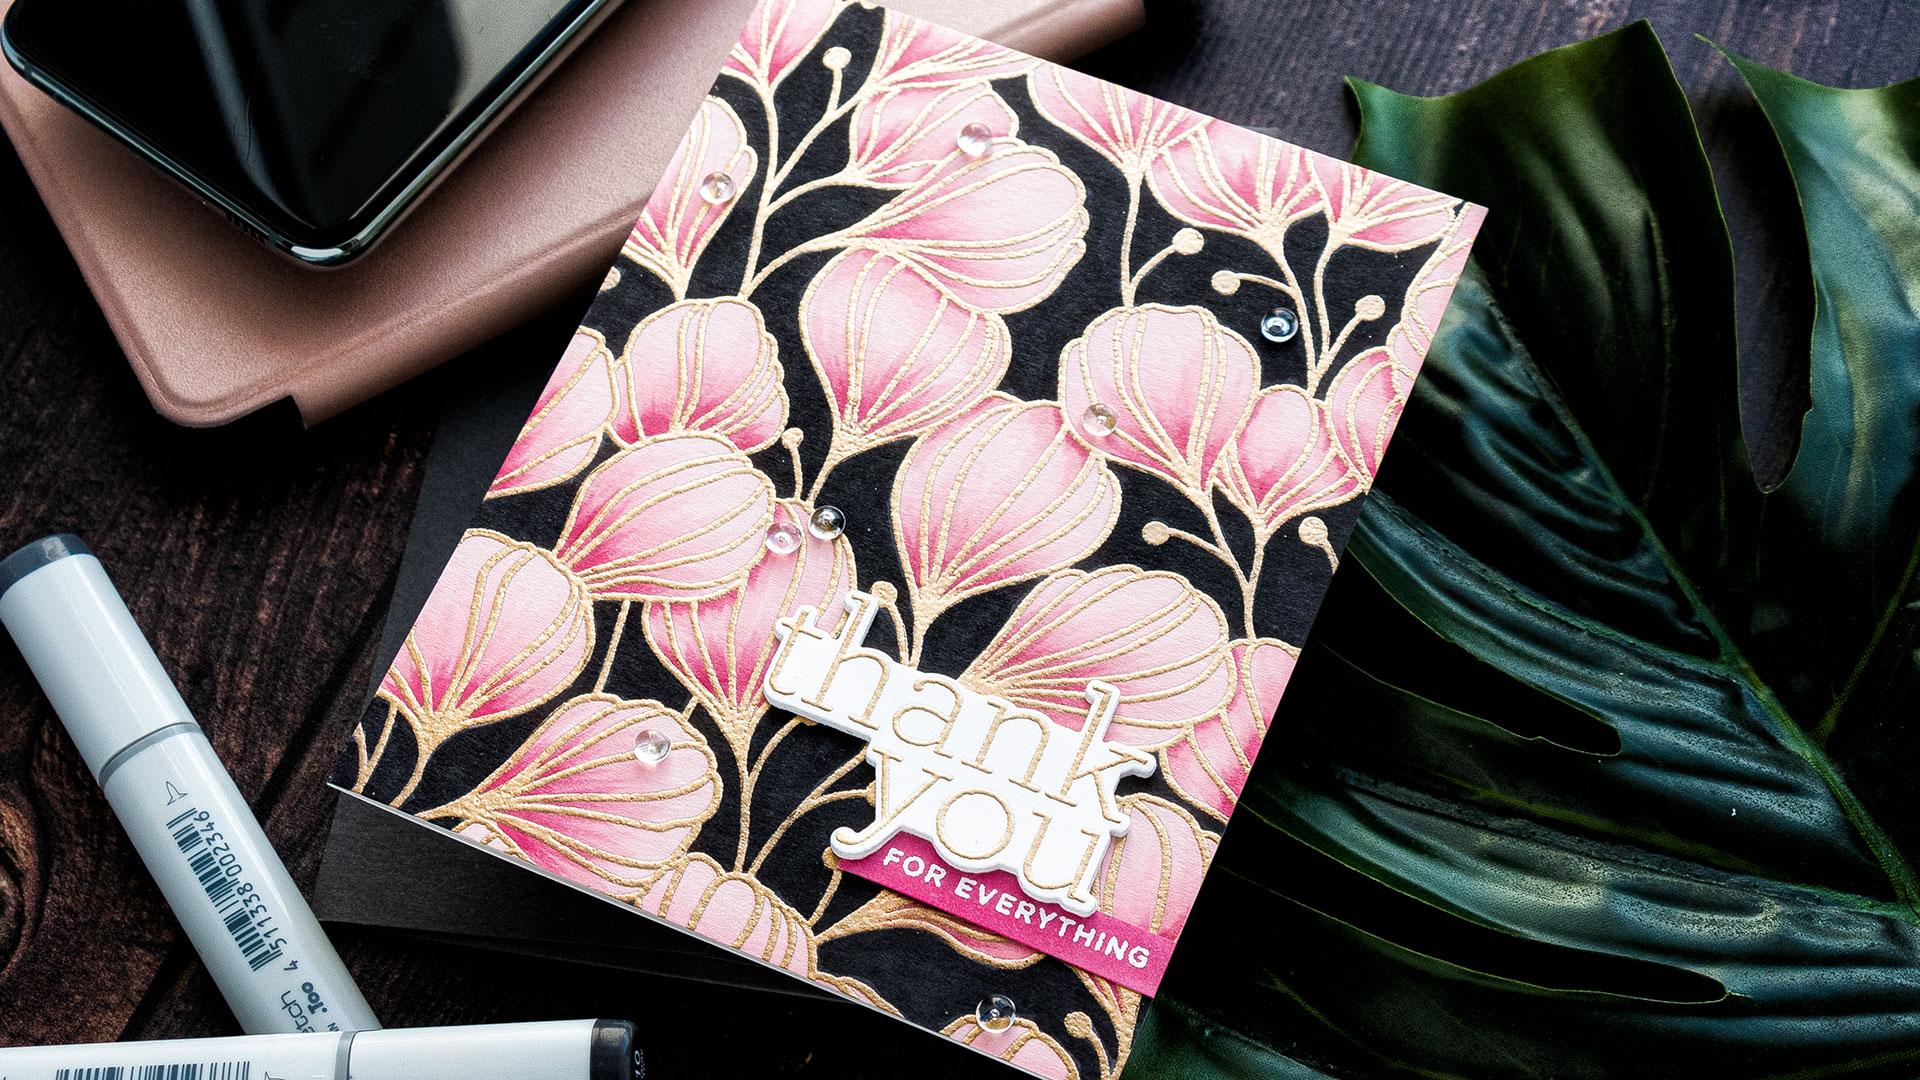
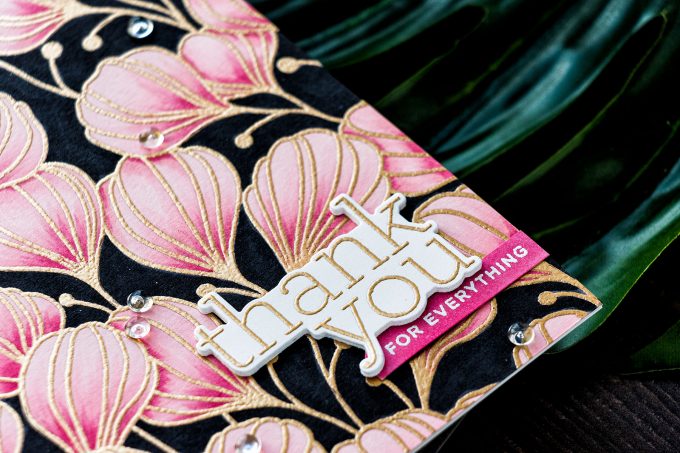
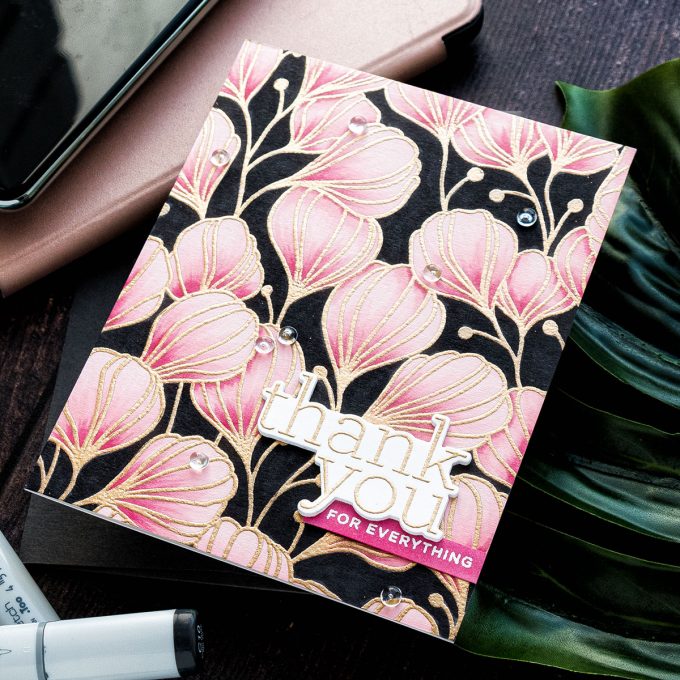
…But your card still somehow ends up on a nearly black background. Let’s rewind a bit. Have you seen Simon’s latest Flora Background stamp? It’s one of my favorites (there’s also a stencil with the same design).
Like this project? Pin it and save for later | Curious about my project photography? Click for details.
CARD DETAILS
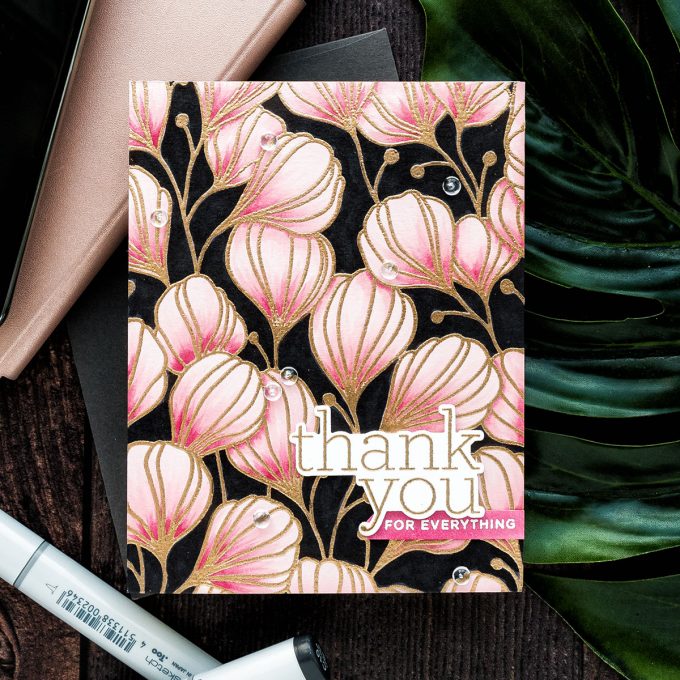
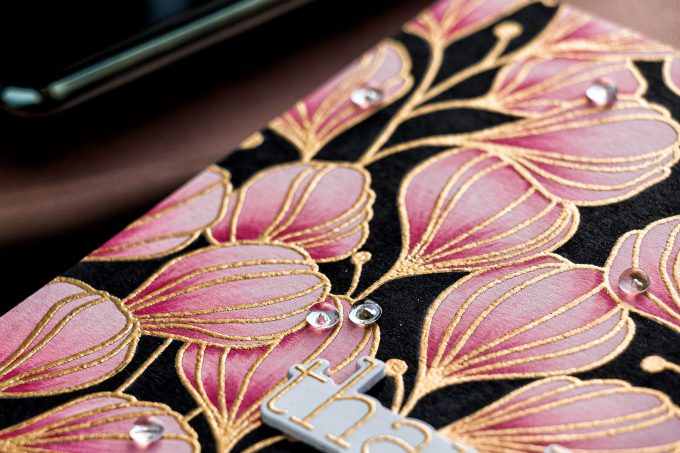
This card started just like any other – I heat embossed Flora Background in Antique Gold embossing powder on light pink cardstock. I wanted to color these flowers pink, but I wanted to find a “shortcut” and reduce the amount of coloring, so I used pink cardstock as a base. Next, with the help of RV34, RV11 and RV10 I quickly colored these flowers shading them mostly at the base.
While I liked the pink-colored look I felt like it was missing something. Missing some drama. Missing the wow factor. I had a C5 marker sitting on my desk from a previous project and I just grabbed it and colored a small section of the background light gray. I like it. I reached for a darker, C7 marker, and colored over the same area to darken it. I like that even more. Long story short, 10 minutes later the negative space was all colored using a C10 Copic marker and looked nearly black. Yes! That’s the look I wanted, the dark background is what helped the flowers pop.
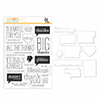
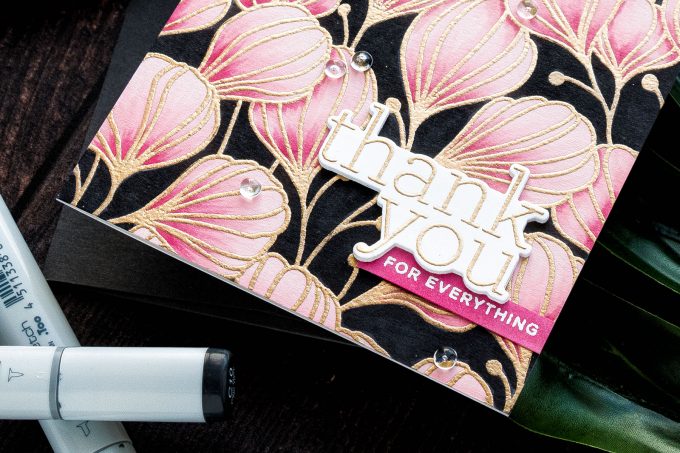
I adhered this background to A2 white card base. To make a sentiment I went with a simple “Thank You For Everything”. There are so many kind and caring people in the world, I am always out of cards to give to them as a sign of my gratitude.
The “Thank You” portion of the sentiment was die cut 4-5 times and adhered together to make a dimensional die cut. The “For Everything” was white heat embossed on a white panel colored with RV34 marker.
Of course, I couldn’t resist adding a handful of clear droplets to complete the look. So there you have it – a card that went from soft, delicate pink, to a bold and dramatic black. I love it. I hope you do too.
SUPPLIES
I’m listing the products I used below. Click on the link to go directly to the product. Where available I use compensated affiliate links which means if you make a purchase I receive a small commission at no extra cost to you. Thank you so much for your support!
 Simon Says Cling Stamp Flora Background Shop at: SSS |
 Cz Design Stamps and Dies All the Thanks Shop at: SSS |
 Cz Design Clear Stamps All the Thanks Shop at: SSS |
 Cz Design Wafer Dies All the Thanks Shop at: SSS |
 Simon Says Stamp Cotton Candy Cardstock Shop at: SSS |
 Neenah 110 Lb Solar White Cardstock Shop at: SSS |
 Simon Says Stamp Antique Gold Embossing Powder Shop at: SSS |
 Hero Arts White Detail Embossing Powder Shop at: SSS |
 Hero Arts Heat Embossing Gun Shop at: SSS |
 EK Success Powder Tool Applicator Shop at: SSS |
 Copic Sketch Marker RV10 Pale Pink Shop at: SSS |
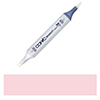 Copic Sketch Marker RV11 Pink Shop at: SSS |
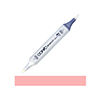 Copic Sketch Marker Rv34 Dark Pink Shop at: SSS |
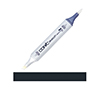 Copic Sketch Marker C10 Cool Gray Shop at: SSS |
 Tonic Deluxe Adhesive Nuvo Glue Shop at: SSS |
 Crystal Ninja Crystal Katana Pick Up Tool Shop at: SSS |
 Scor-Tape 1/8 Inch Crafting Tape Shop at: SSS |
 Nuvo – Clear Mark Embossing Pad Shop at: SSS |
 Pretty Pink Posh 4MM Clear Droplets (small) Shop at: SSS |



What a gorgeous card!! And pink cardstock? No one would think so, it totally looks black and those flowers are so beautiful! Thank you for sharing this quick yet amazing technique!
this is definitely a wow card. just gorgeous!!
So elegant as always! Love your style!
Yana, you DEFINITELY found the “WOW” factor! LOL STUNNING, AS ALWAYS!!! ;)<3
Really beautiful and so elegant. I would frame it. Truly, a work of art!
Yup. You nailed it! Pink and black … dramatic and another beauty. I thought for sure you started with black card stock(!) so I had to re-read your post to believe you started with PINK!!
I DO love it! What a stunning card! Nicely done.
I have a question about your Copic coloring. Do you start with the darkest shade of pink and go lighter?
Thank you, Mary! For this card, yes, I started with darkest, but often I start with lightest. It just depends on the project
As soon as I saw the sneak peek of this card a few days ago I immediately purchased the background stamp.
This is one of the most beautiful cards I have ever seen. You are seriously talented.
PS please do a video of this card. It would be so helpful!!!
Absolutely gorgeous! Thanks for the great tip on using colored cardstock. Love the results!
I feel like such a pita. So sorry. I thought we were not to use copic on embossing. Can you tell us how you did it??
it is indeed best not to. But if you are careful and don’t go over the embossing (but just carefully next to it) you should be fine.
This card is STUNNING!!
I like this dramatic look, too! I couldn’t figure out how you accomplished the pink flowers on the black background — until I read your tutorial, so very ingenious! A stunning creation with the big WOW factor.
Absolutely STUNNING card!!!!
Mind blown!!!! This looks amazing! Will have to try this ASAP… Thanks for sharing 🙂
Gorgeous card–love the pink CS!
Gorgeous card. That’s a beautiful stamp.
I love this card! Thanks for the tip about coloring a white piece of cardstock with embossed image. So simple, and a kinda “duh” moment! .
This is so beautiful I have to get this stamp. Love the way you use colored cardstock
Oh my goodness Yana this is another STUNNER! I love this stamp (AND stencil) and I can’t wait to order it. This dark background with the pink is off the charts as far as it wow factor goes. You nailed it yet again!
So B-E-A-utiful cards!!!! Luv all ur flower idea cards! I don’t typically gravitate towards flower designs…but idk your coloring(?) or just your concept…. it’s just soooo pretty I feel like I need to try with some of the flower stamps I do have….. I LOVE CZ design stamps & dies!!
I was scrolling through FB and this card caught my eye and I HAD to see how you did it. Stunning! I’m very conservative with my Copic inks so I would never think of colouring a whole background but the effect mayb e worth trying. Thanks for the inspiration.