This post is also available in English
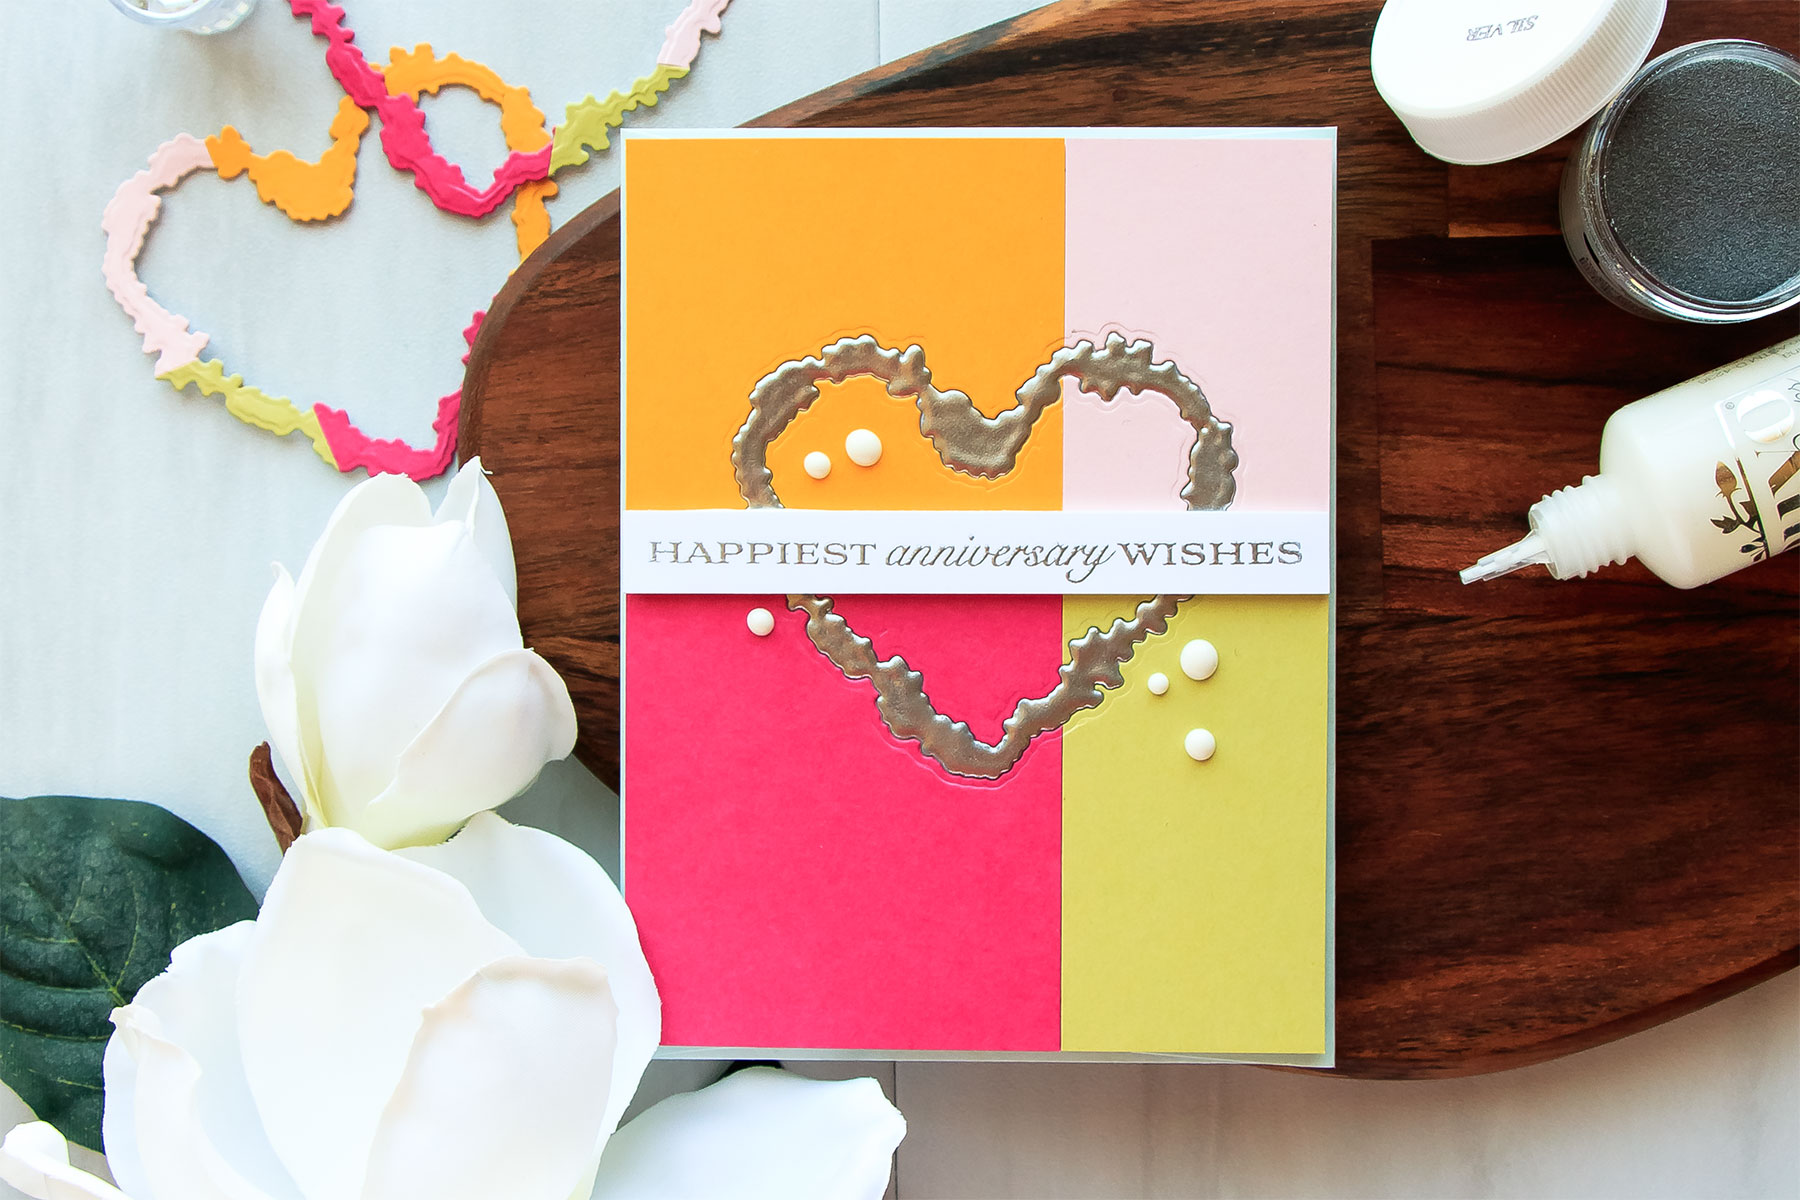
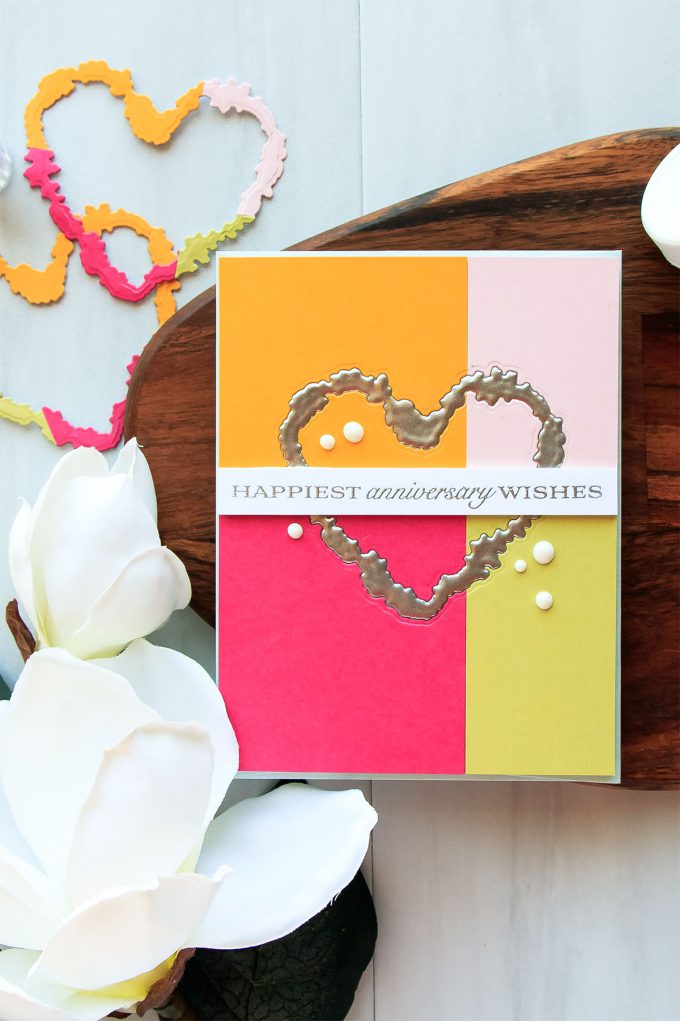
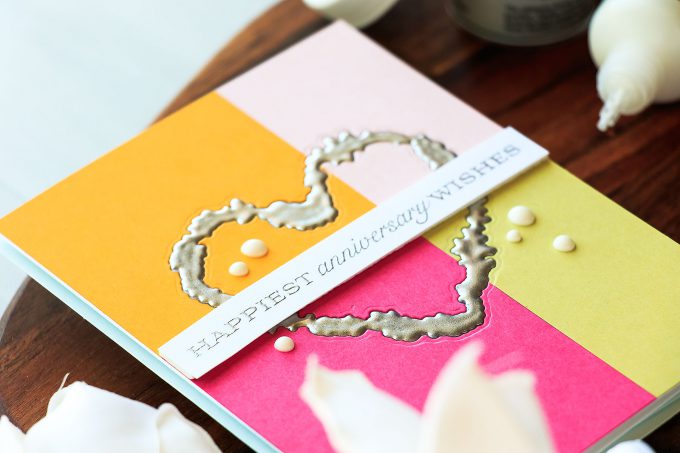
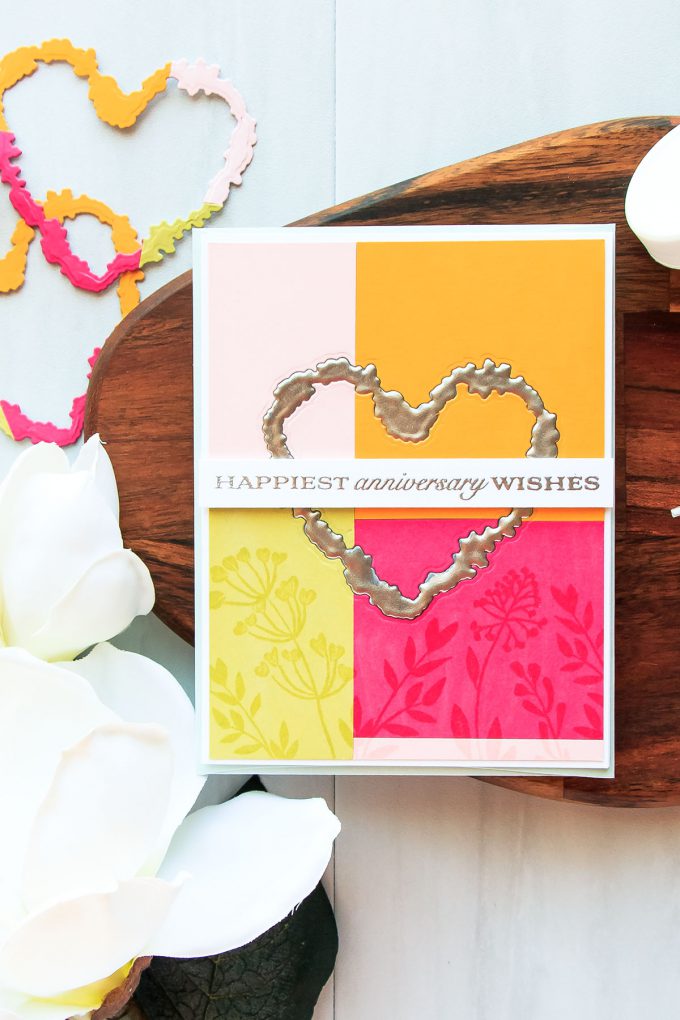
Hello, friends! Welcome back for another episode from my monthly video tutorial for Papertrey Ink from the “In The Studio with Yana” video series. This month video is a bit different – instead of doing a regular tutorial I joined Papertrey Ink’s Stamp-a-Faire event and created a project based on one of their themes. Since this year’s theme is all about Wedding Anniversaries I made a bold graphic looking anniversary card with a faux iron heart.
I am sharing video tutorials for Papertrey Ink on the 24th of each month on their blog and later repost them here, on my blog; this is my 5th video, you can catch previous episodes here.
Like this project? Pin it and save for later | Curious about my project photography? Click for details.
VIDEO TUTORIAL
Watch my video tutorial below or on Youtube:
Like this video? Please give it a big thumbs up and share with a crafty friend! Drop me a comment too, I love hearing from you!
CARD DETAILS
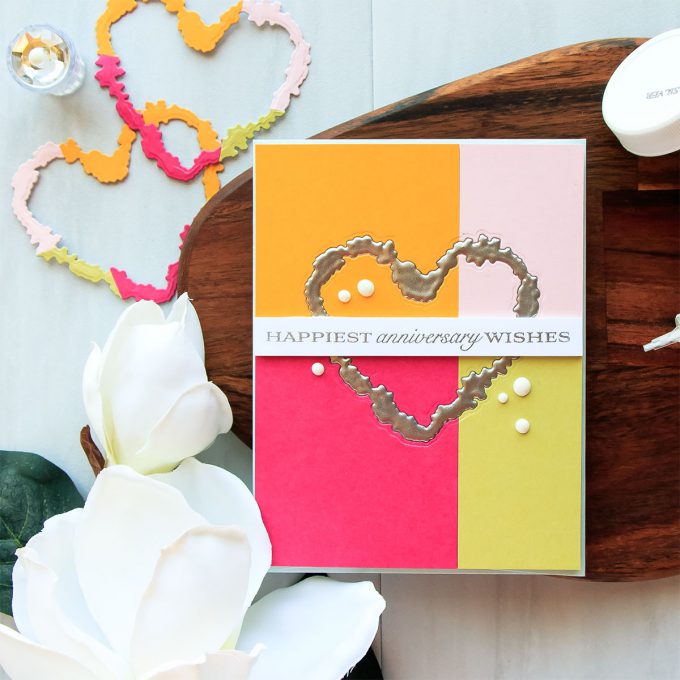
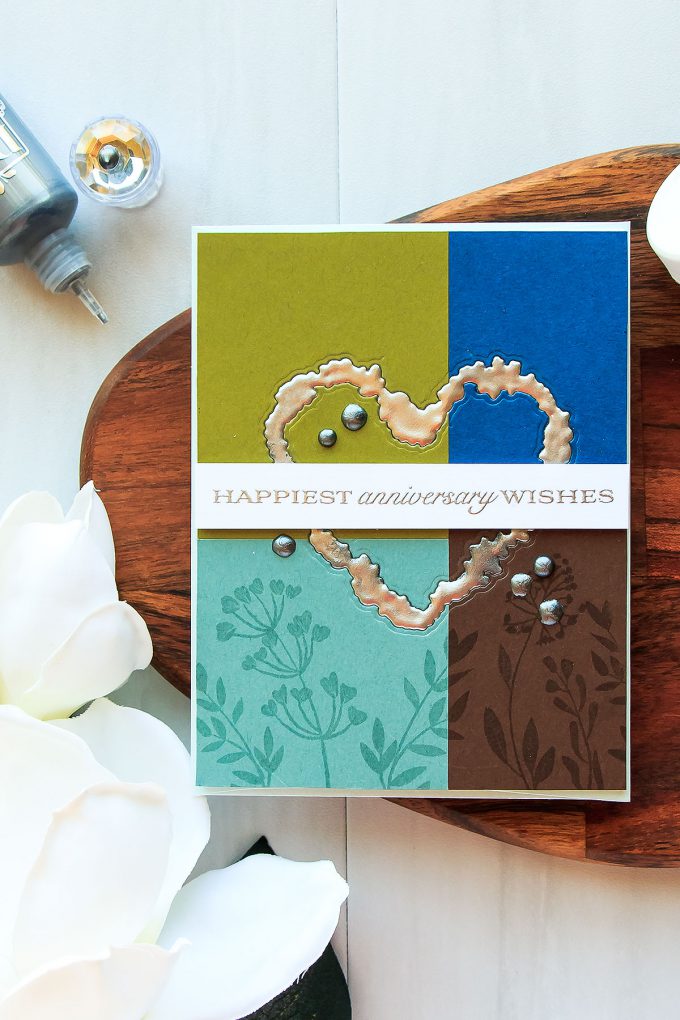
I have 3 cards to share today, all almost identical but with slight variations in color and design. I picked several colors of cardstock to create a background for my project. I wanted to do an inlaid die cut look and have a metal heart inlaid in my background. The colors I selected are Raspberry Fizz, Sweet Blush, Summer Sunrise and Limeade Ice. You can easily pick any other colors (if you struggle selecting colors for your projects I share a helpful video here) and this background is actually a great one to utilize little colored cardstock scraps you might have.
I cut a thin piece of paper to 4 1/5 by 5 1/2″ and covered one side of it with double sided sticky tape. I used Scrapbook Adhesives Adhesive sheets, you can also use Stick It or if you don’t have any of those you can just use regular tape or tape runner. Don’t use anything too thick as you’ll need to be able to die-cut through this paper, adhesive and your colored cardstock.
Next, I adhered my colored cardstock panels onto my thin panel to create a graphic background. I used grid lines on my work surface to help me align things and make sure I adhere everything on a straight line. After I’ve adhered cardstock pieces in place I took this piece to my paper trimmer and trimmed it to 4 1/4 by 5 1/2″, so the size of an A2 card front. I saved the leftover pieces and used them for another card.
To create the faux iron embellishment I decided to use the two heart dies from the To Have & Hold coordinating die set (I shared another video tutorial using this set in my previous PTI post here). These cut an outer and an inner outline of a stamped heart, I didn’t use the heart stamp, but only used the dies on their own.
I connected the two dies together, positioned them on my background and send through my Platinum machine to cut. I cut my background cut into 3 pieces – a colorblocked heart and two negatives. I set the heart aside and I’ll use it for some other project, it’s too pretty to throw away.
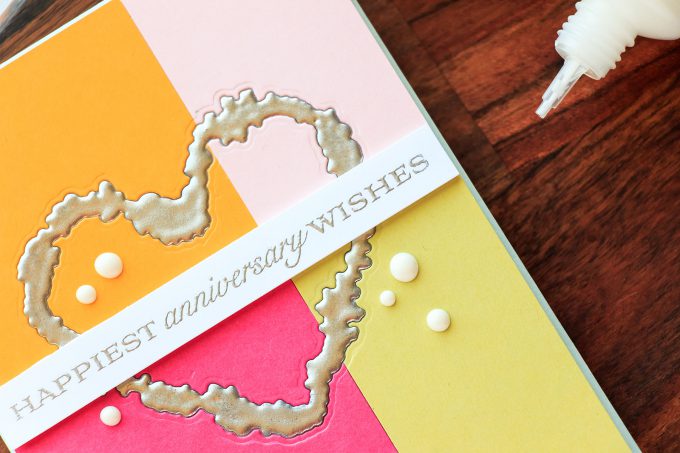
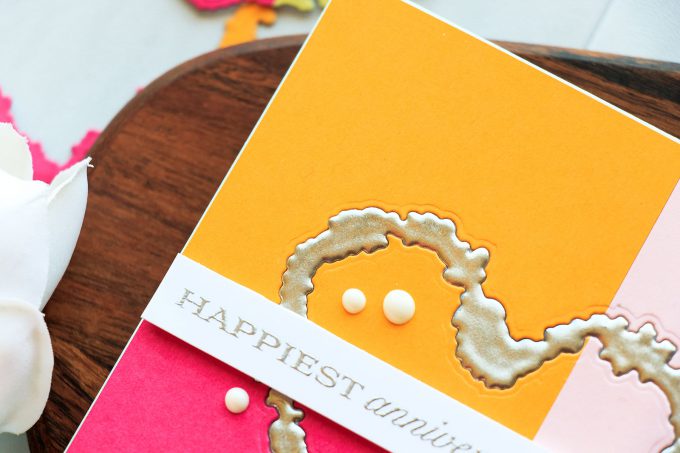
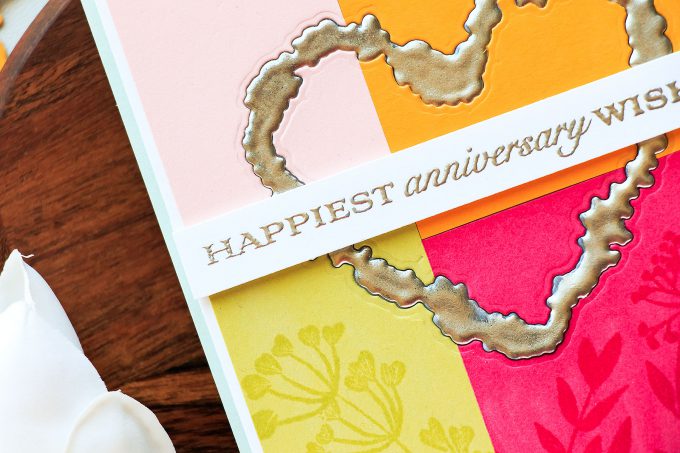
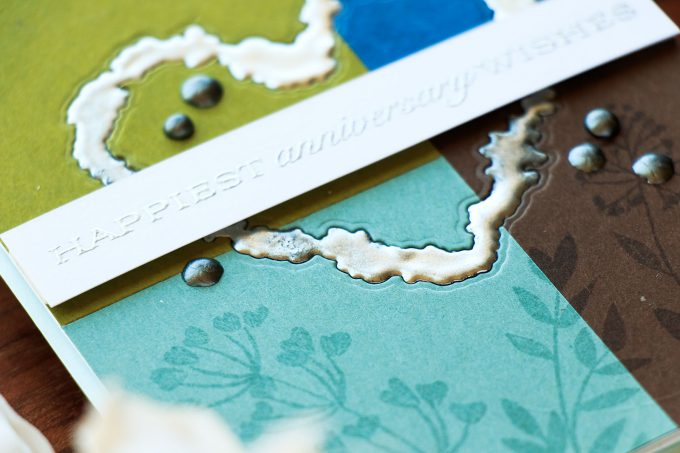
I also needed to die cut an identical heart out of white paper or black or any other color, it doesn’t really matter. I’ve kept my dies connected with washi tape so that I was able to create an identical die cut. To create my faux iron embellishment I used a good old method – heat embossing! I heat embossed the entire surface of my die cut with silver embossing powder to create that unique metallic or iron look. I dipped the die cut heart into embossing ink pad to cover the entire surface with sticky embossing ink. Next, I it with Silver embossing powder and heat set it with my heat tool. I repeated this process 3 times to build up more embossing powder on my heart.
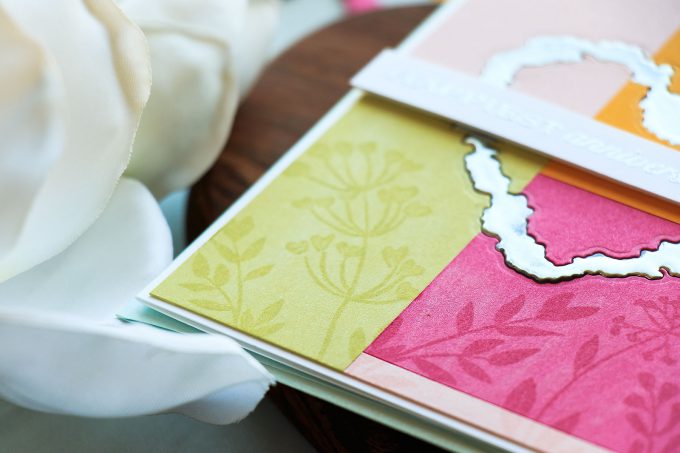
To assemble my project I adhered the large negative background, inlaid the iron heart and finished off by adding the small negative die cut piece.
To finish this card I added a heat embossed sentiment that reads “Happiest Anniversary Wishes“, I used same silver embossing powder and I foam mounted it onto the card going across the heart.
I created 3 projects to show you various ways you can step up this card design. I embellished my first card using white nuvo drops. For my second card done in the same color combo I stamped images from the Gathered Garden set in watermark ink – this created a shade darker impression on my paper. And for my 3rd card I switched up the colors and went with a cooler palette – I used Enchanted Evening, Dark Chocolate, Ocean Tides and Ripe Avocado and combined both the watermark stamping and enamel dots, but this time I used Nuvo drops in Liquid Mercury to accentuate the cool iron look.
Thank you so much for joining me today! I hope I was able to inspire you to create!
SUPPLIES
I’m listing the products I used below. Click on the link to go directly to the product. Where available I use compensated affiliate links which means if you make a purchase I receive a small commission at no extra cost to you. Thank you so much for your support!
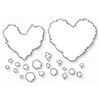 PTI To Have & To Hold Die Shop at: PTI |
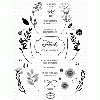 PTI Gathered Garden Stamp Set Shop at: PTI |
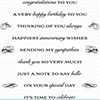 PTI Banner Sentiments Stamp Set Shop at: PTI |
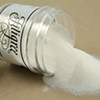 PTI 1 oz. Silver Filigree Detail Embossing Powder Shop at: PTI |
 PTI Stamper’s Select White Cardstock (40 Sheets) Shop at: PTI |
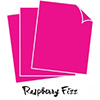 PTI Perfect Match Raspberry Fizz Cardstock Shop at: PTI |
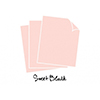 PTI Perfect Match Sweet Blush Cardstock (50 sheets) Shop at: PTI |
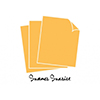 PTI Perfect Match Summer Sunrise Cardstock (50 sheets) Shop at: PTI |
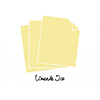 PTI Perfect Match Limeade Ice Cardstock (50 sheets) Shop at: PTI |
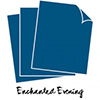 PTI Perfect Match Enchanted Evening Cardstock Shop at: PTI |
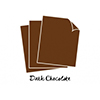 PTI Perfect Match Dark Chocolate Cardstock (50 sheets) Shop at: PTI |
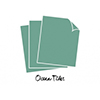 PTI Perfect Match Ocean Tides Cardstock (50 sheets) Shop at: PTI |
 PTI Perfect Match Ripe Avocado Cardstock (50 sheets) Shop at: PTI |
 Hero Arts Heat Embossing Gun PW200 Shop at: SSS | SC | HA | AZ |
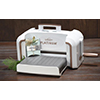 Spellbinders Platinum Die Cutting Machine Shop at: SSS | SC | SPEL | AZ |
 Versamark Watermark Emboss Ink Pad Shop at: SSS | HA | AZ |
 Scrapbook Adhesives Adhesive Sheets Shop at: SSS | AZ |
 Stick It Adhesive Handy Pack 5 Sheets Shop at: SSS | SC | AZ |
 Tonic Gloss White Nuvo Crystal Drops Shop at: SSS | SC | AZ |
 Scrapbook Adhesives White Foam Squares Shop at: SSS | SC | AZ |
 Tonic Liquid Mercury Nuvo Crystal Drops Shop at: SSS | SC |


Beautiful. Love the colors for each and the embossed heart is so pretty in silver and inlaid.
Lovely cards and nice products
Wow…another stunning card. I loved everything about this card. The layout, the embellishments and colors were spot on. I can’t wait for your next card(s). TFS.
These three cards are gorgeous! I love how you did the inlaid heart – spectacular idea!
This is such a cool technique! It really does look like poured iron!
What a great technique – thanks so much for your very clear video!!!
Thank you for sharing such an incredibly beautiful card! You just don’t see a lot of ideas for anniversary cards and this is so inspiring!!!!
Beautiful