This post is also available in English
Hello, friends! I am excited to bring you my first monthly video tutorial for Papertrey Ink – “In The Studio with Yana”. I’ll be sharing video tutorials on the 24th of each month (with the exception of next month – I am doing a lot of traveling and am unable to film).
Like this project? Pin it and save for later
VIDEO TUTORIAL
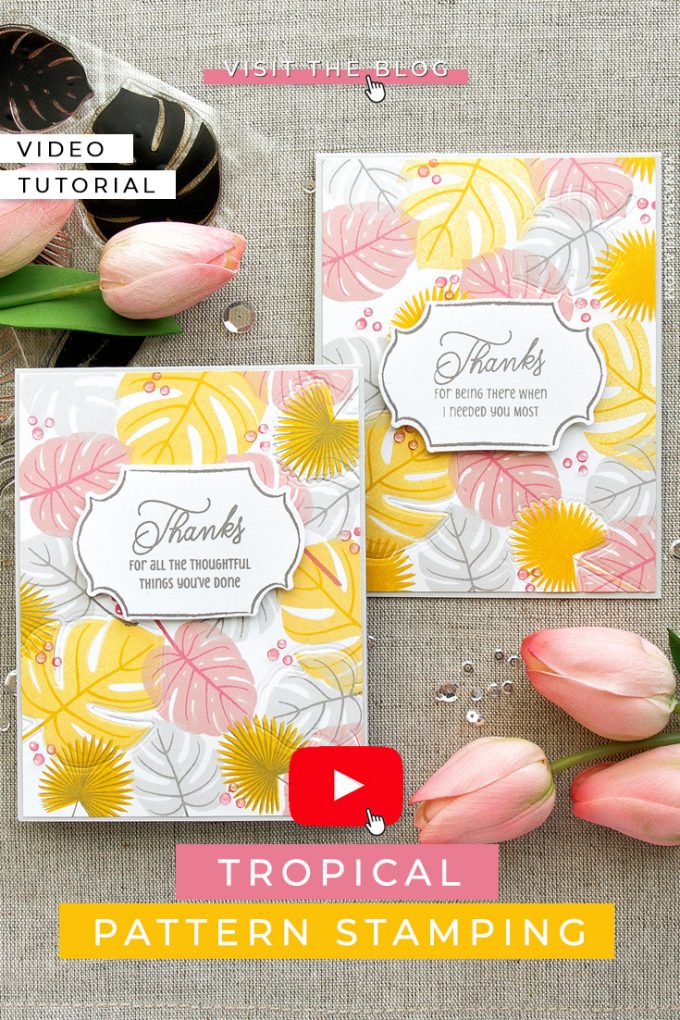
For this blog post and video tutorial, I decided to show you one of my most favorite techniques – creating a background pattern using individual images. To spice things up I’ll also show you how to dry emboss some of the stamped images to add additional depth and detail to your project. Watch it below or on my Youtube channel.
Like this video? Please give it a big thumbs up and share with a crafty friend! Drop me a comment too, I love hearing from you!
CARD DETAILS
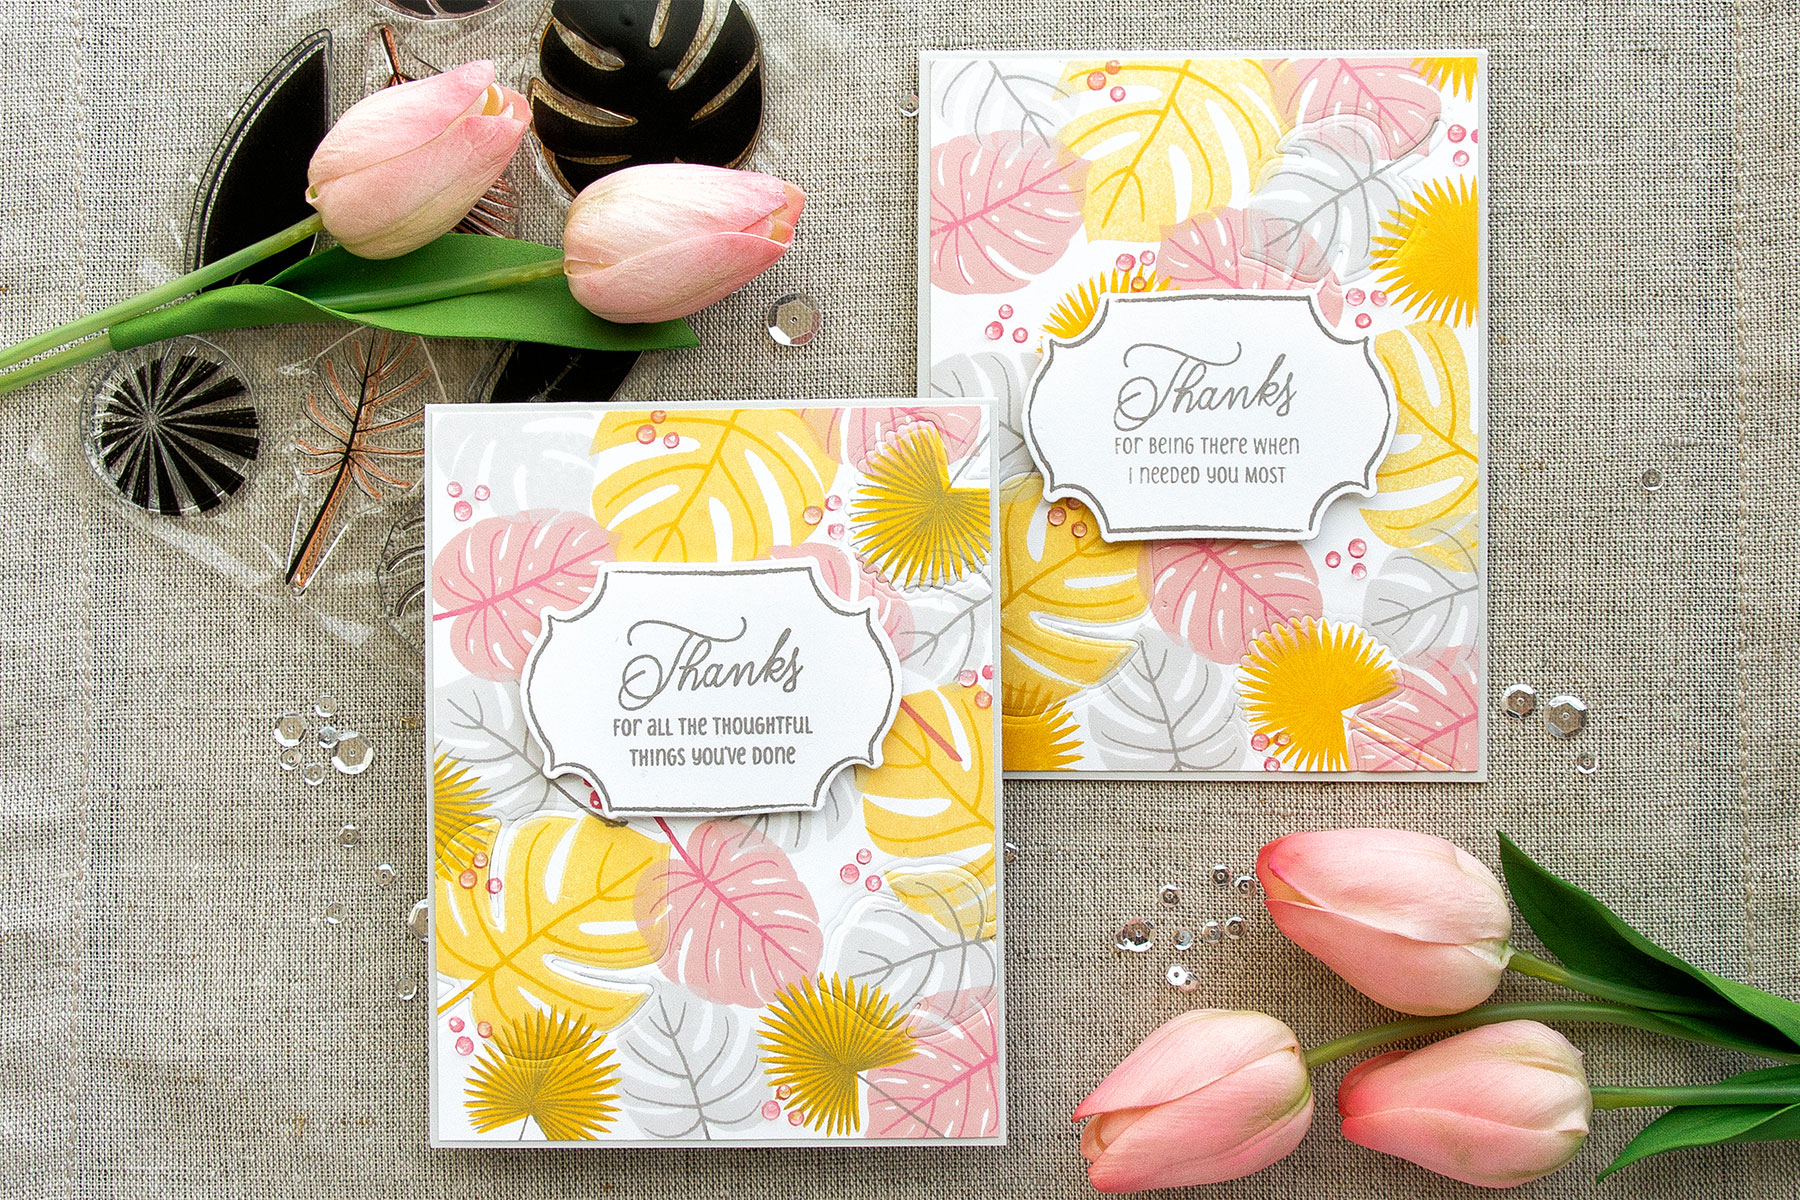
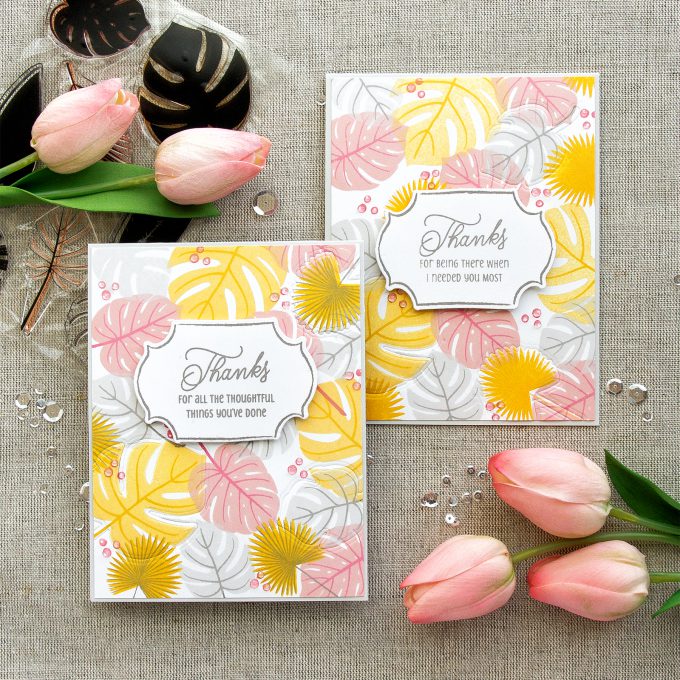
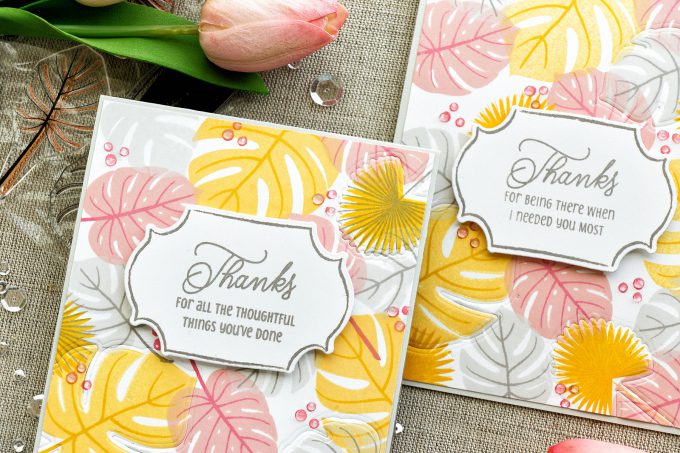
I decided to use Palm Prints stamp set for my project however many other images and sets work great for this technique. I love to use large solid images with one or two detailed layers, however smaller one layer designs and even outline designs can also be used.
I picked just a few leaves for my pattern and I assigned a particular color for each leaf, this is my number one trick for stamping patterns – it saves a lot of time and minimizes the number of mistakes I make when I do my stamping.
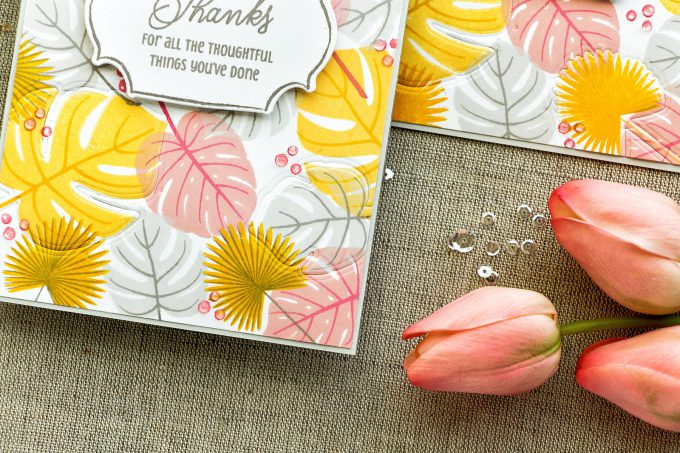
I used monstera leaves in 3 sizes as well as palm leaf to create my background. For my color combo I picked yellow, pink and gray. For each color I used a lighter and a darker shade of ink – I’m listing exact colors I used at the bottom of my post in the “supplies” section.
You want to make sure to begin working on your background by stamping large monstera leaves first. Unless you are going for a geometric looking pattern, try to avoid stamping same images in a straight line, stamp them so that they form a triangle for an organic look.
Working from large to small fill in the background with the images you selected.
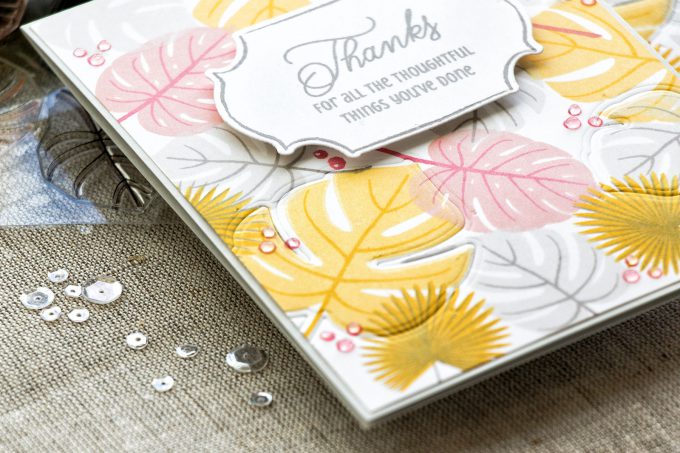
After I was done stamping my background using monstera and palm leaves I used a berry image from the Gathered Garden set to fill in any gaps I had on my background.
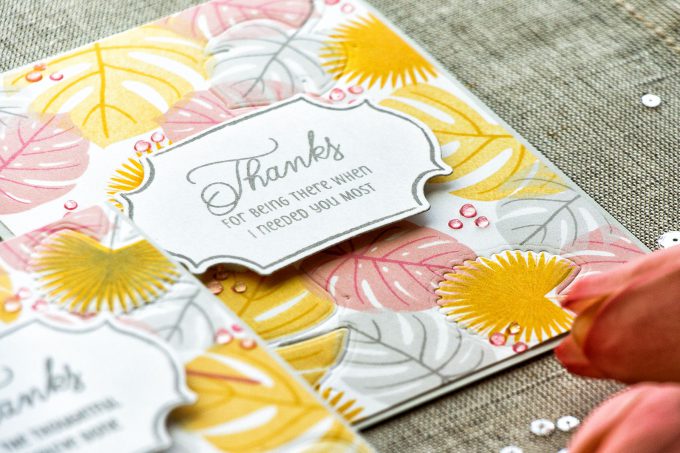
At this point my background was done, however, I wanted to show you a simple trick you can do using your coordinating dies to add even more detail to your project. I used coordinating dies, just 3 of them (large monstera, small monstera, and palm leaf) and dry embossed my background.
You’ll need to use a Spellbinders tan embossing mat to be able to able to do dry embossing using coordinating dies in your die cutting machine. Make sure to check your machine manual for the proper sandwich.
To create a sentiment I used a beautiful label and a Thank You sentiment from the Gathered Garden set and stamped both using dark gray ink. I trimmed my background panel down slightly and adhered it onto an A2 top folding card base made out of Soft Stone cardstock. After I foam mounted my sentiment label I also added dimensional dots over my pink stamped dots using Nuvo Crystal Drops in Morning Dew.
Have fun stamping!
SUPPLIES
I’m listing the products I used below. Click on the link to go directly to the product. Where available I use compensated affiliate links which means if you make a purchase I receive a small commission at no extra cost to you. Thank you so much for your support!
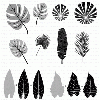 PTI Palm Prints Stamp Set Shop at: PTI |
 PTI Palm Prints Die Shop at: PTI |
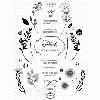 PTI Gathered Garden Stamp Set Shop at: PTI |
 PTI Gathered Garden Die Shop at: PTI |
 PTI Perfect Match Pastels Cardstock Sampler (34 sheets) Shop at: PTI |
 PTI Soft Stone Cardstock (12 Sheets) Shop at: PTI |
 PTI Soft Stone Cardstock (24 Sheets) Shop at: PTI |
 PTI Soft Stone Cardstock (50 Sheets) Shop at: PTI |
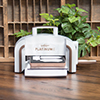 Spellbinders Platinum 6 Die Cutting Machine Shop at: SSS | SC | SB | AZ |
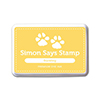 Simon Says Stamp Duckling Dye Ink Pad Shop at: SSS |
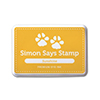 Simon Says Stamp Sunshine Dye Ink Pad Shop at: SSS |
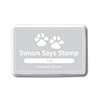 Simon Says Stamp Fog Dye Ink Pad Shop at: SSS |
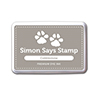 Simon Says Stamp Cobblestone Dye Ink Pad Shop at: SSS |
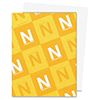 Neenah 80 Solar White Paper Pack 250 Sheets Shop at: SSS | AZ |
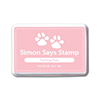 Simon Says Stamp Twirling Tutu Dye Ink Pad Shop at: SSS |
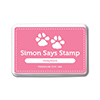 Simon Says Stamp Hollyhock Dye Ink Pad Shop at: SSS |
 Mini Misti Stamping Tool Shop at: SSS | SC | AZ |
 Scrapbook Adhesives White Foam Squares Shop at: SSS | AZ |
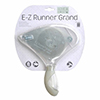 EZ Runner Grand – Permanent Shop at: SC | AZ |
 EZ Runner Grand – Permanent – Refill Shop at: SC | AZ |
 Tonic Morning Dew Nuvo Crystal Drops Shop at: SSS | SC | AZ |


I love today’s card and video! You always make the best backgrounds!!!
Lovely card. Thanks for sharing and inspiring. I’m going to have to check my stamp stash and try this technique.
Thanks for sharing such a great idea for adding that special touch to a card design, Yana. Your video tutorial was full of such helpful tips and details. Can’t wait to try this.
Your card designs are always so inspirational! Thank you.
Great job Yana! I love the idea of using dies to emboss the stamped images. Thanks for sharing!