This post is also available in English
Hello friends! Today I am sharing a video tutorial showing how to use the Sparkle Pattern Dot 1 stamp set from Pretty Pink Posh. You might have already seen this on the Pretty Pink Posh blog, but if not – you can catch it below.
The Sparkle Pattern Dot 1 is a very clever stamp set that has been designed to help you align and evenly space any tiny embellishments on your cards. Each little circle dot represents a space for a sequin, or confetti piece, or little enamel dot, or gem. If you’ve ever tried to arrange tiny embellishment to form some sort of a pattern you know that it never works and the object, or shape, or pattern ends up looking wonky.
Like this project? Pin it and save for later | Curious about my project photography? Click for details.
VIDEO TUTORIAL
As always, I filmed a video tutorial showing how to create this project from start to finish. I’m hoping you’ll enjoy it. Watch it below or on my Youtube channel.
Like this video? Please give it a big thumbs up (you can do this on Youtube video page right under the video) and share with a crafty friend! Leave me a comment too, I love hearing from you!
CARD DETAILS
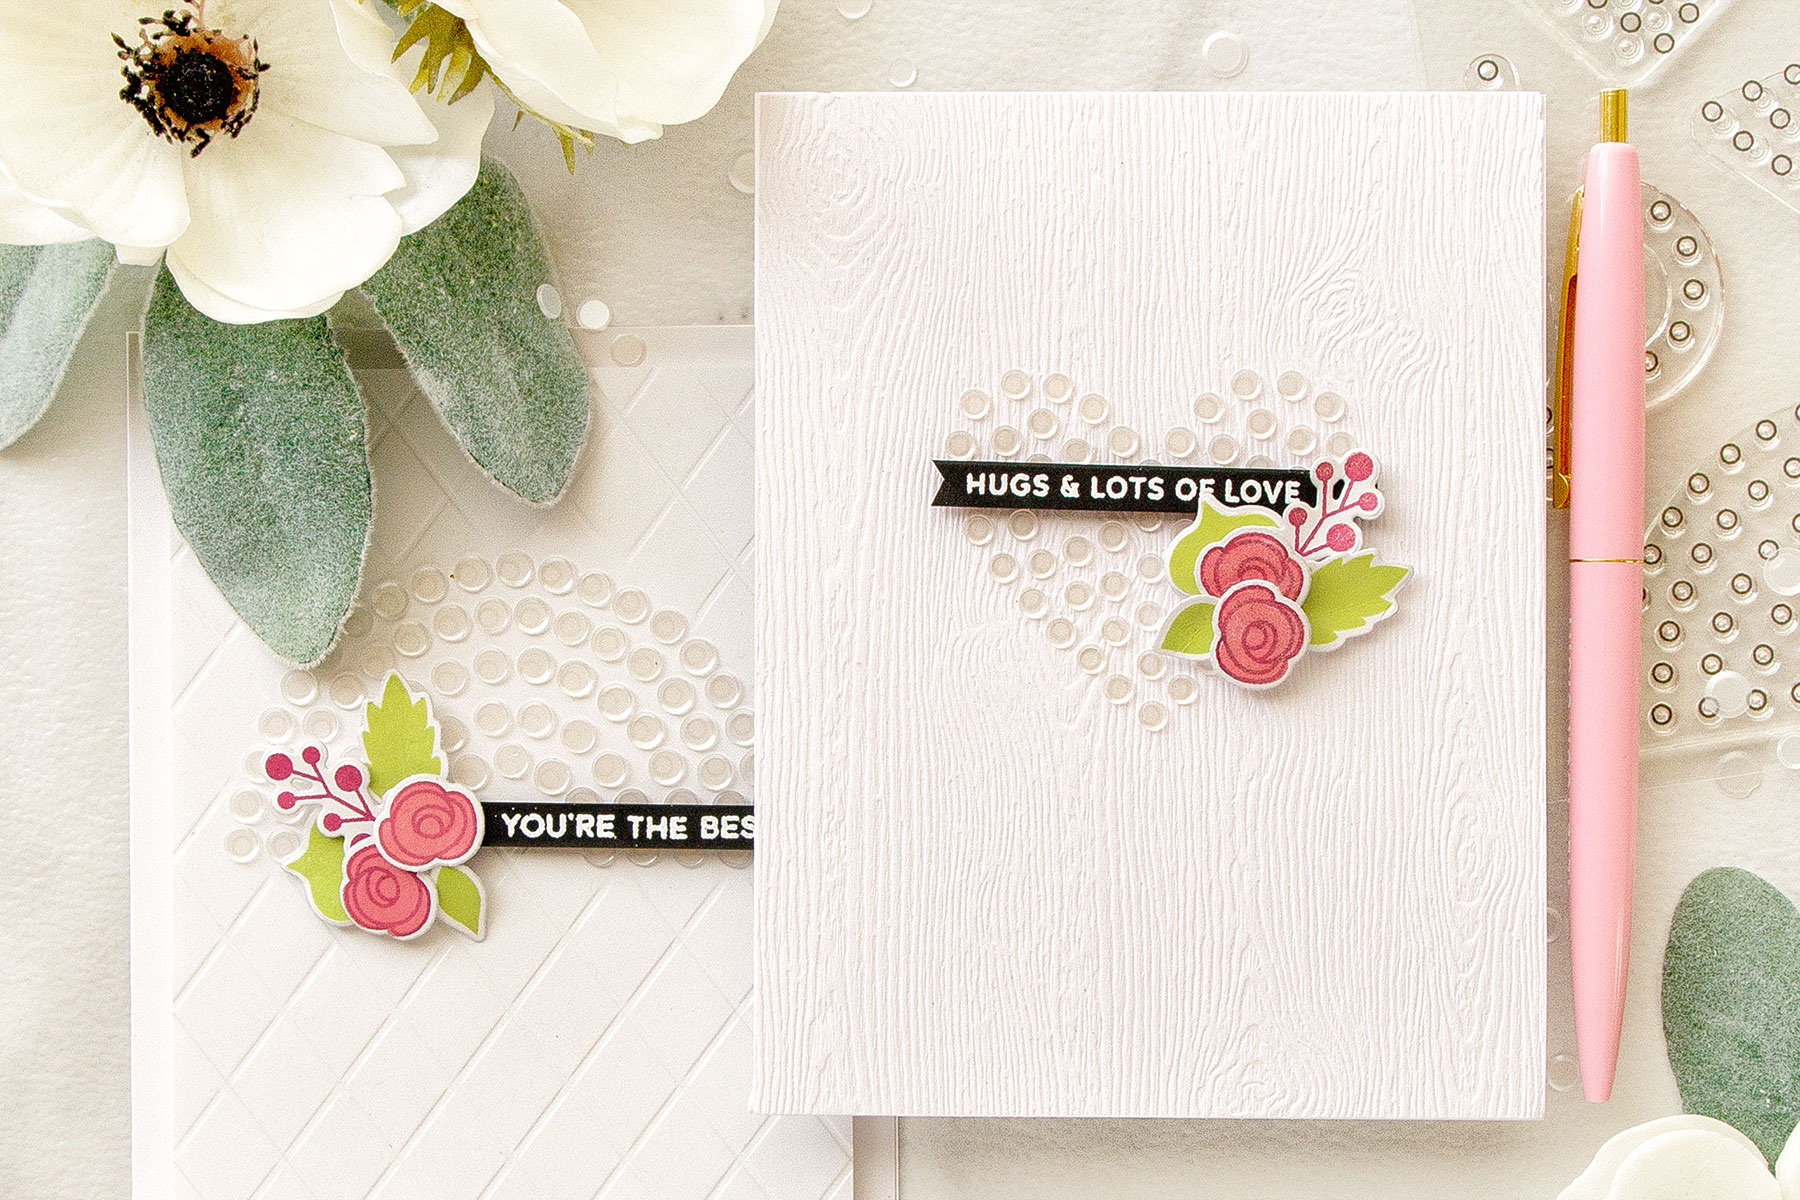
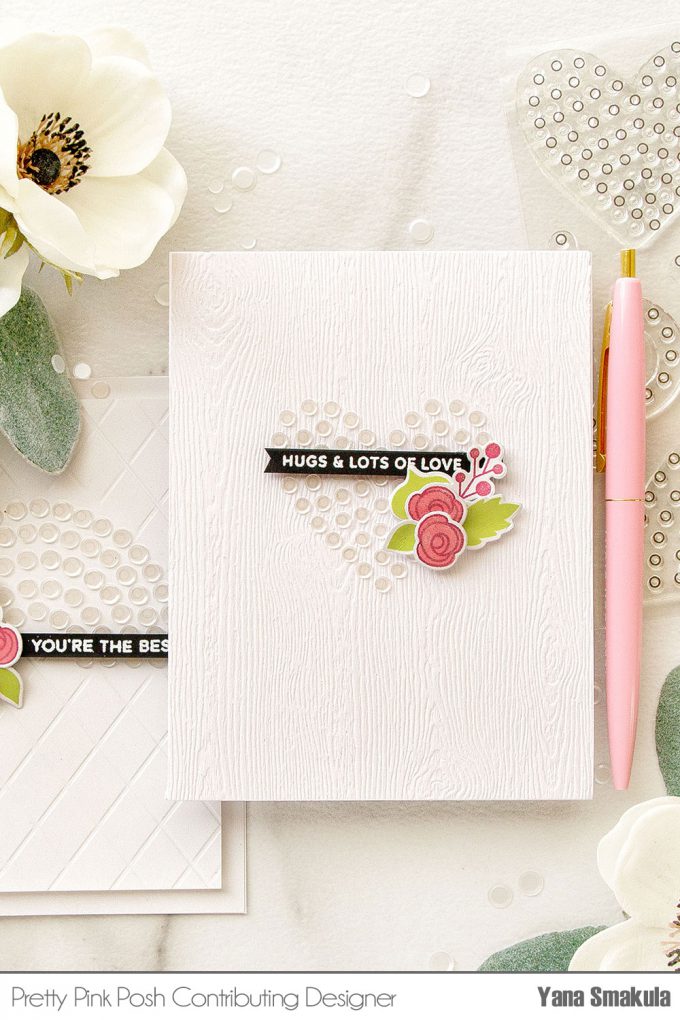
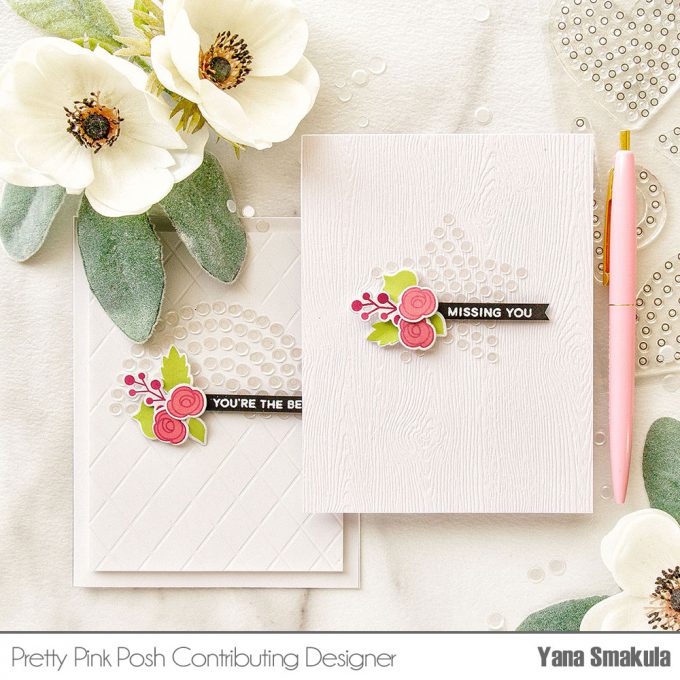
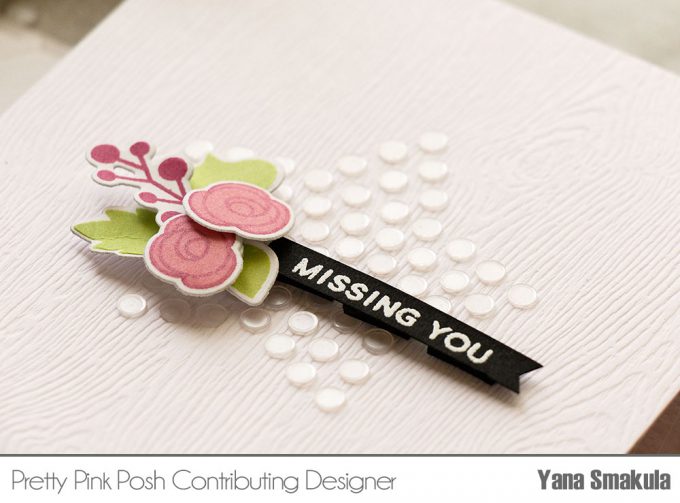
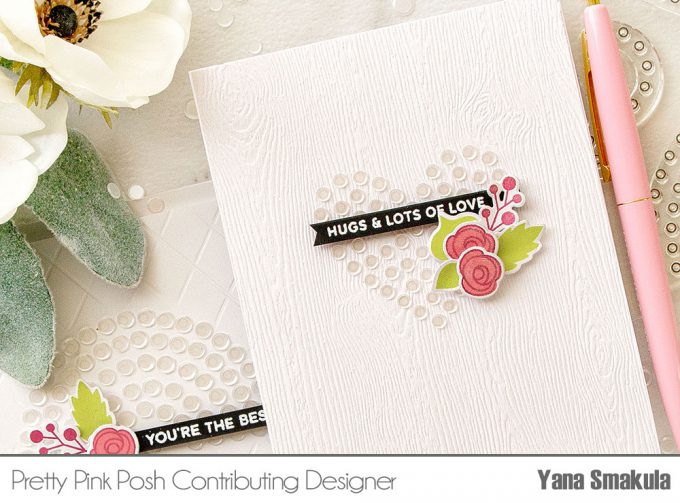
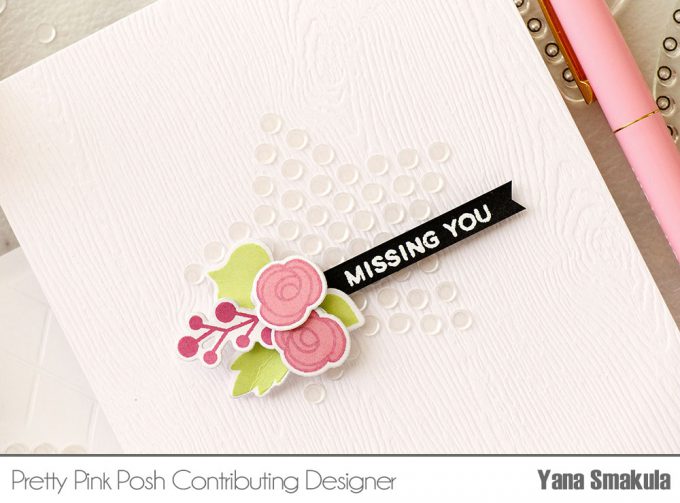
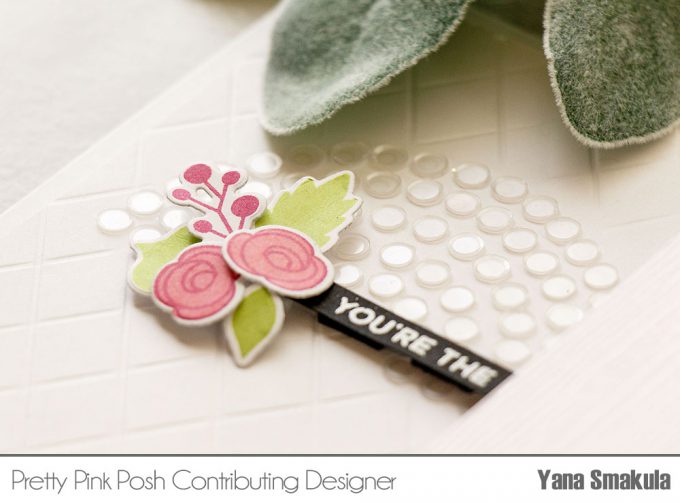
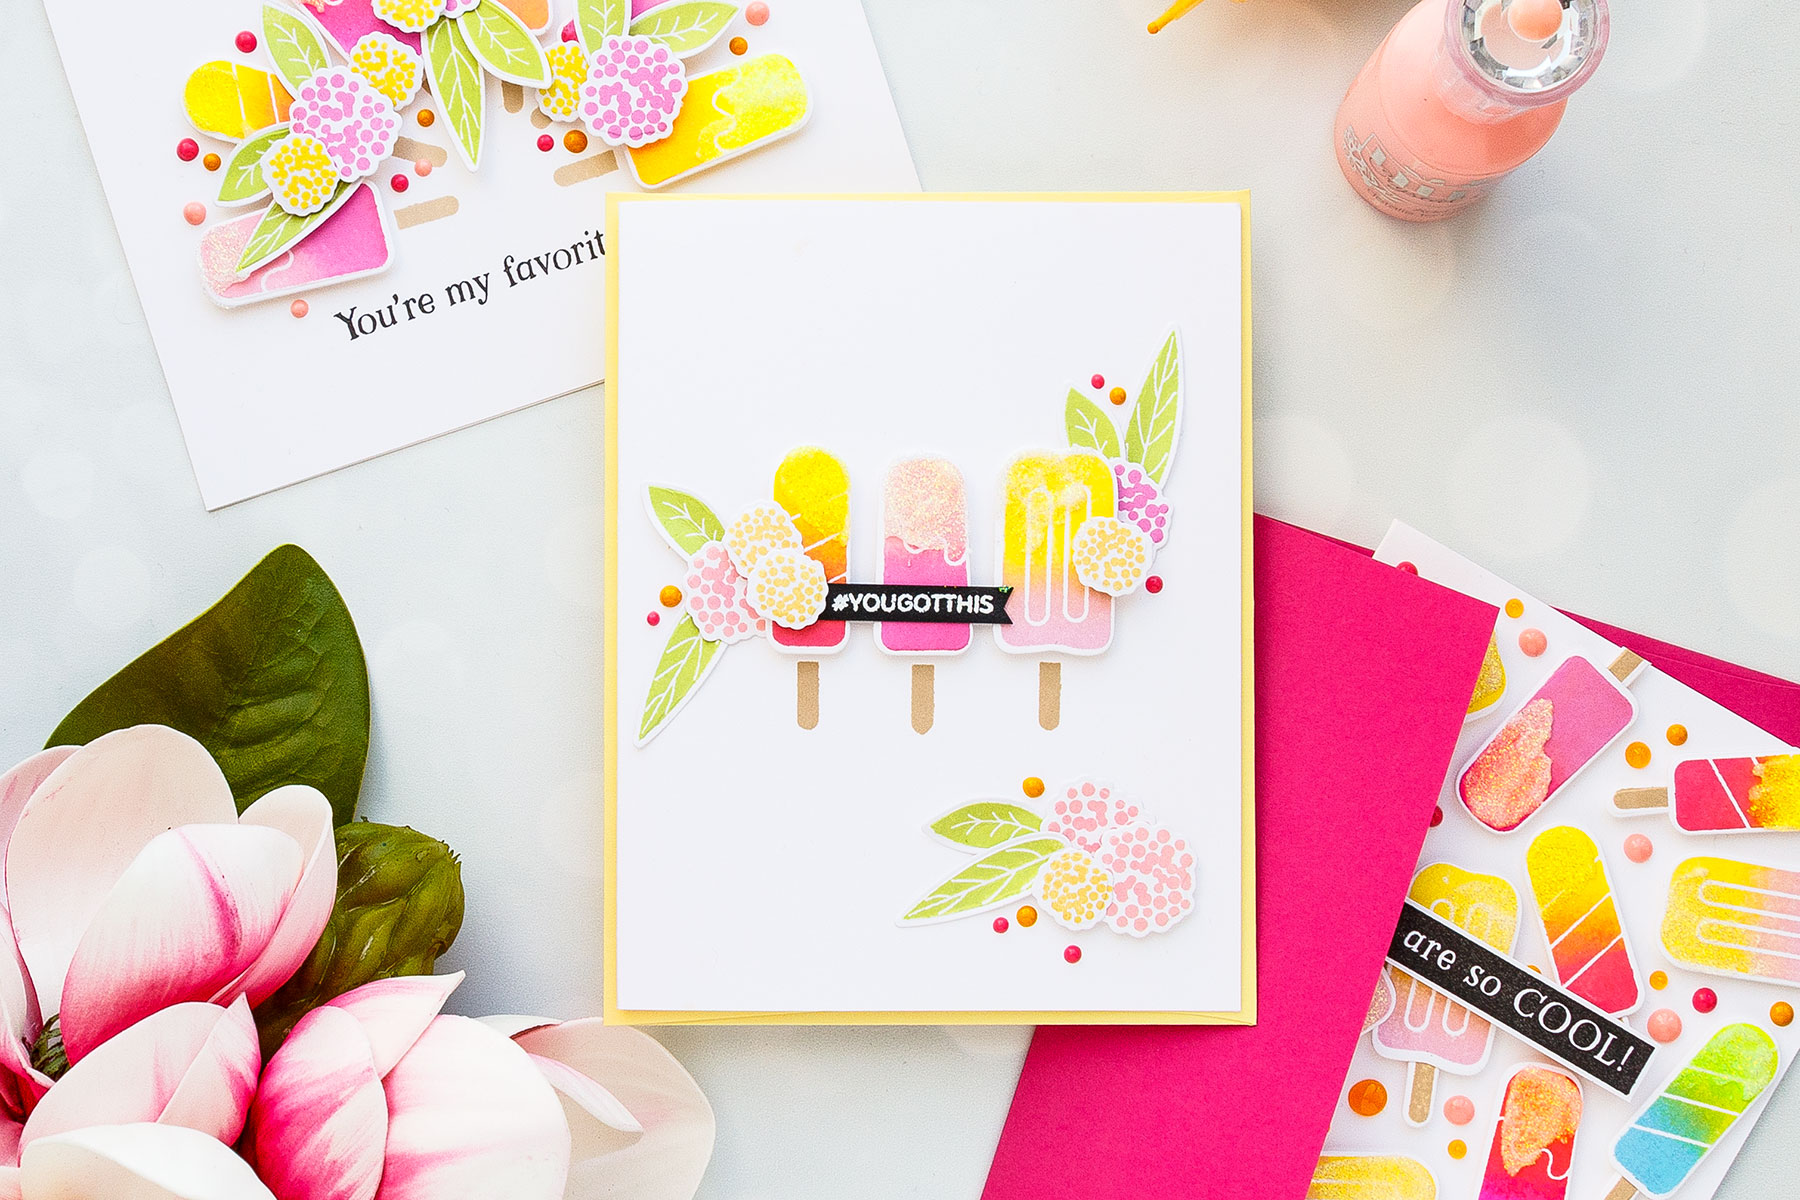
You are probably wondering how does this stamp set work? Let me show you. I used a panel of white woodgrain cardstock for my cards today (and also a plain white panel), I love to use this paper for clean and simple projects that feature a lot of white space. Normally, I never stamp on this paper, because of it’s texture, as you’ll never be able to get a good enough impression, but since I didn’t really need a good impression, these stamps need to be used as a guide only I was safe using this paper and stamping on it.
It’s best to use a light color of ink for your stamping so that the stamping will remain invisible under your embellishments. I used a very light gray ink. If you stamp onto colored cardstock you can use a watermark ink for a barely visible impression. It’s best not to use black as it might be visible even under the darkest color sequins and it will surely show through white.
Another must have tool for this technique is a pick up tool. I used a Crystal Katana tool – I always use it when I work with tiny embellishments, it really is a must have as it’s not that easy to pick up little piece with your fingers and position them properly on the project. There are other tools similar to this one, so you don’t have to use this exact tool, but just any tool that will help you pick up the pieces and place them exactly where you need them.
After adhering my confetti in place I set my panel aside to dry for a few minutes and worked on a sentiment as well as a floral cluster. I stamped flowers and leaves using images from the Autumn Bloom and Bold Bloom stamp sets and grouped them together into a tiny floral arrangement.
I also white heat embossed sentiments onto black cardstock using messages from the Birdie Friend and Winter Woodland stamp set and foam mounted onto the card.
I had tons of fun making these Clean & Simple projects and I love how easy it was to create fun shapes using my sequins with the help of this stamp set. I definitely see myself using it over and over again for all sorts of cards!
Happy cardmaking!
SUPPLIES
I’m listing the products I used below. Click on the link to go directly to the product. Where available I use compensated affiliate links which means if you make a purchase I receive a small commission at no extra cost to you. Thank you so much for your support!
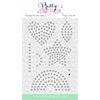 Pretty Pink Posh Sparkle Dot Pattern 1 Stamp Set Shop at: SSS | PPP |
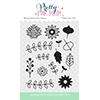 Pretty Pink Posh Autumn Blooms Clear Stamp Set Shop at: SSS | PPP |
 Pretty Pink Posh Autumn Blooms Die Set Shop at: SSS | PPP |
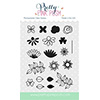 Pretty Pink Posh Bold Blooms Stamp Set Shop at: SSS | PPP |
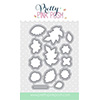 Pretty Pink Posh Bold Blooms Die Set Shop at: SSS | PPP |
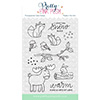 Pretty Pink Posh Winter Woodland Clear Stamp Set Shop at: SSS | PPP |
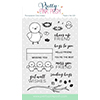 Pretty Pink Posh Birdie Friends Stamp Set Shop at: SSS | PPP |
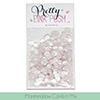 Pretty Pink Posh Marshmallow Confetti Shop at: SSS | PPP |
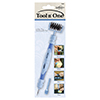 Spellbinders Tool ‘n One Shop at: SSS | SC | SPEL | AZ |
 Spellbinders Platinum Die Cutting Machine Shop at: SSS | SC | SPEL | AZ |
 Hero Arts Decorative Woodgrain Cardstock Shop at: SSS | SC | HA |
 Neenah 110 Lb Solar White Cardstock Shop at: SSS | AZ |
 Simon Says Stamp Green Apple Dye Ink Pad Shop at: SSS |
 Simon Says Stamp Hollyhock Dye Ink Pad Shop at: SSS |
 Simon Says Stamp Black Cardstock Shop at: SSS |
 ScraPerfect Crafting Pouch Shop at: SSS | AZ |
 Hero Arts Heat Embossing Gun Shop at: SSS | SC | HA | AZ |
 Hero Arts White Embossing Powder Shop at: SSS | SC | HA | AZ |
 Versamark Watermark Emboss Ink Pad Shop at: SSS | HA | AZ |
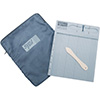 Scor-Pal Mini Scor-Buddy Scoring Board Shop at: SSS | AZ |
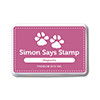 Simon Says Stamp Magnolia Dye Ink Pad Shop at: SSS |
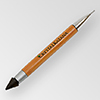 Crystal Ninja Crystal Katana Pick Up Tool Shop at: SSS | AZ |
 Scrapbook Adhesives White Foam Squares Shop at: SSS | SC | AZ |
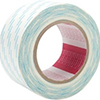 Scor-tape 2 1/2 Inch Crafting Tape Shop at: SSS |
 Tonic Deluxe Adhesive Nuvo Glue Shop at: SSS | SC |


Super beautiful CAS cards!
Love the cards. Great tip about arranging your flower cluster to add on the card.
Your videos are always an inspiration, thank you.
Your cards are wonderful – so sparkly and different!! Thanks so much for sharing – the stamp set & sequins went right on my wish list!!! Your videos are great!
Gorgeous cards! I love the clean, simple design using just a few colors. The marshmallow sequins look very elegant on the white cardstock (which is beautiful,by the way).
I just love the way you created your beautiful cards! What a wonderful ideas!
A-ma-z-ing! Yana I have this stamp set at the top of my WISH LIST ready for the big guy in the Red suit but you have just made me want to buy it straight away without waiting. Each design will be so unique depending on what sequins you use; thats if you use sequins. If you use felt spots they would look fabulous too! Thank you for sharing these with us crafters. :O)
These cards are so special. Love the CAS layout. thanks for sharing.
Your card is beautiful. I could use a little help lining things up also. Is this the right place for the PPP blog hop hop? I hope so because here is my comment…
Beautiful CAS card!