This post is also available in English
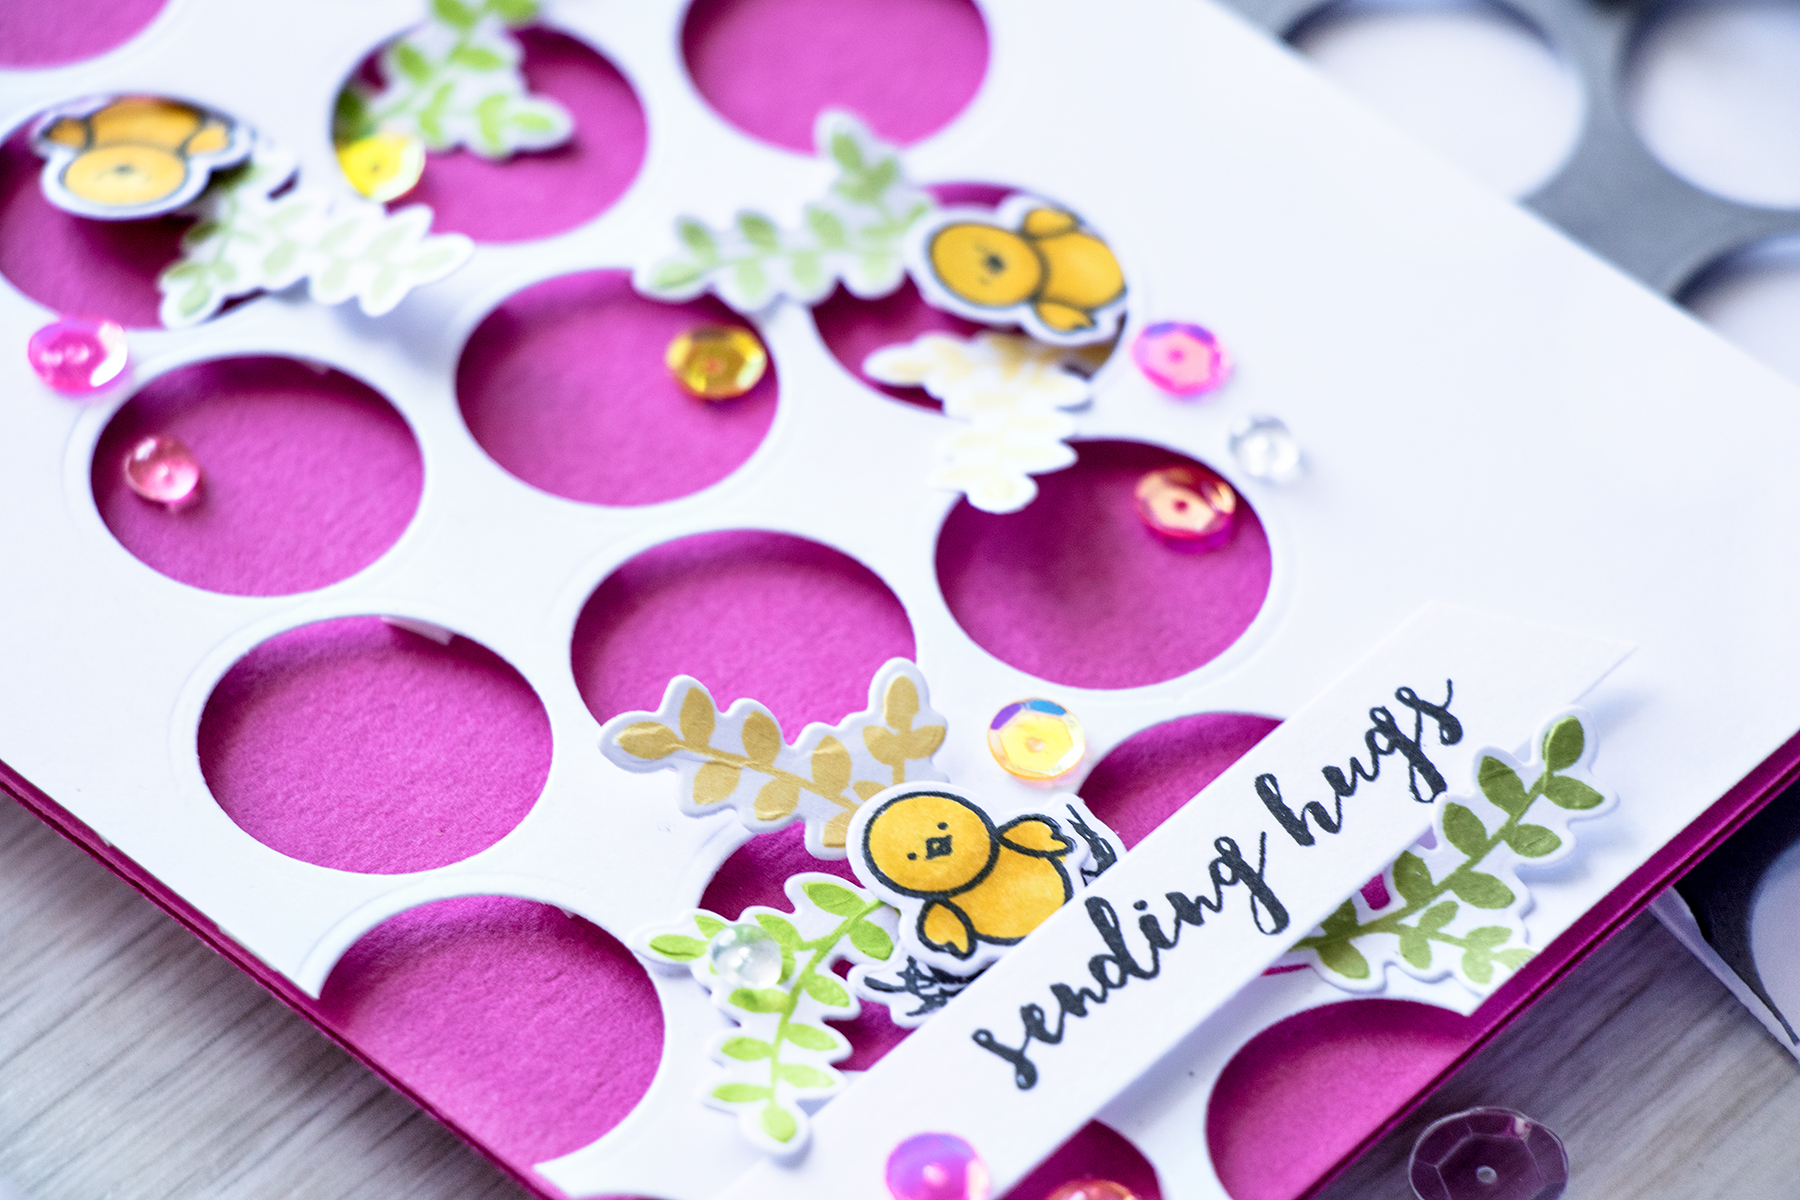
Hello, friends! I’d like to invite you to pop over to Pretty Pink Posh Blog – I’m sharing a video tutorial showing how to expand a die cut pattern and create a diagonal negative die cut background (its a lot more fun than it sounds!). Get ready to use a lot of foam adhesive, a few colors of ink and a bunch of cardstock!
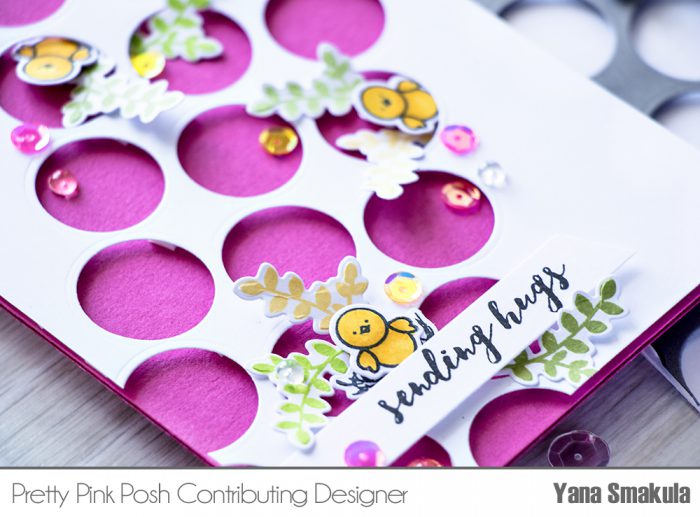
Here’s a preview of my card, see full project on Pretty Pink Posh blog:
SUPPLIES
I’m listing the products I used below. Click on the link to go directly to the product. Where available I use compensated affiliate links which means if you make a purchase I receive a small commission at no extra cost to you. Thank you so much for your support!
 SSS | PPP |
 SSS | PPP |
 SSS | PPP |
 SSS | PPP |
 SSS | PPP |
 PPP |
 PPP |
 SSS | PPP |
 AZ | SC |
 SSS | SC |
 SSS |
 SSS |
 SSS |
 SSS |
 SSS | PPP |
 SSS | SC |
 SSS | SC |
 SSS | SC |
 SSS | SC |
 SSS |
 SSS |
 SSS |


Oh wow!! So cool! Great colors and what a fun idea for the background! Stunning card!