This post is also available in English
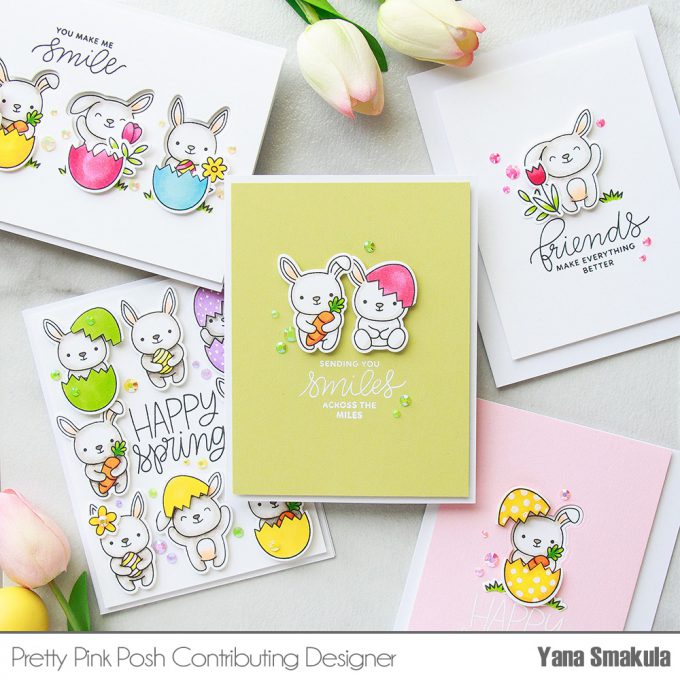
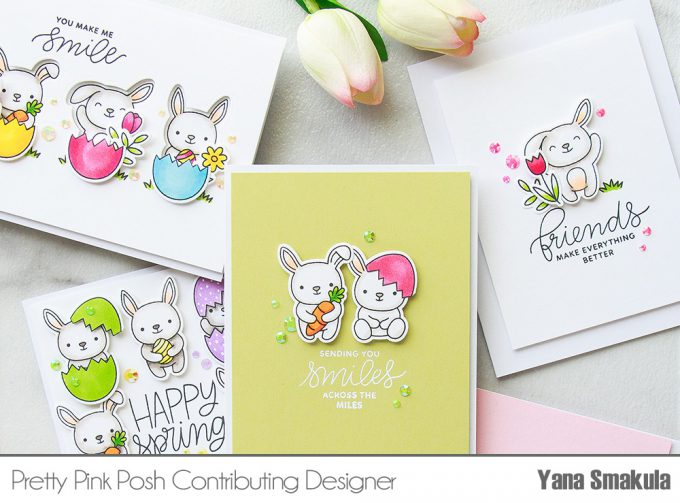
Hello friends! I am still unpacking our suitcases and getting my new craft corner set up. In the meantime I wanted to share a few Spring & Eater card ideas featuring Pretty Pink Posh Bunny Friends stamp set.
I started working on all of my cards by stamping a number of bunnies from the Bunny Friends stamp set on to Neenah Solar White 110lb cardstock in alcohol friendly ink. I stamped several panels with a bunch of bunnies. I didn’t know how many images I would need for my projects, but I wanted to make sure to have plenty on hand when I was creating.
Like this project? Pin it and save for later | Curious about my project photography? Click for details.
VIDEO TUTORIAL
As always, I filmed a video tutorial showing how to create this project from start to finish. I’m hoping you’ll enjoy it. Watch it below or on my Youtube channel.
Like this video? Please give it a big thumbs up (you can do this on Youtube video page right under the video) and share with a crafty friend! Leave me a comment too, I love hearing from you!
CARDS DETAILS
One of the elements I loved the most in the Bunny Friends set is the cracked easter egg. I played a bit and cut it out – I wanted to customize my bunnies and have other bunnies sitting in the egg shell, not just the one bunny.
The most awesome part about these eggshells – is when put together they form a one full egg! Isn’t that cool? And seeing how you can kind of extract just the egg you can have any kind of critter sitting in there as long as the size of the critter works with the size of the egg. Pretty Pink Posh has a ton of cute little critters that would fit in there. I always love to stretch my stamps and with this particular Bunny Friends stamp set it was one of the ways to do it.
I did some simple and basic Copic coloring to color my images. At first I used W5, W3 and W1 markers to color bunnies, but later I completely skipped using the W5 and for some bunnies even the W3 markers and kept my bunnies almost white. There are many different ways these bunnies can be colored, be sure to check Pretty Pink Posh blog for more inspiration.
Card Idea #1
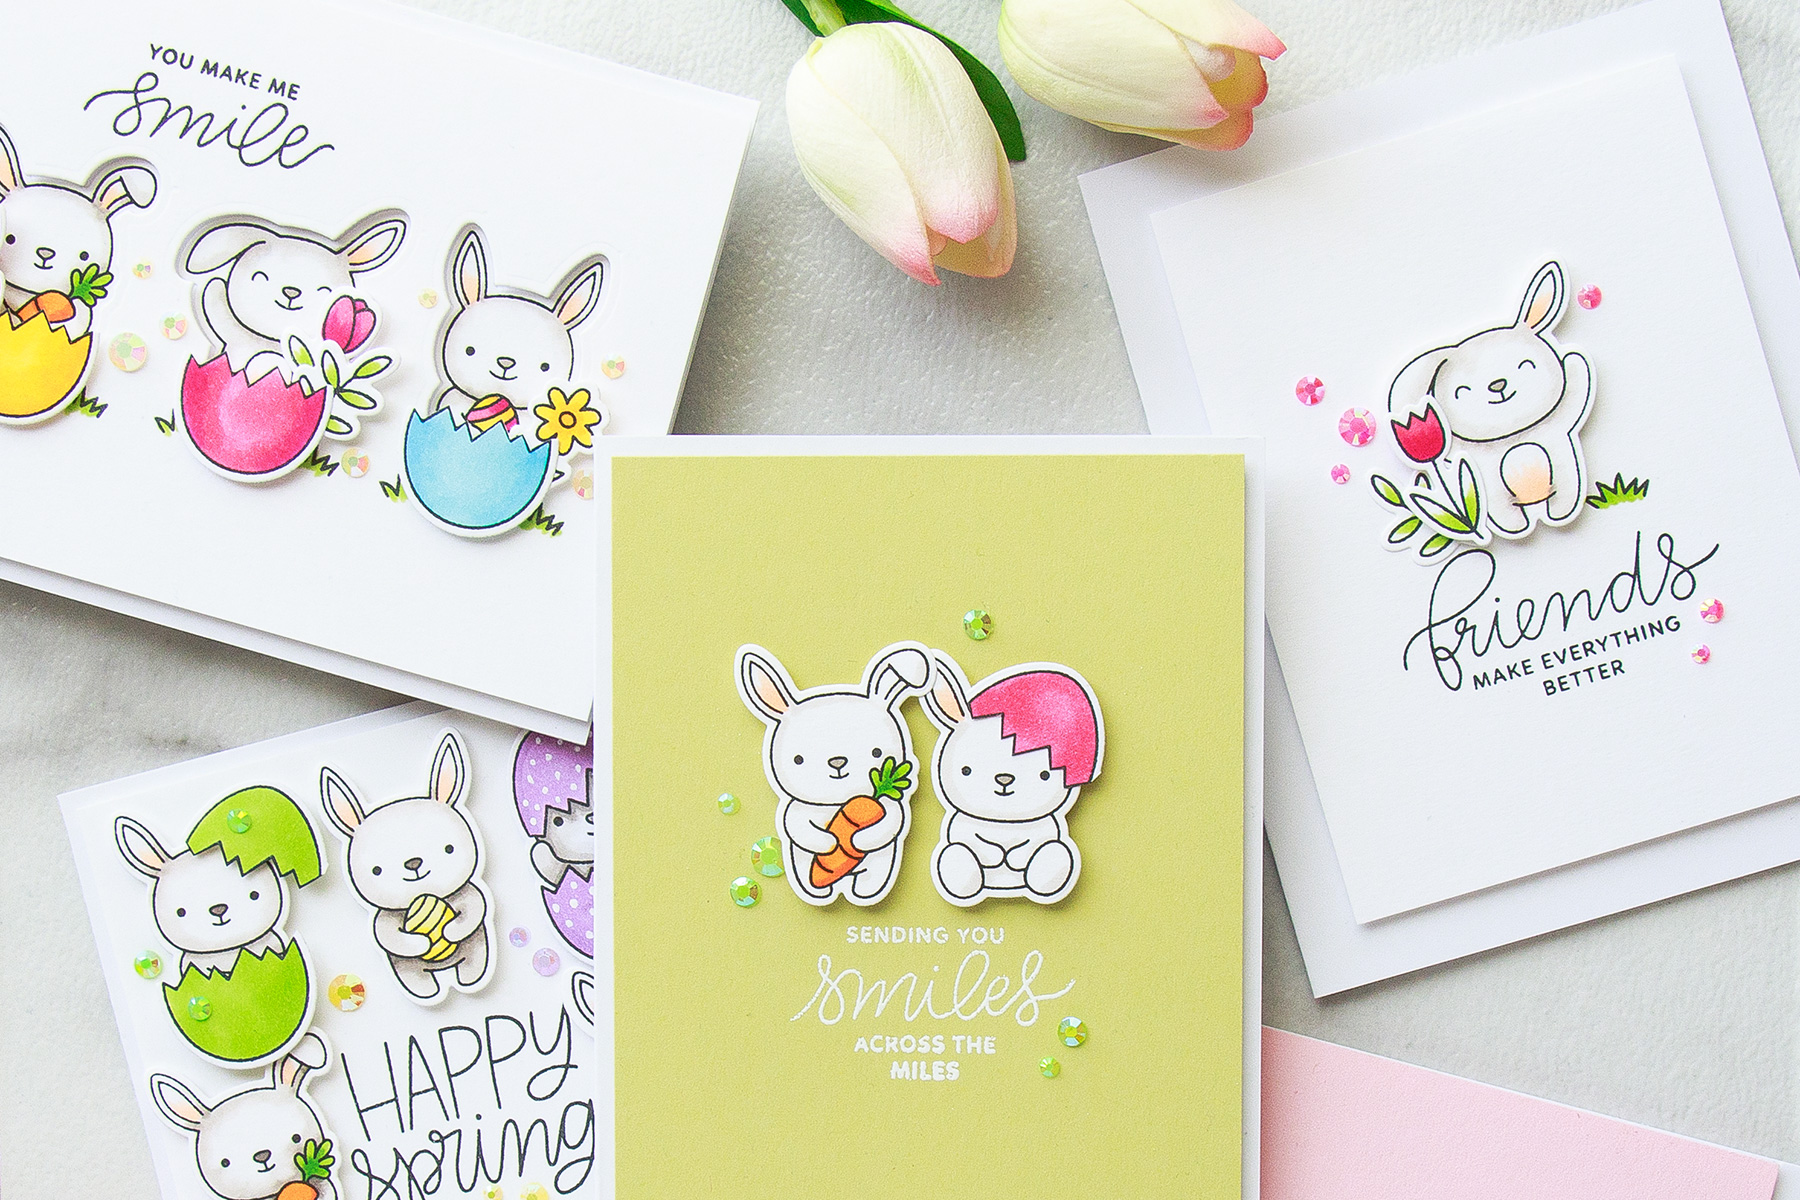
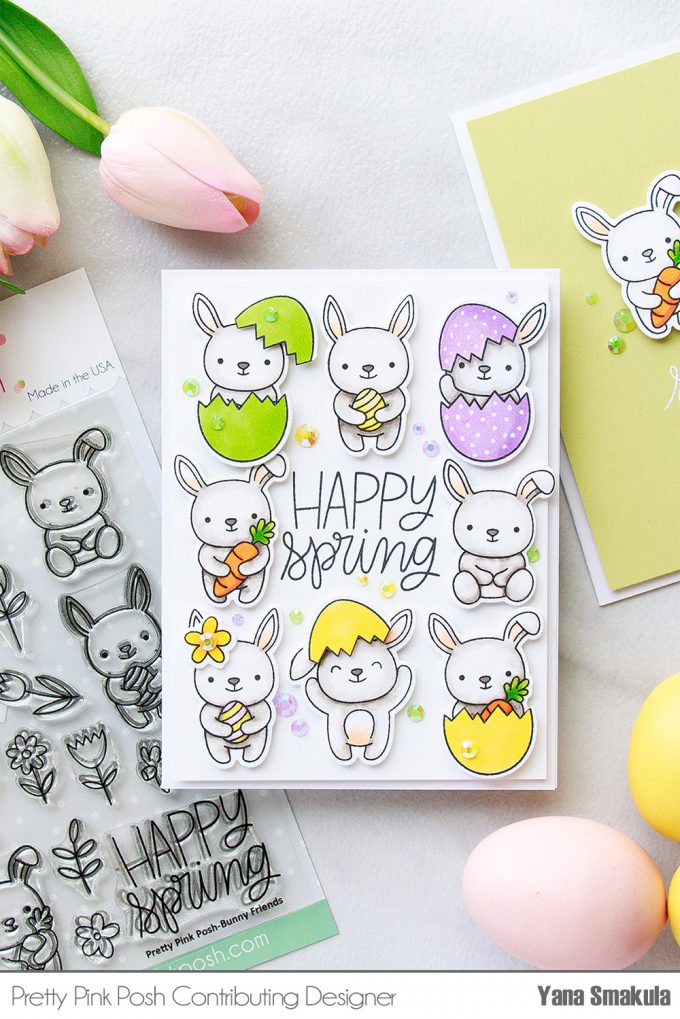
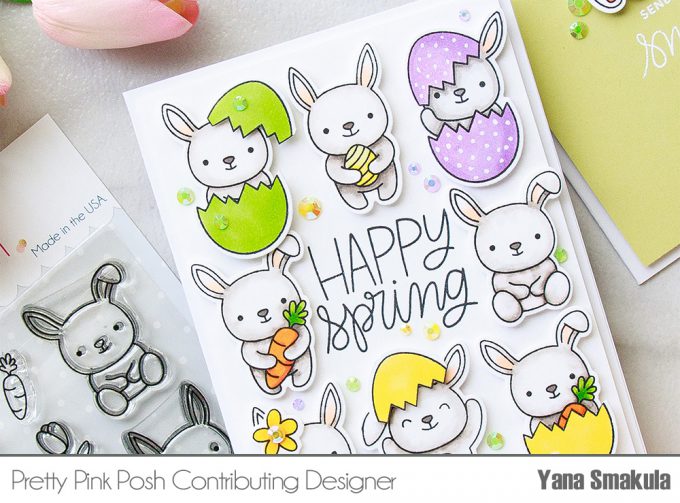
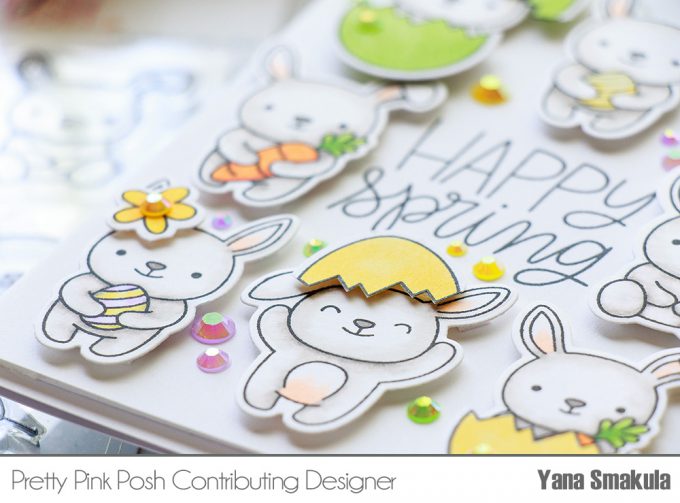
For my card idea #1 I colored and cut out a bunch of critters, I think I have every bunny from the stamp set cut out here, and some bunnies I cut out twice. I used my stamp positioner tool and stamped the Happy Spring sentiment in the center of my panel. Next I trimmed my panel to be 4 x 5 1/4″ as I wanted to foam mount it onto an A2 size card base and I foam mounted my bunnies around the sentiment.
You’ll notice that I added white polka dots to the purple egg bunny – I just used my white gelly roll pen and added little details to spice this image up. You can customize these egg shells however you like really, or they can be left as is – it’s all up to you.
Once I had all of my bunnies in place I used new Jewels from Pretty Pink Posh and I embellished my card. I really loved these little jewels – they come is several sizes and the smallest is smaller than the 3mm sequin and sometimes I do want to add that one tiny embellishment to my card so these worked really well for me and I know I’ll be reaching for them often.
Card Idea #2
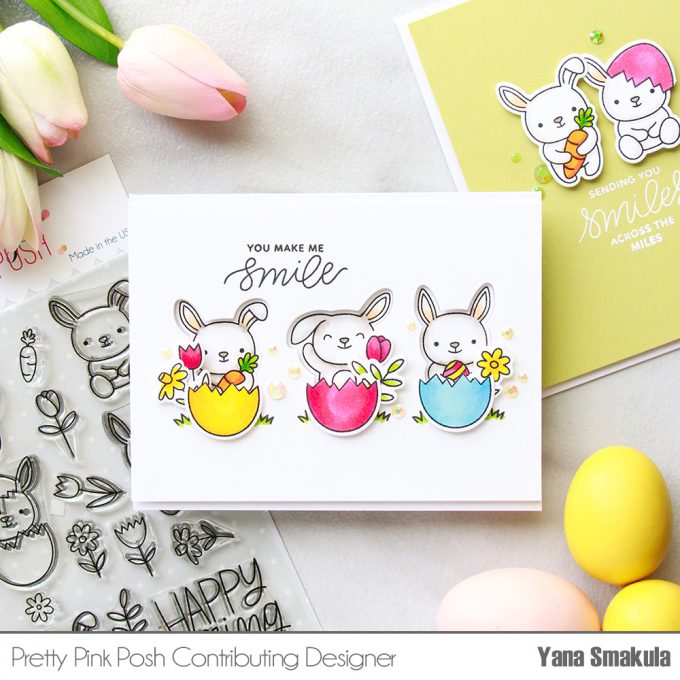
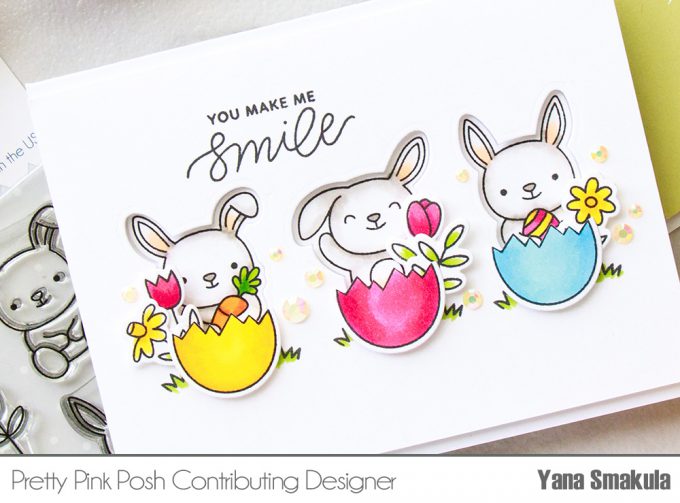
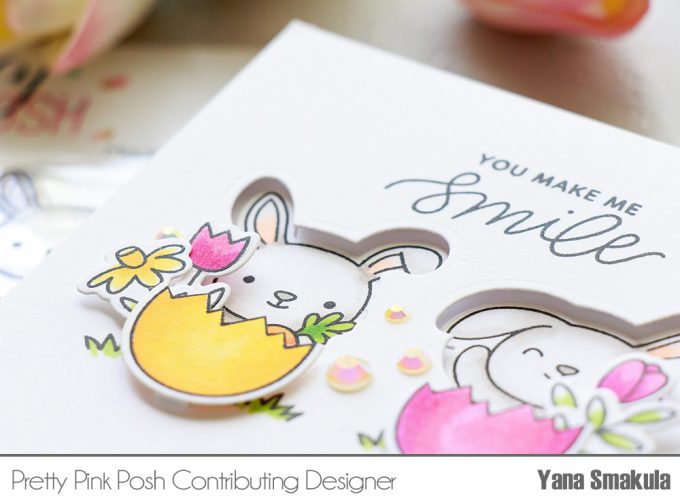
My card #2 features negative die cutting. I used a 4 x 5 1/2″ white cardstock panel and die-cut 3 bunny shapes in the panel – I taped my dies in place and run this panel through my die cutting machine. I set the die cut shapes aside and kept just the panel with the negative openings.
At the same time I also die-cut same stamped bunnies out to place inside the openings. I used my Copics once again and did some quick coloring in the same way I mentioned before.
I also die-cut more egg shells to place each of those bunnies in the shell – I had one yellow, pink, and blue. I also wanted to add some flowers to this card, I stamped a bunch of images from this same Bunny Friends stamp set, I did the same thing – I cut them out and colored with Copic markers using the same colors as before to make sure my colors would go well together.
I also stamped a sentiment directly onto my panel and I went with You Make Me Smile from the new Encouraging Greetings stamp set. I also decided to stamp grass next to each bunny – I used a little grass image from the Camping Friends stamp set. This is what I love Pretty Pink Posh stamps for – they all go so well together and images can be used to tell an endless story. With each new set you get more and more options to create scenes and tell different stories on your cards.
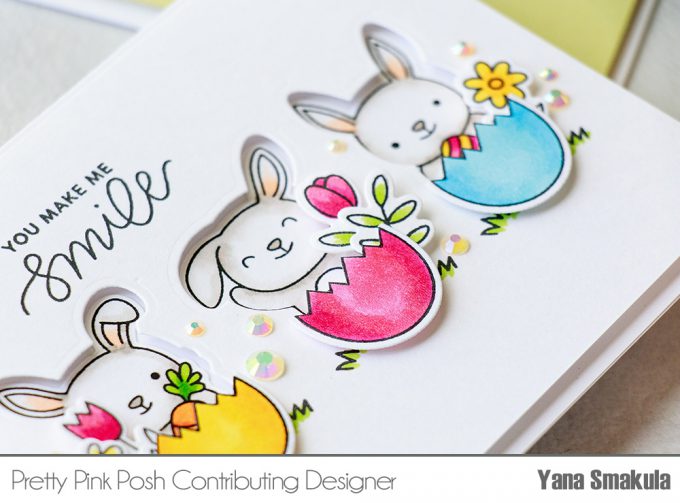
Once my stamping was done I foam mounted my panel onto an A2 card base. You want to be sure to complete all of your stamping prior to foam mounting the panel as it will be very hard to add any additional stamping to this panel later if you use foam squares.
I used regular adhesive to adhere the bunnies, I inlaid them, but because the main panel is popped up, the bunnies are recessed on this card. And once that was done I foam mounted the egg shells over the bunnies and over the panel so I used double layer of foam adhesive there. I also added my little colored and die cut flowers next to each bunny and I think that the flowers really helped this card come to life. This card ended up being my favorite from all of the cards I’m sharing in this video. Once again I used new jewels to embellish it and add a bit of sparkle.
Card Idea #3
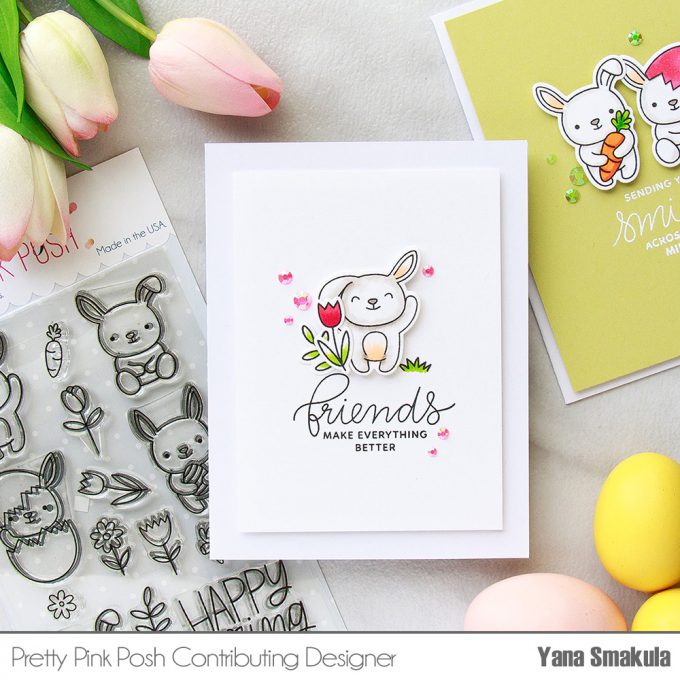
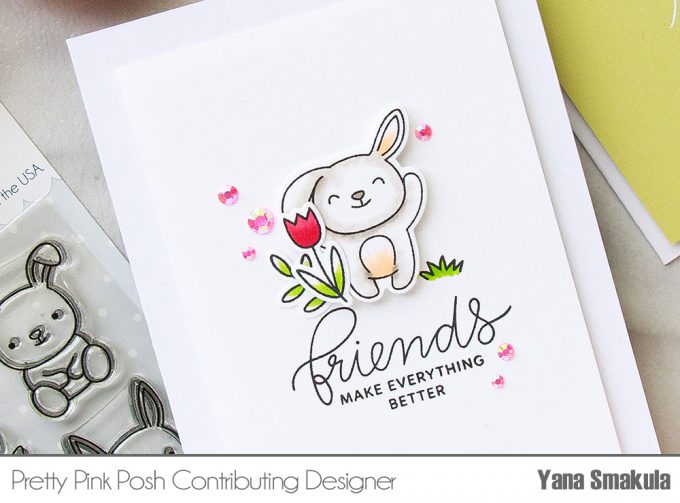
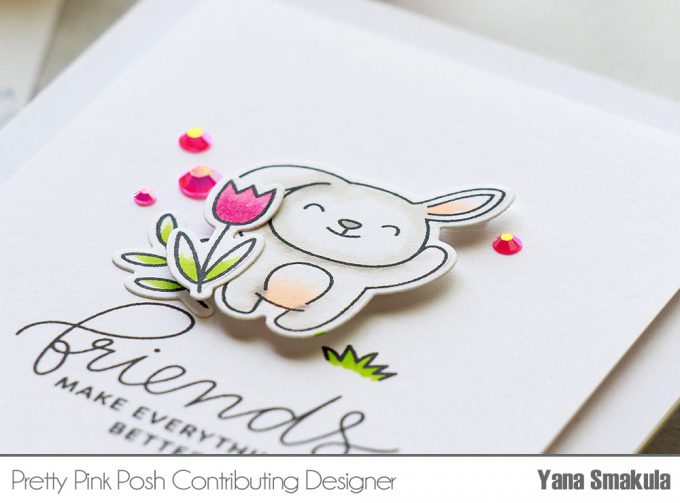
My next card is very simple and it is a fun Friendship card. I stamped Friends Make Everything Better sentiment in black into a white cardstock panel cut to 3 1/2 x 4 3/4″ .
Next I added one of bunnies – I picked one that isn’t holding anything and I added some flowers and die cut greenery to him. I used a solid layer of fun foam and double sided tape to foam mount the panel onto an A2 card base, I foam mounted my bunny and flowers and decided I wanted to stamp the grass on this card as well to help ground my little scene.
Because I had a solid layer of fun foam and not individual foam squares attaching my panel onto the card I was safe to do my stamping here. So I stamped the grass and used jewels in pink to embellish this card.
Card Idea #4
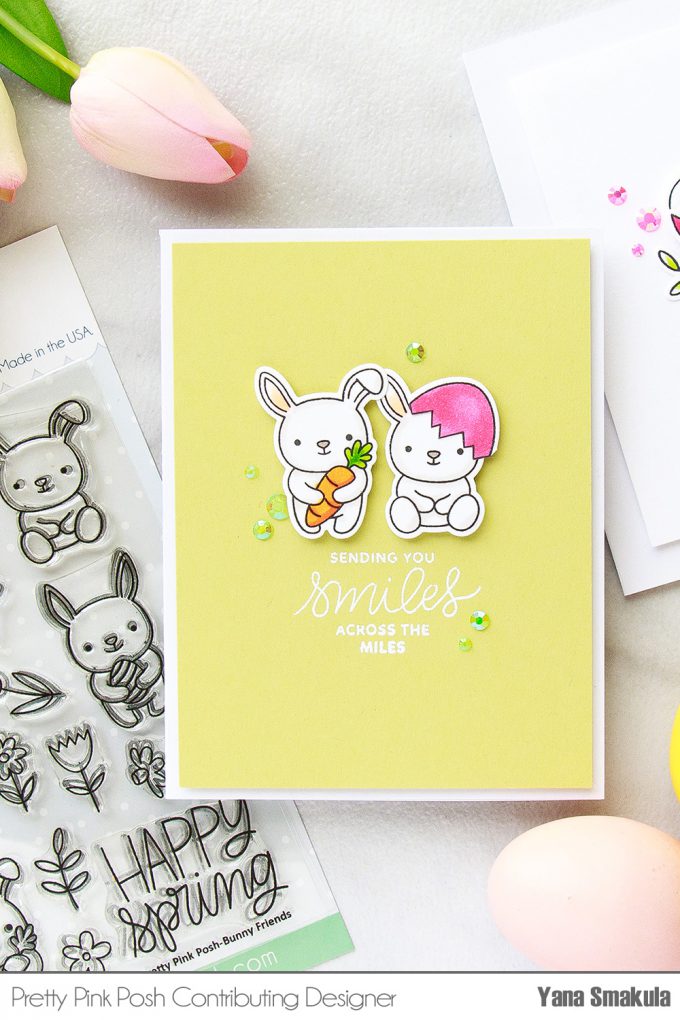
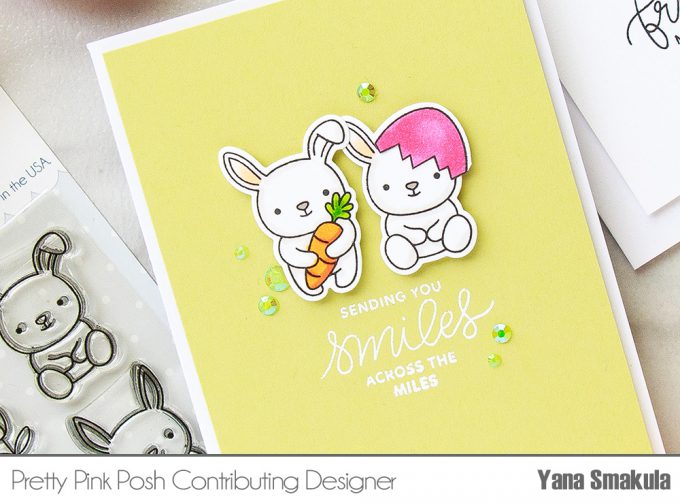
I white heat embossed Sending You Smiles Across the Miles in white embossing powder and foam mounted two of the bunnies onto the card. I used one with the carrot and added an egg shell to the other bunny.
To hide the bunny’s ear under the shell I actually cut it partially off as I wanted to have the shell a bit closer to his head. This time I used glue to adhere the shell and skipped adding another layer of foam adhesive. Of course I used jewels to embellish this card.
Card Idea #5
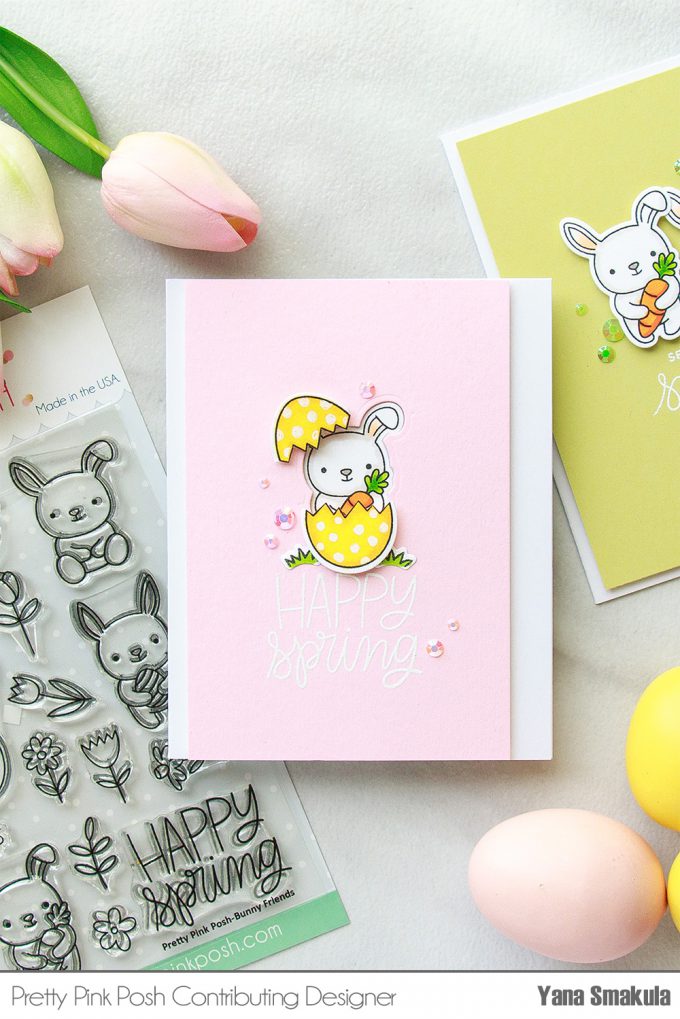
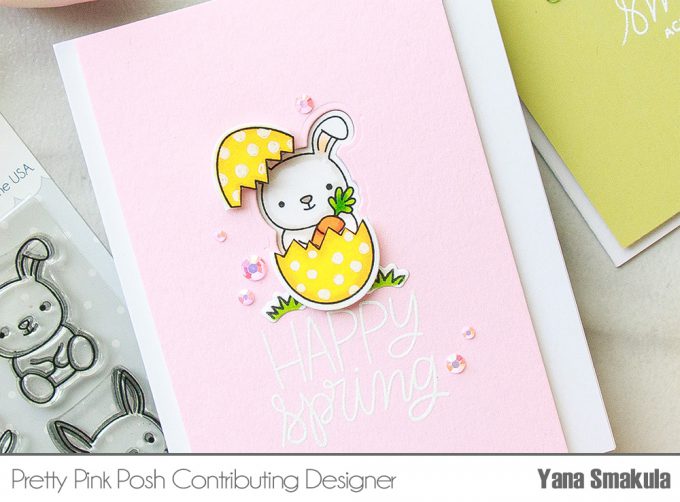
For my last project for today I did some more negative die cutting, but this time I die cut identical shape in a layer of fun foam to foam mount my panel in place. I heat embossed a sentiment onto the panel and it warped slightly from the heat, so the solid fun foam layer served a double purple here – it popped the panel up and it helped to keep it flat and eliminated the warping.
I adhered a cute bunny with a carrot inside the opening – I think this little bunny is my favorite from this set and I also added an egg shell along with two die cut grass pieces. I didn’t stamp the grass onto the panel this time, but added it as a die-cut element as the panel was pink and I wouldn’t have been able to color it the light green with Copic Markers that I did on white cardstock.
I also used a white gel pen and added large white polka dots onto the egg shell to make it eggstaspecial.
SUPPLIES
I’m listing the products I used below. Click on the link to go directly to the product. Where available I use compensated affiliate links which means if you make a purchase I receive a small commission at no extra cost to you. Thank you so much for your support!
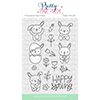 Pretty Pink Posh Bunny Friends Clear Stamp Set Shop at: SSS | PPP |
 Pretty Pink Posh Bunny Friends Die Set Shop at: SSS | PPP |
 Pretty Pink Posh Camping Friends Stamp Set Shop at: SSS | PPP |
 Pretty Pink Posh Camping Friends Coordinating Dies Shop at: SSS | PPP |
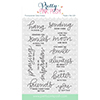 Pretty Pink Posh Encouraging Greetings Clear Stamp Set Shop at: SSS | PPP |
 Pretty Pink Posh Watermelon Jewels Shop at: SSS | PPP |
 Pretty Pink Posh Aquamarine Jewels Shop at: SSS | PPP |
 Pretty Pink Posh Shamrock Jewels Shop at: SSS | PPP |
 Pretty Pink Posh Buttercream Jewels Shop at: SSS | PPP |
 Pretty Pink Posh Spring Green Jewels Shop at: SSS | PPP |
 Pretty Pink Posh Amethyst Jewels Shop at: SSS | PPP |
 Pretty Pink Posh Lemon Drop Jewels Shop at: SSS | PPP |
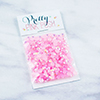 Pretty Pink Posh Pink Blush Jewels Shop at: SSS | PPP |
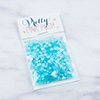 Pretty Pink Posh Sea Glass Jewels Shop at: SSS | PPP |
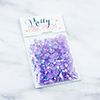 Pretty Pink Posh Pansy Purple Jewels Shop at: SSS | PPP |
 Simon Says Stamp Intense Black Ink Shop at: SSS |
 Neenah 110 Lb Solar White Cardstock Shop at: SSS | AZ |
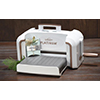 Spellbinders Platinum Die Cutting Machine Shop at: SSS | SC | SPEL | AZ |
 Neenah Classic Crest 80 Lb Smooth Desert Storm Shop at: SSS | AZ |
 ScraPerfect Crafting Pouch Shop at: SSS | AZ |
 Hero Arts Heat Embossing Gun PW200 Shop at: SSS | SC | HA | AZ |
 Hero Arts White Embossing Powder PW110 Shop at: SSS | SC | HA | AZ |
 Simon Says Stamp Embossing Ink Pad Shop at: SSS |
 Mini Misti Stamping Tool Shop at: SSS | SC | AZ |
 Memento Tuxedo Black Ink Pad Shop at: SSS | AZ |
 Scrapbook Adhesives Thin White Foam Squares Shop at: SSS | AZ |
 Copic Colorless Blender Marker Shop at: SSS | AZ |
 Copic Sketch Marker YR00 Powder Pink Shop at: SSS |
 Copic Sketch Marker W1 Warm Gray Shop at: SSS | AZ |
 Copic Sketch Marker W3 Warm Gray Shop at: SSS | AZ |
 Copic Sketch Marker W5 Warm Gray Shop at: SSS | AZ |
 Tonic Spring-cut Fine Tip Detail Scissors Shop at: SSS |
 Tonic Studios 8.5 Inch Paper Trimmer Shop at: SSS | SC | AZ |
 Crystal Ninja Crystal Katana Mixed Media Pick Up Tool Shop at: SSS | AZ |
 White Fun Foam 12 Pack 9 x 12 Shop at: SSS | AZ |
 Sakura Classic White Bold Line 10 Gelly Roll Pen Shop at: SSS |
 Scrapbook Adhesives White Foam Squares Shop at: SSS | SC | AZ |
 Scor-tape 2 1/2 Inch Crafting Tape Shop at: SSS |
 Tonic Deluxe Adhesive Nuvo Glue Shop at: SSS | SC |
 Darice 400 Adhesive 3/16 Inch Foam Squares 5mm Shop at: SSS | PPP |


Awww so adorable!! Each card is super cute!! <3
Those are simply adorable Yana! Thank you so much for all the inspiration!
The last one is my fav. Glad to hear you’ve arrived safely and hope all goes well in your new home.
Very cute cards, I like how you customize the bunnies for each card. Thanks for the cutting tips.
Loving all five bunnies cards, thank you for showing how to stretch our card making more. Question : on card 4 when you chopped the bunnies ear off to add the egg shell did you give him anesthetic first so he wasn’t in pain ? Lol.
Love, love, love your cards. The details are awesome. Thanks for sharing.
Love all 5 cards! I need to remember the negative die cutting technique. Works well with “critter” cards.
These are simply the cutest! 🙂
O my goodness, these cards are all just so very cute! Love what you did with the egg shells and the bunnies. And your colours are so perfect for spring. Thanks for some great inspiration.
Watching you create different Spring cards with these images Yana really put this stamp set of Pretty Pink Posh top of my Wish List. I loved all the images and how you managed to fit the other bunnies into the cracked egg too. Brilliant! :O)