Hello friends! Welcome back for another episode from my monthly video tutorial for Papertrey Ink from the “In The Studio with Yana” video series. I am sharing video tutorials for Papertrey Ink on the 24th of each month on their blog and later repost them here, on my blog; you can catch previous episodes here.
Like this project? Pin it and save for later! | Curious about my project photography? Click for details.
VIDEO TUTORIAL
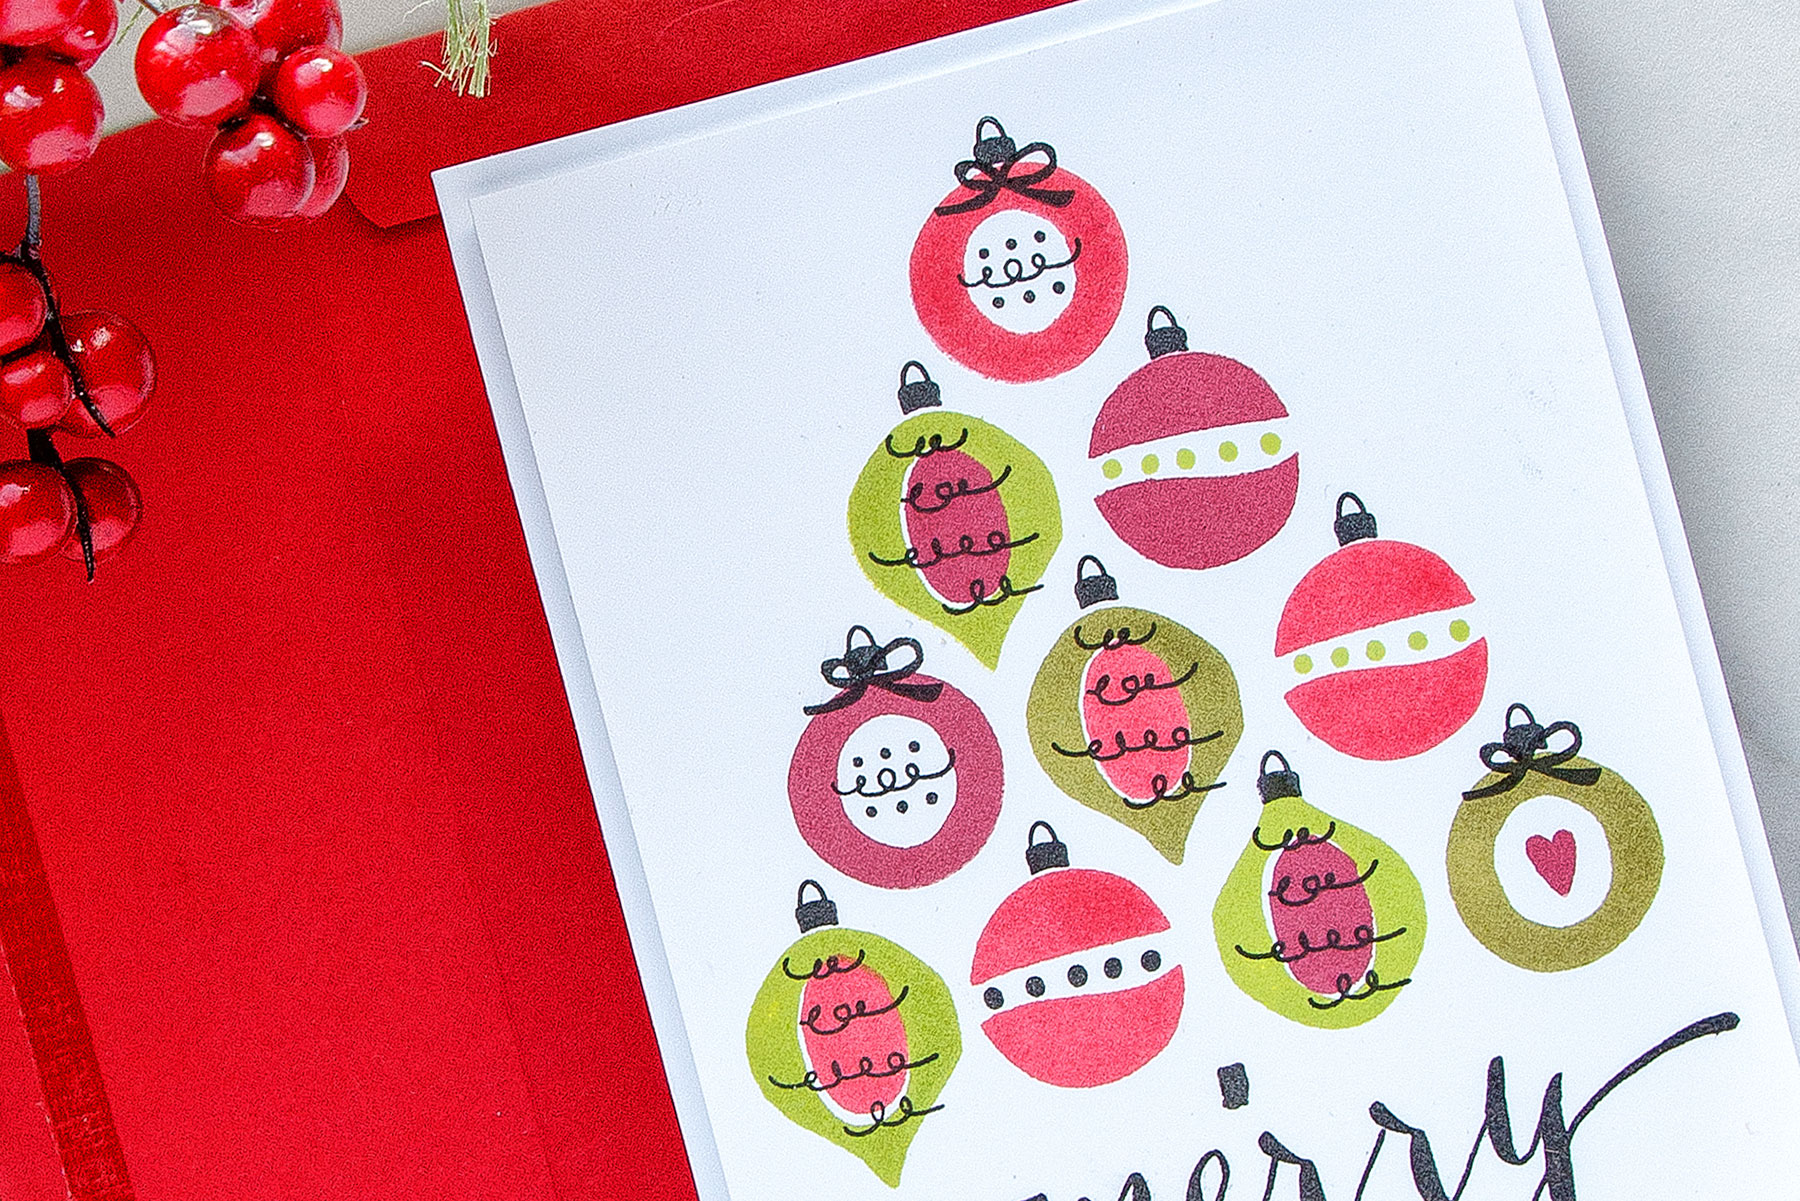
In this month episode I’m sharing very simple (and easy to copy!) Modern Christmas cards. I also have a vintage card idea using same supplies but different techniques at the end of my video so be sure to watch until the end to see it. Watch it below or on my Youtube channel.
Like this video? Please give it a big thumbs up and share with a crafty friend! Drop me a comment too, I love hearing from you!
CARD DETAILS
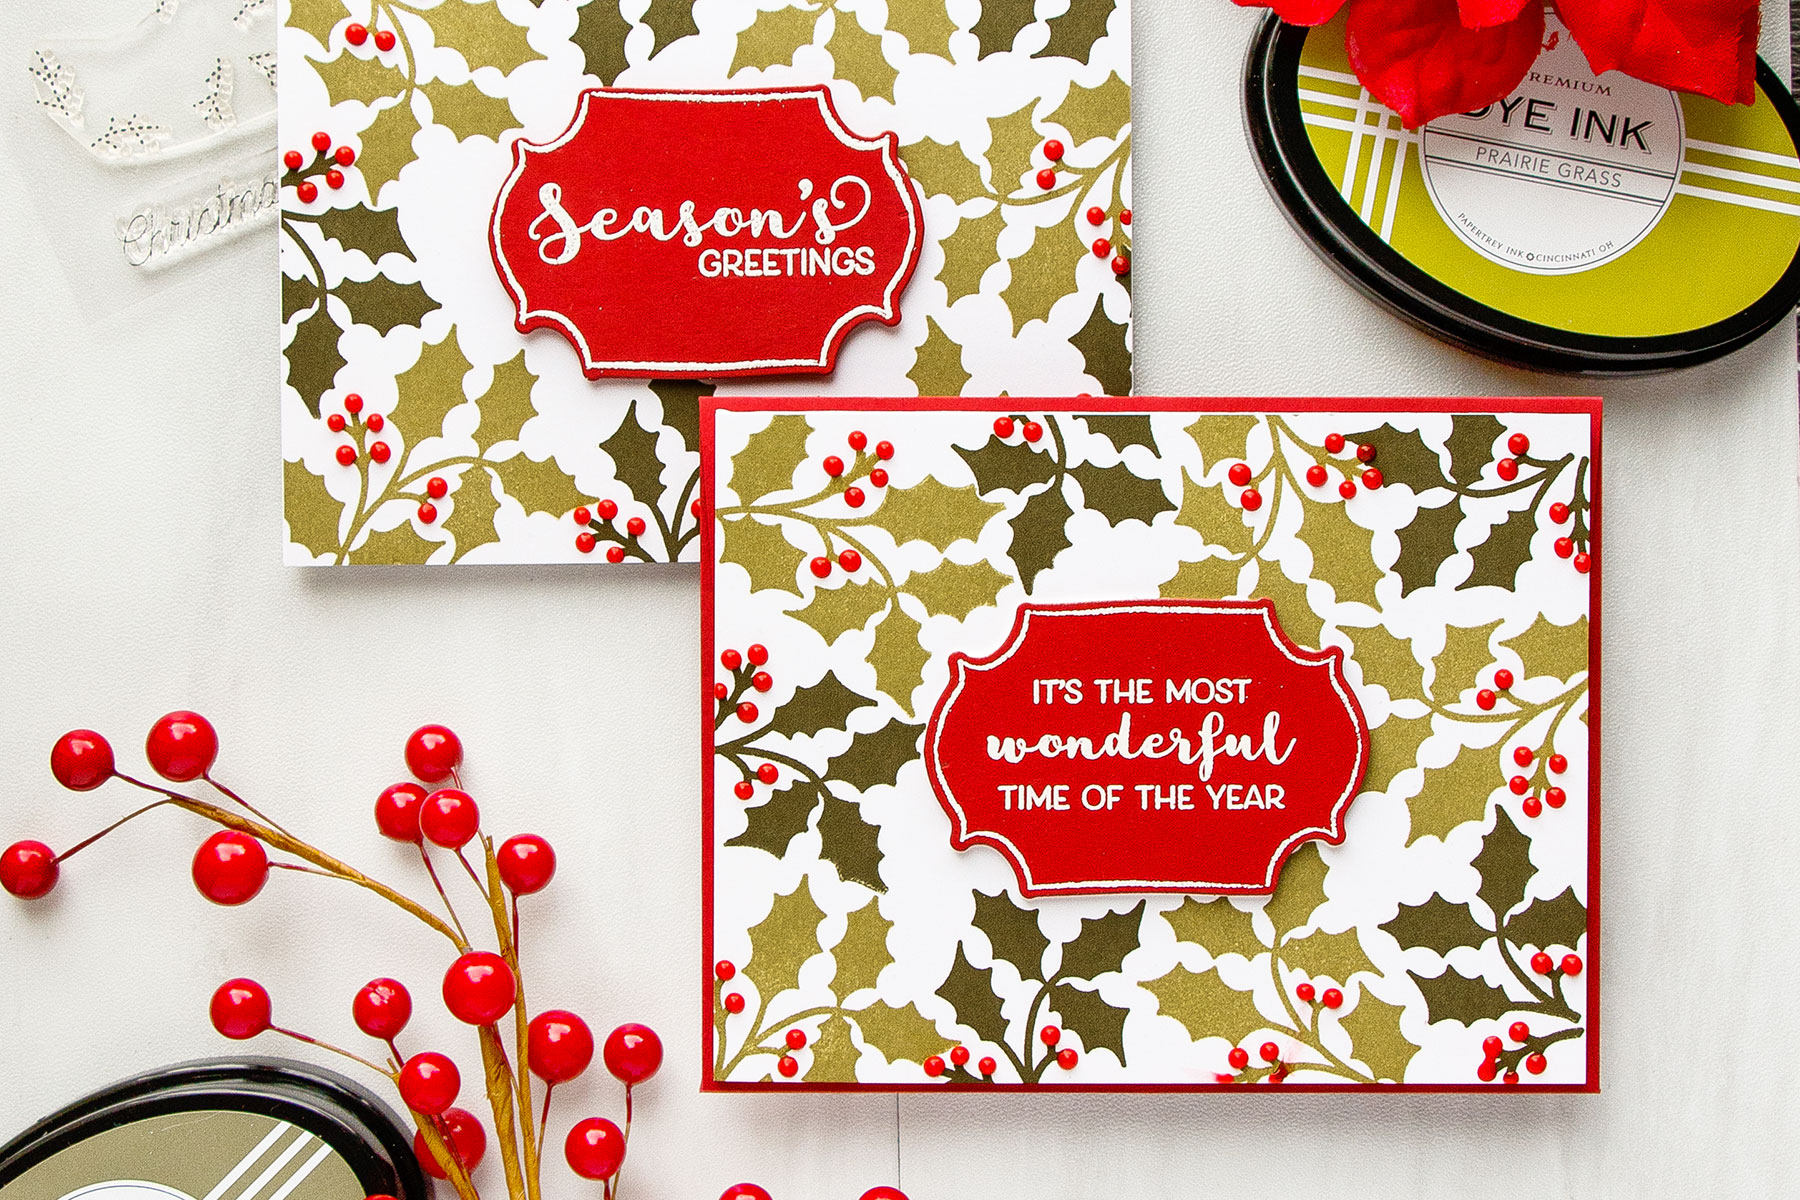
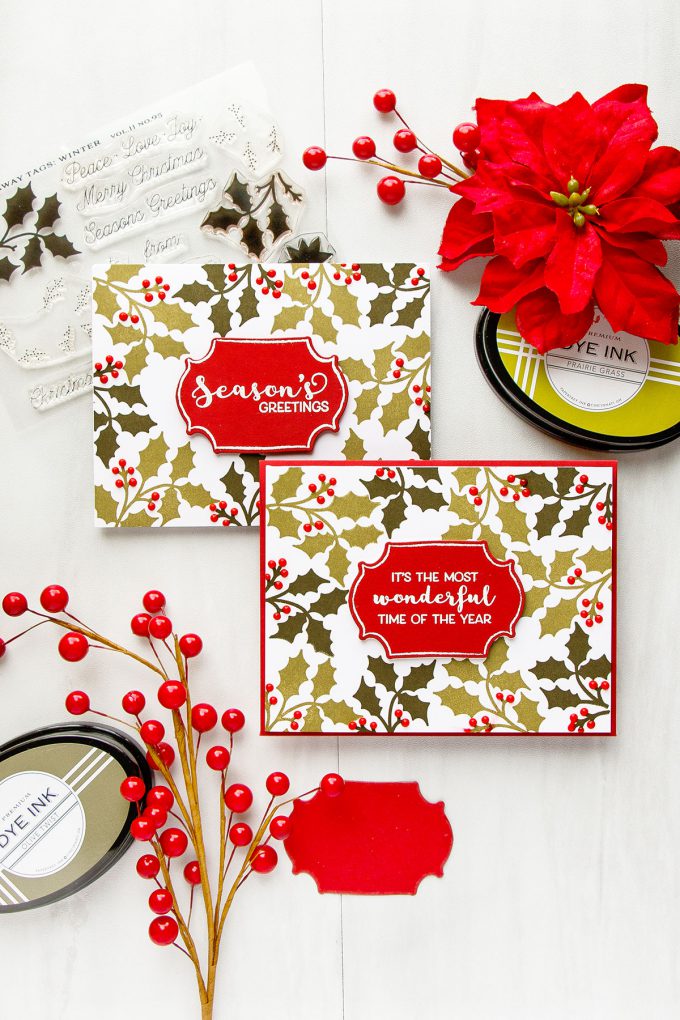
I started working on this project by trimming my Stamper’s Select white cardstock to 4 ¼ x 5 ½“. You can do your stamping directly on a front of a card if you like, I prefer to cut a panel, stamp everything I need to stamp on a panel and later adhere that panel onto a card base vs stamping directly on the base of the card.
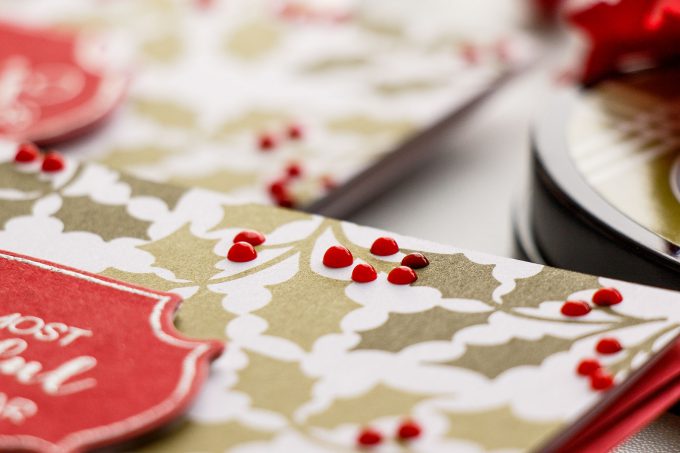
This handmade card uses Nuvo Drops to make berries. Want to see 4 other ways you can use Nuvo Drops from Tonic Studios in card making? Check out this article – 5 Ways to Use Nuvo Drops.
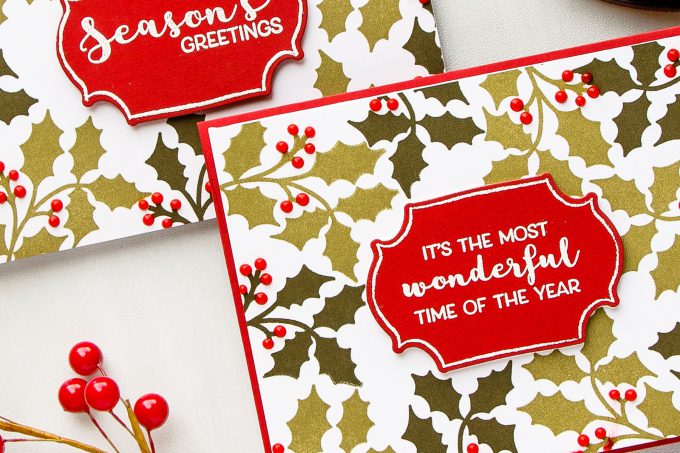
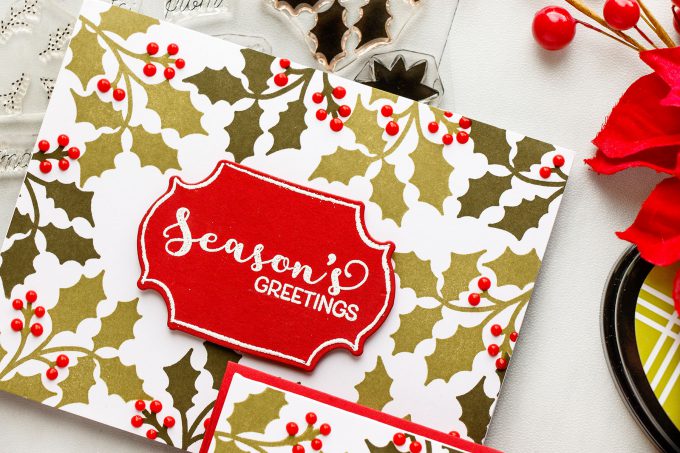
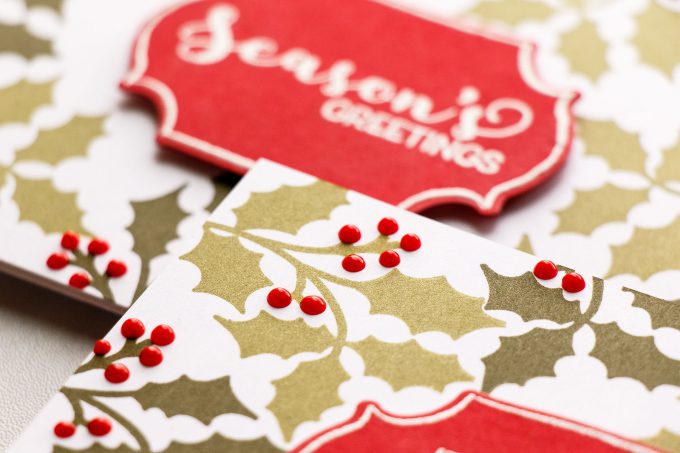
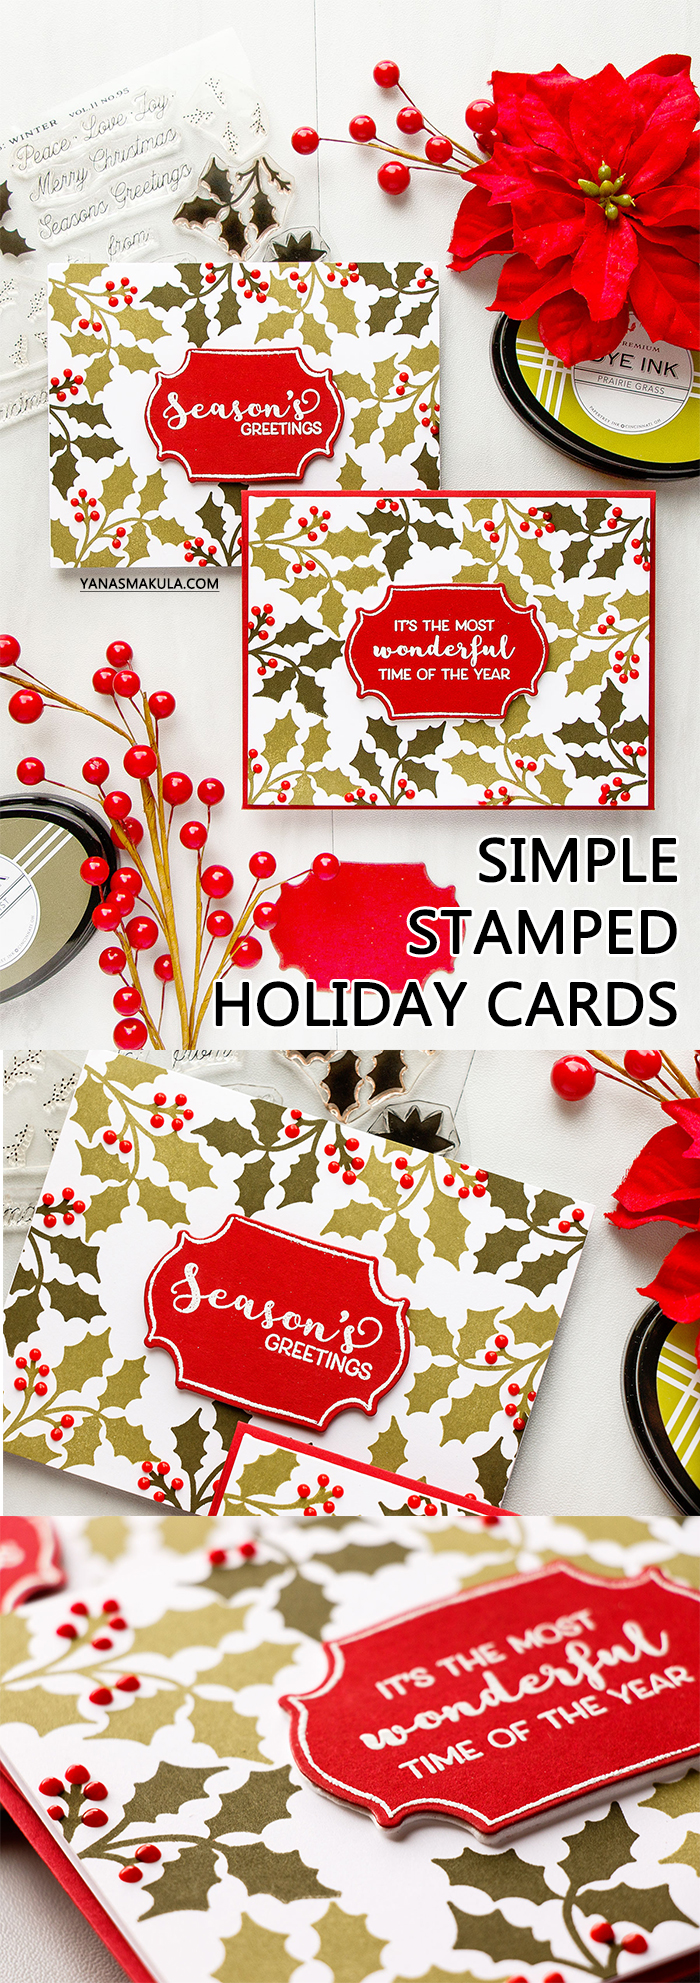
Using two Holly branch images from the Cutaway Tags: Winter stamp set I stamped a beautiful frame around the edge of my panel. I picked two colors of green ink for my stamping – a lighter and darker. I stamped the larger branch using lighter ink color, and the other, smaller branch, using darker ink color. I made sure to double stamp my images to get a more vibrant color of ink.
This stamp set, Cutaway Tags: Winter, has a detailed layer to the holly leaves – dashed lines that you can stamp in a darker ink color or heat emboss over your leaves. I kept my images as is without the second layer stamping because I felt they looked a bit more modern this way.
These branches also have berries to them and you can stamp these using red ink or again you can heat emboss them, use enamel dots, gems or even little sequins. I didn’t stamp mine as I later used Nuvo drops in Red Berry color and added dimensional berries onto my cards.
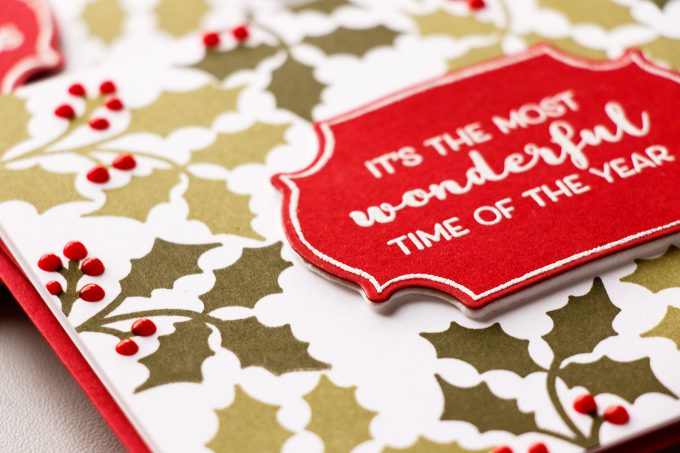
To create a sentiment I used a frame from the Gathered Garden set and white heat embossed it along with a beautiful message from the the Very Merry set in white embossing powder onto red cardstock.
I also used a coordinating die and cut the frame out in my die cutting machine. Using fun foam and double sided sticky sheets I made a fun foam shape and used it to evenly adhere my heat embossed frame onto the card. You can use foam adhesive squares for this, but I prefer to have a solid layer of fun foam under my die cut pieces so I often cut identical shapes out using fun foam.
I made an A2 top folding card base out of white cardstock, adhered my panel, foam mounted my sentiment layer on top, added red berries and that finished my card! Be sure to check out my video tutorial to see a vintage card idea using same supplies!
SUPPLIES
I’m listing the products I used below. Click on the link to go directly to the product. Where available I use compensated affiliate links which means if you make a purchase I receive a small commission at no extra cost to you. Thank you so much for your support!
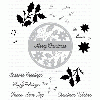 Papertrey Ink Cutaway Tags: Winter Stamp Set Shop at: PTI |
 Papertrey Ink Very Merry Stamp Set Shop at: PTI |
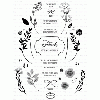 Papertrey Ink Gathered Garden Stamp Set Shop at: PTI |
 Papertrey Ink Gathered Garden Die Shop at: PTI |
 Papertrey Ink Perfect Match Olive Twist – Inkpad Shop at: PTI |
 Papertrey Ink Perfect Match Prairie Grass – Inkpad Shop at: PTI |
 Papertrey Ink Perfect Match Pure Poppy Cardstock (24 Sheets) Shop at: PTI |
 Papertrey Ink Stamper’s Select White Cardstock (40 Sheets) Shop at: PTI |
 Simon Says Stamp Small Teflon Bone Folder Tool Shop at: SSS |
 Hero Arts Heat Embossing Gun PW200 Shop at: SSS | SC | HA | AZ |
 Hero Arts White Embossing Powder PW110 Shop at: SSS | SC | HA | AZ |
 ScraPerfect Crafting Pouch Shop at: SSS | AZ |
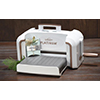 Spellbinders Platinum Die Cutting Machine Shop at: SSS | SC | SPEL | AZ |
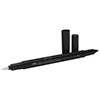 Versamarker Pen Watermark Emboss Shop at: SSS | AZ |
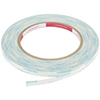 Scor-Tape 1/8 Inch Crafting Tape Shop at: SSS | AZ |
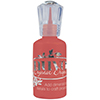 Tonic Red Berry Gloss Nuvo Crystal Drops Shop at: SSS |
 White Fun Foam 12 Pack 9 x 12 Shop at: SSS | AZ |
 Tonic Studios 8.5 Inch Paper Trimmer Shop at: SSS | SC |
PIN THIS PROJECT
Are you on Pinterest? Please pin this project to one of your boards if you like it, thanks!


Love these so much! Could you also post a picture of the second one you made in vintage style! Thank you!
Wonderful cards! 🙂
These are the perfect greetings cards !
I really love both of your cards. hard to pick. They are both so different even though you used the same stamps. No matter what I love your work and always look forward to your videos.
I too really like both, but my style is more vintage so I have to say the vintage one really caught my attention. I appreciate your comments about doing some simpler cards. I too typically spend a lot of time on a card and don’t really care to “mass produce”; however, this year I’m finding it hard to make cards the usual way and am giving in (and giving myself permission!) to mass produce a few of the simpler designs. Stepping outside of my comfort zone!! Also, thanks for the story about your Thanksgiving experience. It made me chuckle! Welcome to America!!!! For the most part I stay off the streets and out of the stores until Monday! Thanks for the emails about the sales and for the video. Happy shopping … and stay safe!
I definitely like the “plainer”, modern look! It’s something I’ll try to do soon! Your videos and cards share so many fun details – thanks.
This is a beautiful card! I do like that vintage look of the later card really well!!