This post is also available in English
Hi everyone! In this video, I’m going to show you how small stamps can make a big impact on your handmade cards (using pretty Spring stamps from My Favorite Things).
Like this project? Pin it and save for later | Curious about my project photography? Click for details.
VIDEO TUTORIAL
Watch my video tutorial below or on Youtube to learn how I made the cards I’m sharing today.
Like this video? Please give it a thumbs up and share with a crafty friend! Drop me a comment too, I love hearing from you!
CARD DETAILS
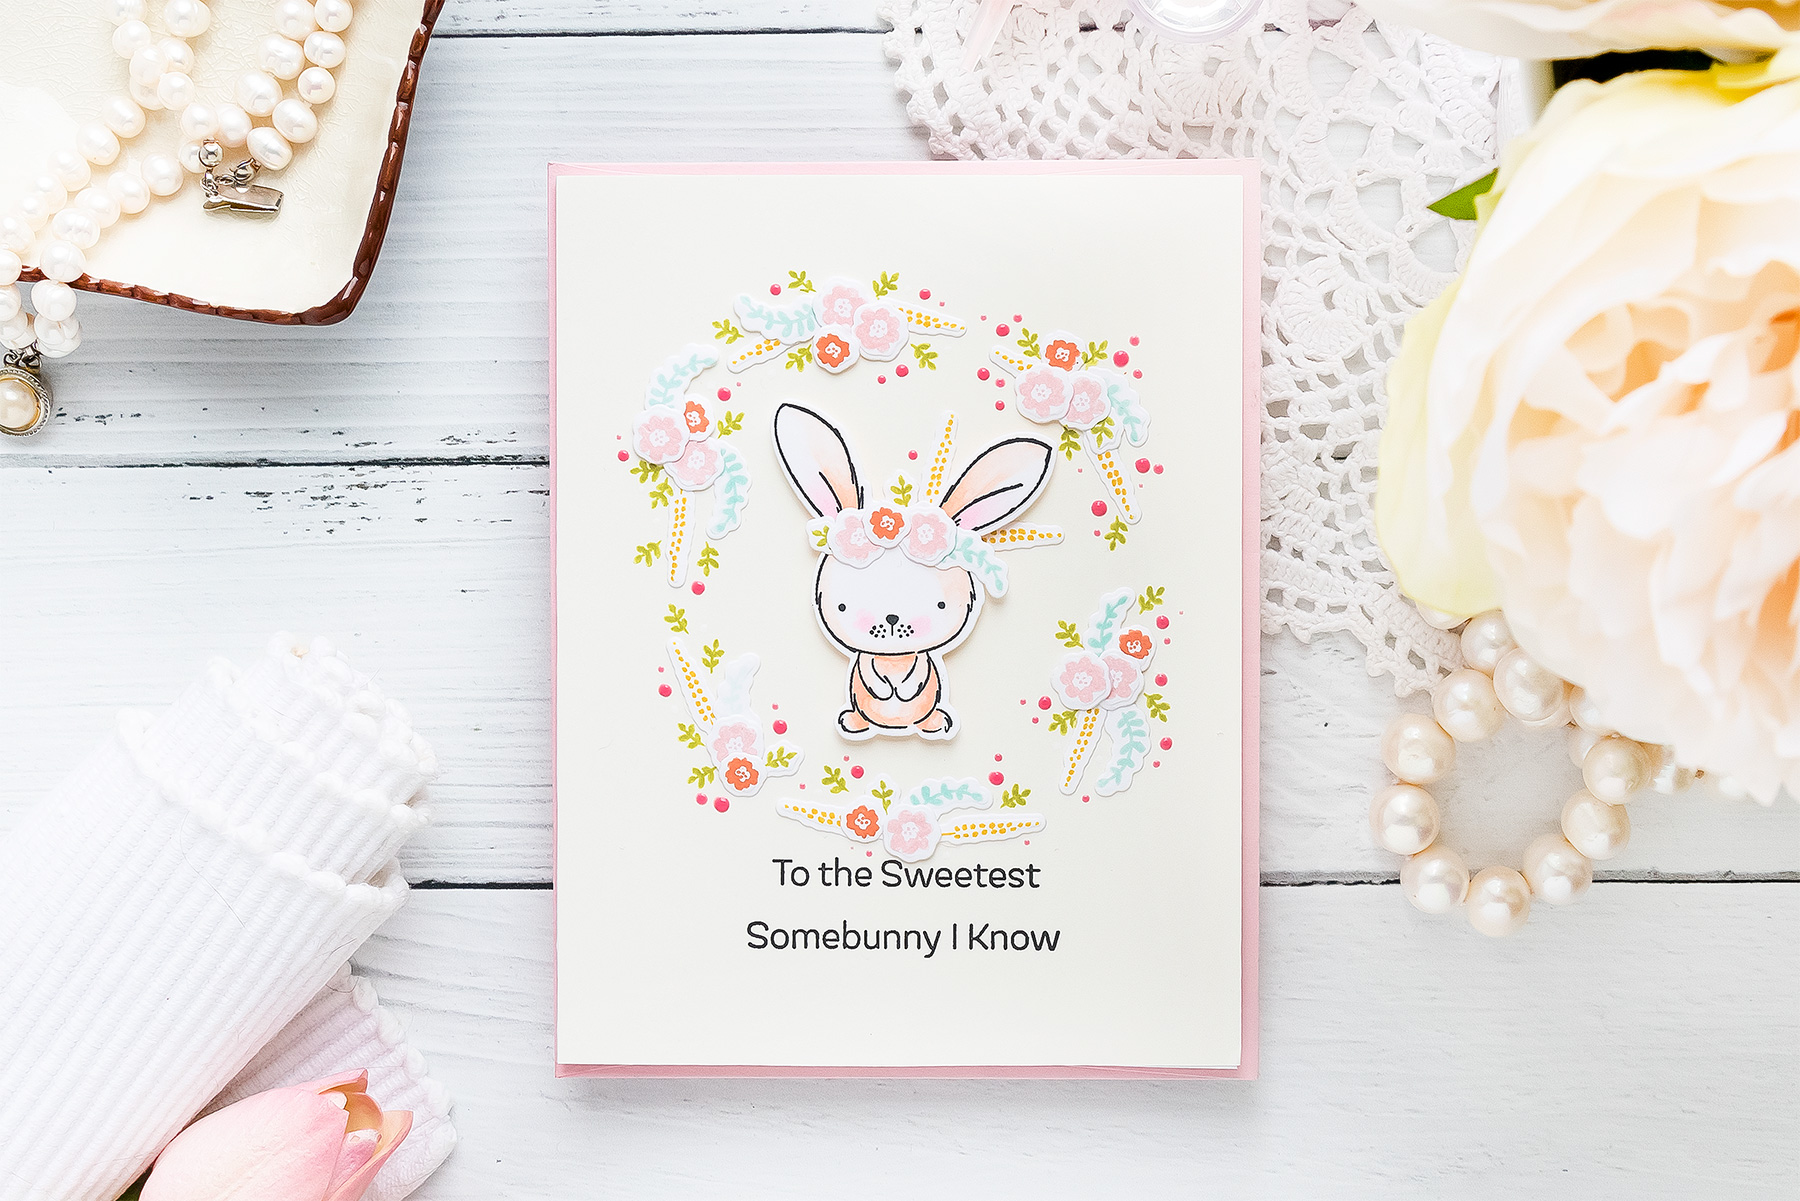
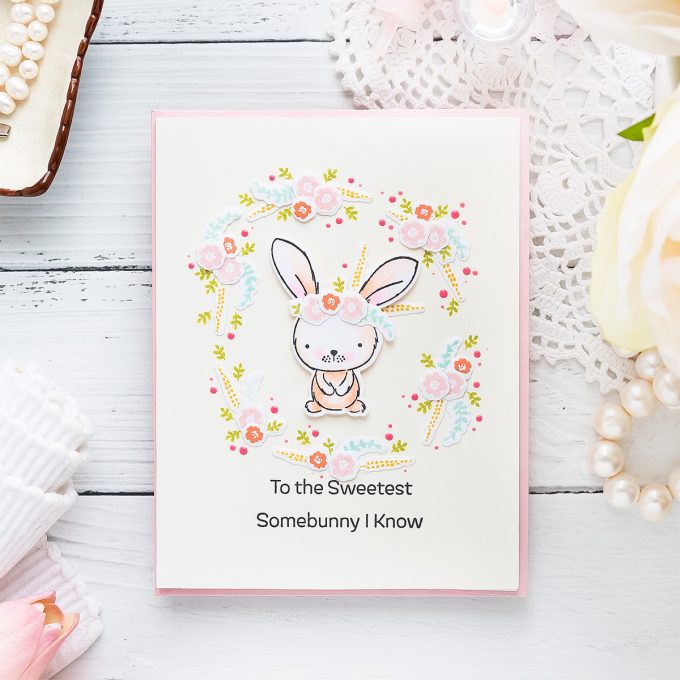
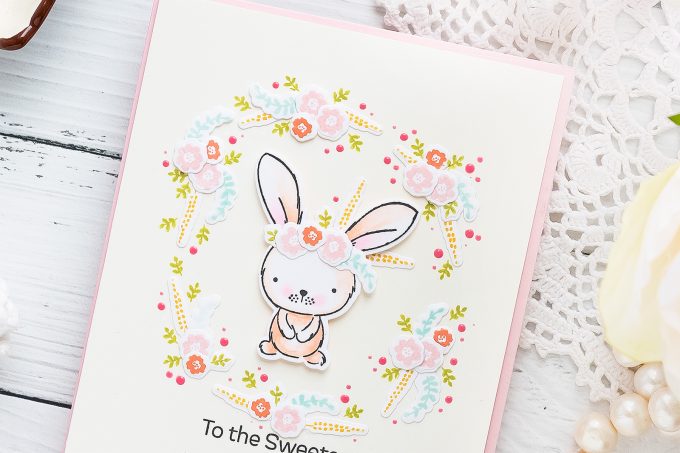
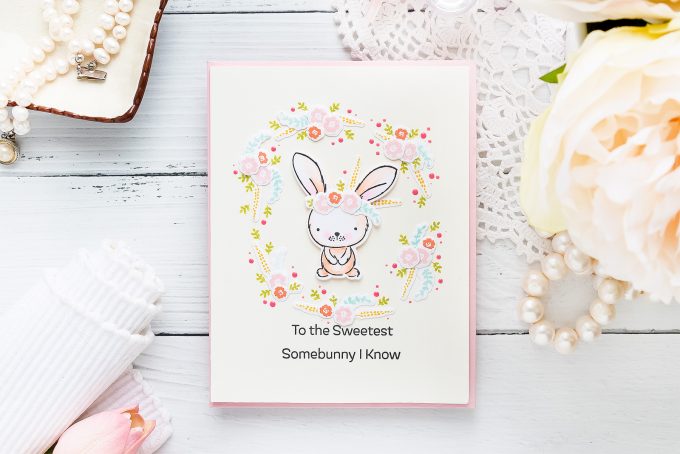
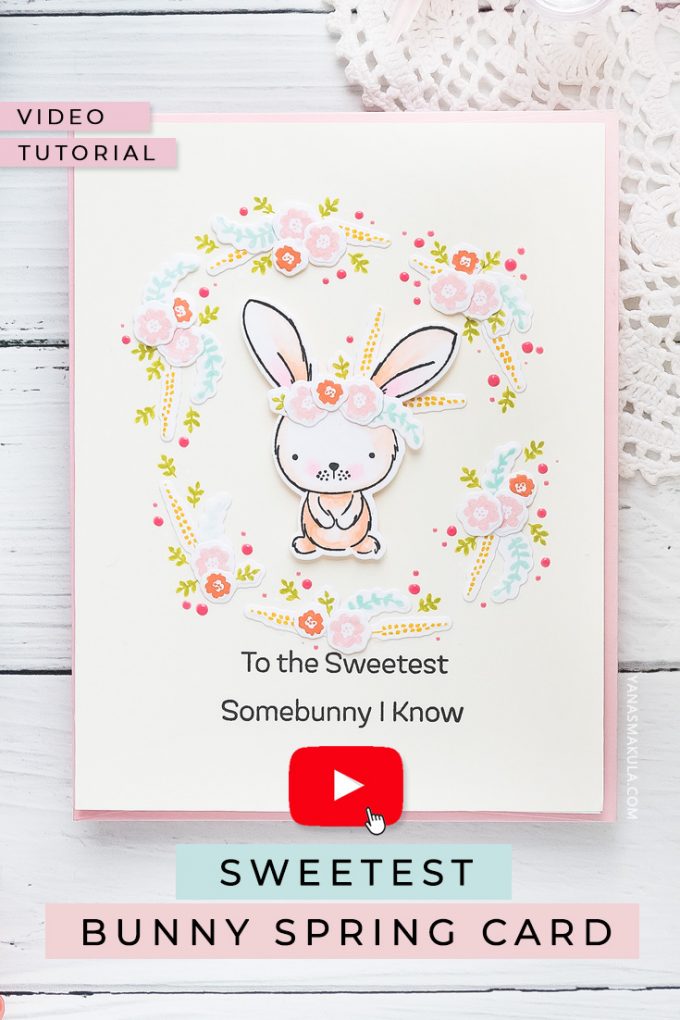
I started to work on this card just like I always do – by stamping the focal image for my card. Today it’s an adorable bunny from the Sweetest Somebunny stamp set. This set comes with a few small images that I typically overlook in a stamp set. And if you are like me, you probably overlook them as well. But small images, and in this case, it’s the little flowers and leafy branches can make a big impact on your card design.
When I was planning this card I envisioned my bunny having a beautiful floral band on her head and I also imagined my bunny sitting inside a floral wreath. Even though there isn’t a wreath image in this stamp set, the tiny florals allow me to create any kind of wreath I like – oval or a circle wreath, or even a full-blown background.
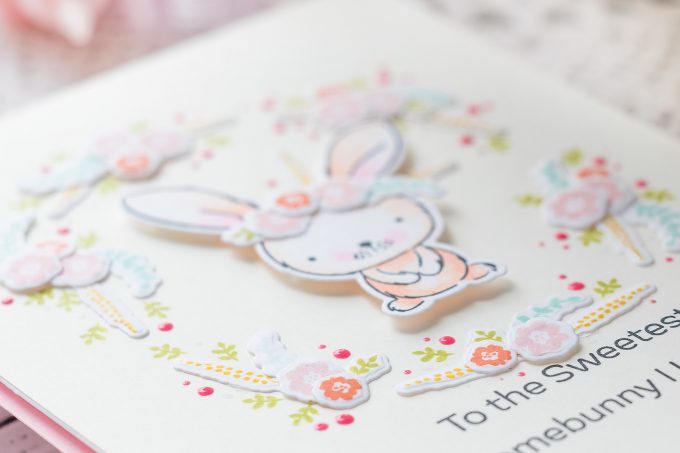
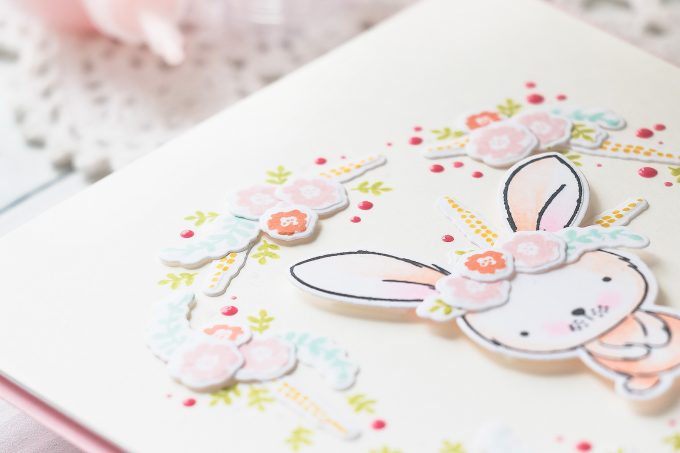
I picked a few everyday ink colors from my stash – a pretty pink, a bright yellow, a coral color for a smaller flower as well as some little blue and beautiful green. Each of the tiny supportive images from my stamp set was stamped using one color of ink each. There are coordinating dies available and I used mine to cut out the bunny and many of the stamped flowers and leaves. I created a headband for my bunny by adding various florals.
To create a sentiment I used of the messages from this stamp set – the one that reads “To the Sweetest Somebunny I know” and to make it into a two-line message I cut it apart using my scissors. I often do this to customize my sentiments and I’ve not once regretted it.
After I cut my stamp apart, I stamped in on a panel of pale yellow cardstock in black ink allowing some room above the sentiment to house the bunny and the wreath that I was about to make.
If you have a hard time visualizing a wreath for your card you can use a circular or an oval object to help you figure out the placement. Even something as simple as a roll of double-sided tape. If you need to – use a pencil and trace around the shape to help you build your wreath.
I also decided to color my bunny, I wasn’t sure if I wanted to color her or if I preferred her completely white, but I decided she needed a bit of color. I used my Copic markers in RV10 – colored the inside of her ears and added some blush to her cheeks, next used E02, YR00, and E00 to color the body of the bunny. Not your typical colors, but I wanted her to be very light brown, almost white, hence the marker choice for my project. I also used a Colorless blender marker and softener many of the colors.
Next, I started adhering everything in place and for this I used glue. I didn’t want to have a lot of dimension of my card, so I decided to not use any foam adhesive aside from foam adhesive to foam mount the bunny onto the card.
Adhering the wreath elements probably took the longest because I also needed to stamp and die cut some additional pieces. If you want to, you can stamp most of the elements onto the background and just add a handful of die cut piece over the stamped once to avoid having to do so much die cutting. Here most of the elements were die cut and just a few were stamped directly onto the card – the little leaf branches were stamped in green.
To finish the card I used Nuvo Drops in Carnation Pink and added lots of teeny tiny dots next each of the clusters forming the oval wreath. The tiny dots look like little flowers and complete this wreath beautifully.
I hope you’ll give this idea a try! Have fun stamping!
SUPPLIES
I’m listing the products I used below. Click on the link to go directly to the product. Where available I use compensated affiliate links which means if you make a purchase I receive a small commission at no extra cost to you. Thank you so much for your support!
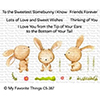 My Favorite Things Sweetest Somebunny Clear Stamps Shop at: SSS | MFT |
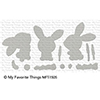 My Favorite Things Sweetest Somebunny Die-namics Shop at: SSS | MFT |
 Spellbinders Deep Sea Die Cutting and Embossing Machine Shop at: SSS | SC | SB | AZ |
 Neenah 110 Lb Solar White Cardstock Shop at: SSS | AZ |
 Memento Tuxedo Black Ink Pad Shop at: SSS | SC | AZ |
 Mini Misti Stamping Tool Shop at: SSS | SC | HA | AZ |
 Simon Says Stamp Cream Off White Cardstock Shop at: SSS |
 Copic Colorless Blender Marker Shop at: SSS | AZ |
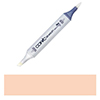 Copic Sketch Marker YR00 Powder Pink Shop at: SSS |
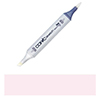 Copic Sketch Marker RV10 Pale Pink Shop at: SSS | AZ |
 Copic Sketch Marker E00 Skin White Shop at: SSS | AZ |
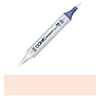 Copic Sketch Marker E02 Fruit Pink Shop at: SSS | AZ |
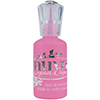 Tonic Carnation Pink Nuvo Drops Shop at: SSS | SC | AZ |
 White Fun Foam 12 Pack 9 x 12 Shop at: SSS | AZ |
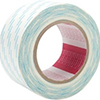 Scor-tape 2 1/2 Inch Crafting Tape Shop at: SSS |
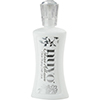 Tonic Deluxe Adhesive Nuvo Glue Shop at: SSS | SC | AZ | TS |
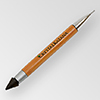 Crystal Ninja Crystal Katana Pick Up Tool Shop at: SSS | AZ |
SAVE ME/PIN ME TO PINTEREST
Like this card idea? Be sure to save it to one of your Pinterest boards for future reference!



I too don’t pay much attention to the small stamps. Thanks for the tip on making use of them! Such an adorable spring card. Love that bunny! Thanks, Yana.
thank you, Debbie! Glad you like it 🙂
Great way to use those small stamps. Thanks for the great idea and sweet card!
thanks, Heather! I always seem to overlook them 🙂 Glad you liked this idea
This is such a sweet adorable card!! I love the cute bunny 🙂 Lovely way to use the small stamps which go unnoticed most of the times!
so glad you liked it 🙂 Thank you!