This post is also available in English
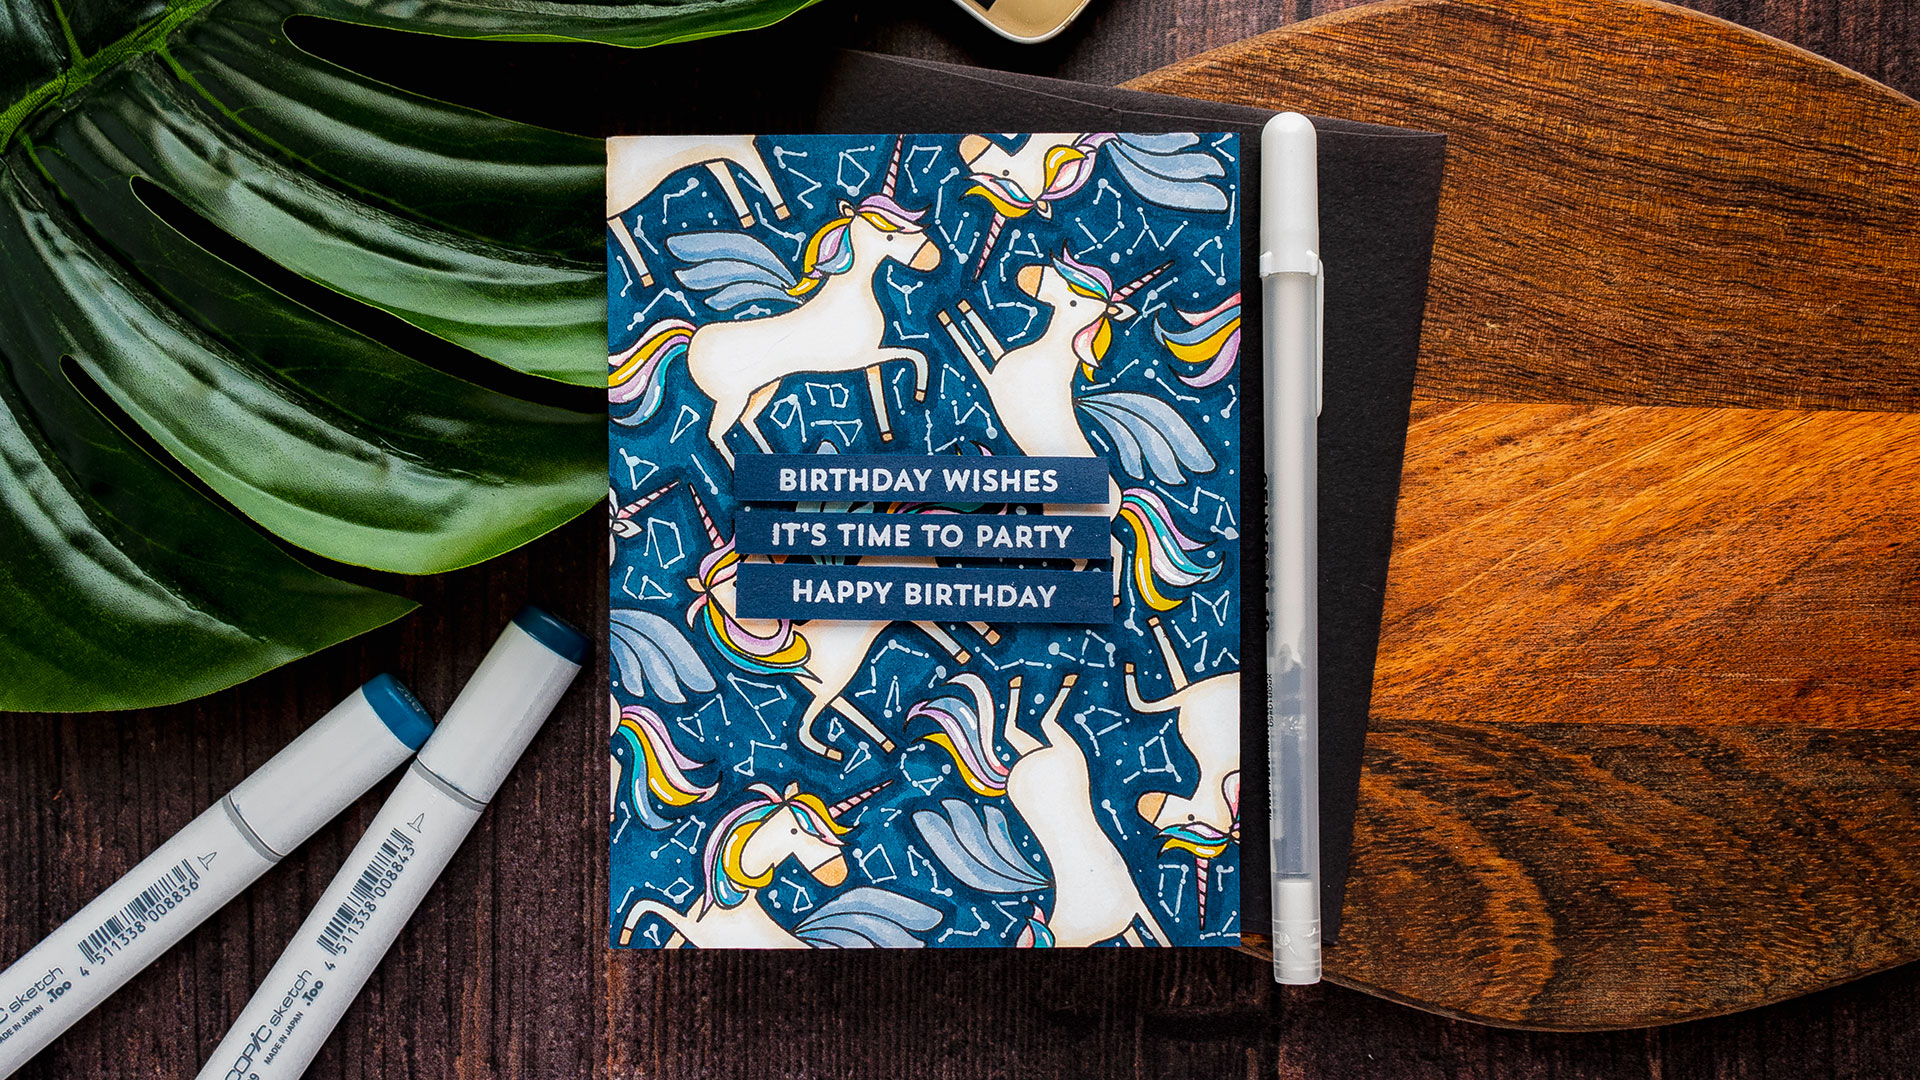
Hello, fellow stampers! Welcome back to my blog. In this video, I will show you how to create a Galaxy Unicorn stamped pattern for a unisex Birthday card. When we think about unicorns we imagine rainbows, and clouds and glitter. But why not try and combine unicorns with a night sky and maybe some stars and even constellations?
Like this project? Pin it and save for later | Curious about my project photography? Click for details.
VIDEO TUTORIAL
Watch my video tutorial below or on Youtube to learn how I made the cards I’m sharing today.
Like this video? Please give it a thumbs up and share with a crafty friend! Drop me a comment too, I love hearing from you!
CARD DETAILS
I always try to create something unexpected, something that would take my design outside the box and try and use my supplies in a different, but still acceptable way. One of my favorite ways to use my stamps is to make backgrounds. I like to take non-background stamps and combine them however I see fit to make unique and one of a kind backgrounds for my cards. This does take longer than using a background stamp, but I enjoy the process and the results are typically worth it.
I used 3 unicorn images from the Fairy-Tale Friends stamp set from MFT and stamped them using my MISTI tool in alcohol marker friendly ink on white paper to create a unicorn pattern. All you need to do here is try and fill the entire panel with full or partial unicorn impressions. Don’t be afraid to go outside the edges and to rotate your unicorns upside down to complete your background.
The next step is, of course, coloring! My coloring medium of choice is Copic markers. To color the body of the unicorn I’m using E000, E00, and E02 markers. No fancy coloring on my card, just some quick color here and there to bring these magical creatures to life. Next, I used B00 and B000 to color the wings. For the tail and mane, I used B000 and BG45, V12 and V15, Y15 and Y17 as well as RV10 and RV13.
Creating colored, non-white backgrounds is another favorite trick of mine. While I do love the look of beautiful stamping on white, there’s only one thing I love more – which is stamping done on a colored background. Here, to add color to my background I once again used Copic markers in very dark blue to imitate a night sky. I used B97 and B99 markers to color the background. This again took some time to complete, but I love this kind of coloring and find it very relaxing. If you aren’t into coloring the background or prefer to not use your markers for this you can always use other mediums to add color to the background, or you can cut the unicorns out and adhere them to a colored card base or background.
Next, I added shimmer and shine with the help of a shimmer pen. Turn the background into a galaxy one I added stars using a white Sakura pen in size 10. I just added a multitude of dots in various sizes here and there filling the entire night sky. I’ve created an A2 card base for this card from some dark blue cardstock and adhered the panel onto the card.
To create a sentiment I white heat embossed “Birthday Wishes”, “It’s Time to Party” and “Happy Birthday”, these all come from the Bitty Birthday Wishes stamp set, trimmed them and foam mounted on a card. I used black foam squares and not the typical white as white will be visible on this card if you look at it from the side, while black will blend in with the dark blue background.
I also added a white panel on the inside of the card – I have another sentiment here that reads “Let’s Get this party started” along with that original unicorn die cut.
And finally, before I could call this card done I connected some of the stars and create constellations on my background. Have fun stamping!
SUPPLIES
I’m listing the products I used below. Click on the link to go directly to the product. Where available I use compensated affiliate links which means if you make a purchase I receive a small commission at no extra cost to you. Thank you so much for your support!
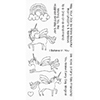 My Favorite Things Fairy Tale Friends Shop at: SSS | MFT |
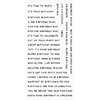 My Favorite Things Bitty Birthday Wishes Shop at: SSS | MFT |
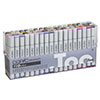 Copic Markers Shop at: SSS |
 Misti Stamping Tool Shop at: SSS | SC | MFT | AZ |
 Neenah 80LB Solar White Cardstock Shop at: SSS | AZ |
 Simon Says Stamp Soft Navy Cardstock Shop at: SSS |
 Memento Tuxedo Black Ink Pad Shop at: SSS | SC | AZ |
 Scrapbook Adhesives Black Foam Tape Shop at: SSS | AZ |
 Tonic Aqua Shimmer Pen Nuvo Shop at: SSS | SC | AZ | TS |
 Sakura Classic White Bold Line 10 Pen Shop at: SSS | AZ |


Wow! What a unique take on unicorns!! (Rhyming isn’t it? 😀 ) Love the creative background, choice of colors and those constellations using white pen! Out-of-the-box thinking and execution! <3
I was never too enthused about unicorns, but this card has changed my mind. This unicorn is beautiful, love your background techniques. Thanks for the inspiration.
Those colored unicorns are adorable! All the videos of yours that I’ve watched that show how to make a stamped background … I’ve yet to give it a try it. One of these days! Thanks for the reminder.