This post is also available in English
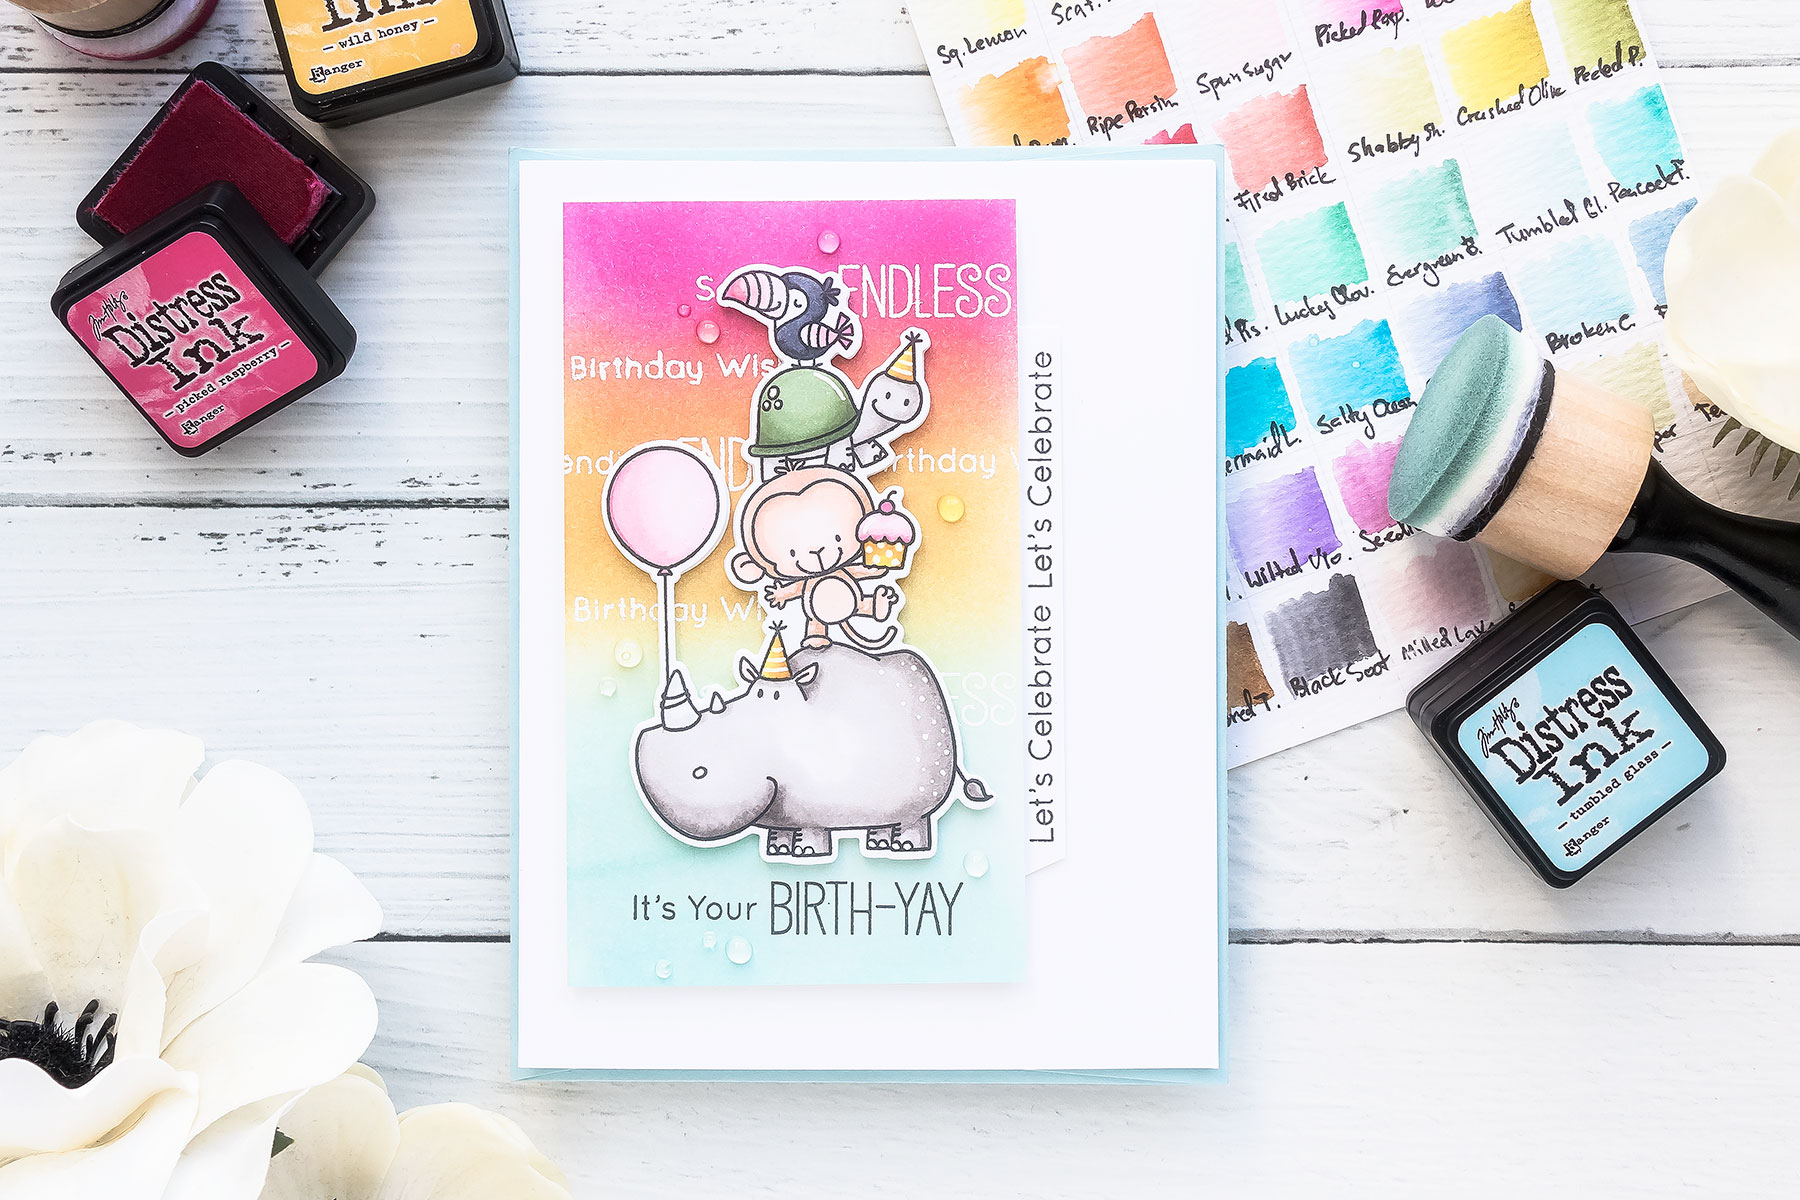
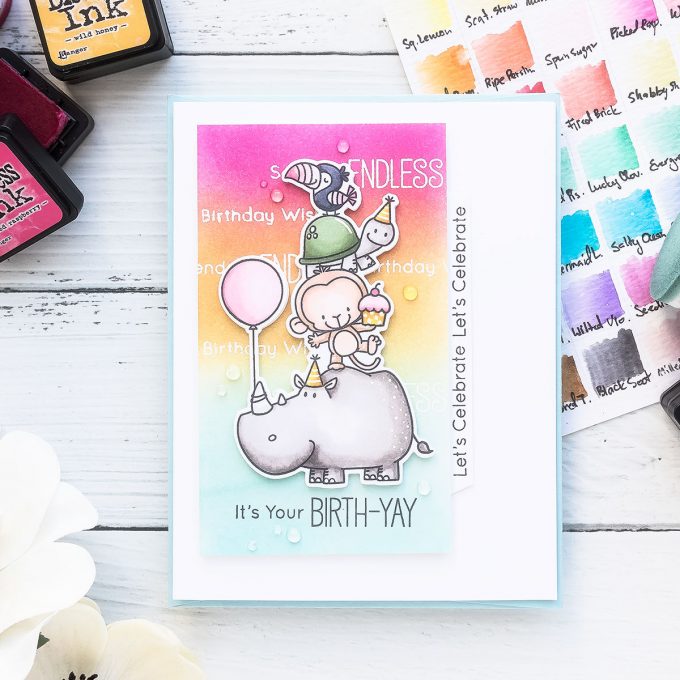
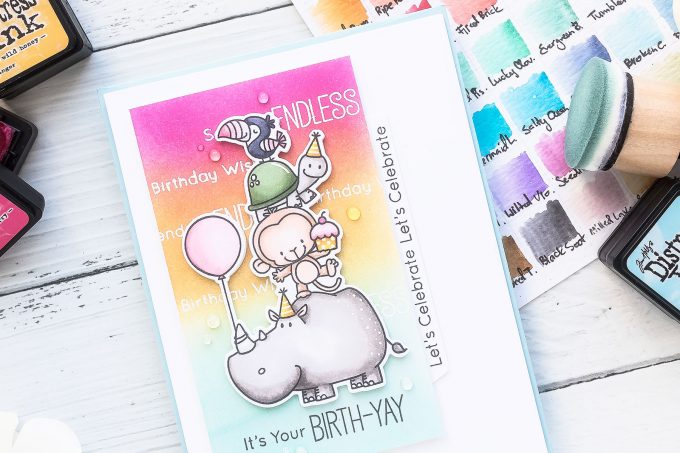
In this post & video I’m showing how to create a Colorful Birthday Card for a child or an adult. I hope you like this simple card idea.
Like this project? Pin it and save for later | Curious about my project photography? Click for details.
VIDEO TUTORIAL
Watch my video tutorial below or on Youtube to learn how I made the cards I’m sharing today.
Like this video? Please give it a thumbs up and share with a crafty friend! Drop me a comment too, I love hearing from you!
CARD DETAILS
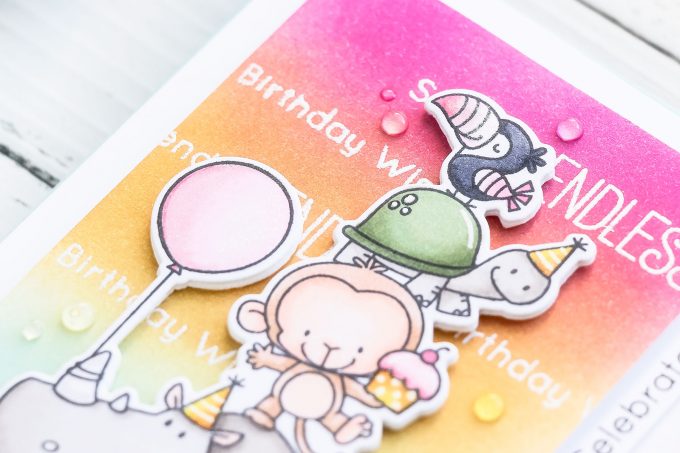
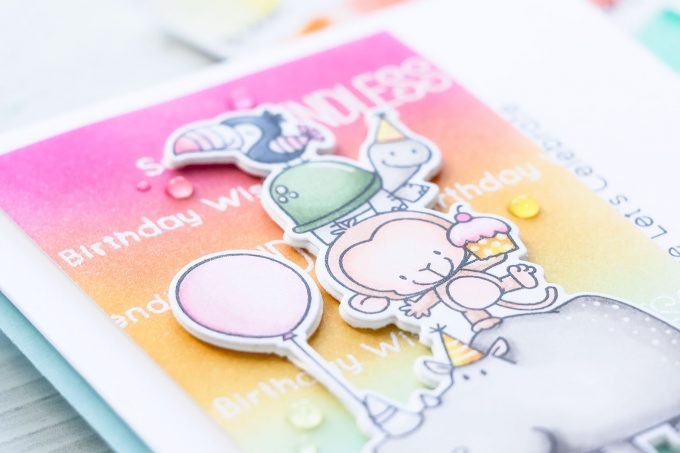
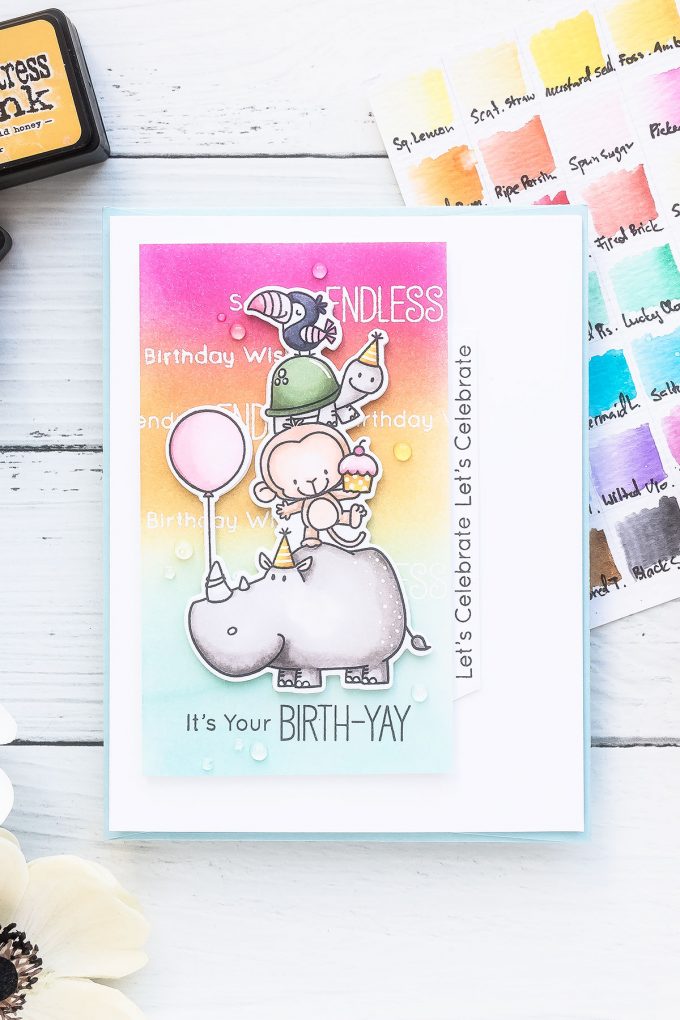
I started to work on my card just like I always do – by stamping image in alcohol marker friendly ink on white cardstock. In my previous MFT video I shared how you can color with your Copics on colored cardstock and if you’d like you can use that method here as well. I’m using a fun image of stacked animals from the Birth-Yay stamp set from MFT and I am stamping it using my mini MISTI stamping tool and black copic marker friendly ink.
I also stamped another image off camera and used it as a test. I colored images using various markers and noted down the colors on that sheet. I’m glad I did that as:
a) I can save this color reference with my stamp set and use it again in the future without having to rethink various marker colors
b) I didn’t like some of the color choices I made and seeing them on paper on my test sheet I was able to change them and use different colors on my actual coloring.
I wanted this card to be filled with color, joy and laughter so I opted to use warm soft colors for my project. I used the following Copic marker colors: RV13, RV11, RV10, RV00, G21 YG63, C7, C5, C3, W5, W3, W1, E00, E02, E33, E11, YR14, Y17, Y08. Next, I used a coordinating die and cut this image out and in my die cutting machine.
I like to use my white pens to add various details to the colored and regular stamped images. I used size 0.8 Sakura pen and added a few fun dot details on the back of rhino, white horizontal lines the the parry hats and white dots to the cupcake wrapper. Since it’s a party card I felt it was appropriate to add some shimmer details to the balloon and toucan.
I wanted to do some simple yet colorful ink-blending for the background to support the colors used for my coloring. I picked several Distress ink colors, it’s been forever since I used them last, you can use Distress oxide inks for this or other inks, as well, you can even do a background like this using your markers or watercolors – whatever medium you like to use. Ink-blending seemed the easiest here.
I used just 4 colors – picked raspberry, wild honey, tumbled glass and peacock feathers. I feel like these are staple colors and will always give you beautiful results. I overlapped each color with the next one to create a section of orange in between the pink and yellow, a bit of green between the yellow and blue.
With my ink blended background dry I moved to heat embossing. My idea was to white heat emboss additional messages going across the ink blending to add pops of white in the background.
Finally, I foam mounted the background onto A2 white card base and foam mounted my focal point on top. One last step – I added a number of clear drops using Nuvo Drops from Tonic Studios in Clear.
I hope you’ll give this idea a try!
SUPPLIES
I’m listing the products I used below. Click on the link to go directly to the product. Where available I use compensated affiliate links which means if you make a purchase I receive a small commission at no extra cost to you. Thank you so much for your support!
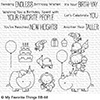 My Favorite Things Birth-Yay Clear Stamps Shop at: SSS | MFT |
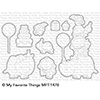 My Favorite Things Birth-Yay Die-namics Shop at: SSS | MFT |
 Deep Sea Die Cutting and Embossing Machine Shop at: SSS | SC | SB | AZ |
 Hero Arts White Detail Embossing Powder Shop at: SSS | SC | HA | AZ |
 Hero Arts Heat Embossing Gun Shop at: SSS | SC | HA | AZ |
 Neenah 110 Lb Solar White Cardstock Shop at: SSS | AZ |
 Neenah 80LB Solar White Cardstock Shop at: SSS | AZ |
 Tonic Morning Dew Nuvo Crystal Drops Shop at: SSS | SC | AZ |
 Memento Tuxedo Black Ink Pad Shop at: SSS | SC | AZ |
 Spellbinders Circle Replacement Foam Shop at: SSS | SC | SB | AZ |
 Versamark Watermark Emboss Ink Pad Shop at: SSS | HA | AZ |
 Ranger Mini Round Ink Blending Tools Shop at: SSS | SC | AZ |
 EK Success Powder Tool Applicator Shop at: SSS | SC | AZ |
 Mini Misti Stamping Tool Shop at: SSS | SC | HA | AZ |
 Tim Holtz Distress Mini Ink Pad Tumbled Glass Shop at: SSS | SC | AZ |
 Tim Holtz Distress Mini Ink Pad Peacock Feathers Shop at: SSS | SC | AZ |
 Tim Holtz Distress Mini Ink Pad Wild Honey Shop at: SSS | SC | AZ |
 Tim Holtz Distress Mini Ink Pad Picked Raspberry Shop at: SSS | SC | AZ |
 White Fun Foam 12 Pack 9 x 12 Shop at: SSS | AZ |
 Sakura Classic White Gelly Roll Pens Set of 3 Shop at: SSS |
 Scor-tape 2 1/2 Inch Crafting Tape Shop at: SSS |


Super Adorable card!!!
What a sweet card Yana and its a great idea to do a test sample with the Copic’s you want to use (and writing them down) especially for a beginner like myself who isn’t as familiar with the colours yet.
Adorable card, Yana! Love the background colors & great design! Awesome tip on keeping a coloring cheat sheet with the stamps!
Adorable party card!! 🙂
Very pretty blended background, like the white embossing a lot. Those animals are super cute stacked together & I totally agree with the swop of blues to yellows, much better on the eye. Thank you x