This post is also available in English
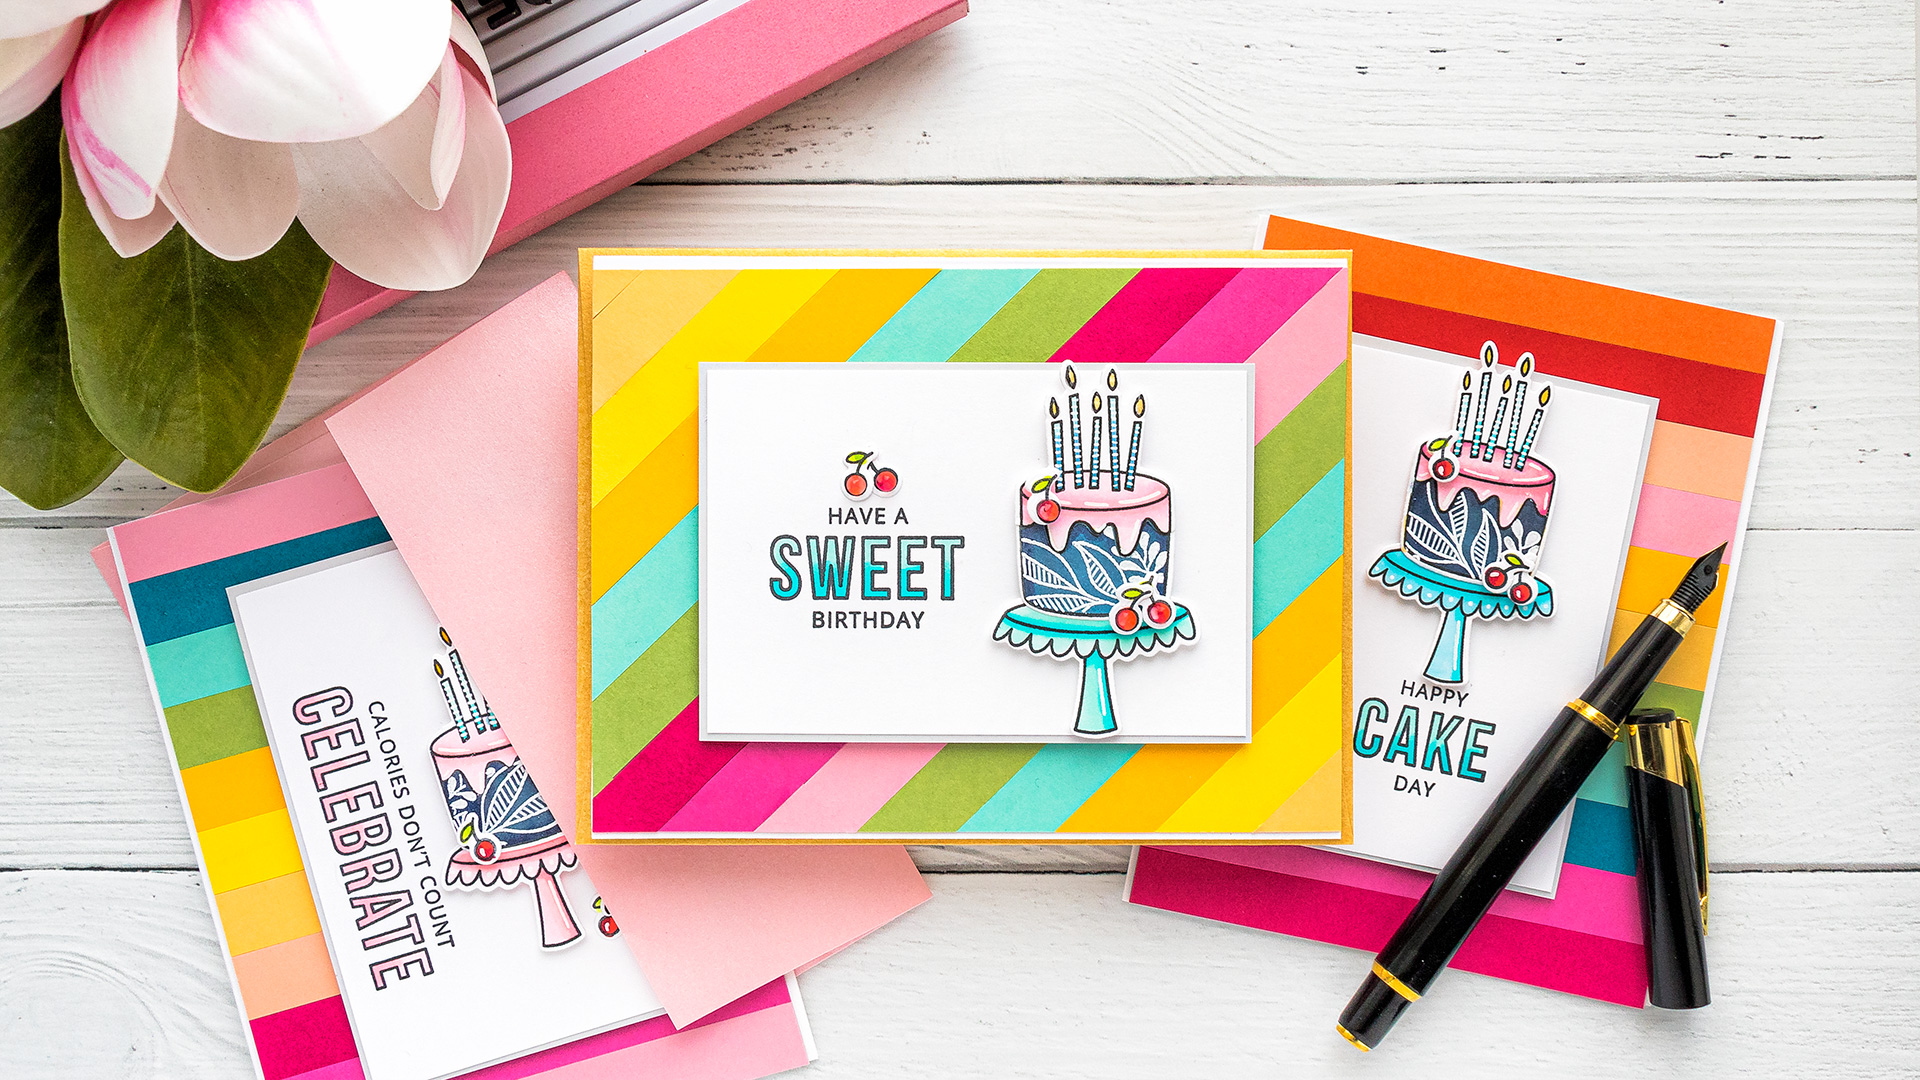
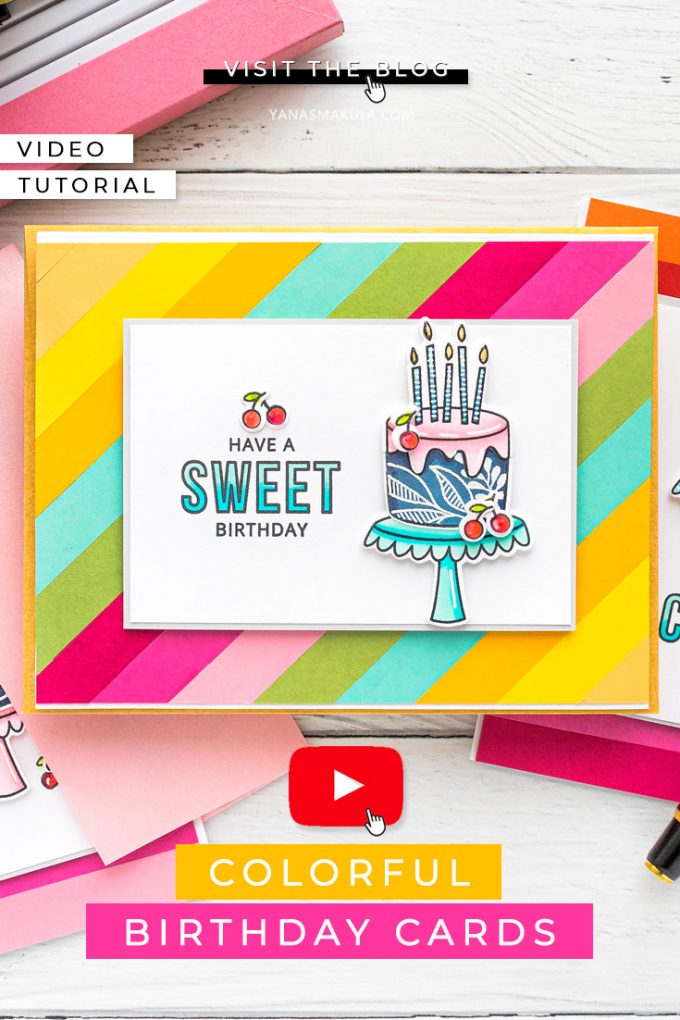
Hello, fellow stampers! Who has enough Birthday cards on hand to gift? Not me! So today I have another video tutorial to share showing how to make colorful Birthday cards with stamps from My Favorite Things. This video will also show you how to do selective masking to dress up your outline images with other images from your stash! I hope you’ll like this idea.
Like this project? Pin it and save for later | Curious about my project photography? Click for details.
VIDEO TUTORIAL
Watch the video below or on my Youtube channel.
Like this video? Please give it a big thumbs up (you can do this on Youtube video page right under the video) and share it with a crafty friend! Leave me a comment too, I love hearing from you!
CARD DETAILS
I started to work on my card by stamping images from the Birthdays Take The Cake stamp set with the help of my mini MISTI stamping tool on white cardstock using Memento Tuxedo Black Ink; I stamped several extra cherries as I knew I’d be needing more than one cherry for my card.
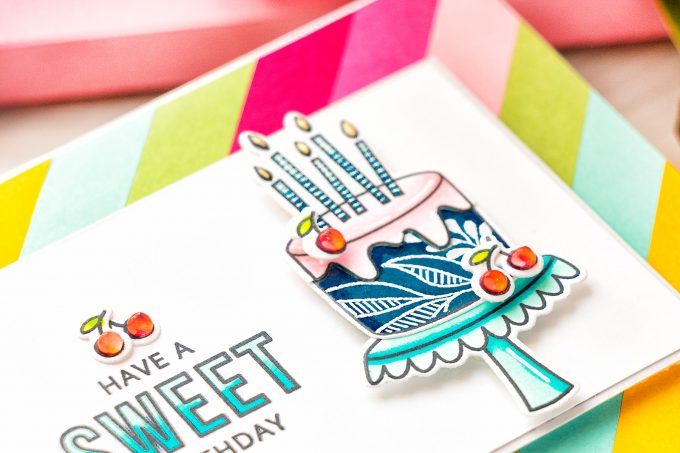
I picked several Copic markers for my coloring: BG45 and BG11 to color the cake stand and candles; Y17 to color the flame on the candles; RV34 and RV00 to as well ad RV21 and RV00 color the frosting; R39 and R24 to color cherries; YG03 and YG01 to color the leaves; B39 and B97 markers to color the cake deep dark blue color. The reason I decided to go with such a dark color is that I wanted to add some white heat embossing over it and had I used a lighter color, the embossing would have been lost on the finished image.
I used coordinating dies to cut these images out in my die cutting machine. There are dies for every image in this set, even that little cherry which is very convenient. I love it when I have dies for everything in my sets.
Next, I pulled out my masking paper and created a reverse mask for the cake. I stamped the cake image on the paper, but instead of cutting the cake out, I cut out a rectangle, a rough rectangle with the cake and next bent the paper slightly and made the cut into the body of the cake cutting it away. This created a mask that masked everything but that dark blue cake section.
I treated my cake die cut with anti-static powder. Next, I applied the mask over the image and placed it into my Mini MISTI stamping tool. I looked through my stash for a small floral image I could use to embellish the cake with. I came across the stunning Fantasy Florals set and decided to use a small section of it to embellish the cake.
I positioned the stamp over the image the way I liked the most, stamped with clear embossing ink and embossed in white embossing powder. This is what I like to call a selective masking technique, although I’m sure there’s a better name for it. This completely changed the look of the cake and made it a bit more festive if you will. I love all of these modern cakes with all sorts of decorations on them and I think this is what inspired this idea.
Next, I pulled out my white Sakura pen and started adding fun details to my cake. First, I added dashed lines to the candles – this added a bit of character. I added white highlights to the frosting. I also colored the tiny leaves in using the white pen making them solid and added lines to the big leaves adding some unexpected interest.
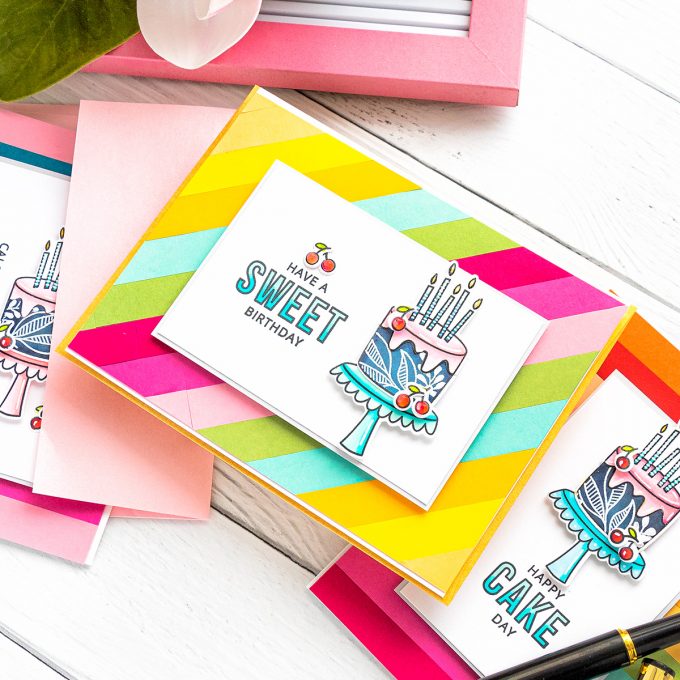
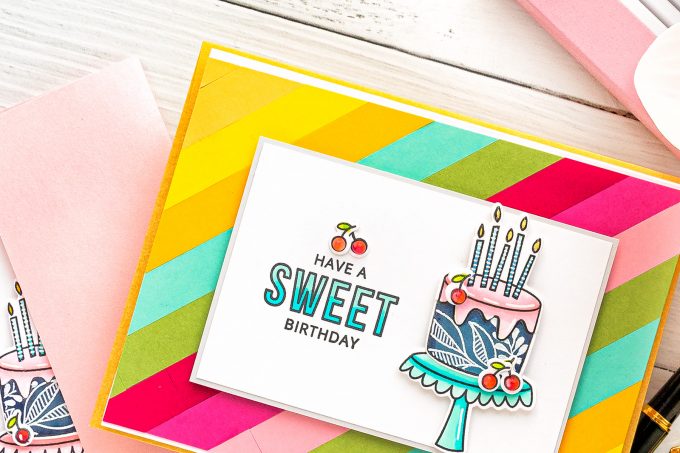
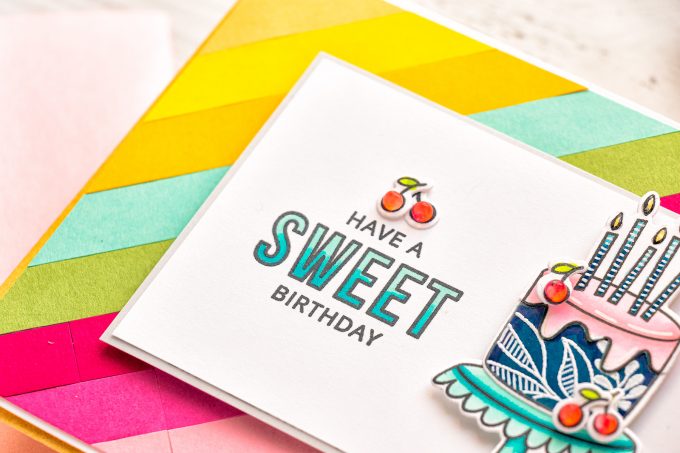
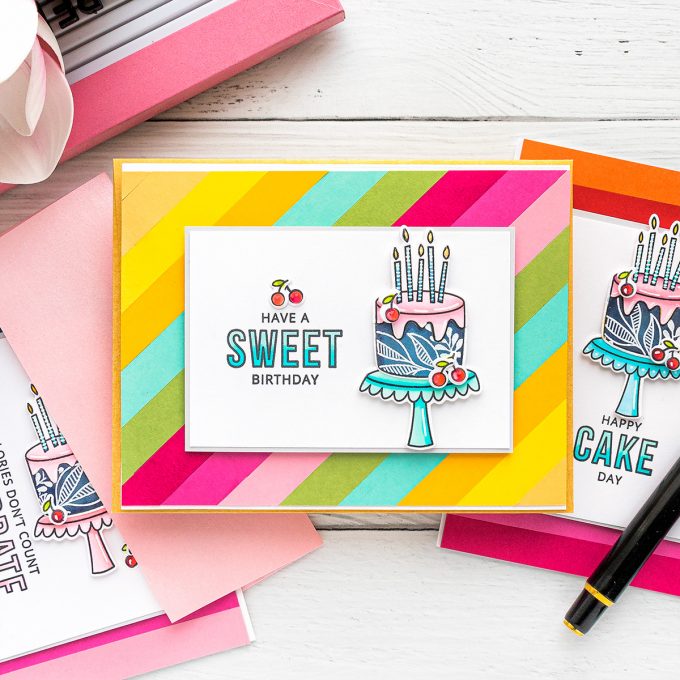
With the cake colored I cut a panel of white card stock to about 2 1/2 x 4” and stamped a sentiment over it in black Copic marker friendly ink that reads Have A Sweet Birthday. I used the same marker colors as before, the BG45 and BG11 to color the letters and I added a darker color towards the bottom of the letters and lighter towards the top. I added a light gray cardstock mat to my sentiment panel.
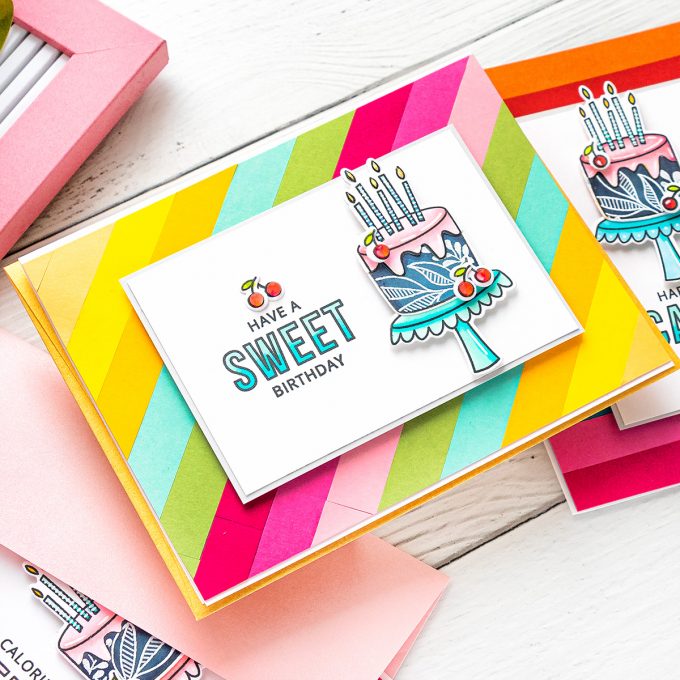
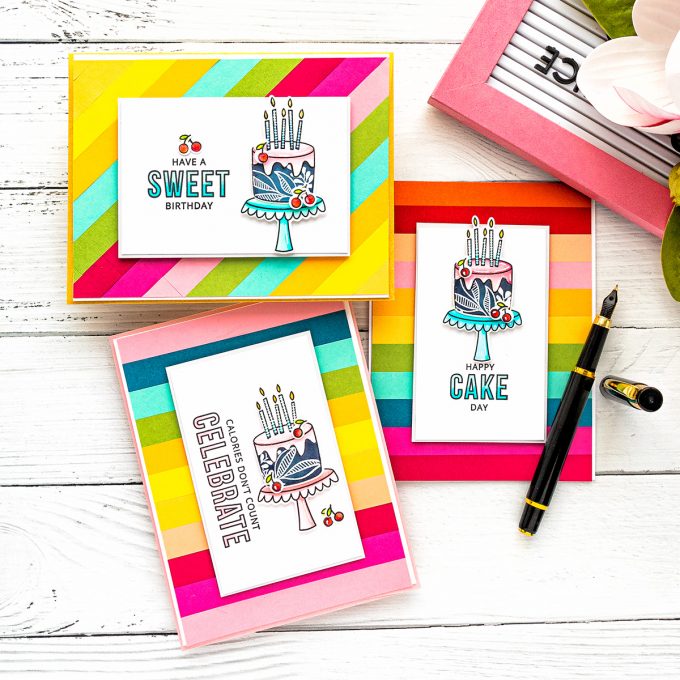
To create a background for this card I decided to utilize cardstock scraps from my stash. I cut a bunch of cardstock strips about 1/2” wide and adhered those to 4 1/4 x 5 /1”2 panels using glue creating very colorful backgrounds. It is such an easy way to make a background, yet it is super fun. You can play with colors and use all sorts of colors from your stash, you can go in rainbow order, or have an ombre background. There are really quite a lot of options for making colorful stripe backgrounds like there. You can have horizontal or vertical stripes or even have stripes go diagonally on your cards.
I used foam tape and foam mounted the sentiment panel onto the diagonal stripe background and next foam mounted the cake onto the panel using foam squares. I love the little cherry in this stamp set, so I added a bunch of cherries onto the cake and also 2 above the sentiment to dress it up a bit.
I made several cards using this concept, I couldn’t stop at just one, and I would have made more, had I had more time as I think this is a fun and easy Birthday card idea to make.
Have fun stamping!
SUPPLIES
I’m listing the products I used below. Click on the link to go directly to the product. Where available I use compensated affiliate links which means if you make a purchase I receive a small commission at no extra cost to you. Thank you so much for your support!
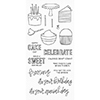 My Favorite Things Birthdays Take the Cake Shop at: SSS | MFT |
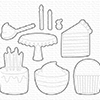 My Favorite Things Birthdays Take the Cake Dies Shop at: SSS | MFT |
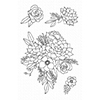 My Favorite Things Fantasy Florals Shop at: SSS | MFT |
 Neenah 80LB Solar White Cardstock Shop at: SSS | AZ |
 Simon Says Stamp Fog Gray Cardstock Shop at: SSS |
 Spellbinders Deep Sea Die Cutting Machine Shop at: SSS | SC | SB | AZ |
 Mini Misti Stamping Tool Shop at: SSS | SC | HA | AZ |
 EK Success Powder Tool Applicator Shop at: SSS | SC | AZ |
 Simon Says Stamp Masking Paper Shop at: SSS |
 Memento Tuxedo Black Ink Pad Shop at: SSS | SC | AZ |
 Hero Arts Heat Embossing Gun Shop at: SSS | SC | HA | AZ |
 Sakura Classic White Gelly Roll Pens Set of 3 Shop at: SSS | AZ |
 Copic Sketch Marker Y17 Golden Yellow Shop at: SSS | AZ |
 Copic Sketch Marker RV00 Water Lily Shop at: SSS | AZ |
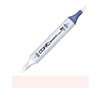 Copic Sketch Marker RV21 Light Pink Shop at: SSS |
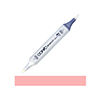 Copic Sketch Marker RV34 Dark Pink Shop at: SSS | AZ |
 Copic Sketch Marker R24 Prawn Shop at: SSS | AZ |
 Copic Sketch Marker R39 Garnet Shop at: SSS | AZ |
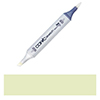 Copic Sketch Marker YG01 Green Bice Shop at: SSS |
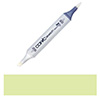 Copic Sketch Marker YG03 Yellow Green Shop at: SSS | AZ |
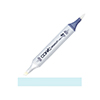 Copic Sketch Marker BG11 Moon White Shop at: SSS | AZ |
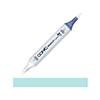 Copic Sketch Marker BG45 Nile Blue Shop at: SSS |
 Copic Sketch Marker B39 Prussian Blue Shop at: SSS | AZ |
 Copic Sketch Marker B97 Night Blue Shop at: SSS | AZ |
 Tonic Morning Dew Nuvo Crystal Drops Shop at: SSS | SC | AZ | TS USA |
 Simon Says Stamp Big Momma Foam Tape Roll Shop at: SSS |
 Simon Says Stamp Craft Tacky Glue Shop at: SSS |
 White Foam Squares Shop at: SSS | SC | SB | AZ |


What a great idea to decorate the cake! Thanks, Yana.
Great technique. It really dresses up that cake. Very pretty card.
Hello Yana, love the intricate design you incorporated on the cake. Brilliant!
Love, love your ideas ahaha! Very Do-able without a lot of muss! Thx for sharing! ❤️
Correction: sometimes I don’t check my spell-check! Shouldn’t have to but… I meant to say “ Love, love your ideas Yana!