This post is also available in English
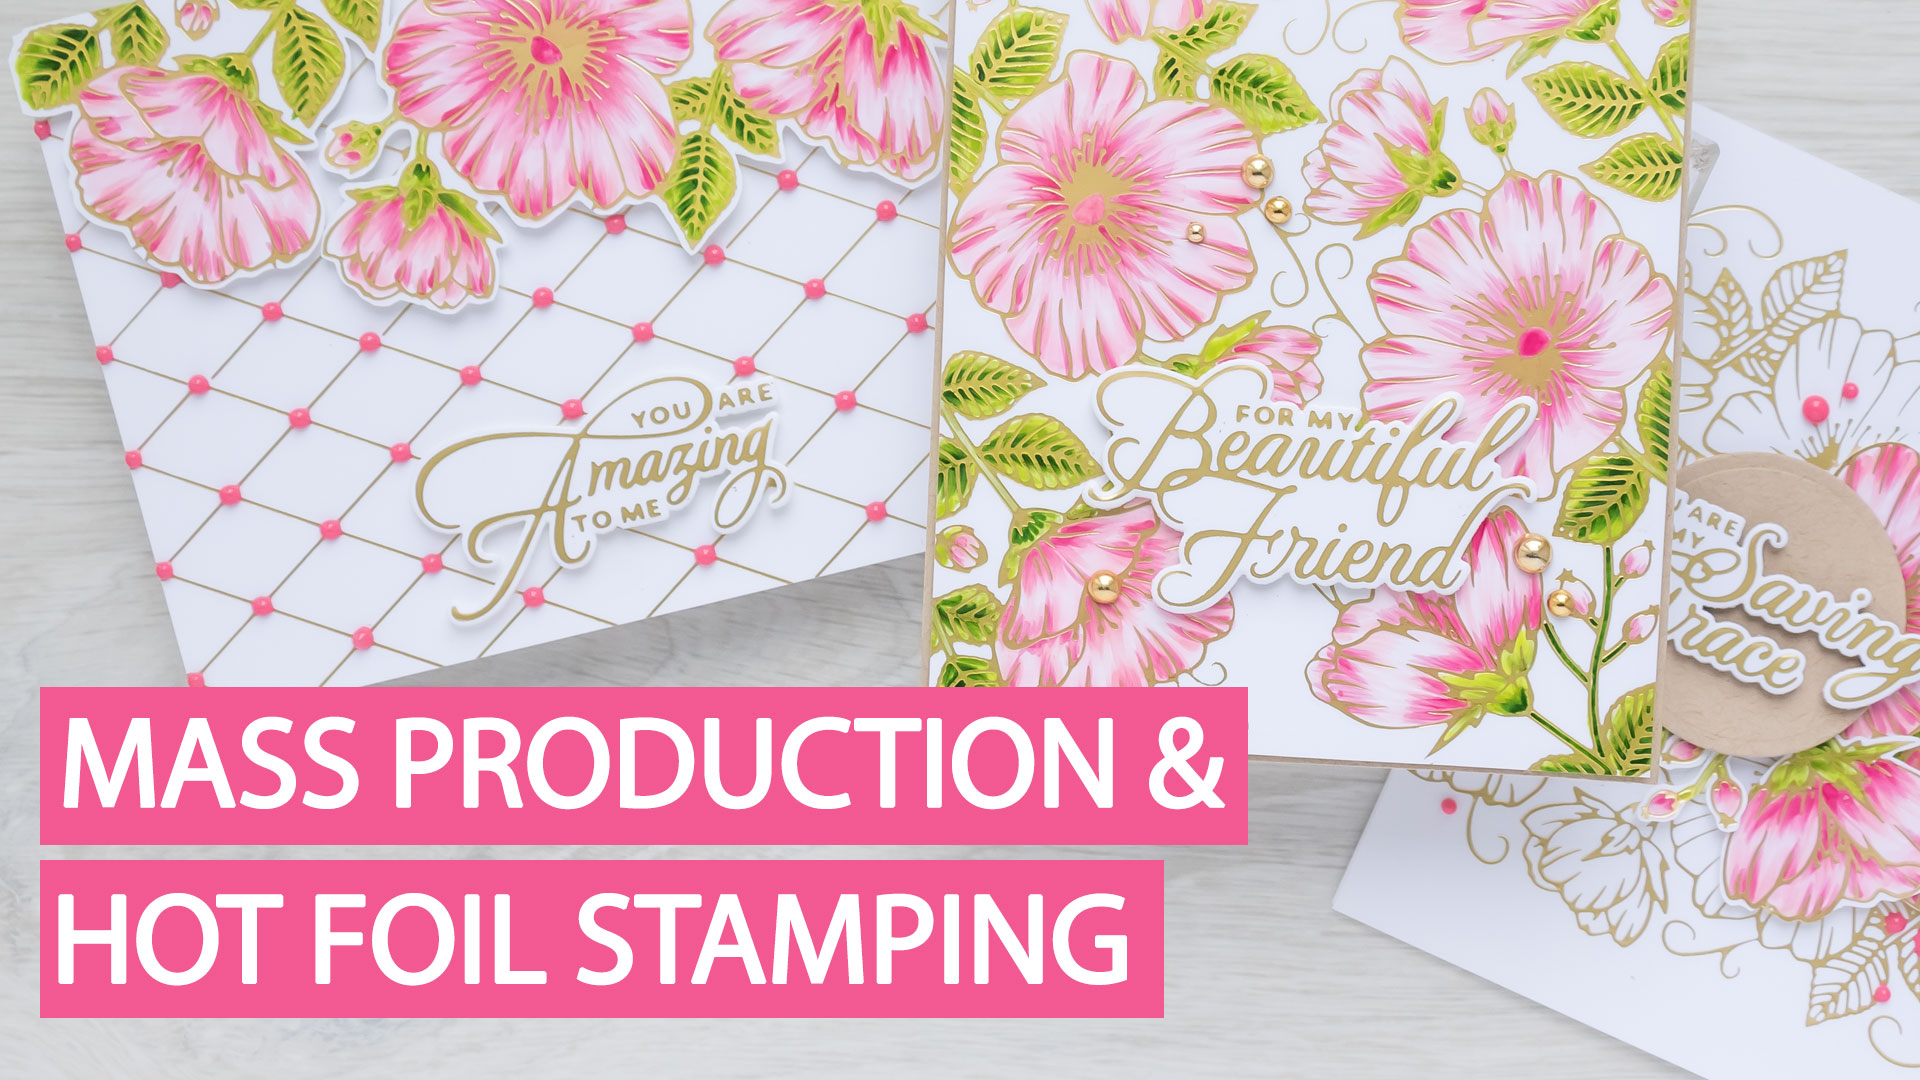
Hello crafters! I have been doing a lot of hot foil stamping lately and I’ve come across really cool tips and tricks to help make better cards and make cards faster, and I thought it would be a good idea to put together a video sharing these tips with you! I know how much you loved my previous videos sharing 7 hot foiling tips and I hope this video will be just as useful!
Like this project? Pin it and save for later | Curious about my project photography? Click for details.
VIDEO TUTORIAL
Watch the video below or on my Youtube channel.
Like this video? Please give it a big thumbs up (you can do this on Youtube video page right under the video) and share it with a crafty friend! Leave me a comment too, I love hearing from you!
CARD IDEA
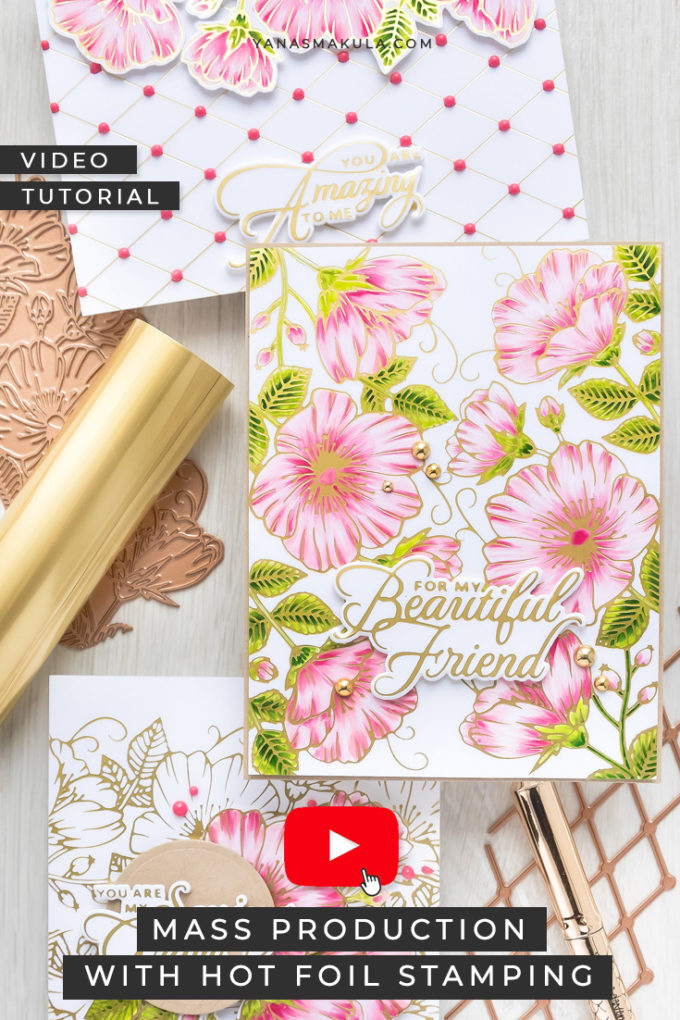
I am working with the Sweet Blooms border Glimmer hot foil plate from Spellbinders to make the cards I’m sharing today, but you can use any other hot foil plate you have in your stash. The Sweet Blooms border Glimmer hot foil plate is a pretty little border that takes about half of an A2 card. My goal was to make a set of cards using this plate, so I knew I would need to foil it multiple times for the idea I had in mind, and that’s where the mass production with the Hot Foil Stamping came into play. Watch my video above for the details.
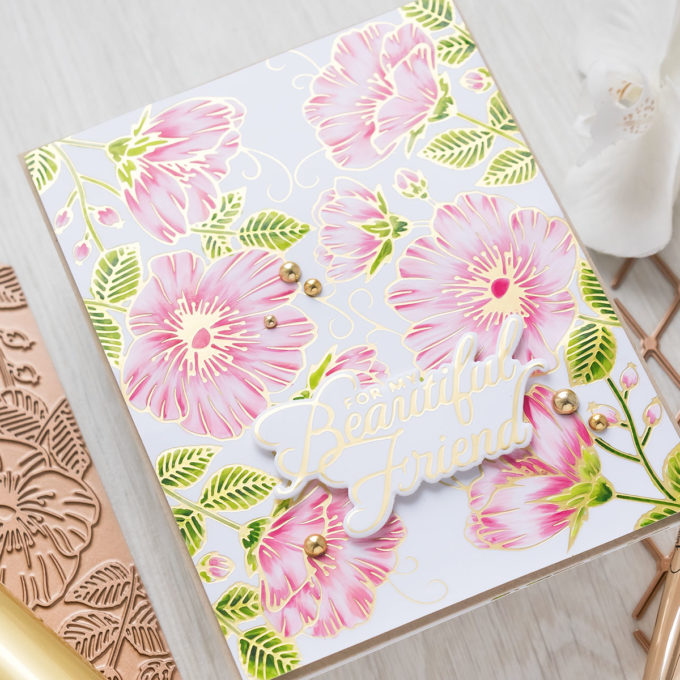
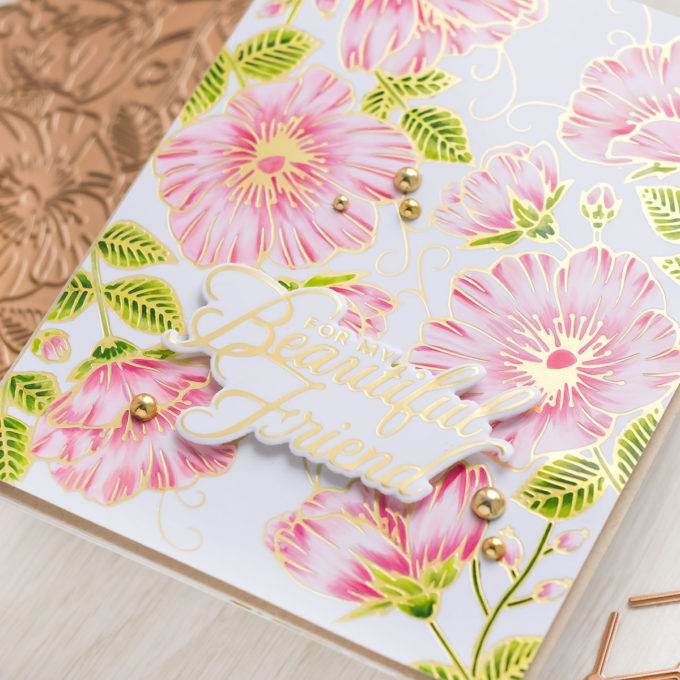
FOR MY BEAUTIFUL FRIEND CARD
Follow these instructions step by step to re-create this card:
- Foil Sweet Blooms border plate in Matte Gold foil twice on white cardstock panel cut to 4 1/4 x 5 1/2″.
- Color the images with Copic markers, use flick style coloring method (learn more about this coloring method HERE): YG67, YG63, YG03, RV34, RV11, RV10, RV00.
- Cut the colored panel to 4 1/8 x 5 3/8″.
- Cover front of A2 card with kraft cardstock. Foam mount colored panel on top.
- Hot foil sentiment in Matte Gold foil on white cardstock. Cut out with coordinating die. Foam mount to card.
- Embellish card using Fashion Gold dots.
I love this foiled background and I look forward to coloring it using other color combinations. Perhaps creating yellow or purple flowers and maybe using teal for the leaves. Oh, and how about coloring the background dark blue? Cannot wait to try!
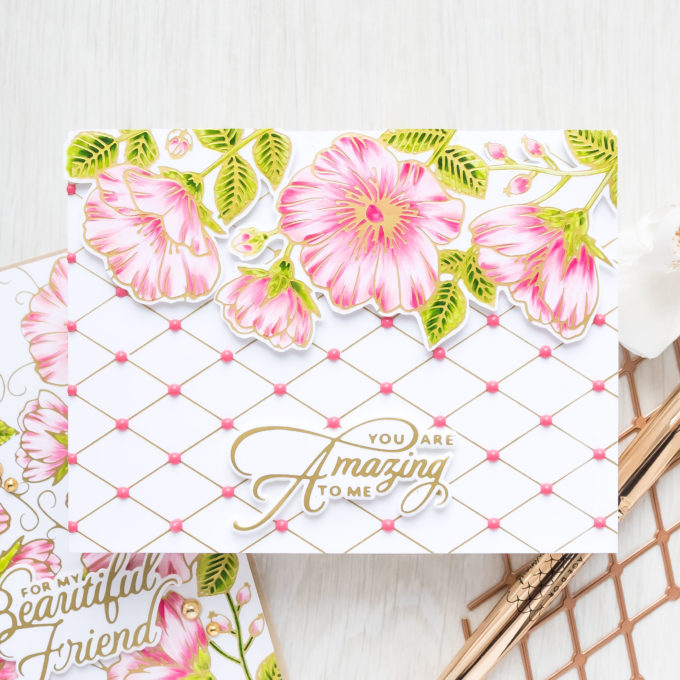
YOU ARE AMAZING TO ME CARD
Follow these instructions step by step to re-create this card:
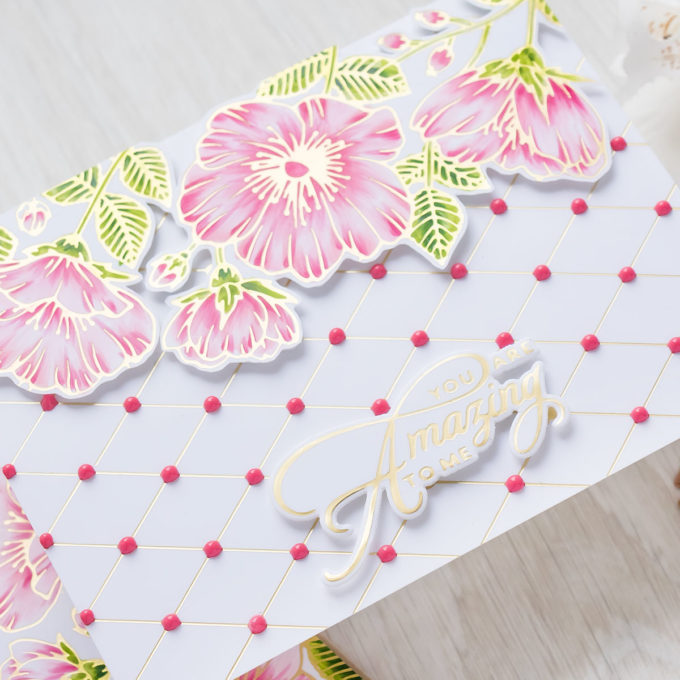
- Foil Dimonetta background in Matte Gold foil twice on white cardstock panel cut to 4 1/4 x 5 1/2″. Adhere to A2 white top folding card base.
- Sweet Blooms border plate in Matte Gold foil on white cardstock. Fussy cut.
- Color the image with Copic markers, use flick style coloring method (learn more about this coloring method HERE): YG67, YG63, YG03, RV34, RV11, RV10, RV00.
- Foam mount floral border onto the card.
- Hot foil sentiment in Matte Gold foil on white cardstock. Cut out with coordinating die. Foam mount to card.
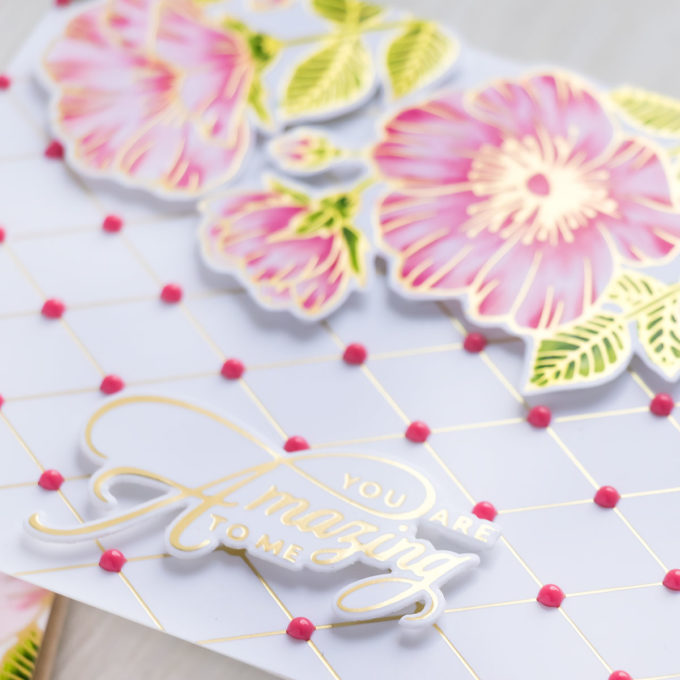
- Embellish card using Nuvo Drops in Carnation Pink.
I added a small pink dot over each foiled dot on the background. I love how that ties in with the pink coloring on the flowers, although I think white dots would look stunning here as well.
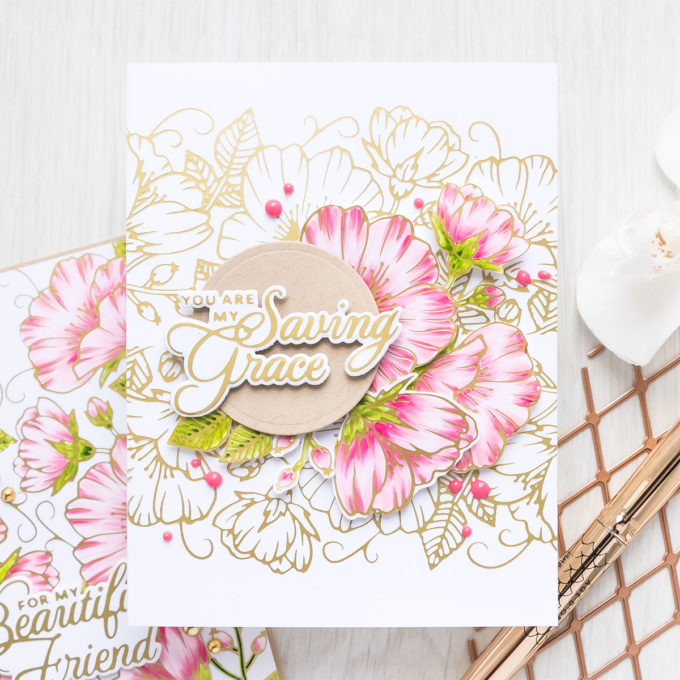
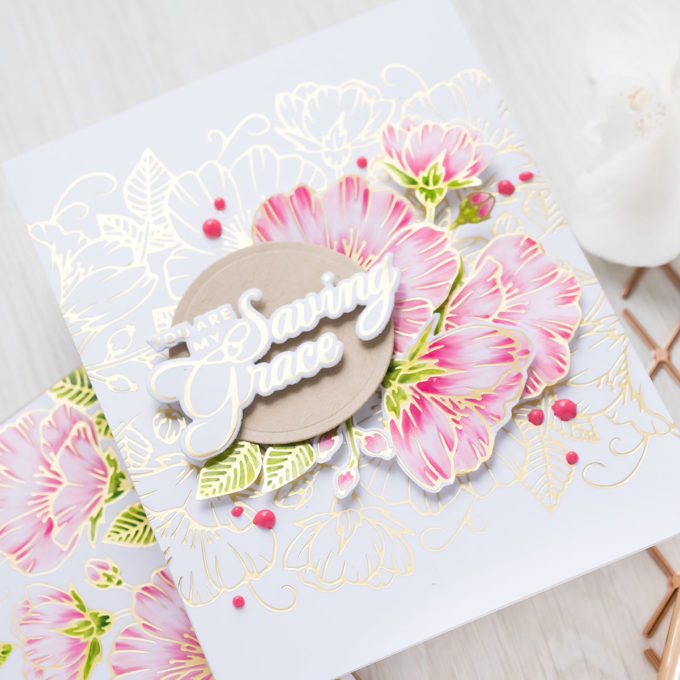
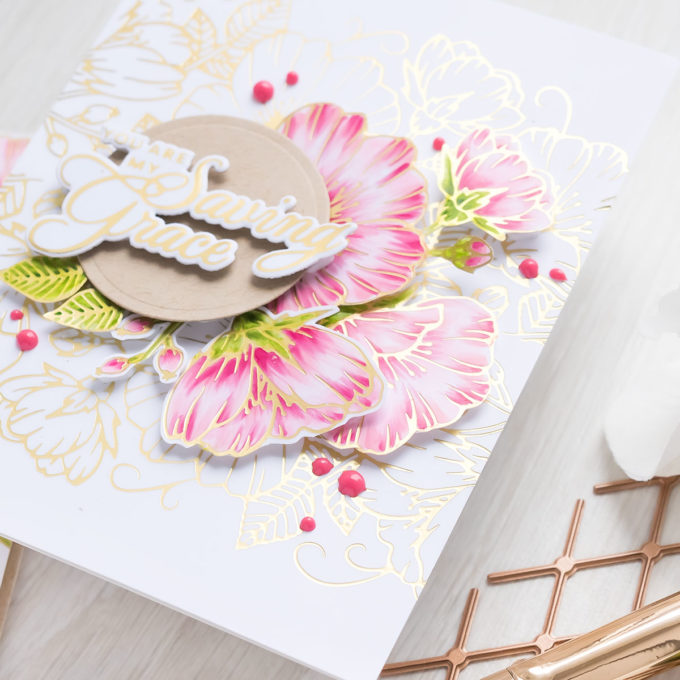
YOU ARE MY SAVING GRACE CARD
Follow these instructions step by step to re-create this card:
- Foil Sweet Blooms border plate in Matte Gold foil twice on white cardstock panel cut to 4 1/4 x 5 1/2″. Adhere panel to A2 white card base.
- Foil additional Sweet Blooms images. Color with Copic markers, use flick style coloring method: YG67, YG63, YG03, RV34, RV11, RV10, RV00. Fussy cut.
- Die-cut a circle, foam mount to card.
- Hot foil sentiment in Matte Gold foil on white cardstock. Cut out with coordinating die. Foam mount to card.
- Frame circle with cut out florals. Adhere with foam adhesive.
- Embellish card using Nuvo Drops in Carnation Pink.
For my last card last I die-cut a circle from kraft cardstock and I foam mounted the sentiment over it. Next, I used the other foiled cutout, this time I had cut out individual flowers and placed them around the circle. The idea here was to cover up the seam in between the two foiled borders that I had on the background. I didn’t color the background, I wanted it kept as it, just the foiling, but I did add color to the card using these cut out foiled flowers.
I love the simplicity of this card and all of that foiling too, it is so classy! I added the pink dots to tie in with the pink coloring and that finished this card.
SUPPLIES
I’m listing the products I used below. Click on the link to go directly to the product. Where available I use compensated affiliate links which means if you make a purchase I receive a small commission at no extra cost to you. Thank you so much for your support!
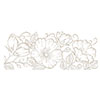 Spellbinders Sweet Blooms Border Glimmer Hot Foil Plate Shop at: SSS | SC | SB | AZ |
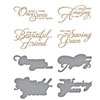 Spellbinders Heart Melt Sentiments Glimmer Hot Foil Plate and Die Shop at: SSS | SC | SB | AZ |
 Spellbinders Diamonetta Background Glimmer Hot Foil Plate Shop at: SSS | SC | SB | AZ |
 Spellbinders Quick Trimmer Replacement Blades Shop at: SSS | SC | SB | AZ |
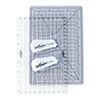 Spellbinders Quick Trimmer Shop at: SSS | SC | SB |
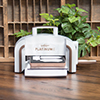 Spellbinders Platinum 6 Die Cutting Machine Shop at: SSS | SC | SB | AZ |
 Glimmer Hot Foil – Matte Gold Shop at: SSS | SC | SB | AZ |
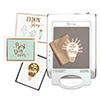 Spellbinders Glimmer Hot Foil System Shop at: SSS | SC | SB | AZ |
 Spellbinders A2 White Card Bases – Side Fold – 25 pack Shop at: SB |
 Neenah Classic Crest 80 Lb Desert Storm Shop at: SSS | AZ |
 Copic Sketch Marker RV00 Water Lily Shop at: SSS | AZ | BL |
 Copic Sketch Marker RV10 Pale Pink Shop at: SSS | AZ | BL |
 Copic Sketch Marker RV11 Pink Shop at: SSS | AZ | BL |
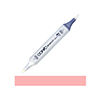 Copic Sketch Marker RV34 Dark Pink Shop at: SSS | AZ | BL |
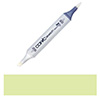 Copic Sketch Marker YG03 Yellow Green Shop at: SSS | AZ | BL |
 Copic Sketch Marker YG63 Pea Green Shop at: SSS | AZ | BL |
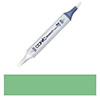 Copic Sketch Marker YG67 Moss Shop at: SSS | AZ | BL |
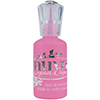 Tonic Carnation Pink Nuvo Drops Shop at: SSS | SC | AZ |
 Tonic Spring-cut Fine Tip Detail Scissors Shop at: SSS | AZ | TS |
 Tonic Studios 8.5 Inch Paper Trimmer Shop at: SSS | SC | AZ | TS |
 White Fun Foam 12 Pack 9 x 12 Shop at: SSS | AZ |
 FSJ Fashion Gold Embellishments Shop at: SC | SB |
 White Foam Squares Shop at: SSS | SC | SB | AZ |
 Journey Craft Glue Shop at: SC | SB |


Beautiful cards. Thank you. I just got a hot foil machine. So you videos are very helpful.
Thank you, Debbie. I’m glad they are! I’m hoping to do more
Awesome cards! Your nuvo dots are great – how do you do them? Mine always look flat and not always the same size?
Thank you, Nancy. I’m not sure why you’d be having the problems you are describing with Nuvo. Mine aren’t always perfect, they do flatten after they dry. Maybe your product is brand new? Meaning is it very fresh and runny? I’ve had mine since they first came out, some are pretty dry, so the dots I get are quite dimensional. As for the size – mine are never all of the same size 🙂
Gorgeous cards!!!
thank you, Maureen. Glad you like them!
Can I use the hot foil system with y big shot?
Yes, Sheri, you can. Glimmer is compatible with Big Shot 🙂
Oh my gosh! My mouth fell open with the beauty of your foiling and coloring on these cards. They were breathtaking. Thank you for all your tips about the hot foil machine and mass production. Still learning and every piece of information helps me to make a better product, ie not foiling my plates!!!!!
So glad you’ve found this helpful, Patricia! And I’ve foiled my plates by accident a number of times 😀 I actually quite like them like that, foiled 😀 Thank you!
Your cards are stunning stunning Yana! I love your foiling tutorials, I always learn so much from them and you create the most gorgeous cards.
thank you, Jennifer! I’m glad you like these 🙂
Absolutely BEAUTIFUL! Love your color combinations and card layouts. It is amazing how the Sweet Blooms border can look so different when used as a total card front vs just as a border. These products are definitely on my “wish list”! Your hot foil tips made my Christmas cards this year a GREAT HIT! THANK YOU!!
These are just breathtaking! I stopped in to see your latest and greatest and my jaw just dropped! GORGEOUS gold and pinks!