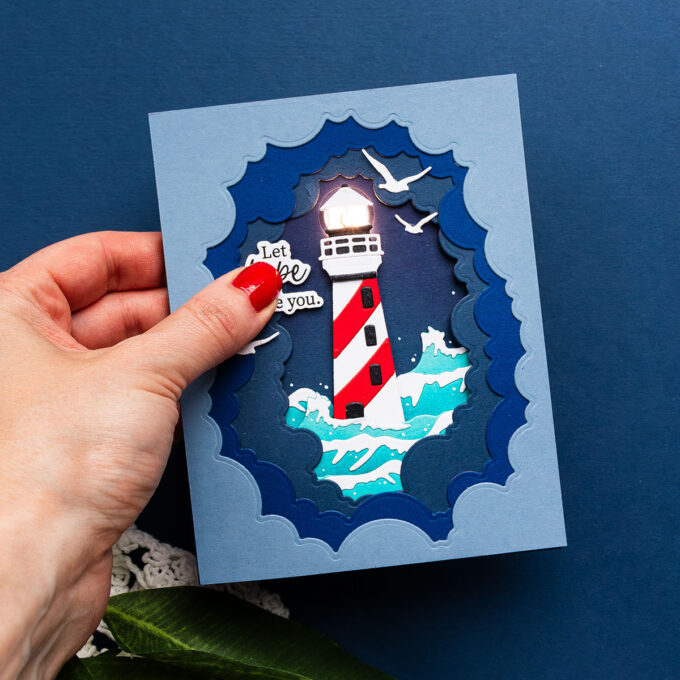
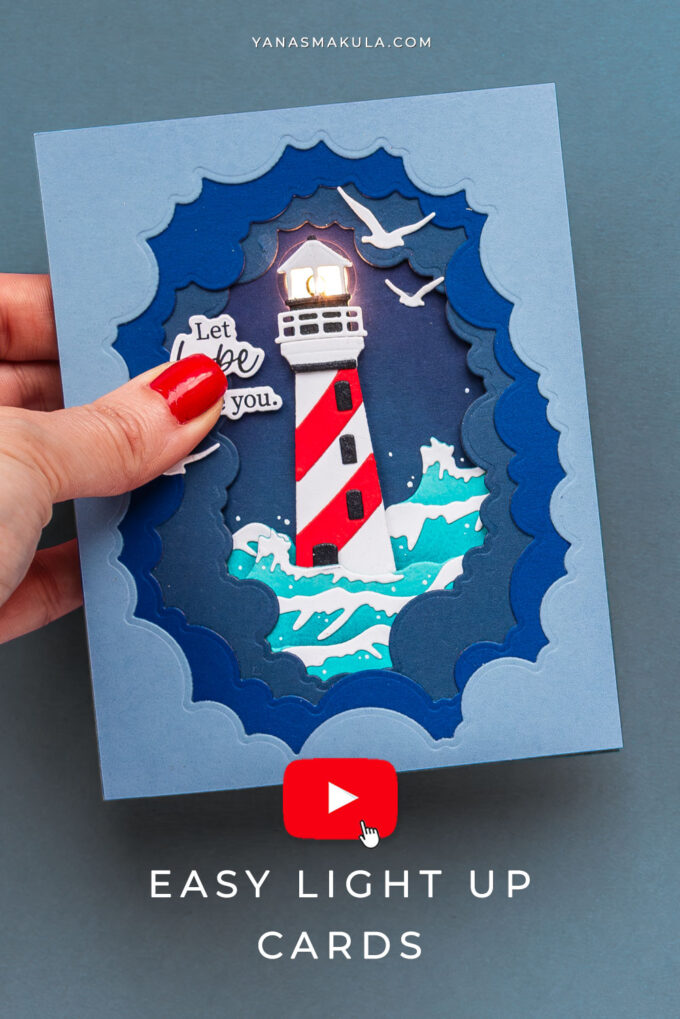
I was chatting with my crafty friend the other day, about light-up cards, and she said, and I quote: “I remember doing one card with lights years ago and I still have cardmaking PTSD after it“ I laughed when I read her message. The lights I’m working with today are super easy to use, all you need to do is figure out how to attach the battery.
Like this project? Pin it and save for later | Curious about my project photography? Click for details.
VIDEO TUTORIAL
Watch the video below or on my Youtube channel.
CARD DETAILS
I have made light-up cards in the past (here’s an example of a Christmas card) and I did find them a little bit challenging, but the result was well worth it.
 The lights I’m working with today are much simpler. The lights I am using are EZ-Lights, and even the name tells you that these are super easy to use, and they are by Pear Blossom. There are multiple options available, I have a pack of single lights and there are 5 single lights in the package, so I can make 5 cards.
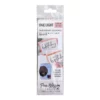 Pear Blossom Press – One Light 5-pack Shop at: SB USA |
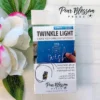 Pear Blossom Press – Twinkle Light Shop at: SB USA |
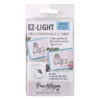 Pear Blossom Press – Ez-light 2-pack Shop at: SB USA |
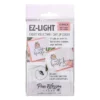 Pear Blossom Press – Ez-light 5-pack Shop at: SB USA |
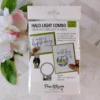 Pear Blossom Press – Halo Lights Combo Pack Shop at: SB USA |
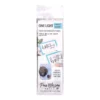 Pear Blossom Press – One Light 2-pack Shop at: SB USA |
You can pick them up on the Spellbinders website or from other places online.
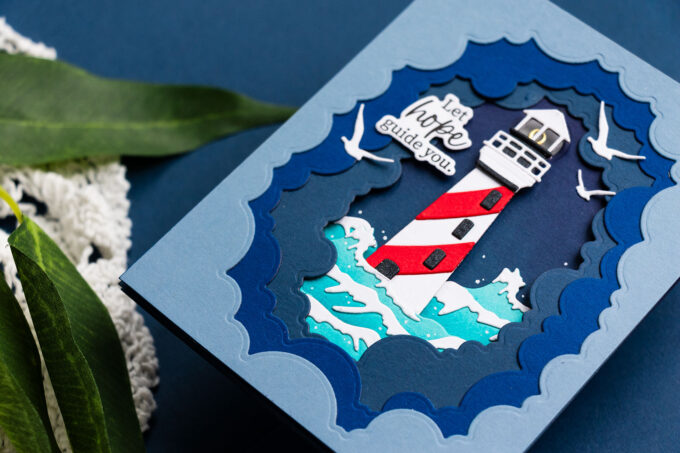
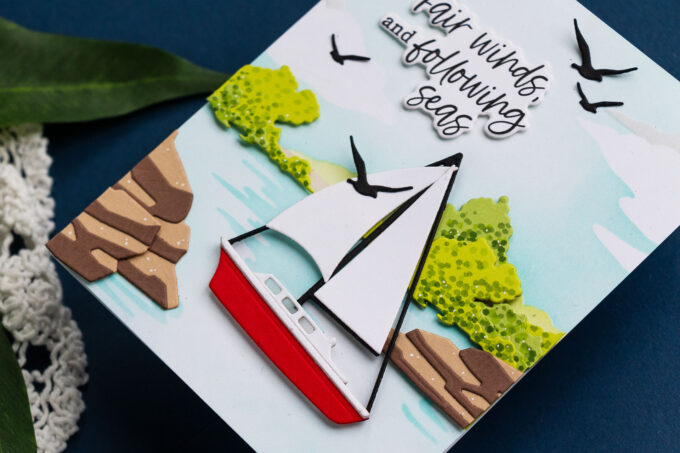
What prompted me to use these lights is the new collection by Dawn Woleslagle for Spellbinders called Fair Winds. This is Dawn’s 2nd collection, her debut collection, Seahorse Kisses, launched in May or June 2023 and it was a huge hit.
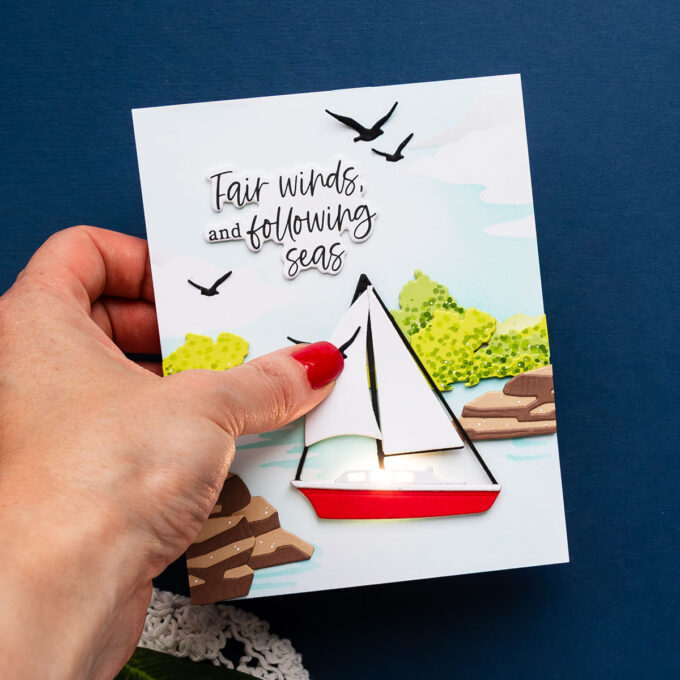
The Fair Winds collection is just as amazing. As you know, I manage the Spellbinders blog and one of my duties is to make sure we have educational and inspirational content there. So, I reached out to Dawn and I asked her to write a blog post for the Spellbinders blog to introduce this collection; as I was working on adding Dawn’s blog post to the blog, this sentence caught my eye: “The light inside is visible and perfect for creating an interactive light-up card.”. I didn’t need any more encouragement than that! And here we are – creating interactive light-up cards!
Watch my video for the detailed how-to! Have fun die-cutting!
SUPPLIES
I’m listing the products I used below. Click on the link to go directly to the product. Where available I use compensated affiliate links which means if you make a purchase I receive a small commission at no extra cost to you. Thank you so much for your support!


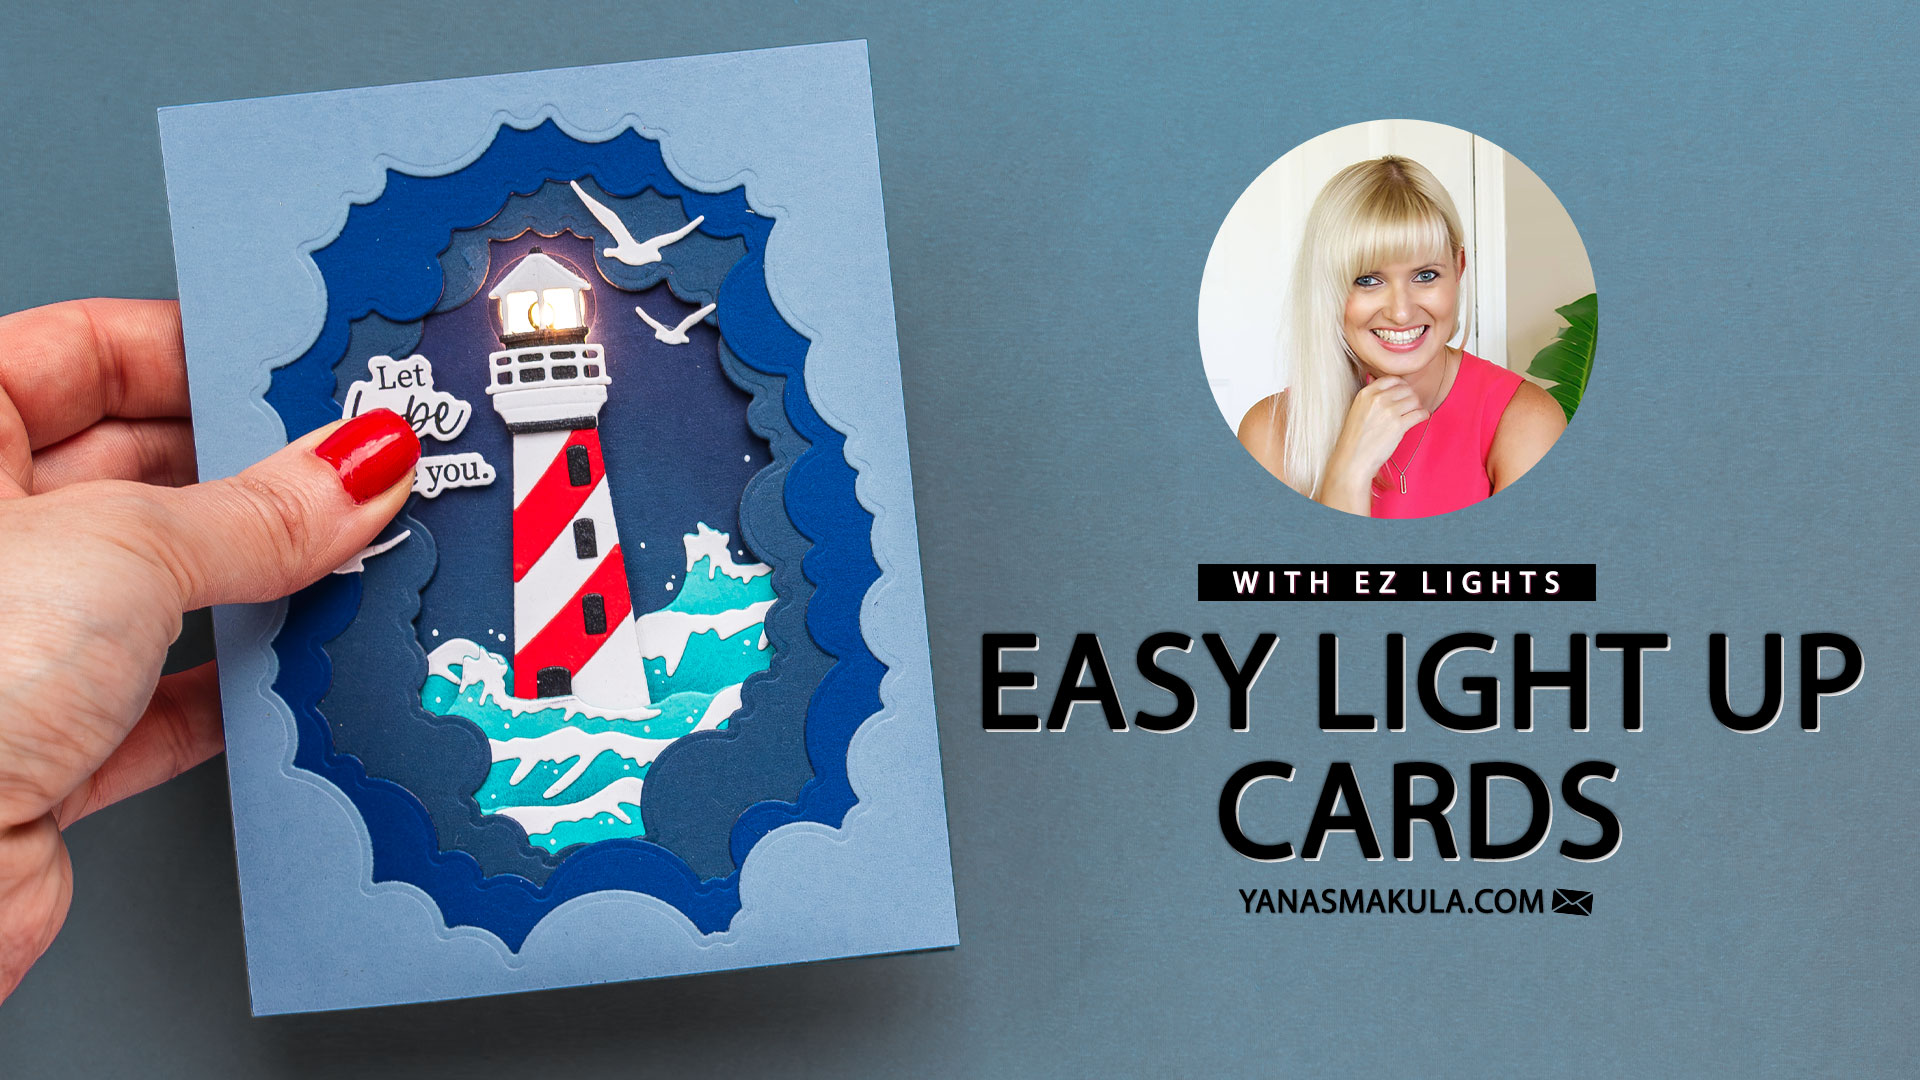
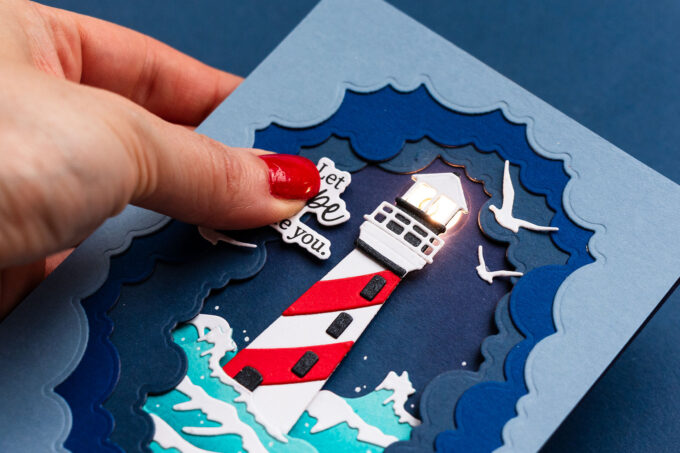
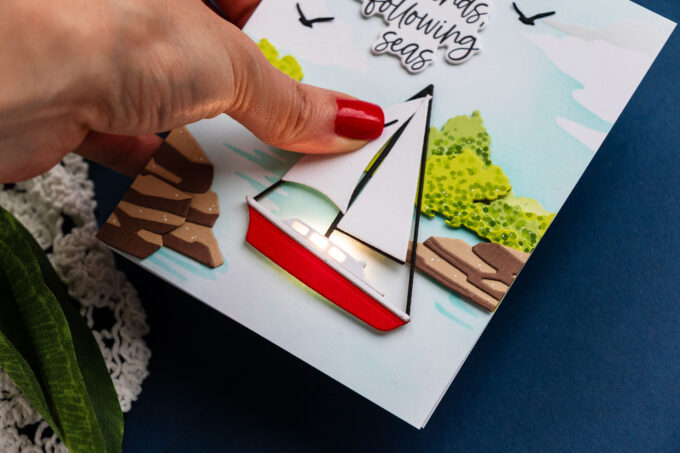
The light adds so much to the scene, but how does the recipient know to push the button?
That’s why a stamp set with “push here” or “press here” is needed. I’ll be hand delivering these, so I’ll show the recipient. Otherwise you need to clearly mark the spot
These are so fun!
Thank you!
Adore these cards. You are definitely the master of layouts and color schemes! Love the lights on cards; just so playful and unexpected. Now if there would be a recording device available that would be such fun too….
You mean a recording device to record a spoken message? Im sure there is smth out there ❤️
Your rocks in the second card are different from the Fair Winds stencil: they are horizontal rather than vertical. I like them better. What set do they come from?