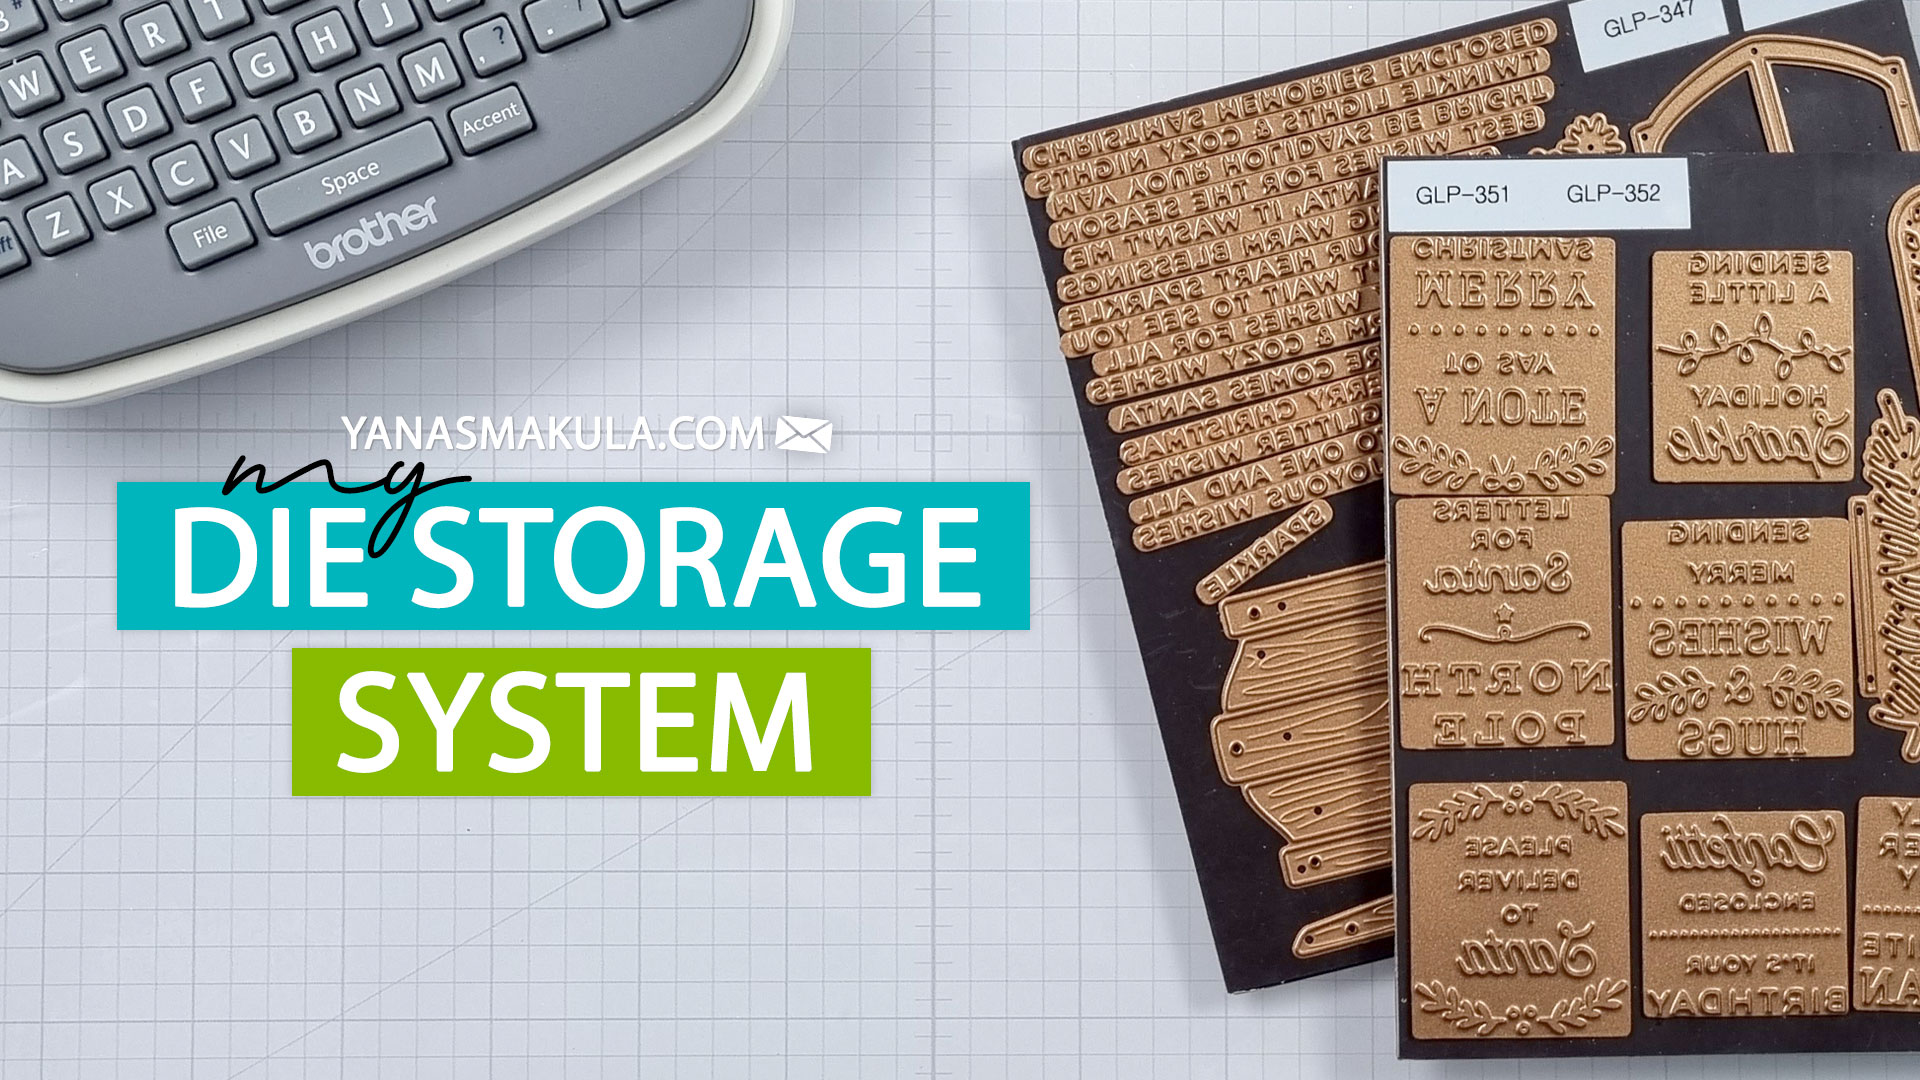
Hello crafters. In this video, I’m showing my die storage system. I love working with dies when I make cards, so I have a lot of dies. I keep my most used dies on a top shelf of a rolling cart that fits under my desk. This works for me, as I have all of my most used products right next to my work area.
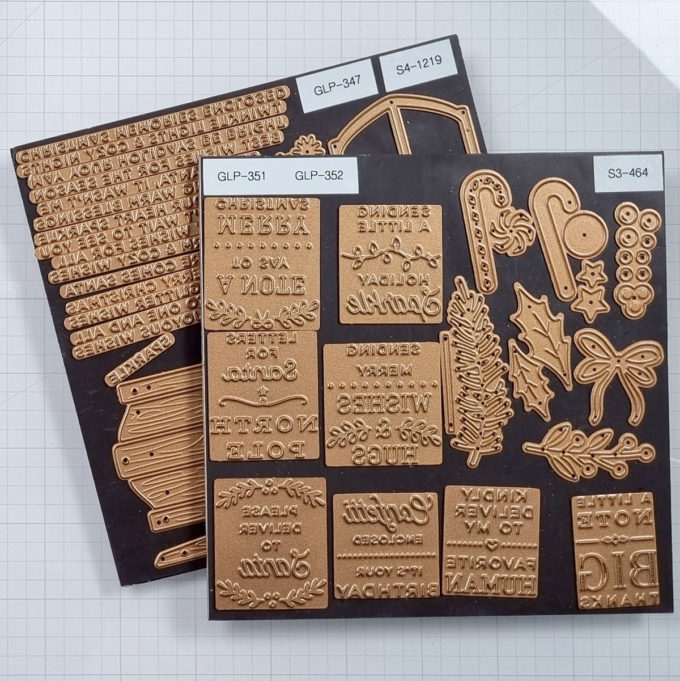
I store my dies on magnetic sheets, allowing me to store them vertically to easily flip through all of the sheets to quickly find what I need. I cut magnetic sheets to 6×6″ and adhere them to 6×6″ chipboard backers, for stability. I add a clear CD storage sleeve from the back of the chipboard to store any leftover die cuts or any dies that didn’t fit on the magnetic sheet.
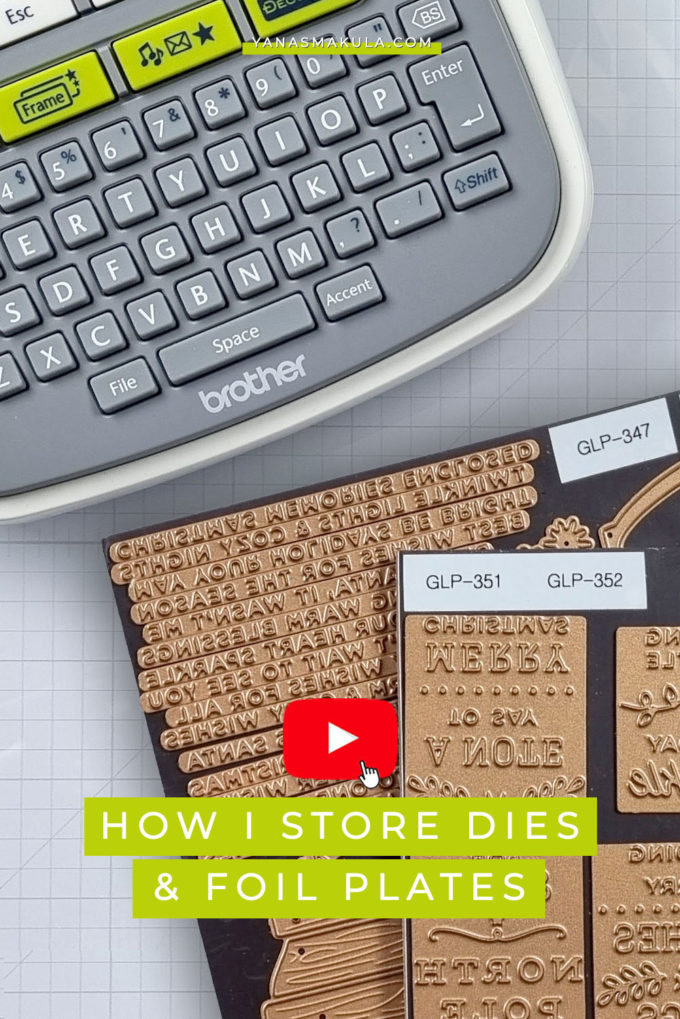
VIDEO TUTORIAL
Watch the video below or on my Youtube channel.
DETAILS
In the past, I used to use the FSJ magnetic sheets, but they have been discontinued some time ago and those sheets were cut to 6×6″. So many of my dies were already stored on 6×6″ sheets. That’s why I continue with this size. But if you are starting your magnetic die storage from scratch, you can pick a different size, something that works best for your craft room.
As for the chipboard, I use any leftover chipboard I can find around the house, sometimes I use thick cardboard, sometimes that’s chipboard from product packaging, and sometimes the 6×6 paper pads have a chipboard back to them. You can also purchase chipboard sheets online if you want your storage sheets all to look pretty and identical.
Then, I use lots and lots of double-sided tape – I add it around the perimeter and in the center of the chipboard and adhere my magnet on top. This creates a pretty strong hold for my magnet.
Usually, I try to keep one die set on one magnetic sheet, unless the die set is small, in which case I try to fit several to maximize the space. Some die sets are so big, they don’t all fit onto this sheet, in that case, I can store the dies that didn’t fit in a clear pocket adhered to the back of my magnetic sheet. I also label all of my magnetic sheets and include the product name or SKU. I use my Brother P-touch mini printer to print the labels.
So that’s my simple die storage solution. I also use this same system to store my hot foil plates with the same pocket on the back to store any leftover foiled pieces.
Have fun storing and organizing your supplies.
SUPPLIES
I’m listing the products I used below. Click on the link to go directly to the product. Where available I use compensated affiliate links which means if you make a purchase I receive a small commission at no extra cost to you. Thank you so much for your support!
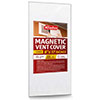 Magnetic Vent Cover Shop at: AMZ |
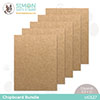 Simon Says Stamp Chipboard Bundle Pack of 5 Sheets Shop at: SSS |
 Graphic 45 Staples Chipboard 12 X 12 Shop at: SSS | SC |
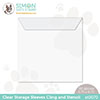 Simon Says Stamp 6.75 X 6.75 Clear Storage Sleeves Shop at: SSS |
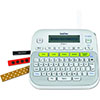 Brother Home and Office Label Maker P-touch Shop at: SSS | AMZ |
 Adhesive Tape Shop at: SSS | SC | SB USA |


Love it !
Clever idea adding pockets to the back. Thanks for sharing!
Great system, thanks for the video.
Great storage!!
Thanks Yana, I am going to try your system!
Been looking through your blog and came across this wonderful post! I ordered the magnetic sheets and “a ton” of double adhesive. I’ll be saving chipboard products from around the house too. Thank you once again Yana, for sharing your amazing tips! I ❤️ your organization ideas!