This post is also available in English
Hello stampers, good to have you on my blog! Today I have 7 Hot Foil tips and tricks to share that will help you be better then foiling with your Glimmer (or other) hot foil plates.
I came across all of these tips by experimenting with my Glimmer Hot Foil Machine from Spellbinders, these have been very helpful and useful to me when doing foiling and I hope they will be of use to you, too.
Like this project? Pin it and save for later | Curious about my project photography? Click for details.
VIDEO TUTORIAL
Watch the video below or on my Youtube channel.
Like this video? Please give it a big thumbs up (you can do this on Youtube video page right under the video) and share with a crafty friend! Leave me a comment too, I love hearing from you!
If you don’t know what hot foiling is and this is your first time seeing this in action, I encourage you to check out my other posts & video explaining the Hot Foiling process in detail: Foiled Holiday Cards & Glimmer How To | Foiling With Plates & Etched Dies | Color Blocked Foiling | Foiling With Coordinating Dies | Hot Foil Resist & Watercolor.
TIP #1 – OVERLAP (LAYER) FOIL
When you are doing Hot Foiling in your Glimmer Hot Foil machine or another Hot Foil machine you can overlap or layer your foiled designs without messing up the previous layer.
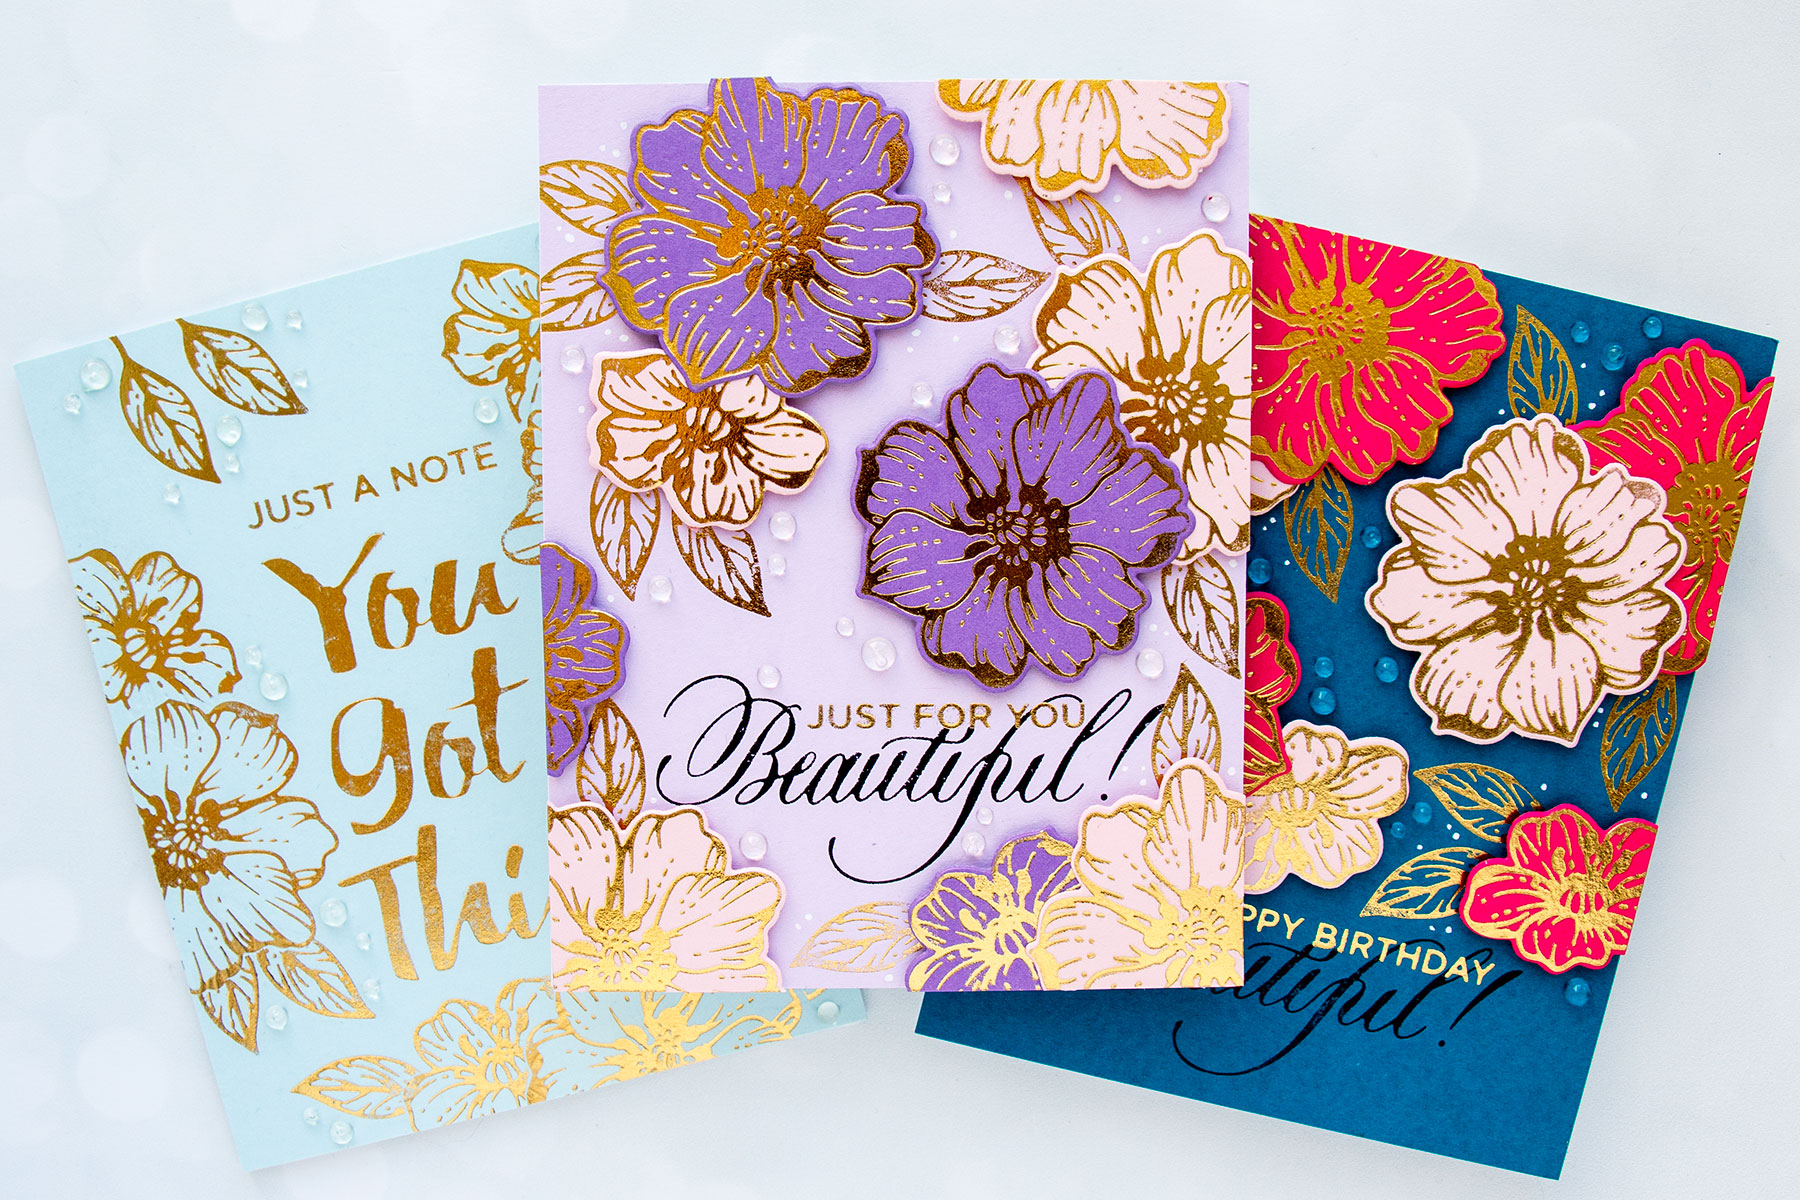
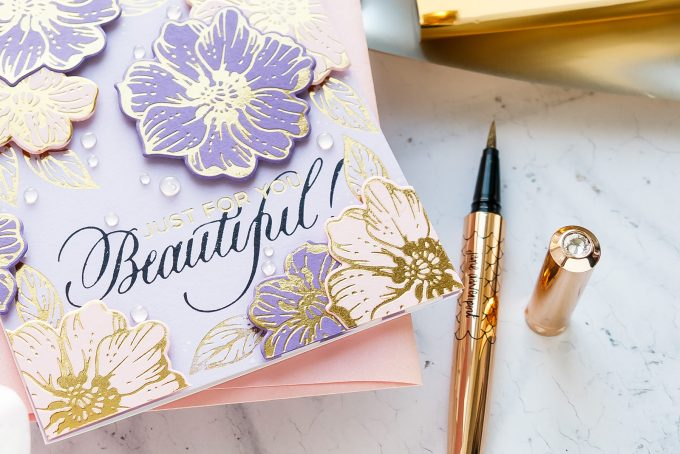
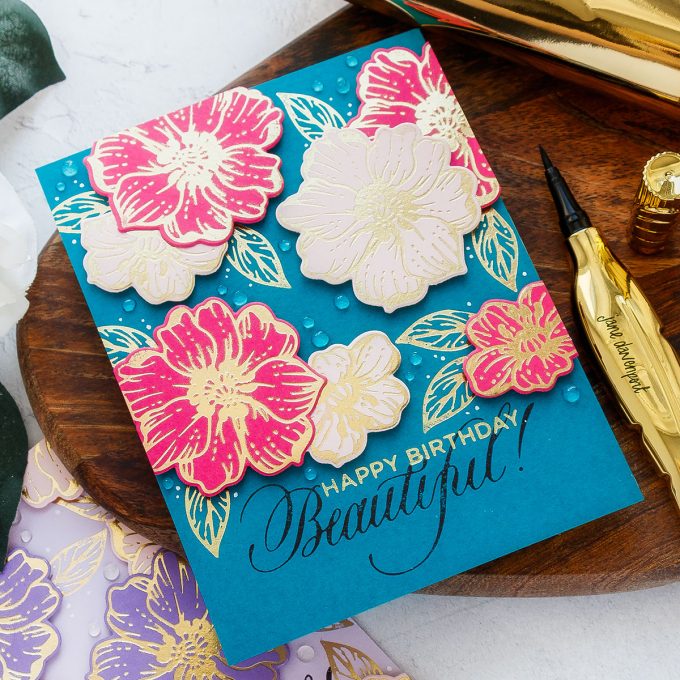
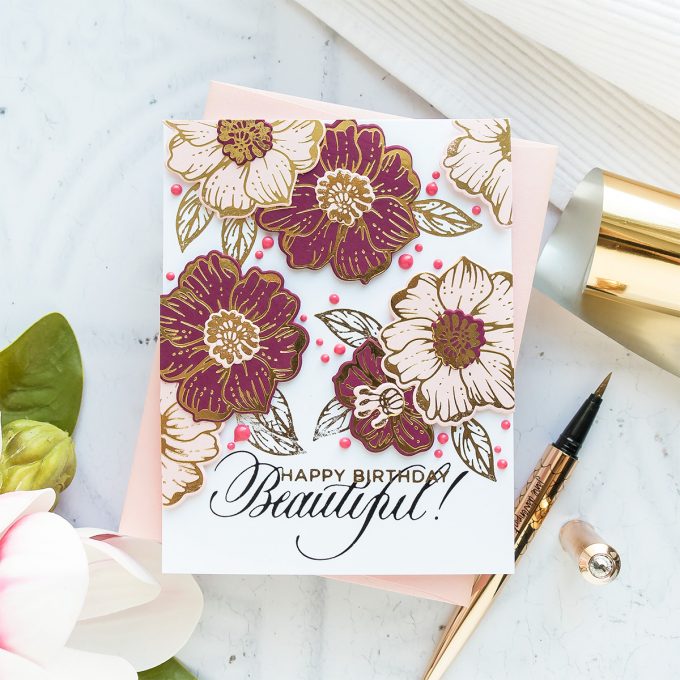
So say, you want to hot foil a sentiment that consists of two parts – for example, I want to foil “Beautiful” in black foil and I also want to foil additional sentiment, that reads “Happy Birthday” in a different color foil, and slightly overlap the word “Beautiful”. I can do that because once I have the foil down on the paper adding another layer of foil over is not going to mess it up.
To foil this skinny “Happy Birthday” sentiment I need to make sure I am spot on with my glimmer plate placement. That’s a little bit tricky to do.
TIP #2 – USE LOW TACK TAPE
So this brings me to tip #2 – you can use low tack tape to secure your glimmer plates in place when foiling to make sure you foil exactly where you want.
Create a hinge with washi tape and add a strip of foil just big enough to fit under that sentiment strip. To make sure the foil stays in place add another small piece of washi tape to tape it to the paper.
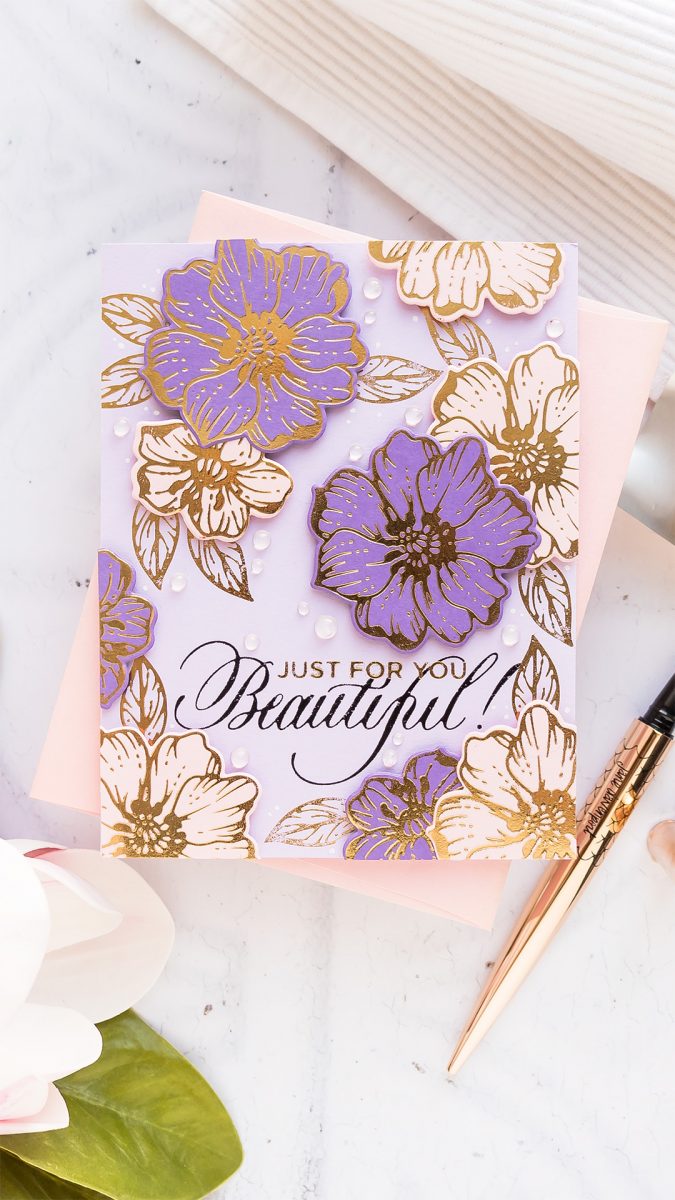
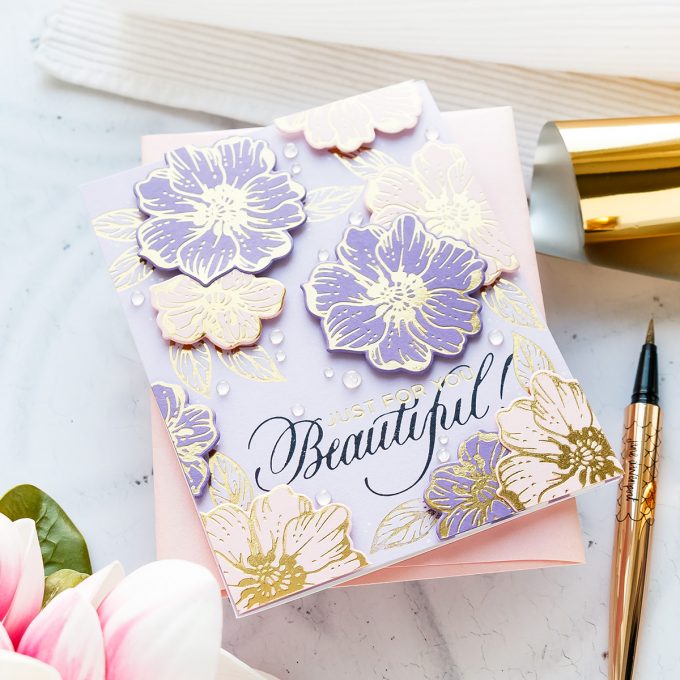
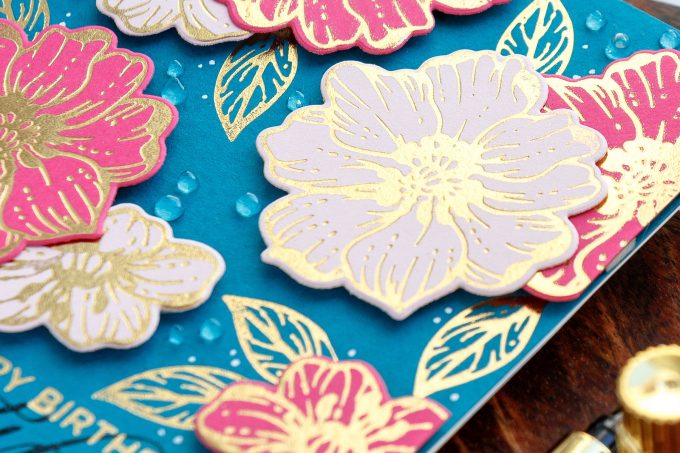
In the same way, I used low tack tape to secure the leaves glimmer plates in place on my card front to make sure I’d foil the leaves exactly where I needed them. I first arranged the flowers on my panel the way I liked, and next, I added in foiled leaves one by one, or rather 2 at the time filling the background in.
Because I was using low tack tape and taping my plates to the paper I was sure that I would get foiled leaves exactly where I needed them. It’s a win-win!
TIP #3 – DOUBLE FOILING
Using low tack tape to secure your glimmer plates in place, and especially using that hinge method brings me to my tip #3 – double foiling. So again, think of this, like stamping, in the stamping world you have stamping tools such as Misti that allow you to double stamp images if you didn’t get a good enough impression the first round.
The same can be done with foil – you can double foil your design provided you have secured your glimmer plate in place using low tack tape. This will allow you to re-position the plate in the exact same spot and foil again without messing up your entire plan.
TIP #4 – MASS FOILING
When you need to foil the same element multiple times, lets say you either need multiples of the same image for one card, like multiple flowers for example, or you are making multiple cards with the same image, maybe you are mass producing wedding invitations or your Holiday cards or thank you cards, or anything that requires mass production – you can skip waiting for the timer button to heat up the plates for every new piece of paper you plan to foil.
This is a huge time saver, as you are cutting about 1 minute out from each foiled piece. 1 minute is how long it takes for newly placed plates on the glimmer machine to become hot enough to foil.
TIP #4 – MULTITASKING
Let’s talk a bit about multi-tasking. What do you do when you do have to wait for that one minute for the plates to heat up? I like to multi-task and prep for the next steps in my card making process. This can be either cutting foil and paper for the next piece I want to foil, create a card base, maybe doing some stamping or even tidying up my desk. When you multitask while the machine is heating your plates up you are cutting the production time down to a minimum.
TIP #5 – SELECTIVE MASKING
Same as with stamps and dies where you can do selective inking to do selective stamping and selective or partial die cutting, you can so selective foiling.
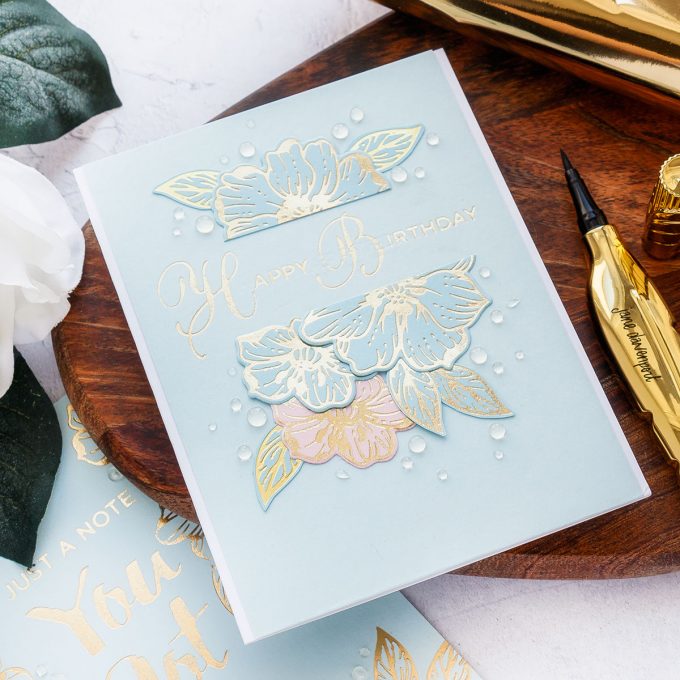
I wanted to foil “Happy Birthday”, but I wanted to use these delicate uppercase script font plates for the 1st letters of each word. To do this I used the selective foiling technique. First, I foiled the letter “H” as usual. I used all of the tips I shared previously, especially the one with using low tack tape to tape my plate and foil in place. Next, I used another glimmer plate that reads “Happy Birthday”, I added a piece of low tack tape to the back of my plate. I cut a piece of foil to cover only the letters “appy”, in the word “happy”, so skipping the letter H and tacked it in place using the tape.
To make sure I had my sentiment perfectly straight on the card I used a ruler and aligned the thin plate on the paper with it’s help affixing it in place using that same piece of low tack tape and I also added another piece of tape just to be sure. From there I foiled as usual.
To finish this sentiment I repeated the same steps as before – foiled the letter “B”, next cut a small piece of foil to cover the word “birthday” skipping the letter B and used a ruler to adjust the plates in place. Custom sentiment is done!
TIP #6 – OFFSET FOILING
My next tip shows you how to fix your foiling mistakes by foiling over the foiled piece with another color of foil and also how to do offset foiling.
I foiled an Elegant Border glimmer plate in Prizm foil. I didn’t like the look of the foil, the color of foil, on this paper so to fix my mistake I decided to foil this piece once again over the original but use a different color foil this time. And it worked. I did shift the glimmer plate just a smidge to have a shadow show on the card.
To pull this off I once again used low tack tape and just taped the border in place, next added my foil, taped the plate again on the other side and foiled.
TIP #7 – MASKED FOILING
My final tip for you today is something I call masked foiling. Just like you do masking in stamping, you can do masking when using foil. This is especially handy when your glimmer plates have coordinating dies. Spellbinders June Glimmer Kit of the Month Flowers, as I mentioned earlier, have coordinating dies available so it was very easy to make masks.
All I did was die cut several masks from vellum. I didn’t use my masking paper, something I would have typically used when using stamps. Masking paper is tacky and that tackiness can lift the foil off of your project. Not all of it, of course, but some. Using vellum here is an excellent alternative as it’s also see through and will allow you to see the foiled image underneath it for perfect placement.
I hope you have found these foiling tips to be helpful and will try all or some of them in your craft room. Tell me, which of the tips surprised you the most?
Have fun foiling! I’m off to foil a few things myself as having finished this post I now have some foiling ideas I can’t wait to try!
SUPPLIES
I’m listing the products I used below. Click on the link to go directly to the product. Where available I use compensated affiliate links which means if you make a purchase I receive a small commission at no extra cost to you. Thank you so much for your support!
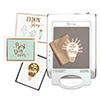 Spellbinders Glimmer Hot Foil System Shop at: SSS | SC | SB | AZ |
 Spellbinders Deep Sea Die Cutting Machine Shop at: SSS | SC | SB | AZ |
 Glimmer Hot Foil Kit of the Month Club Shop at: SB |
 Spellbinders Hey Beautiful! Glimmer Hot Foil Plate Shop at: SSS | SC | SB | AZ |
 Spellbinders Everyday Sentiments II Glimmer Hot Foil Plate Shop at: SSS | SC | SB |
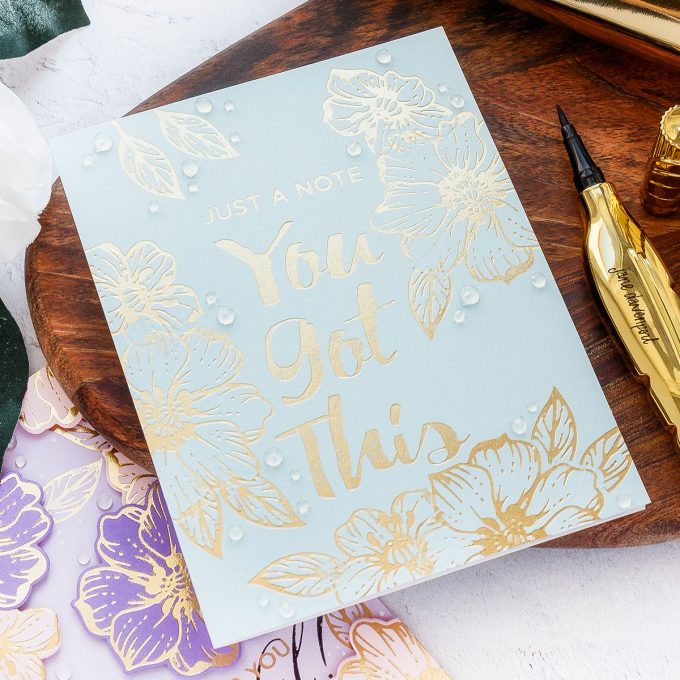
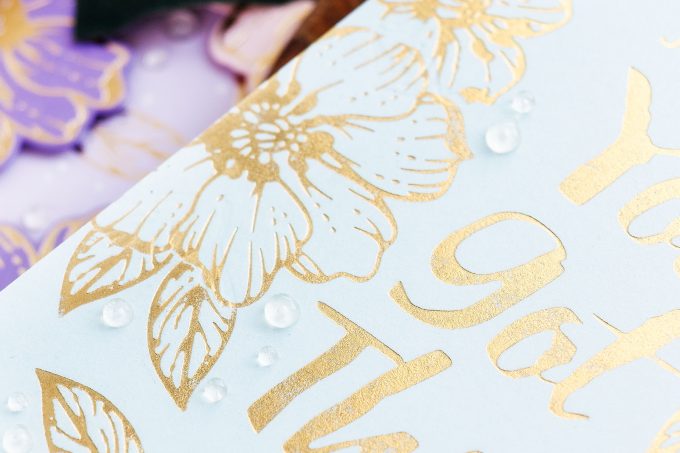
 Spellbinders You Got This Glimmer Hot Foil Plate Shop at: SSS | SC | SB |
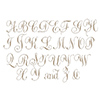 Spellbinders Copperplate Majuscules Glimmer Hot Foil Plate Shop at: SSS | SC | SB |
 Spellbinders Elegant Border Glorious Glimmer Hot Foil Classic Plates Shop at: SSS | SC | SB |
 Spellbinders Glimmer Hot Foil Roll – Polished Brass Shop at: SSS | SB | AZ |
 Spellbinders Glimmer Hot Foil Gold Shop at: SC | SB |
 Glimmer Hot Foil Roll – Black Shop at: SC | SB |
 Glimmer Hot Foil Roll – Champagne Shop at: SB |
 Glimmer Hot Foil Roll – Prism Shop at: SB |
 Hero Arts Hero Hues Cardstock Azalea Shop at: SSS | SC | HA | AZ |
 Hero Hues Premium Cardstock Arctic Shop at: SSS | SC | HA |
 Hero Arts Hero Hues Cardstock – Dove White Shop at: SSS | SC | HA |
 Hero Arts Hero Hues Premium Cardstock Peony Shop at: SSS | SC | HA |
 Hero Arts Hero Hues Premium Cardstock Adriatic Shop at: SSS | SC | HA |
 Hero Hues Premium Cardstock Plum Shop at: SSS | SC | SB |
 Hero Hues Premium Cardstock Lavender Shop at: SSS | SC | SB |
 Hero Hues Premium Cardstock Amethyst Shop at: SSS | SC | SB |
 FSJ Details Pro Shears Shop at: SB |
 FSJ Grand Pro Shears Shop at: SB |
 Sakura Classic White Gelly Roll Pens Set of 3 Shop at: SSS |
 Hero Arts Classic Vellum Layering Paper Shop at: SSS | SC | HA | AZ |
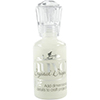 Tonic Morning Dew Nuvo Crystal Drops Shop at: SSS | SC | AZ |
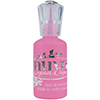 Tonic Carnation Pink Nuvo Drops Shop at: SSS | SC | AZ |
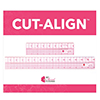 Misti Cut-align Tool Shop at: SSS |
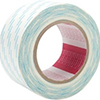 Scor-tape 2 1/2 Inch Crafting Tape Shop at: SSS |
 White Foam Squares Shop at: SSS | SC | SB | AZ |
 Tombow Mono Sand and Rubber Eraser Shop at: SSS | AZ |










LOVE your video,Yana! 😉 I took NOTES! LOL THANK YOU for showing us your discoveries!!!! 😀 <3
thank you, Becky! Glad you enjoyed it!
Wow! So many awesome types and wonderful creations!! Thank you for the informative video 🙂
thank you!
Love the idea of the hot foil system but can a laminator somehow be used instead?
loved the video and worked along side you trying things…your amazing at all the extras you do with this!!!
awww, thank you, Jean! And so excited you were trying things along! How awesome 🙂
Fantastic cards and good tips. I just got my Glimmer Hot Foil System and I really love it. You showcase it so well with all the great Spellbinders hot foul plates. Thank you so much for this video!
thank you, Beverly! I’m glad video was helpful! And yay – congratulations on your new purchase 🙂
Awesome cards. Love the tips and my hot glimmer system.
thank you, Nancy!
Thanks so much. You saved me a lot of experimenting. I love these tips and will use them often.
glad it was helpful, Linda! More tips coming soon 🙂
I absolutely am falling in love with foiling even though I have not tried it myself yet. Your cards have just made me what to do it asap!
thank you, Brandi! I think we are all dying to try something new in cardmaking and this foiling trick fits the bill so perfectly!
Yana, your cards using the hot foiling technique are amazing! Thanks for making an instructional video! You are a stamping (and hot foiling) Rock Star! 🙂
Oh my goodness I love your videos, I must learn this hot foil. You do beautiful work.