This post is also available in English
If you’ve been following my blog for some time, you might remember this video tutorial and set of cards featuring tropical patterns. It was one of the first videos I’ve ever shared on the topic of stamping patterns and the cards I made back then are still among my favorites. So because of that video and that post I decided to title this one Tropical Pattern 2.0, and this is exactly how I feel – this is another take on stamping quick & easy tropical patterns for handmade cards.
Like this project? Pin it and save for later | Curious about my project photography? Click for details.
CARD DETAILS
I took step by step photos of the pattern stamping process (you can find them in my Instagram Story for today if you are a follower or in a quick summary below).
Click to enlarge:
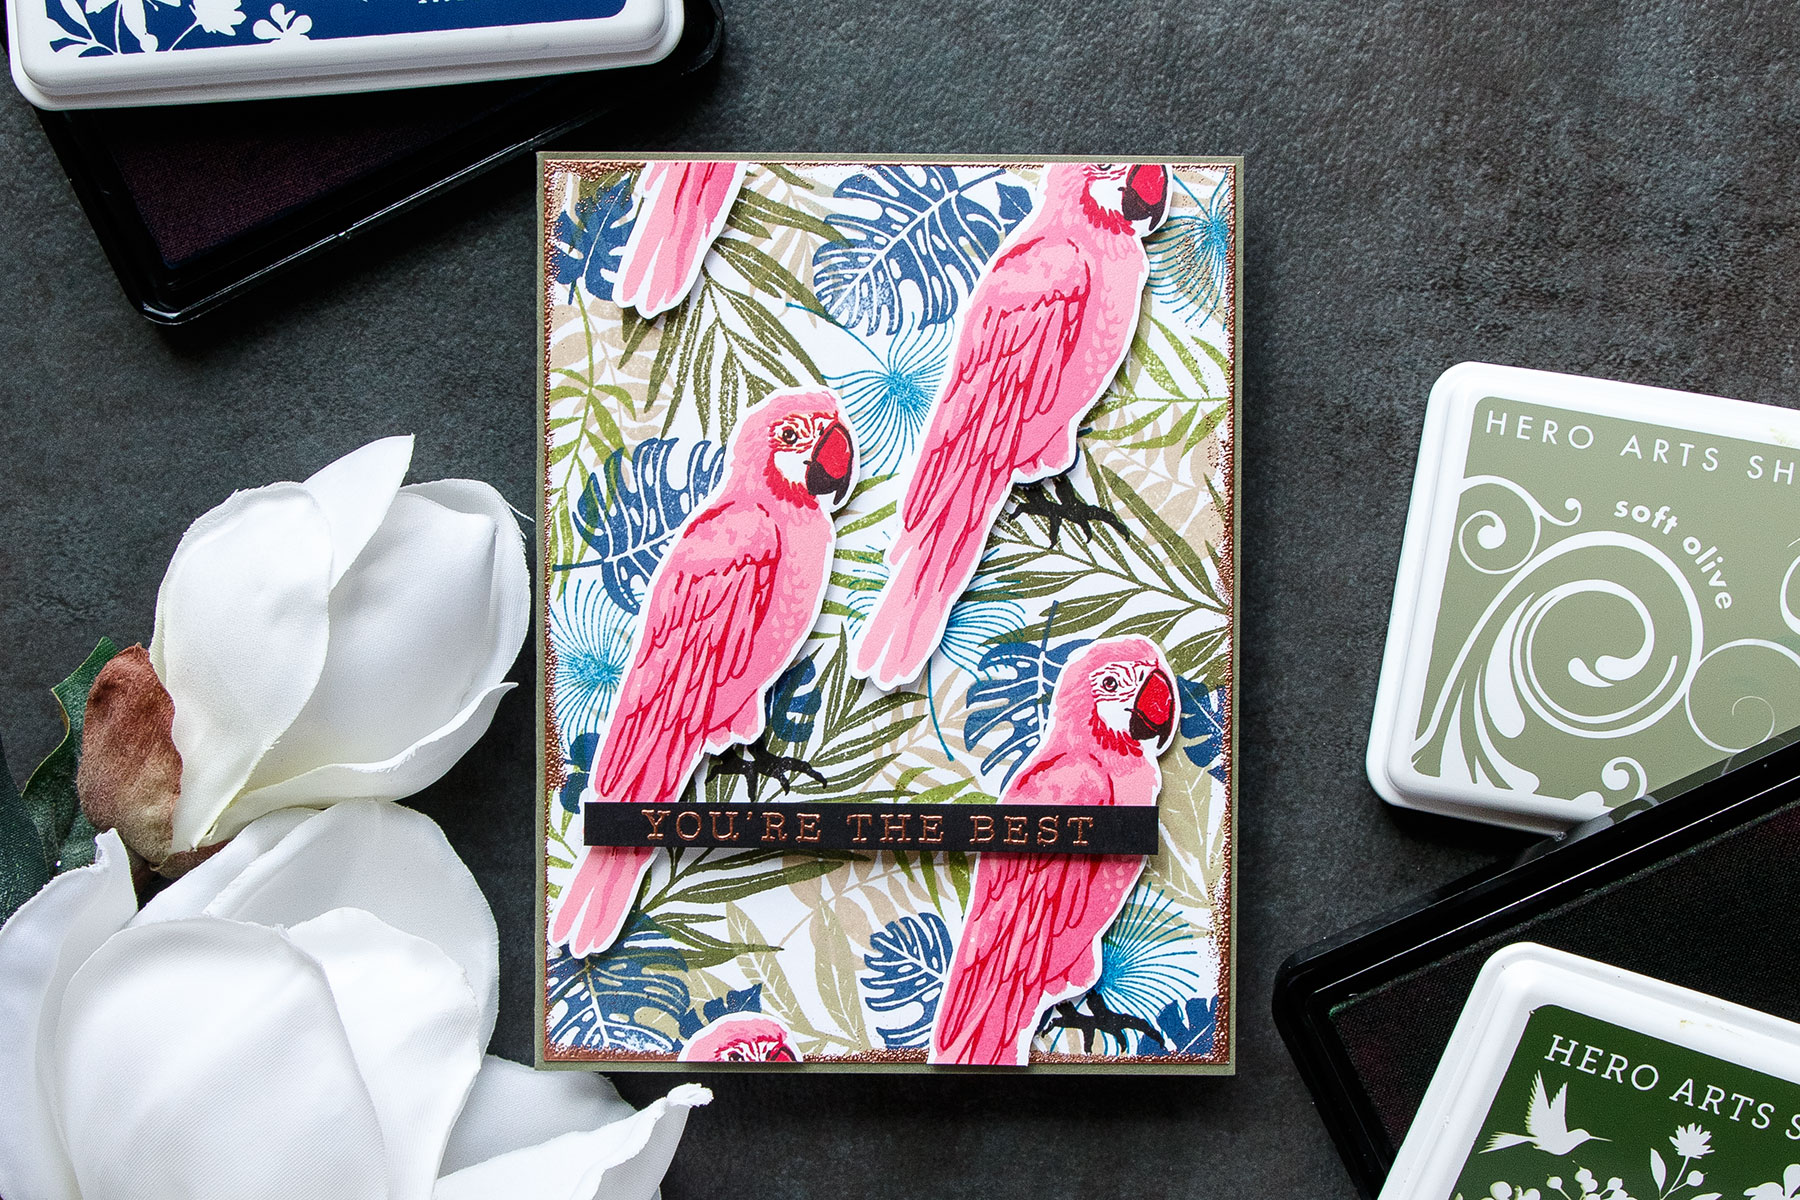
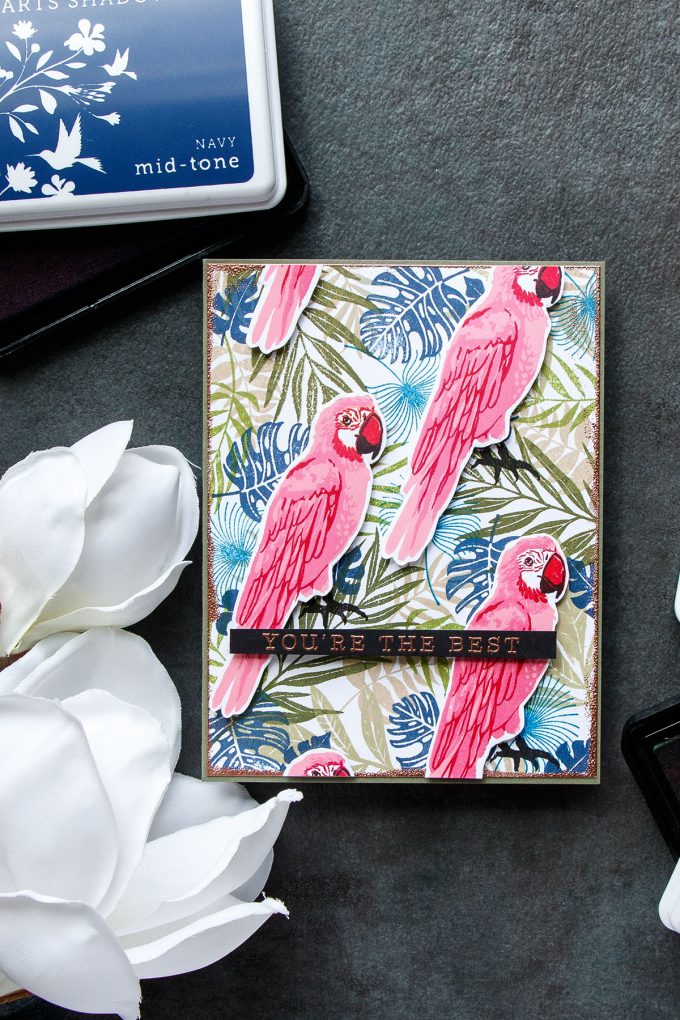
I used images from 3 different sets to stamp this pattern. I started with large leaves from the Stamp Your Own Plant stamp set and stamped them in Forever Green 3 times coming in from the sides onto a white cardstock panel cut to 4 1/4 x 5 1/2″. Next, I added a slightly smaller leaf in Soft Olive, again stamped it 3 times.
I switched to a different kind of leaf, I used one from the Tropical Leaves set, and stamped it in Soft Brown. Next, I used Navy and stamped a larger monstera leaf from same Tropical Leaves set; this time I stamped it 5 times. I also stamped the 3rd image from the Tropical Leaves set onto my background and used Deep Ocean.
I kept on adding smaller images using same ink colors plus Moss until I had my background filler with overlapping tropical leaves. I trimmed about 1/8 ” off both width and length of my panel, heat embossed the edges in Copper embossing powder and adhered this panel onto an A2 card base made out of Simon Olive cardstock (sadly, this color cardstock is discontinued).
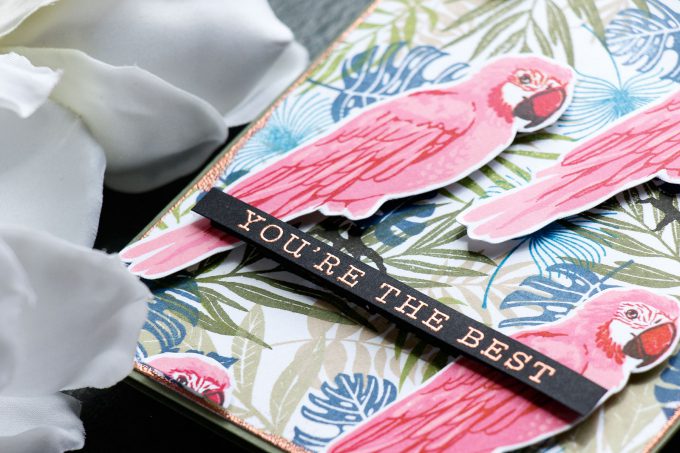
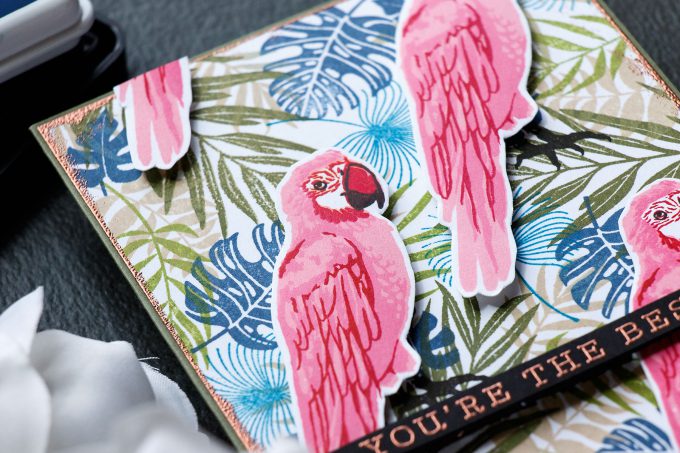
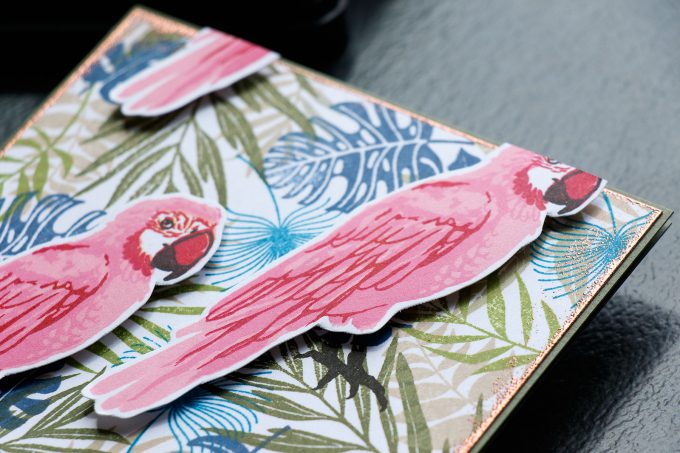
I wanted to add a pop of color onto my pattern so I stamped 3 parrots using Cotton Candy, Rose Madder and Crimson ink colors onto white paper, cut out and foam mounted onto my card. I cut some of the parrots apart as they were going outside the edges of my panel and thus made it look like I actually had 5 and not 3 birds.
Finally, I added “You’re The Best” sentiment heat embossed in same Copper embossing powder.
SUPPLIES
I’m listing the products I used below. Click on the link to go directly to the product. Where available I use compensated affiliate links which means if you make a purchase I receive a small commission at no extra cost to you. Thank you so much for your support
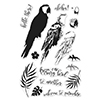 Hero Arts Clear Stamps Color Layering Parrot Shop at: SSS | SC | HA | AZ |
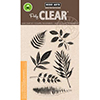 Hero Arts Stamp Your Own Plant Stamp Set Shop at: SSS | HA | AZ |
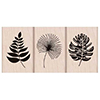 Hero Arts Rubber Stamp Tropical Leaves Shop at: SSS | SC | HA | AZ |
 Hero Arts Rubber Stamp You’re the Best Shop at: SSS | HA | AZ |
 Hero Arts Soft Brown Ink Pad Shop at: SSS | SC | HA | AZ |
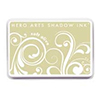 Hero Arts Soft Olive Ink Pad Shop at: SSS | HA | AZ |
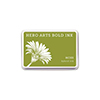 Hero Arts Moss Hybrid Ink Pad Shop at: SSS | SC | HA | AZ |
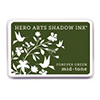 Hero Arts Forever Green Ink Pad Shop at: SSS | HA | AZ |
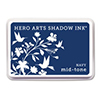 Hero Arts Navy Ink AF234 Shop at: SSS | SC | HA | AZ |
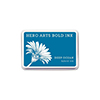 Hero Arts Deep Ocean Hybrid Ink Pad Shop at: SSS | SC | HA | AZ |
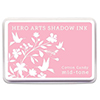 Hero Arts Cotton Candy Ink Pad Shop at: SSS | SC | HA |
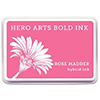 Hero Arts Rose Madder Hybrid Ink Pad Shop at: SSS | SC | HA |
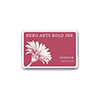 Hero Arts Crimson Hybrid Ink Pad Shop at: SSS | SC | HA | AZ |
 Hero Arts Heat Embossing Gun PW200 Shop at: SSS | SC | HA | AZ |
 Hero Arts Copper Embossing Powder PW116 Shop at: SSS | SC | HA | AZ |
 Neenah 110 Lb Solar White Cardstock Shop at: SSS | AZ |
 Simon Says Stamp Black Cardstock Shop at: SSS |
 Simon Says Stamp Card Stock Olive Shop at: SSS |
 Versamark Watermark Emboss Ink Pad Shop at: SSS | HA | AZ |
 ScraPerfect Crafting Pouch Shop at: SSS | AZ |
 Scrapbook Adhesives Black Foam Tape Shop at: SSS | AZ |
 Scrapbook Adhesives White Foam Squares Shop at: SSS | SC | AZ |
 Be Creative Tape 3mm Sookwang Shop at: SSS |



Love this beautiful layout with all the foilage! Love the contrast in colours between the parrot and the leaves as well! I really enjoy your creativity!
I so appreciate your pictures of the consecutive stamping. It shows how you made it look so random – leaving one corner without one of the colors as the turquoise and light olive green stamps. It helps to not have the stamps evenly placed all over and appears less crowded and more natural. Thanks so much for the progressive pictures!
If I tried to stamp like this, it would turn out to look like a “hot mess”! I can’t believe how your choice of colors and placement of images when all done really worked well together and really looks like a jungle!!!! I thank you too for the photos and detailed explanation of how you did that. Hope things are cooling down for you in Phoenix and that you’re getting some of the great rain we’ve been getting in Tucson.
Gorgeous card!! I love the colors!!
Yana, this is a lovely card. I especially like the floral background–great color combinations. TFS
I absolutely love the foliage background, especially because of the colours you chose to combine. The parrots are beautiful, but I think the background could easily stand alone with an added sentiment to create a beautiful card. I have to give this colour combo a try.
Your cards are so special..I have not seen one card you have made that I didn’t love..your creative ability is amazing.
Thank you for sharing. Also I especially like your videos..