This post is also available in English
Hello everyone and thanks so much for stopping by to help celebrate the launch of Hero Arts Valentine’s Day products (more about these new goodies, blog hop and giveaway below).
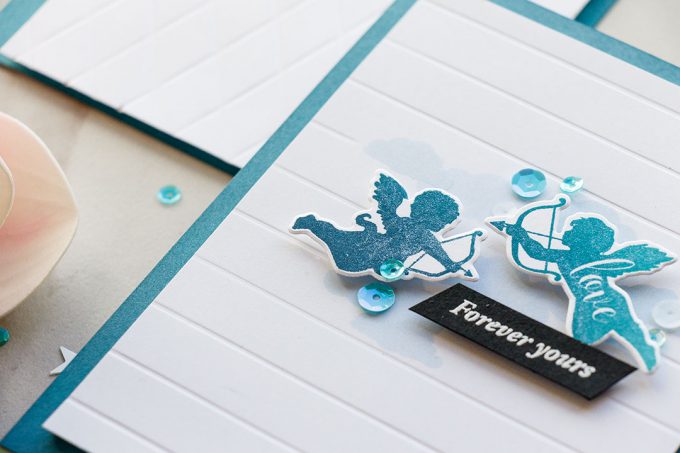
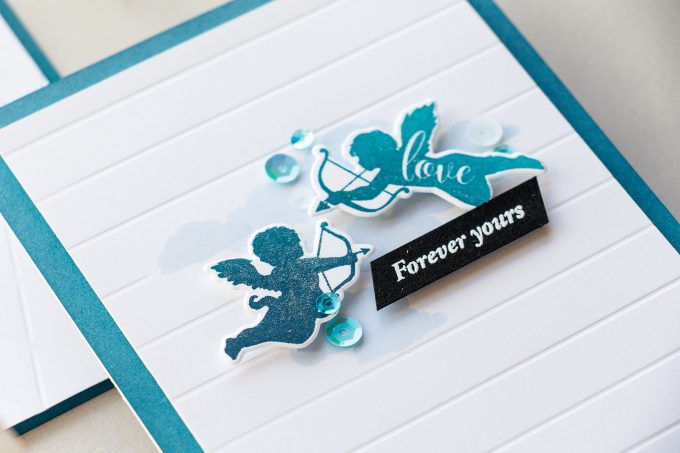
Even though Valentine’s Day is just once a year I think it’s important to make (and give) little love notes to each other throughout the year. I have several favorites in this new release and one of them is the Cherub stamp set with the sweetest little angels. I used this set to make both cards I’m sharing today.
Like this project? Pin it and save for later | Curious about my project photography? Click for details.
If you are visiting my blog for the first time or have not yet subscribed – be sure to do so! I share lots of handmade projects every week delivering them straight to your inbox! I also occasionally share information about crafty sales and new product releases I love. Subscribe here.
VIDEO TUTORIAL
As always, I filmed a video tutorial showing how to create this project from start to finish. I’m hoping you’ll enjoy it. Watch it below or on my Youtube channel.
Like this video? Please give it a big thumbs up (you can do this on Youtube video page right under the video) and share with a crafty friend! Leave me a comment too, I love hearing from you!
CARDS & BACKGROUNDS DETAILS
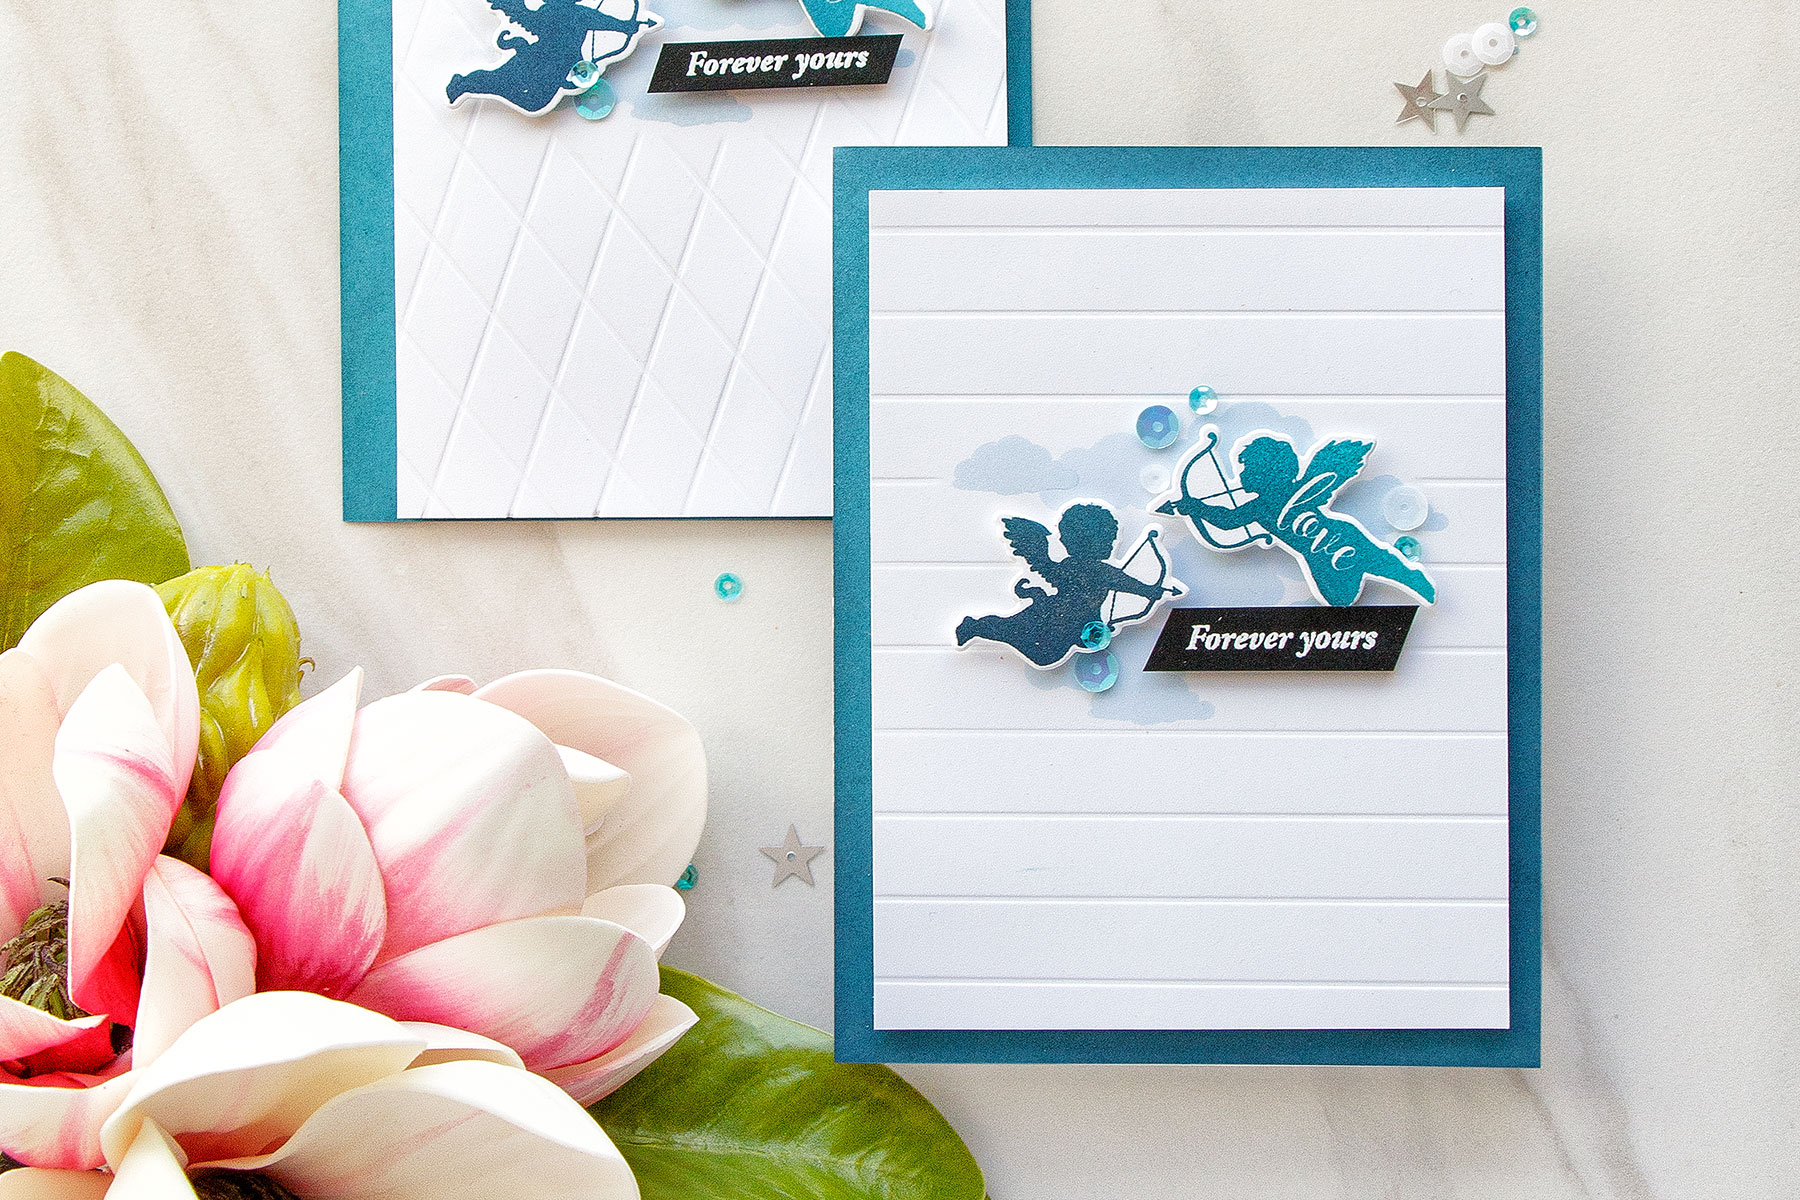
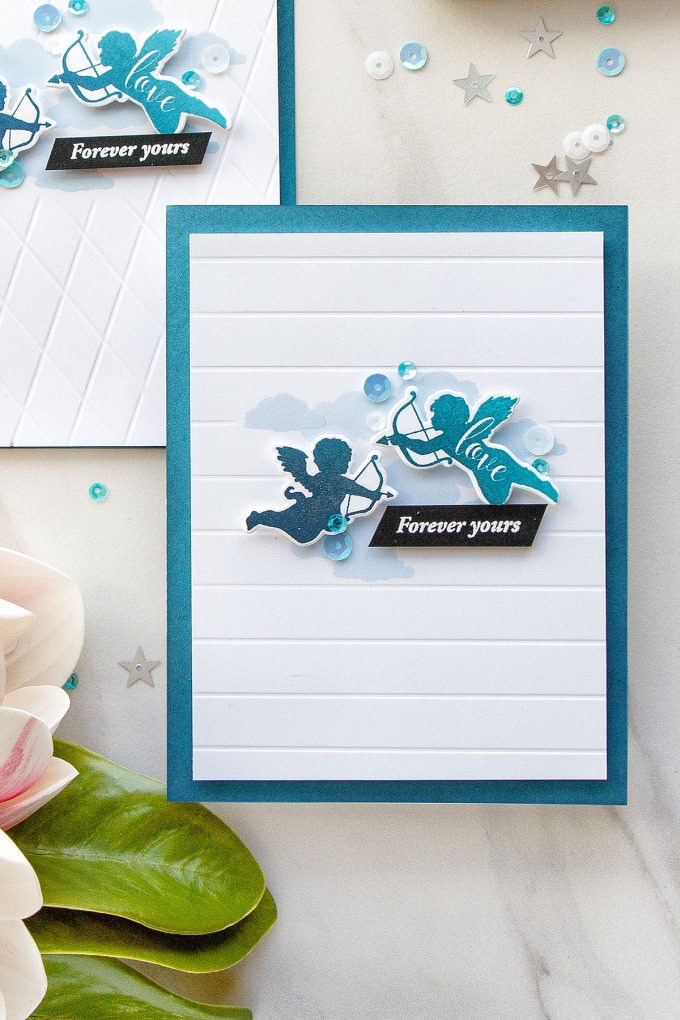
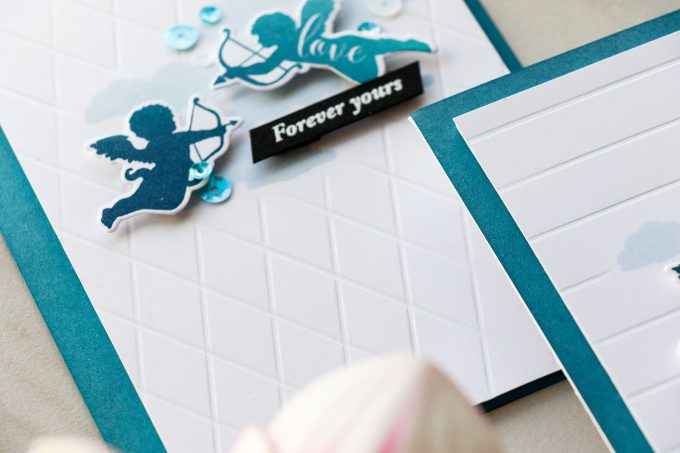
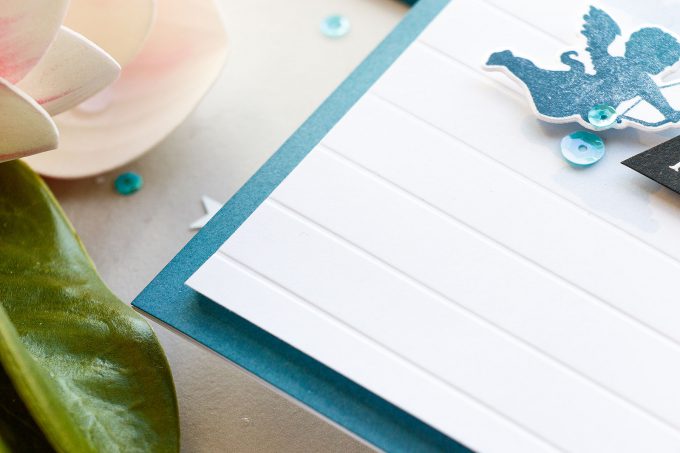
I had a very simple card design in mind for these and to somehow spice my cards up I added selective dry embossing to my white stamped background panel and I made sure to avoid the area with the stamping. I didn’t use my die cutting machine or any embossing folder to add this dry embossing, but went with a good old manual embossing. I used my scoring board and a bone folder and added manual embossed lines to my background.
The idea was to avoid adding dry embossing to the area where you have a stamped image. And this is the beauty of this technique, because really you can dry emboss with anything as long as you have a die cutting machine, you can dry emboss with dies, embossing folders, die cuts, stencils, even little pieces of paper. But the technique I used doesn’t require the use of a die cutting machine and lets you do selective dry embossing.
I started working on my cards by stamping clouds from the Cherubs stamp set in the Soft Sky ink forming a little cloud cluster. Next, with the help of my bone folder and scoring board I added score lines to my panel avoiding the area where I had my stamping. I added horizontal lines to one of my cards (spaced at 1/2″ intervals) and diagonal lines (also spaced at 1/2″ intervals) forming diamonds. There’s not a whole lot of designs you can create using this linear scoring method, but there are a few.
I also stamped and die-cut the little angels for my card (I used Pool to Navy Ombre ink pad) and ink blended a blue panel for my card using same color of ink to match my stamping.
I trimmed by dry embossed panel to 3 3/4 x 5″, foam mounted onto the card, foam mounted the cherubs on top and added a “Forever Yours” sentiment heat embossed in white over black paper. Finally, I embellished my card using Frost sequins from Hero Arts.
HOP ALONG WITH US!

The Hero Arts Blog
Yana Smakula – you are here
Jessica Frost-Ballas
Janette Kausen
Amy Tsuruta
Ilina Crouse
Michelle Short
Clare Prezzia
Libby Hickson
GIVEAWAY!
Hero Arts is giving away three $25 shopping sprees, drawn from comments left across all blogs in the hop. Comment by Thursday, December 21st at 11:59pm PT and Hero will announce the winners the following week.
SUPPLIES
I’m listing the products I used below. Click on the link to go directly to the product. Where available I use compensated affiliate links which means if you make a purchase I receive a small commission at no extra cost to you. Thank you so much for your support!
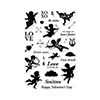 Hero Arts Cherubs Clear Stamps Shop at: SSS |
 Hero Arts Cherubs Frame Cuts Die Set Shop at: SSS |
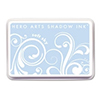 Hero Arts Soft Sky Ink Pad Shop at: SSS |
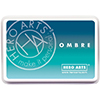 Hero Arts Ombre Pool To Navy Ink Shop at: SSS |
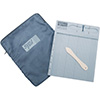 Scor-Pal Mini Scor-Buddy Scoring Board Shop at: SSS |
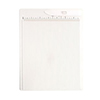 Martha Stewart Mini Scoring Board Shop at: SSS |
 Simon Says Stamp Black Cardstock Shop at: SSS |
 Hero Arts Snow Layering Papers Shop at: SSS |
 Hero Arts Heat Embossing Gun PW200 Shop at: SSS |
 Hero Arts White Embossing Powder PW110 Shop at: SSS |
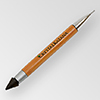 Crystal Katana Pick Up Tool Shop at: SSS |
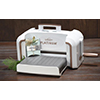 Spellbinders Platinum Die Cutting Machine Shop at: SSS |
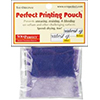 ScraPerfect Crafting Pouch Shop at: SSS |
 Ranger Mini Round Foam Refils Shop at: SSS |
 Ranger Mini Round Ink Blending Tools Shop at: SSS |
 Tonic Deluxe Adhesive Nuvo Glue Shop at: SSS |
 Scrapbook Adhesives Black Foam Tape Shop at: SSS |
 White Fun Foam 12 Pack 9 x 12 Shop at: SSS |
 Scrapbook Adhesives White Foam Squares Shop at: SSS |
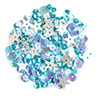 Hero Arts Frost Sequin Mix Shop at: SSS |
 Tonic Studios 8.5 Inch Paper Trimmer Shop at: SSS |
 Tonic Aqua Shimmer Pen Shop at: SSS |


LOVE your card and colors used!!!
Great card and idea’s. I love the colours you used.
Thanks for the inspiration.
Great idea for masculine card! thanks!
What a gorgeous card! So clever idea!
I love the cherub stamps… and love the ombre effect you got on them. I’m looking forward to seeing everything on this hop!
What a great idea to use a different color than the ones we are used to. Very nice card!
I love how you made the score lines! Your cards are super cute.
Very nice card. Love the Valentine stamps. Thanks for sharing…
Great range of blues on this project. Thanks for sharing the technique video.
I just love your cards Yana! Great technique on how to make the backgrounds. I never seem to have enough masculine cards! Keep em’ coming!
Beautiful card! Love the layout of the cupids!
I adore the size of the stamps. Wonderful for creating backgrounds and a single focal point. Thank you Yana…I adore your style.
A simple idea, but so effective!
Love the embossing technique, very nice cards.
I love this masculine card!
Blue is my favorite color, so even though this does work well as a masculine card, I would happily accept this card! The monochrome is so beautiful, and the blues all work so nicely together, down to the sequins. And I love the “homemade” embossing; so simple, but it makes the card feel so much more finished. Thanks for sharing your ideas and creativity!
Love all your cards and ideas! Blue cherubs! Who knew how pretty they would look? You sure did! Just lovely!
Super sweet and romantic!
great effect of scoring the background.
It is different to see a valentine theme card in blue, but it is a very pretty blue which makes the card pretty also.
Your choice of blues is “heavenly.” :o)
Very cool.. I sometimes struggle on how to add embellishments like the sequences on your card. Thank you for the tips.