Welcome back for another episode of the Color Layering with Yana video series! In each one of my monthly videos I explore different ink pad and embossing powder color options for Hero Arts Color Layering sets and will hopefully inspire you to stamp! These videos are published on Hero’s blog and Youtube channel on Mondays following the My Monthly Hero Blog Hops and I’m sharing them on my blog as well.

In this video I am taking a closer look at a brand new Color Layering Nasturtium set! This set has 4 separate layers to create the Nasturtium plant and 2 layers to stamp a butterfly as well as 2 celebratory sentiments.
Like this project? Pin it and save for later | Curious about my project photography? Click for details.
VIDEO TUTORIAL
Watch my video tutorial below or on Youtube to learn how I made the cards I’m sharing today and see me explore various color combinations for this stamp set.
Like this video? Please give it a big thumbs up and share with a crafty friend! Drop me a comment too, I love hearing from you!
COLOR COMBOS FOR NASTURTIUMS!
As always, first thing’s first, let’s take a look at some of the ink pad color options that work well for these trees. Hero Arts suggest ink pads for the Color Layering Nasturtium are Tangerine, Dandelion, Moss and Lime Green.
I looked up images of Nasturtium online – I was wanting to see color inspiration and discovered that usually it comes in yellow, orange, pink and red colors. The beauty of cardmaking is that you can use whatever colors you like for your images; I wanted to stick with the most realistic colors for these cards today.
The colors I used:
Leaves:
- Lime Green & Moss;
- Moss & Forever Green
Flowers:
- Butter Bar & Soft Peach;
- Orange Soda & Tangerine;
- Bubble Gum & Crimson.
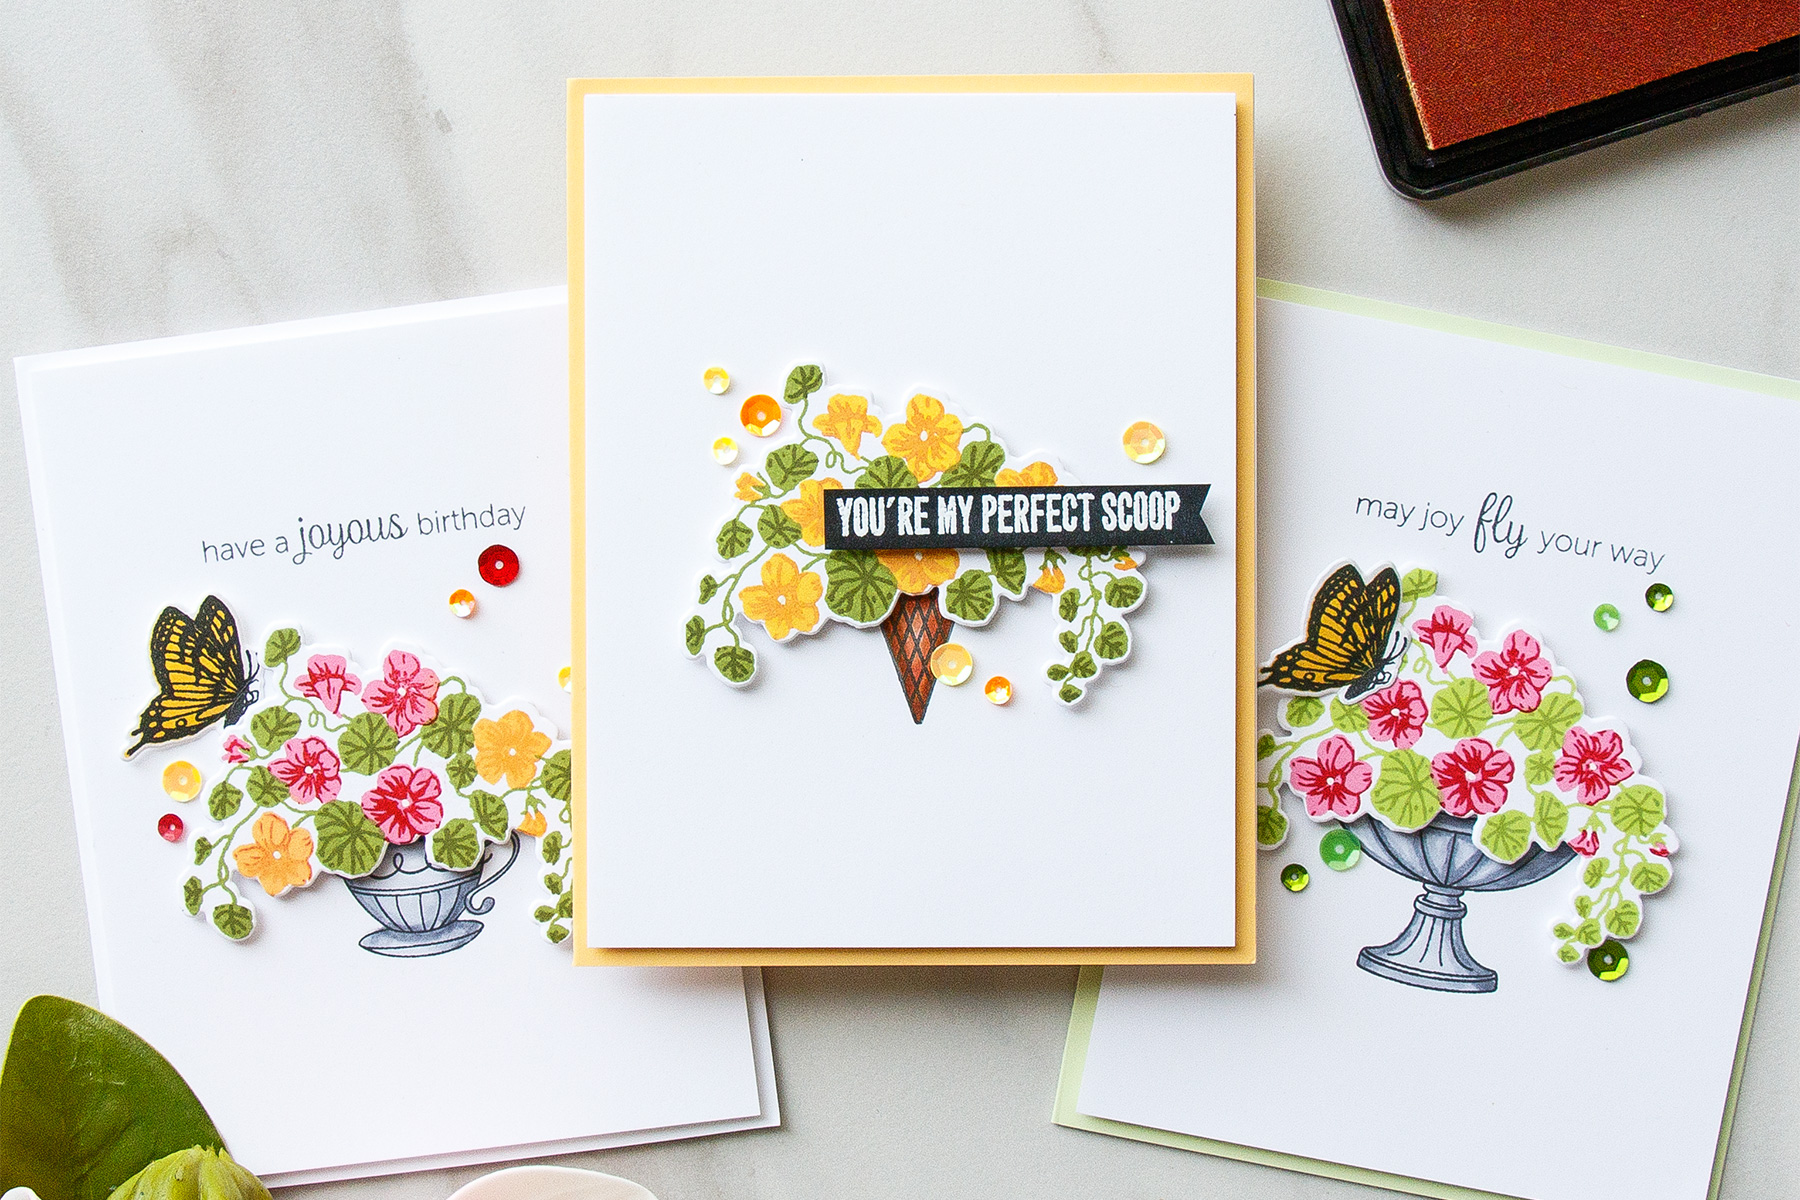
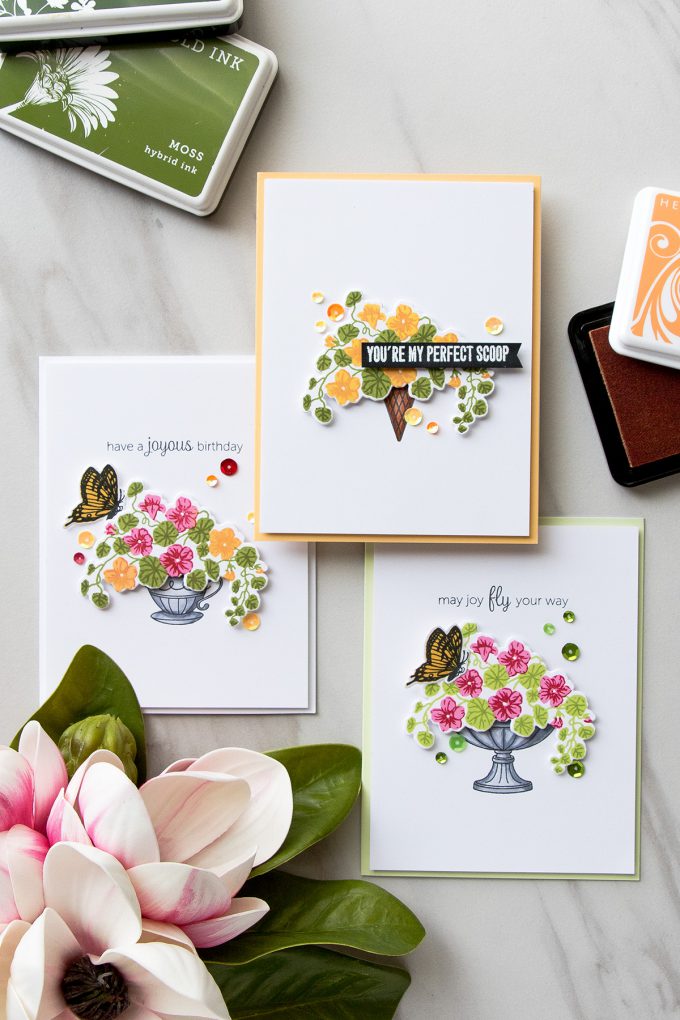
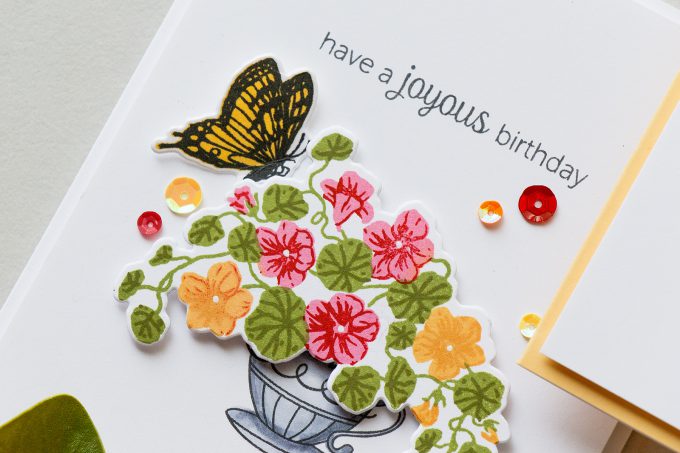
For one of the images I used both yellow and pink colors and I think that turned out wonderfully. I also stamped butterflies using Butter Bar and Black and cut all of these images out with the help of coordinating dies.
CARDS DETAILS
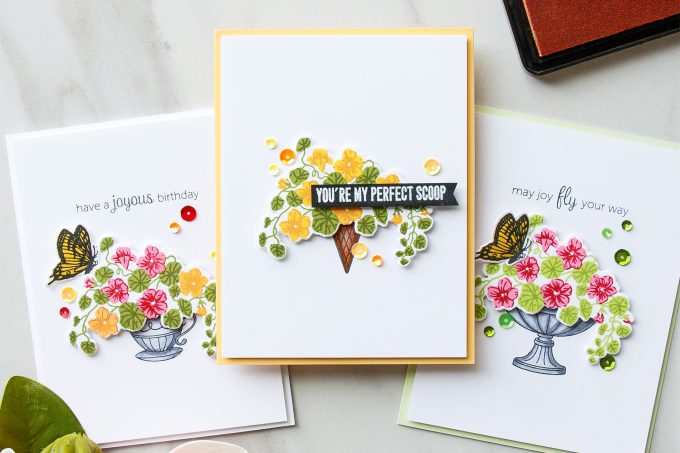
Once I had a die cut piece in my hands it looked to me as it this Nasturtium was needing some sort of container to sit/grow in. I looked through my stash in search of various things I could use to plant my plant in and I came up with a few options.
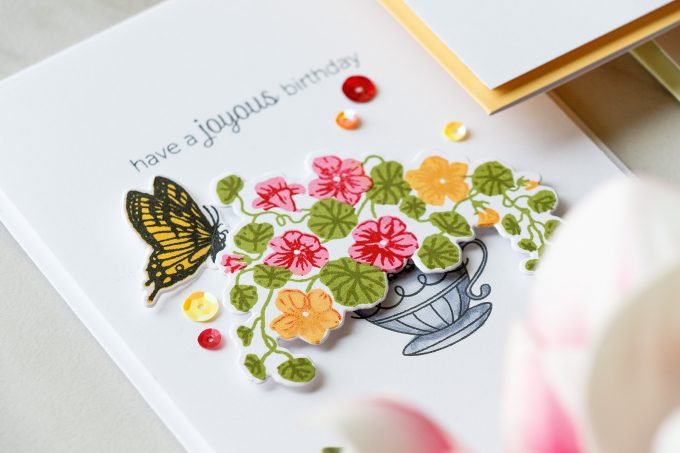
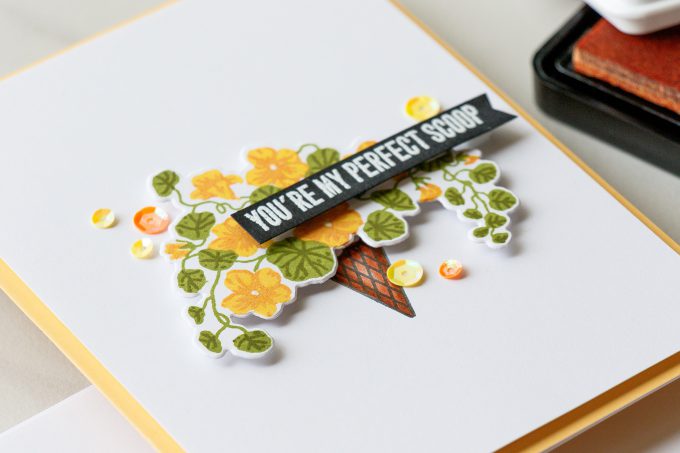
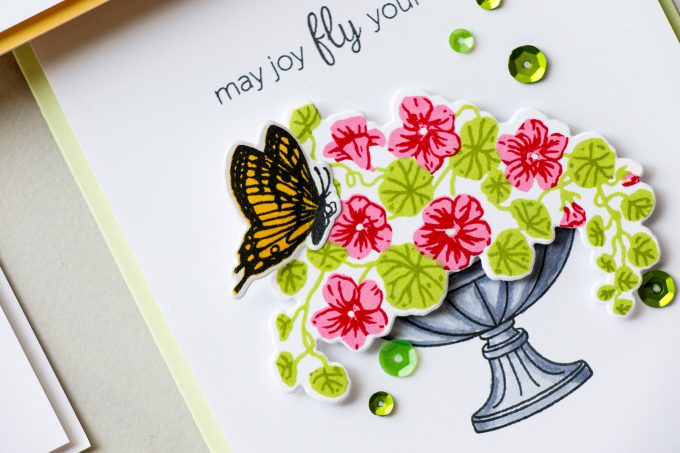
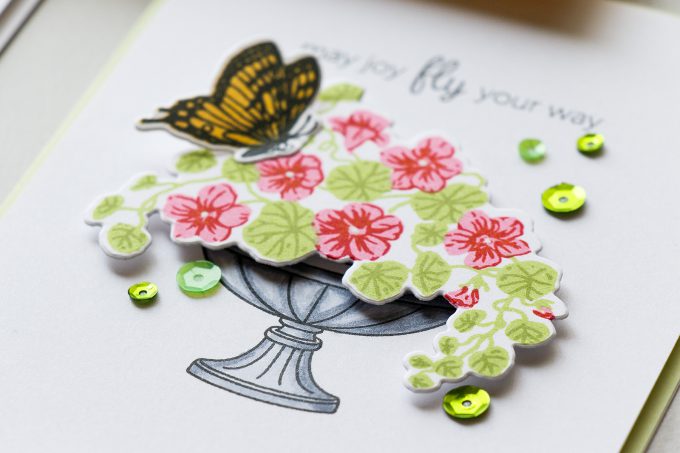
I used a fountain from the Make A Fountain stamp set, a tea cup from the Mouse Tea Party and also an ice cream cone from the Food Puns stamp set. There are many objects that you can use as a pot to house your plant – be sure to look through your stash and see if there’s something that might work.
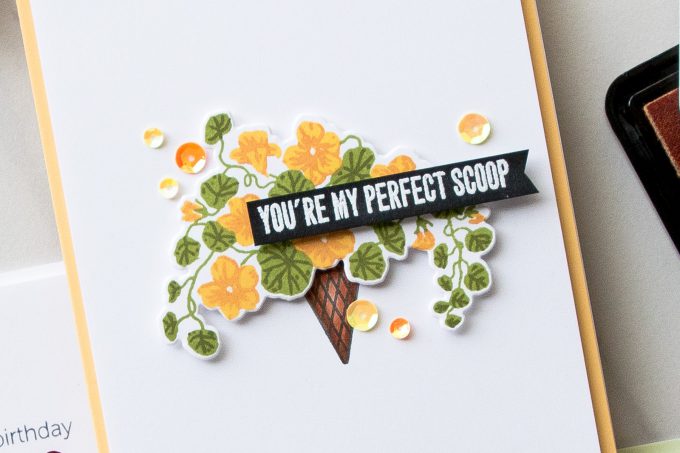
I used Hero Arts Black ink and stamped those images onto white paper. I went with very simple card layout and simply stamped containers in the center of the panel. Some of these images were a bit too big, for example the ice cream image was too tall, so I just inked up the cone, I didn’t need to stamp the ice cream itself, so I didn’t ink that portion of the image. Same goes for the tea cut with the mouse inside – I just inked up the cup and didn’t bother inking up the mouse.
I stamped my sentiment at the same time as my containers and I used two sentiments from the Nasturtium set and also used one that reads You’re My Perfect Scoop to go with the Ice Cream Cone image. Technically I didn’t have the image of a scoop, but I was doing a bit of a word play here having the Nasturtium as the scoop.
Next, I used my Copic markers and did some very basic coloring. I used E37, E15 and E13 to color the ice cream cone. For the other images – the fountain and the coffee cup I went with cool grays – C5, C3 and C1 markers.
I used foam adhesive squares and foam mounted images onto my panel – I personally like the ice cream cone the most – it looked like a perfect floral arrangement to me. I trimmed my sentiment banner into a v-shape on one end and foam mounted onto my panel. I used paper from Sunshine and also Foliage Mix Layering paper sets as well as white cardstock to create colored card bases for my cards. .
I used a white gel pen to create white flower centers – I just felt like I wanted these to be white and I completed these cards by using Ombre Sequins in Ombre Sunshine, Ombre Green and Ombre Blush.
Have you used this stamp set? Do you have a favorite combo for it? Share below!
MORE COLOR LAYERING!
Do you enjoy Color Layering? Check out my Color Layering playlist on Youtube featuring various tips & tricks for using your Color Layering Stamps!
SUPPLIES
I’m listing the products I used below. Click on the link to go directly to the product. Where available I use compensated affiliate links which means if you make a purchase I receive a small commission at no extra cost to you. Thank you so much for your support!
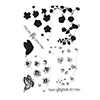 Hero Arts Clear Stamps Color Layering Nasturtium Shop at: SSS | HA |
 Hero Arts Color Layering Frame Cuts Nasturtium Die Set Shop at: SSS | HA |
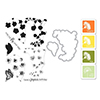 Hero Arts Color Layering Nasturtium Bundle Shop at: SSS | HA |
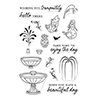 Hero Arts Clear Stamps Make a Fountain Shop at: SSS | HA |
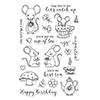 Hero Arts Clear Stamps Mouse Tea Party Shop at: SSS | HA |
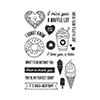 Hero Arts Food Puns Stamp Set Shop at: SSS | HA |
 Hero Arts Snow Layering Papers Shop at: SSS | SC | HA | AZ |
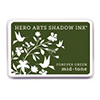 Hero Arts Forever Green Ink Pad Shop at: SSS | HA | AZ |
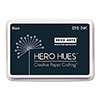 Hero Arts Black Ink Pad Shop at: SSS | SC | HA | AZ |
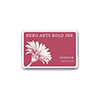 Hero Arts Crimson Hybrid Ink Pad Shop at: SSS | SC | HA | AZ |
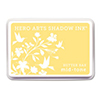 Hero Arts Butter Bar Ink Pad Shop at: SSS | SC | HA | AZ |
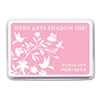 Hero Arts Bubble Gum Ink Pad Shop at: SSS | SC | HA | AZ |
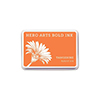 Hero Arts Tangerine Hybrid Ink Pad Shop at: SSS | SC | HA | AZ |
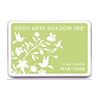 Hero Arts Lime Green Ink Pad Shop at: SSS | SC | HA | AZ |
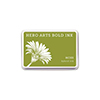 Hero Arts Moss Hybrid Ink Pad Shop at: SSS | SC | HA | AZ |
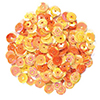 Hero Arts Ombre Sequins Sunshine Shop at: SSS | SC | HA | AZ |
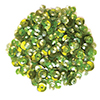 Hero Arts Ombre Sequins Green Shop at: SSS | SC | HA | AZ |
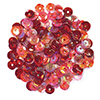 Hero Arts Ombre Sequins Blush Shop at: SSS | HA |
 Spellbinders Platinum Die Cutting Machine Shop at: SSS | SC | SPEL | AZ |
 Simon Says Stamp Black Cardstock Shop at: SSS |
 ScraPerfect Crafting Pouch Shop at: SSS | AZ |
 Hero Arts Heat Embossing Gun PW200 Shop at: SSS | SC | HA | AZ |
 Hero Arts White Embossing Powder PW110 Shop at: SSS | SC | HA | AZ |
 Versamark Watermark Emboss Ink Pad Shop at: SSS | HA | MFT | AZ |
 Mini Misti Stamping Tool Shop at: SSS | SC | MFT | AZ |
 Sakura Quickie Glue Pen Shop at: SSS | AZ |
 Hero Arts Sunshine Mixed Layering Papers PS621 Shop at: SSS | HA | AZ |
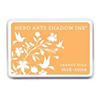 Hero Arts Orange Soda Ink Pad AF224 Shop at: SSS | SC | HA | AZ |
 Hero Arts 12 MIX NOTECARDS FOLIAGE Cards PS570 Shop at: SSS | HA | AZ |
 Copic Sketch Marker C1 Cool Gray Shop at: SSS | AZ |
 Copic Sketch Marker C3 Cool Gray Grey Shop at: SSS | AZ |
 Copic Sketch Marker C5 Cool Gray Grey Shop at: SSS | AZ |
 Copic Sketch Marker E13 Light Suntan Shop at: SSS | AZ |
 Copic Sketch Marker E15 Dark Suntan Shop at: SSS | AZ |
 Copic Sketch Marker E37 Sepia Brown Shop at: SSS | AZ |
 Scrapbook Adhesives White Foam Squares Shop at: SSS | SC | AZ |
 Tonic Deluxe Adhesive Nuvo Glue Shop at: SSS | SC |


Beautiful nasturium cards, love your color combos!
All three cards are simple yet beautiful and warm. Thanks for the great video explaining how you did it and information on the stamp set. Very helpful. I luv the addition of the little butterfly and the vase. Thanks for sharing.
Beautiful nasturtium cards! Your color combos are lovely!
So soft and positively beautiful!
No, I haven’t used this set yet but it is really beautiful, especially how you used it. I love the various vessels you chose to put the floral’s in, very clever.
So beautiful!!
Beautiful cards. Yana, I watched your “packing” video on youtube and it brought tears to my eyes. I know you haven’t been in Phoenix long, and had a small area for crafting, but you make such beautiful things. It would break my heart to leave so much behind, but I’m certain you need very few things to create. I did laugh when I saw how little suitcase space was devoted to clothes—all your crafting supplies instead. I hope you packed some warm clothes (or someone will meet you at the airport with a big coat!). Safe travels.
I love these cards Yana, and I love the use of the stamps (water fountain, ice-cream cone and tea cup) for containers for the layered flowers. It shows us crafters that our stamps can be stretched and use for different uses. I definitely will be looking at my stamps with open eyes and seeing if they can be used for anything else in projects. :O)