This post is also available in English
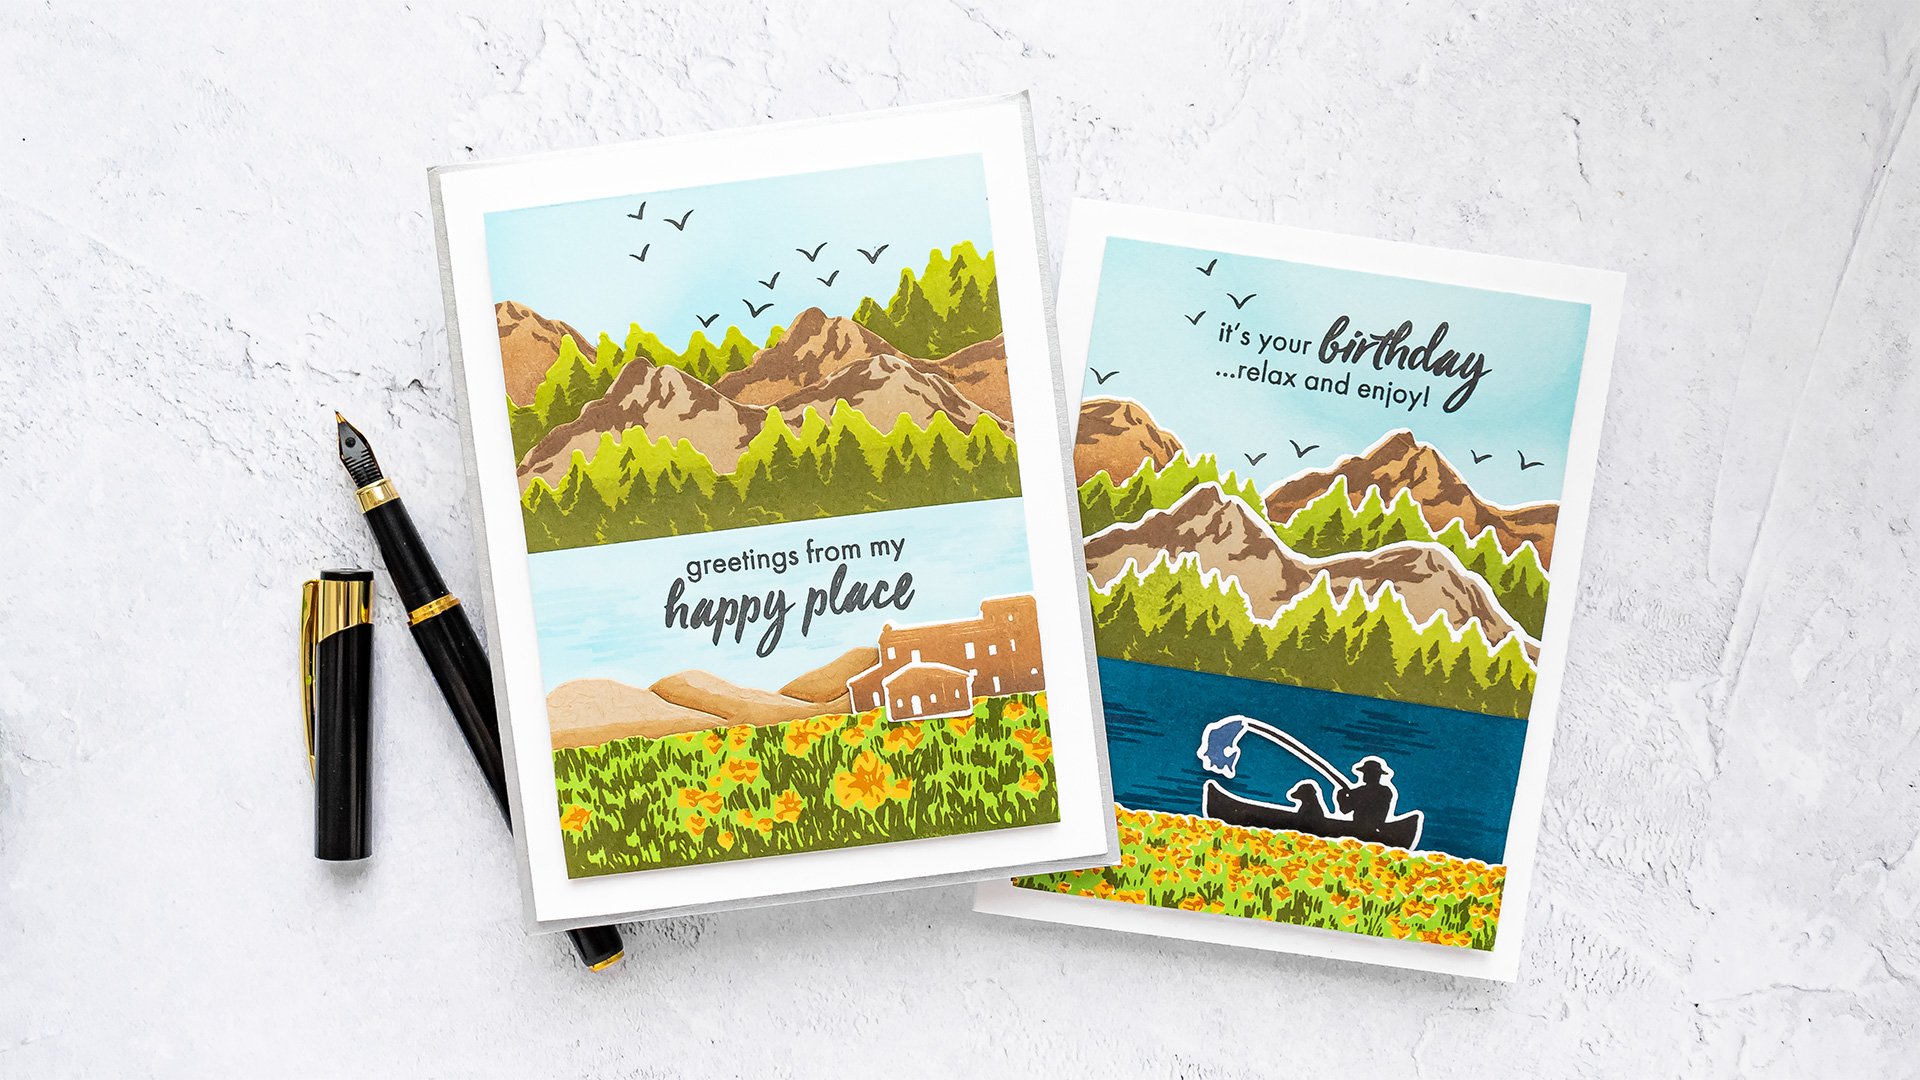
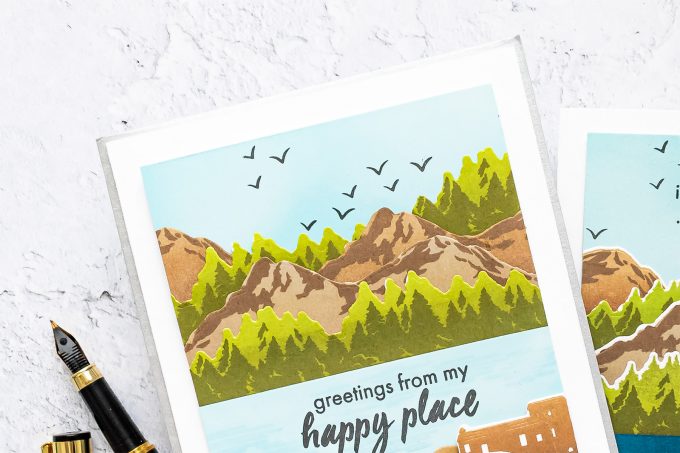
Hello, friends! Sharing the new episode from my monthly “Color Layering with Yana” series with Hero Arts featuring Color Layering Mountains at the Lake stamp set.
Do these stamps look familiar? They were first released as a My Monthly Hero Kit back in July 2019 and were voted by you as the favorite My Monthly Hero Kit of 2019 in our annual poll! Hero Arts has re-released the stamps from the winning kit, including both Color Layering Mountains at the Lake and Color Layering Pier at the Lake, in the new 2020 Catalog. These are fantastic sets and I’m very happy to see them available this year. Join me as I play around with the Color Layering Mountains at the Lake set and show you how to combine it with other stamps from Hero Arts to make colorful greeting cards.
Like this project? Pin it and save for later | Curious about my project photography? Click for details.
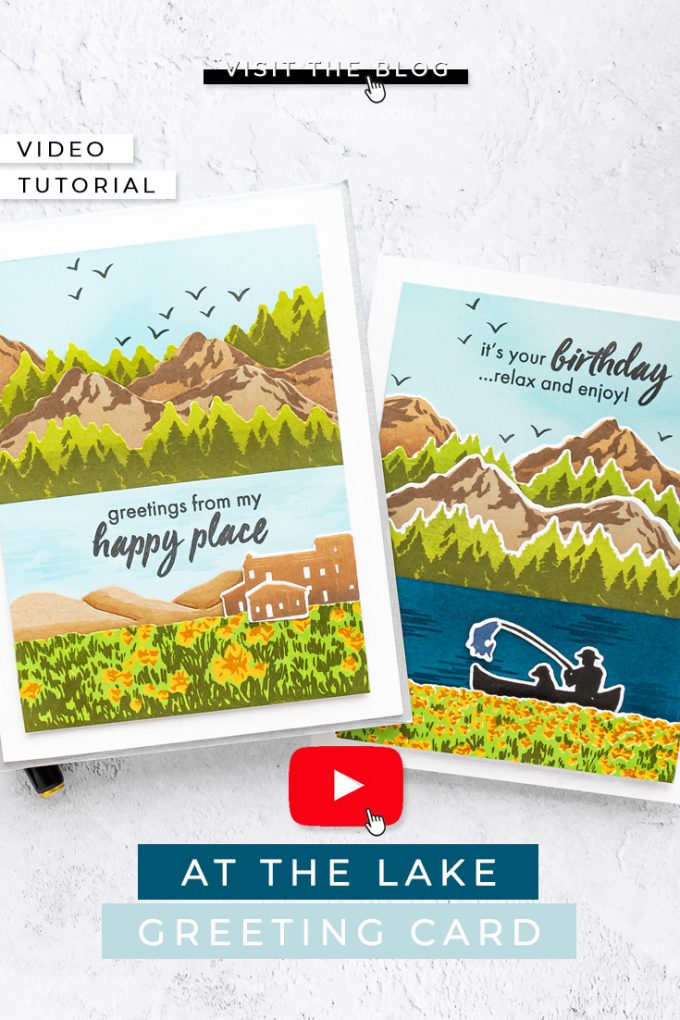
VIDEO TUTORIAL
As always, I filmed a video tutorial showing how to create this project from start to finish. I’m hoping you’ll enjoy it. Watch it below or on my Youtube channel.
Like this video? Please give it a big thumbs up (you can do this on Youtube video page right under the video) and share it with a crafty friend! Leave me a comment too, I love hearing from you!
CARD DETAILS
The Color Layering Mountains at the Lake stamp set has 2 layering elements – there is a layering forest and a layering mountain and both of these consist of 2 layers. You’ll need just 2 colors of ink to stamp these images – a lighter and a darker color.
When it comes to stamping solid images I love to use Hero Arts ombre inks as they easily give my solid images additional details. To stamp the base layer of the forest I used Lime to Forever Green ombre. To stamp the detail layer I used Forever Green ink.
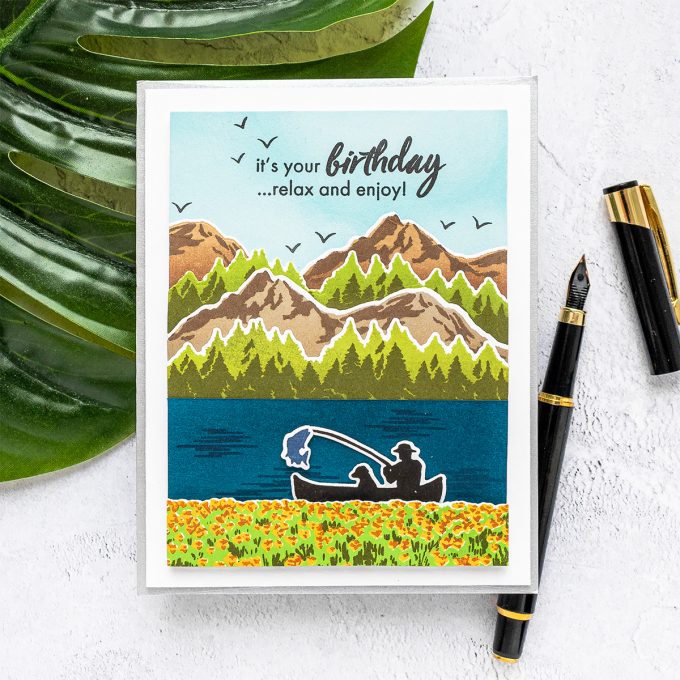
There are coordinating dies available that will allow you to cut these images out. What I love about these, since the die is just a border die, is that you can position it so that you don’t have a white edge to your die cut. I’m sharing 2 cards today with a very similar layout, one has die cuts with a white border and has die-cuts without the white border, all made using the same supplies. Sometimes I like my die cuts to have that white border, but sometimes I don’t and I have the option to go either way with these dies.
The second layering element in the Color Layering Mountains at the Lake stamp set is the image of the mountains. This, again, I stamped using ombre ink – the Soft Brown to Cup of Joe ink.
I also used Wet Cement ink to stamp the image of another mountain. I didn’t clean my stamp, so it had a lot of the residual ink from the brown ombre ink pad, but I’ve inked it up with Wet Cement to have a slightly lighter mountain for the card. Because I had residual ink the bottom of the mountain still looks a bit darker as if I used an ombre ink pad.
The mountain image can be stamped in a variety of colors. You can use gray and white for a snowy mountain, you can use purples, yellows, or pinks, for example, for mountains covered in pretty flowers. So think outside the box and don’t limit the mountain colors just to gray or brown.
The detail layer for this image lines up against the top edge and it is easy to align. I used dark brown, Cup of Joe ink to stamp the detail layer.
As with the forest, there is a coordinating die available and I used mine to cut the mountains out so that there isn’t any white border.
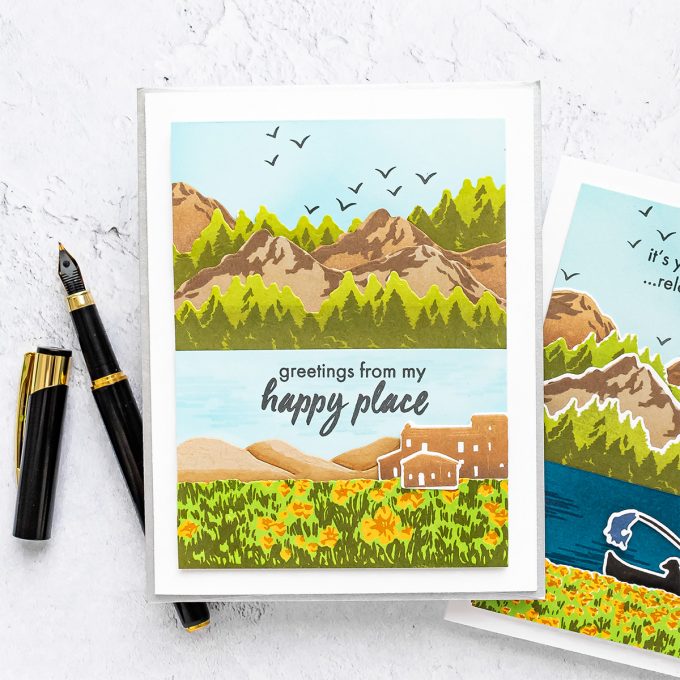
What is fantastic about the Color Layering Mountains at the Lake stamp set is that it is a great scene building set. Therefore, it can be easily used with many other stamp sets from Hero Arts. Last month, in the previous Color Layering episode I showcased the Tulip Field HeroScape set and I thought it would be wonderful to combine the two stamp sets to set a scene for my card.
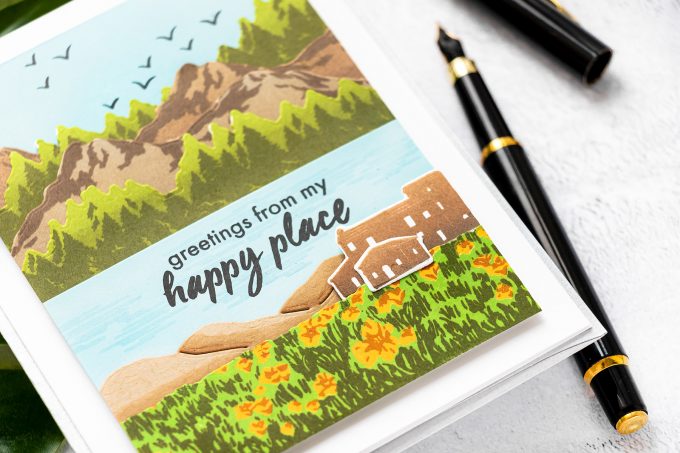
The coordinating dies also cut additional panels, one with the forest, I didn’t use it today, and one with the hills. I’ve cut the hills from Sand cardstock and to add some color and definition I’m using my Copic markers in E33 and E31.
Next, I ink blended or rather dabbed some white ink onto the panel that represents the sky, I shared this technique in my previous video, it is a neat trick to soften the cardstock color and add barely visible clouds to the scene. I also added the same ink blending to the water panel, to mimic waves.
Next, I used glue and adhered all of the separate components down to create a card front. I trimmed the panel down to even out the edges and stamped the waves using Embossing & Watermark ink. These don’t show much, but they add subtle detail to my scene.
I adhered the house (from the Lavender Field HeroScape set), stamped a sentiment and a few seagulls. Finally, I adhered the panel onto the A2 white card base.
My second card was finished in the same way and if you look closely you’ll notice that I used one Tulip Field HeroScape die-cut for both cards. The card with the fisherman (comes from the Color Layering Pier at the Lake set) has the top part of that Tulip Field die cut and the other card has the bottom part of that die cut.
These cards were an absolute pleasure to make and I’m looking forward to using the Color Layering Mountains at the Lake stamp set with other Hero Arts stamp sets from my stash. I can see making stunning scenes all year round and not just scenes by the lake.
Have fun stamping!
MORE COLOR LAYERING!
Do you enjoy Color Layering? Check out my Color Layering playlist on Youtube featuring various tips & tricks for using your Color Layering Stamps!
SUPPLIES
I’m listing the products I used below. Click on the link to go directly to the product. Where available I use compensated affiliate links which means if you make a purchase I receive a small commission at no extra cost to you. Thank you so much for your support!
 Hero Arts Color Layering Mountains at the Lake Shop at: SSS | SC | HA |
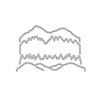 Hero Arts Mountains at the Lake Dies Shop at: SSS | HA |
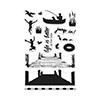 Hero Arts Color Layering Pier at the Lake Shop at: SSS | SC | HA |
 Hero Arts Color Layering Pier at the Lake Dies Shop at: SSS | HA |
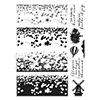 Hero Arts Clear Stamps Tulip Field Heroscape Shop at: SSS | SC | HA |
 Hero Arts Frame Cuts Dies Tulip Field Heroscape Shop at: SSS | HA |
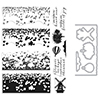 Hero Arts Tulip Field Color Layering Heroscape Shop at: SSS | SC | HA |
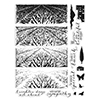 Hero Arts Clear Stamps Lavender Field Heroscape Shop at: SSS | SC | HA |
 Hero Arts Frame Cuts Dies Lavender Field Heroscape Shop at: SSS | HA |
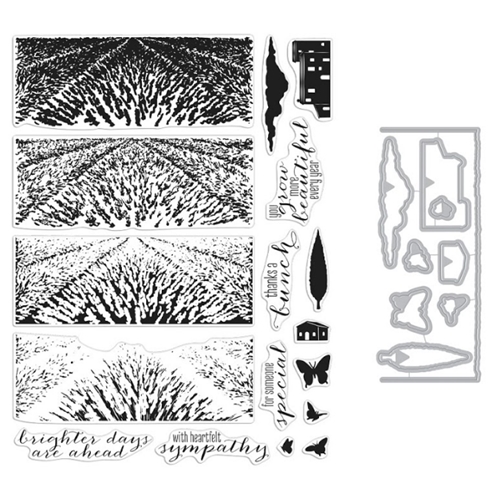 Hero Arts Lavender Field Color Layering Heroscape Shop at: SSS | SC | HA |
 Hero Arts Hero Hues Cardstock – Sand Shop at: SSS | SC | HA | AZ |
 Hero Arts Hero Hues Cardstock Arctic Shop at: SSS | SC | HA | AZ |
 Hero Arts Hero Hues Cardstock Dove White Shop at: SSS | SC | HA |
 Hero Arts Hero Hues Premium Cardstock Adriatic Shop at: SSS | SC | HA | AZ |
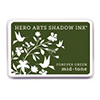 Hero Arts Forever Green Ink Pad Shop at: SSS | HA | AZ |
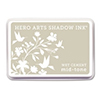 Hero Arts Wet Cement Ink Pad Shop at: SSS | HA | AZ |
 Hero Arts Unicorn White Pigment Ink Pad Shop at: SSS | HA | AZ |
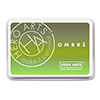 Hero Arts Ombre Lime to Forever Green Ink Pad Shop at: SSS | SC | HA | AZ |
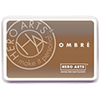 Hero Arts Ombre Sand to Chocolate Brown Ink Pad Shop at: SSS | SC | HA | AZ |
 Mini Misti Stamping Tool Shop at: SSS | SC | HA | AZ |
 Hero Arts Clear Embossing & Watermark Ink Shop at: SSS | SC | HA | AZ |
 Hero Arts Ink Pad Intens-ified Black Shop at: SSS | SC | HA |
 Spellbinders Circle Replacement Foam Shop at: SSS | SC | SB | AZ |
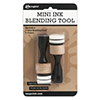 Ranger Mini Round Ink Blending Tools Shop at: SSS | SC | AZ |
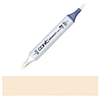 Copic Sketch Marker E31 Brick Beige Shop at: SSS | AZ |
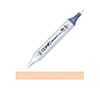 Copic Sketch Marker E33 Sand Shop at: SSS | AZ |
 Simon Says Stamp Craft Tacky Glue Shop at: SSS |
 FSJ Grid Paper Shop at: SB |
 Spellbinders Deep Sea Die Cutting Machine Shop at: SSS | SC | SB | AZ |


