This post is also available in English
Hello, friends! Thank you so much for stopping by today as we celebrate the launch of Hero Arts Color Layering Catalog and new ink pad sets.
This is what Hero Arts says about Color Layering:
Color Layering uses the technique of stamping progressively, building color and detail, resulting in an elegant, dimensional look. We’ve asked our talented group of artists to recommend their favorite colors to best highlight each Color Layering stamp set. The results have been developed into 4-cube ink packs, featuring the championing artist’s name. While the inks were developed with a specific stamp set in mind, the packs offer wonderful and rich versatility; you’ll find they work well with most any set and often produce stunning and unexpected results.
We’ve also introduced a fabulous new Color Layering stamp set with this release – the Color Layering Pineapple and coordinating Color Layering Pineapple Frame Cuts. There’s also an ink cube pack for this set, Hero’s Pineapple.
I was so thrilled to contribute to this catalog and even more trilled to work with two my favorite Color Layering stamp sets from Hero – Gold Fish and Flamingo. It was not an easy task to pick up the right colors for these images, I did a TON of test stamping to see what colors would work best and also what colors I would like best for these sets. I also included a technique for each of my cards (and ink cube packs) that really lets you get more out of your inks.
GOLD FISH COLOR LAYERING & YANA’S BOLDS INK CUBE SET
Like this project? Pin it and save for later!
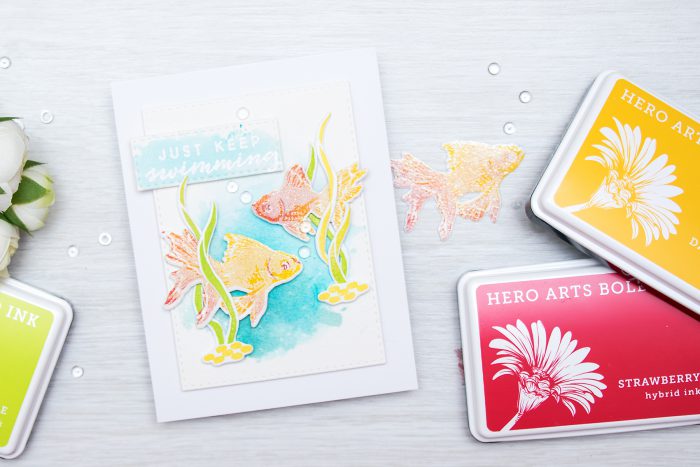
I’ll start with Gold Fish and my Yana’s Bolds Ink Cube Set (its so weird to see my name on a product! but good weird for sure). The colors of ink in the set are Dandelion, Strawberry, Green Apple (all 3 are new hybrid inks) and Unicorn White (pigment ink).
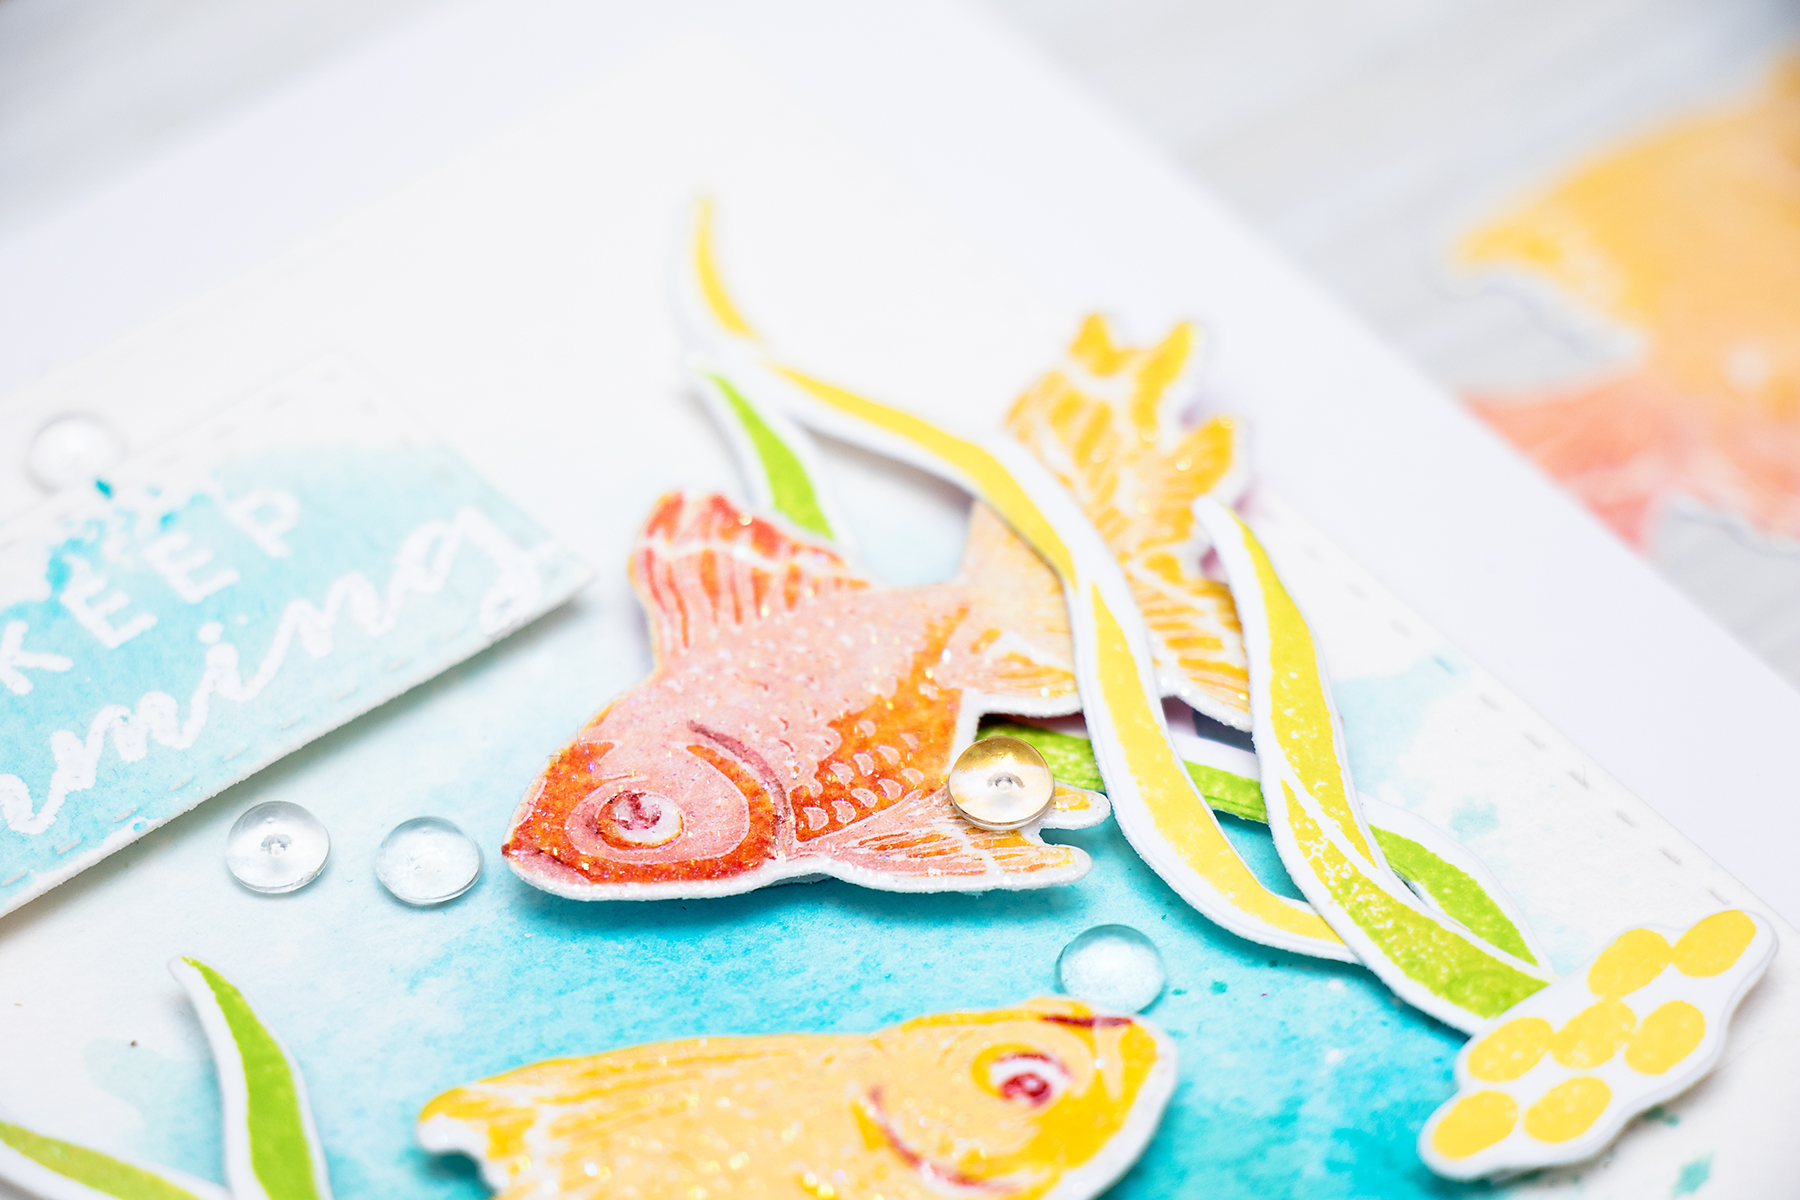
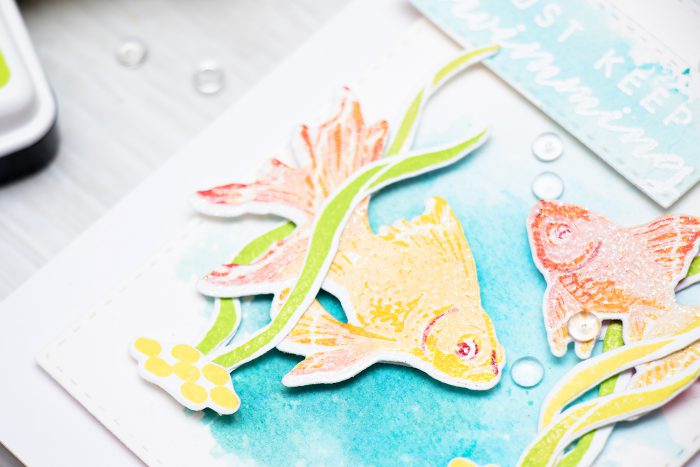
The white ink is used to “mute” the bright yellow and red. By using this technique I’m able to reverse where the bright colors are on the fish. See THIS card example (and video) to see how you stamp these images differently.
Here’s the step-by-step breakdown of the stamping process:
- Step 1: ink the fish bottom layer (first layer) using Dandelion. Ink the tail using Strawberry. Mix the colors on the stamp with your fingertip or a q-tip. Stamp the image. When mixing ink with a fingertip you’ll get visible fingerprints on the image, but after you add next layers they will become invisible.
- Step 2: Stamp again with Dandelion only (this helps to mix the colors even more), use MISTI stamping tool for precise stamping.
- Step 3: Ink the fish detail layer (second layer) with White Pigment ink, stamp. Heat set or set aside for ink to dry on its own.
- Step 4: Die cut using a matching die or cut out with scissors.
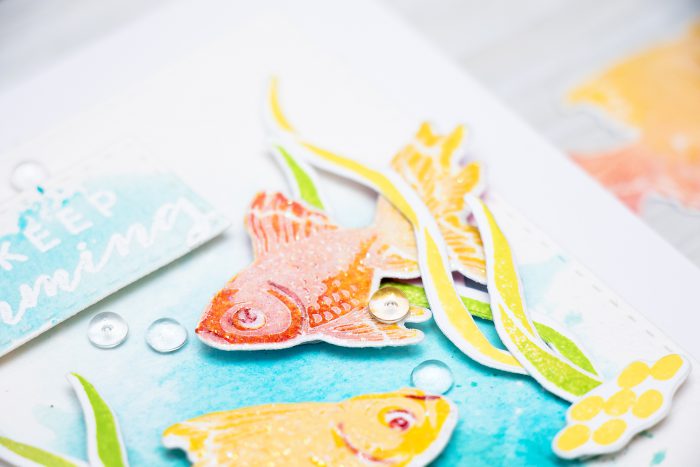
- Step 5: Ink up the die cut with embossing ink, heat emboss with Sparkle embossing powder to make the fish look wet.
I also included Green Apple ink in my ink set – I love to use this color to stamp sea grass, although its a great option to try for the fish too, it works beautifully with Dandelion.
To create my card I stamped & die cut fish, sea weed and sea floor; to create the background I did ink smooshing with watercolors over watercolor paper and finally I heat embossed “Just Keep Swimming” in white embossing powder.
You’ll notice I added quite a lot of clear droplets, these are from Pretty Pink Posh – I think they work beautifully here adding faux air bubbles to the card.
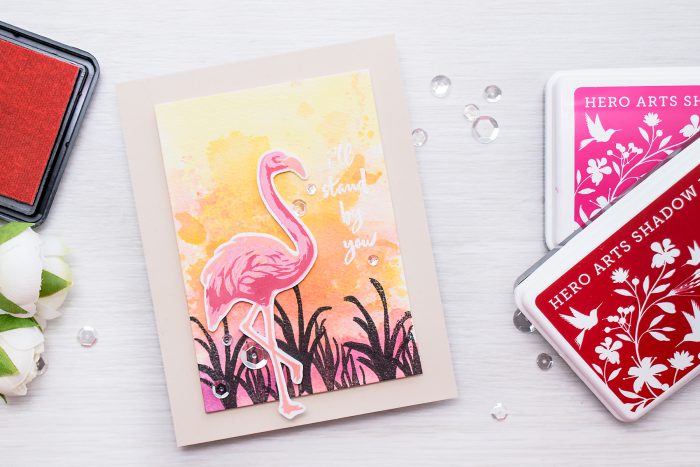
FLAMINGO COLOR LAYERING & YANA’S SUNSET INK CUBE SET
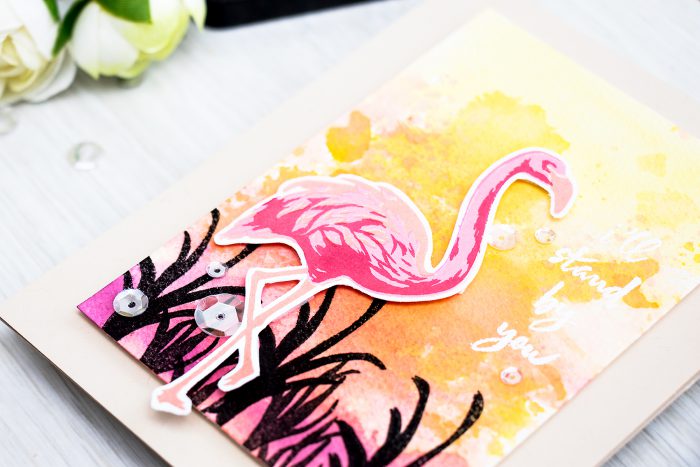
My second card and set is using Flamingo and Yana’s Sunset ink cube set. The colors of ink in the set are Soft Cantaloupe, Ultra Pink, Unicorn White and Red Royal. All but Unicorn are dye inks, Unicorn is pigment.
Whenever I think about flamingos I picture a vibrant sunset background and lots of bright colors, so that picture in my mind inspired this card. I also have another card HERE using Flamingo stamp and slightly different ink colors.
Here’s the step-by-step breakdown of the stamping process:
- Step 1: Stamp bottom layer + legs of flamingo in Soft Cantaloupe.
- Step 2: Stamp middle layer in Unicorn White. Stamp middle layer again in Ultra Pink.
- Step 3: Stamp top layer in Red Royal.
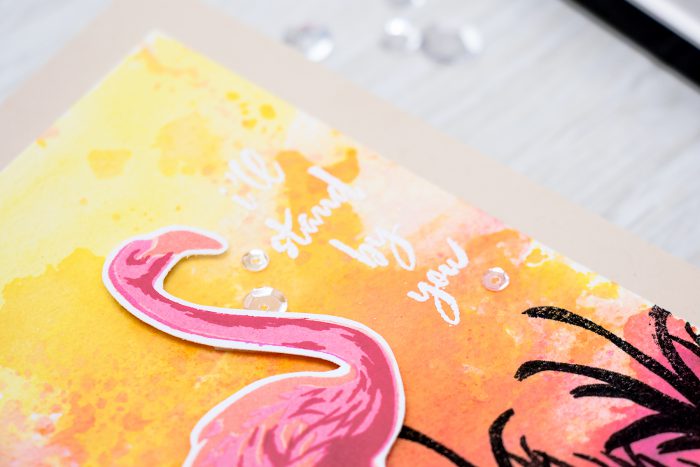
You can also use black or another dark color to stamp the beak, but I skipped this step. To create the background I did some more ink smooshing with my watercolors and also stamped grass in black ink. My sentiment, I’ll stand by you, was heat embossed in white right next to the flamingo.
GIVEAWAY
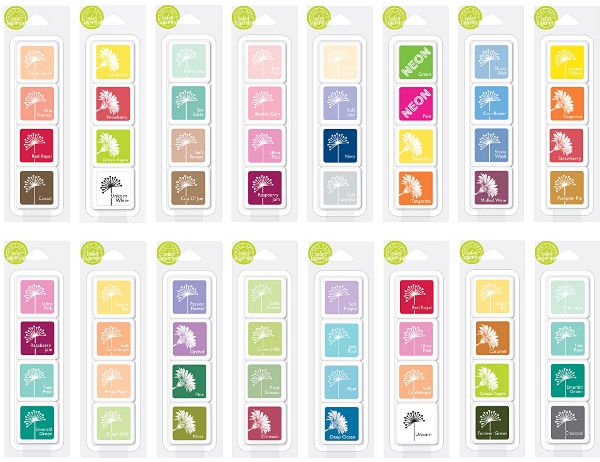
Hero Arts will give away a Color Layering Bundle of the winner’s choice to FIVE lucky blog readers – selected from comments left across all blogs in the hop.
Comments close Sunday June 19 at 11:59pm pt, Hero Arts will announce winner the following week.
BLOG HOP
If you arrived from Kelly Rasmussen (and her gorgeous Kelly’s Flower set), the next stop on this hop is Amy Tsuruta (and her amazingly unexpected Shades of Green’s set). If you get lost, start over at The Hero Arts Blog.
SUPPLIES
I’m listing the products I used below. Click on the link to go directly to the product. Where available I use compensated affiliate links which means if you make a purchase I receive a small commission at no extra cost to you. Thank you so much for your support!
 Tsukineko VersaFine Onyx Black Ink Pad Shop at: SSS |
 Hero Arts Snow Layering Papers PS610 Shop at: SSS | SC | HA |
 Ranger .5 Oz. Multi Medium Matte Adhesive Shop at: SSS | PPP |
 Scrapbook Adhesives White Foam Squares Shop at: SSS |
 ScraPerfect Perfect Crafting Pouch Multi-Purpose Craft Tool Shop at: SSS |
 Simon Says Stamp Stitched Rectangles Dies Shop at: SSS |
 Versamark Watermark Emboss Ink Pad Shop at: SSS | HA |
 Spellbinders Artisan X-plorer Die Cutting Machine Shop at: SSS | SC |
 Hero Arts White Embossing Powder PW110 Shop at: SSS | HA |
 Hero Arts Sparkle Embossing Powder PW105 Shop at: SSS | HA |
 Zig Kuretake Gansai Tambi 24 COLOR SET Shop at: SSS |
 Arches COLD PRESS WATERCOLOR PAD 9×12 inches 012852 Shop at: SSS |
 Pretty Pink Posh Sparkling Clear Sequins Mix Shop at: SSS | PPP |
 Pretty Pink Posh 4MM Clear Droplets (small) Shop at: SSS | PPP |
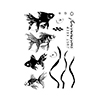 Hero Arts Color Layering Gold Fish Stamp Set CL945 Shop at: SSS | SC | HA |
 Hero Arts Color Layering Gold Fish Dies DI176 Shop at: SSS | SC | HA |
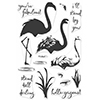 Hero Arts Color Layering Flamingo Stamp Set CL962 Shop at: SSS | SC | HA |
 Hero Arts Color Layering Flamingo Dies DI183 Shop at: SSS | SC | HA |
 Mini MISTI Stamping Tool Shop at: SSS |
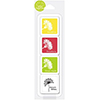 Hero Arts Color Layering Yana’s Bolds Ink Cube Set AF357 Shop at: SSS | HA |
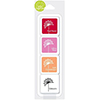 Hero Arts Color Layering Yana’s Sunset Ink Cube Set AF361 Shop at: SSS | HA |
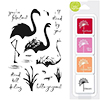 Hero Arts Color Layering Yana’s Flamingo Bundle Shop at: HA |
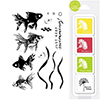 Hero Arts Color Layering Yana’s Gold Fish Bundle Shop at: HA |


Always excited to see what you created:)
I love the bold colors on these cards. Great technique using the white ink to mute the bright colors on the fish. Both your cards are so fabulous!
Your cards are always so beautiful! Thank you for the tips!
Gorgeous cards! Love the colors! Wonderful background you created behind the flamingo!!!
Beautiful Love the flamingo
Great cards. So bright and happy.
Love the versatility of the inks for two different cards. Thanks your cards are beautiful
Gorgeous cards.
Oh my, your colours look amazing!
Yana you always inspire me! Now I have to have both sets!
Interesting use of white ink. I like it.
What pretty cards!
Thanks for the giveaway and have a great week!
Fantastic cards, as usual!! I especially love your Sunset Ink combo!
I never thought I’d like to put fish on a card, but these are so beuatiful!
Love your fishies card and of course, living in Florida, the flamingo card. Wow!
Wonderful, thank you
Beautiful cards Yana!
I have never done color layering before…next on my to do list!
Thanks for the inspiration 🙂
How exciting for you to have an awesome HA product named in your honor. Love the bright colors and the design of this card. Wonderfully done!
Can you tell me where I can find a blank color chart for all Hero Arts ink cubes. Thank you for your time.
Sorry, Bonnie. I made mine myself, I don’t know if there’s a download available