This post is also available in English
Hello crafters! I’m back from my trip to the UK (I have been back for more than a week now, actually), I mentioned in one of the previous videos that I was going on a work trip to demo the Spellbinders Glimmer Hot Foil Machine and the new October Glimmer release at a few local stores in the UK as well as on one of the shopping channels – Hochanda. If you follow me on Instagram stories you might have already seen some photos from the trip, it was one of the best work trips I’ve ever been on, probably due to the fact that the trip was to England and I really love the UK.
I did a lot of prep work for this trip and created 15 cards all featuring the new October 2019 Glimmer release from Spellbinders. I demoed many of these on-air, but I don’t think I got to show them all, so I thought I’d film this video tutorial and share some of the best Glimmer Tips & Trips, some cool techniques and just show you the new release and of course lots of card ideas.
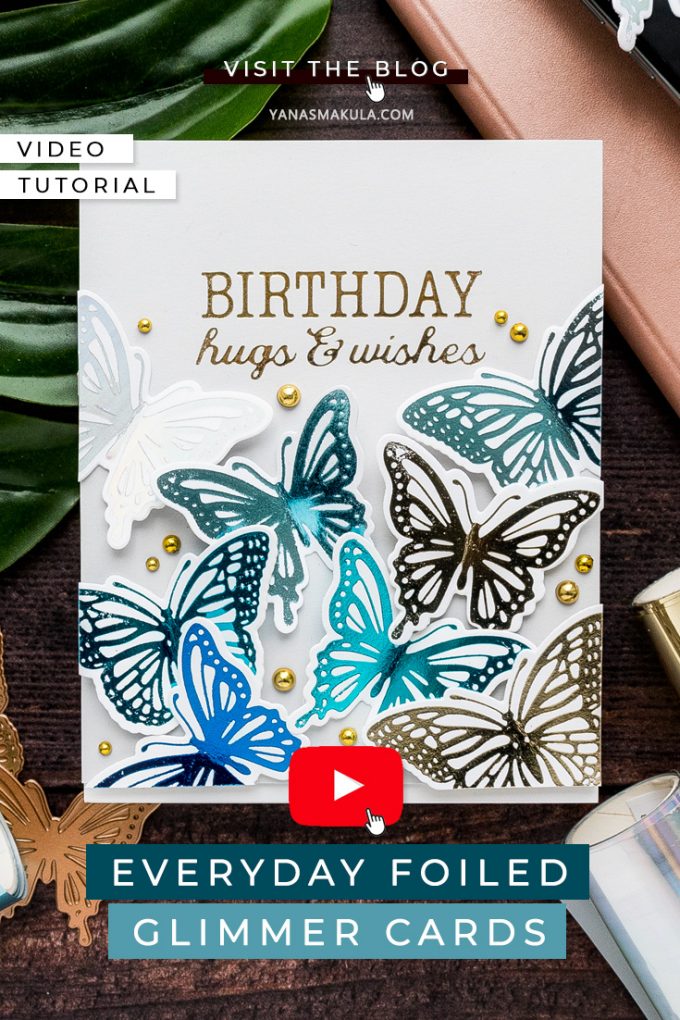
Like this project? Pin it and save for later | Curious about my project photography? Click for details.
VIDEO TUTORIAL
Watch the video below or on my Youtube channel.
Like this video? Please give it a big thumbs up (you can do this on Youtube video page right under the video) and share it with a crafty friend! Leave me a comment too, I love hearing from you!
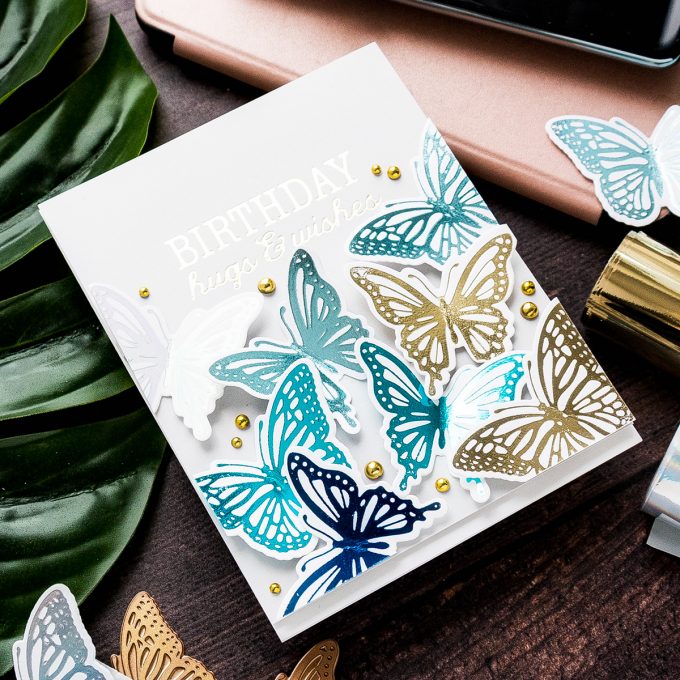
FLUTTERING BUTTERFLIES CARD WITH OMBRE FOILS
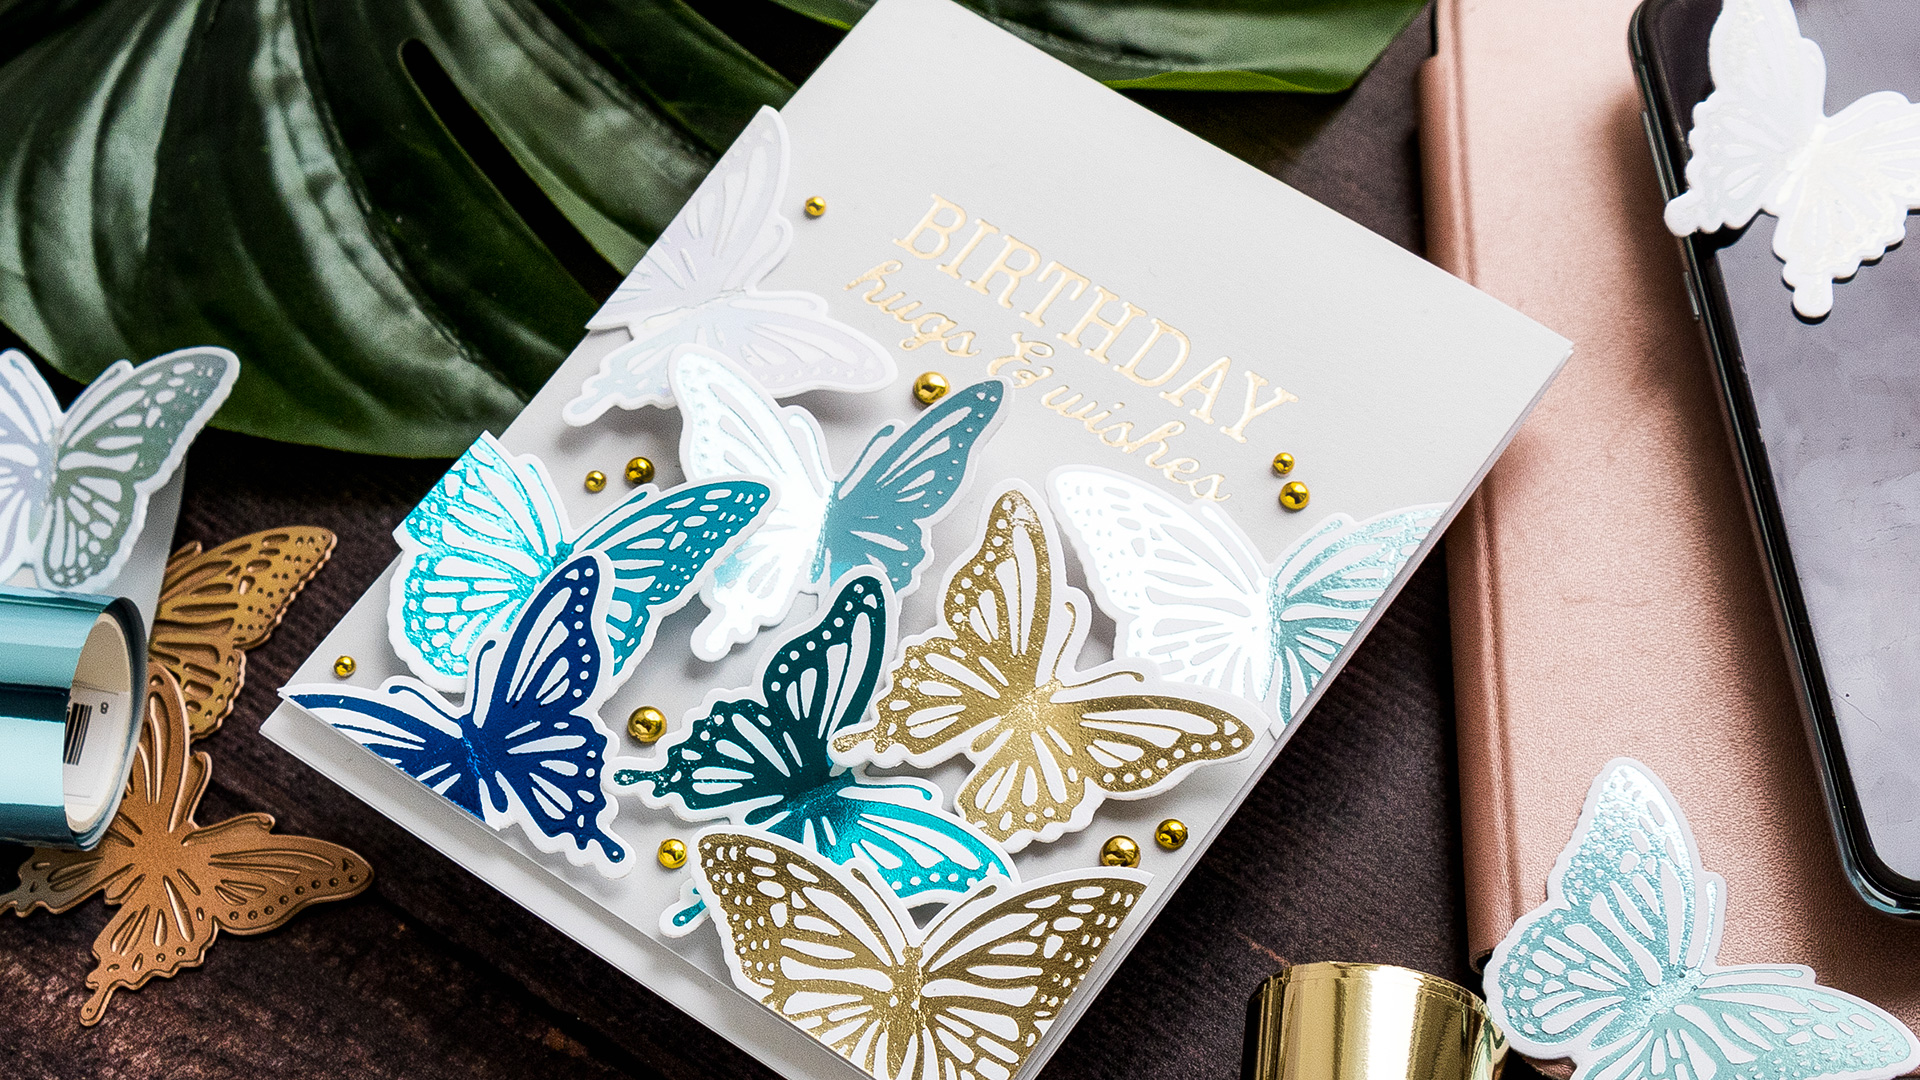
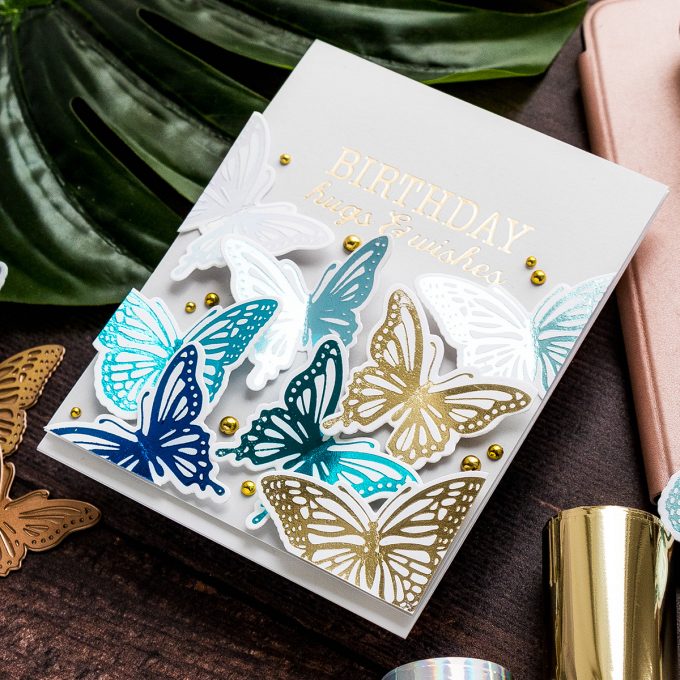
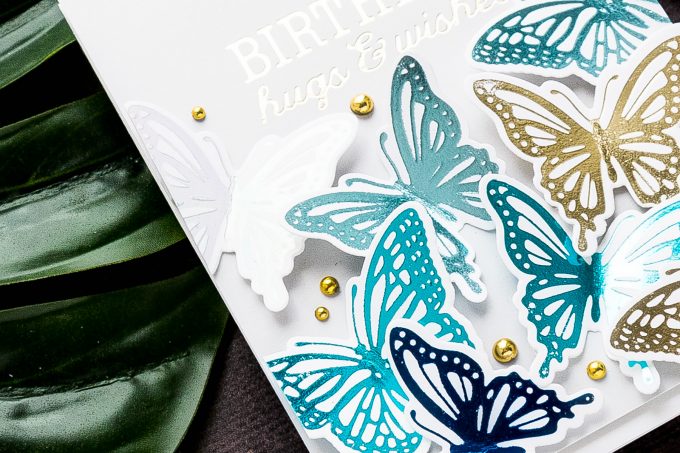
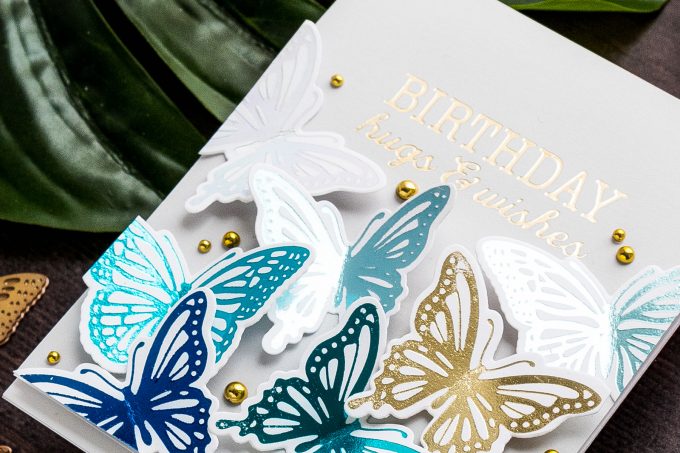
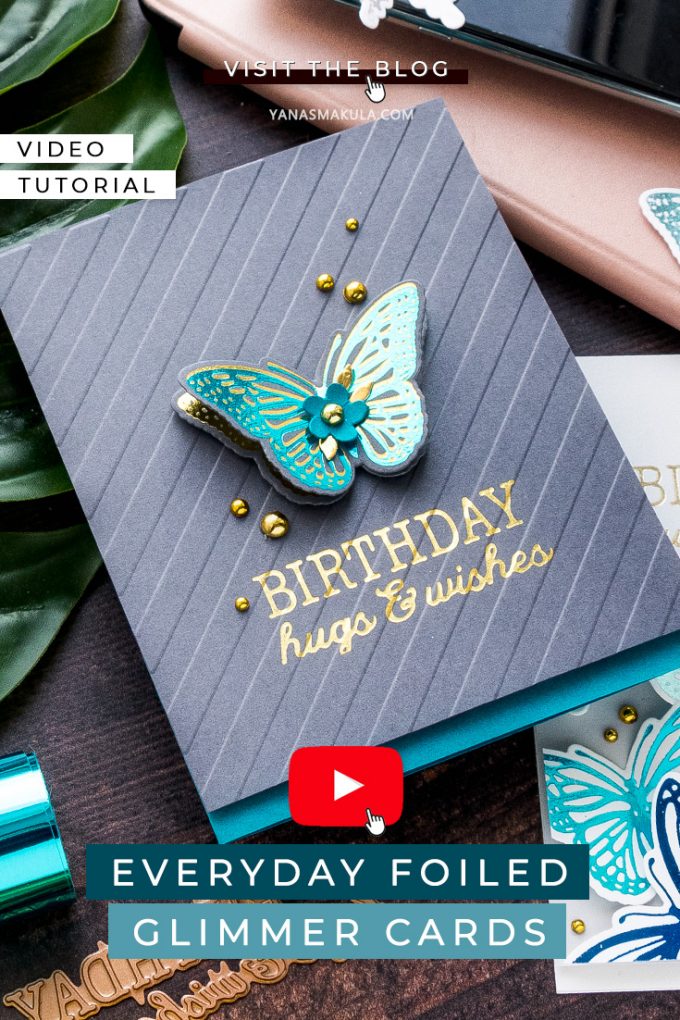
My absolute favorite card is this one with the butterflies. The foil makes them look like they are fluttering their wings and they are about to take off and fly away. This card is very easy to make and doesn’t take too much time. It’s also easy to mass produce if you’re thinking of making it into a Thank You card or something of the sort. Mine’s a Birthday card, but the sentiment can be of course changed to a different one.
You’ll need to use several colors of foil, I like to work with the following 4 and add some variation of gold to the mix: Prizm, Sky Bright, Teal, and Cobalt Blue. I have used them in the same combination before to foil a very solid ombre background and I have a video tutorial showing that.
I foiled each butterfly in each color foil and butterflies in champagne. I didn’t actually need quite as many for my card, but I foiled more anyways and simply saved the foiled butterflies for a future project.
These glimmer plates come with coordinating dies (already included in the set, no need to purchase separately). This is one of the things I love most about them – you have the dies to cut the images out, no fussy cutting needed.
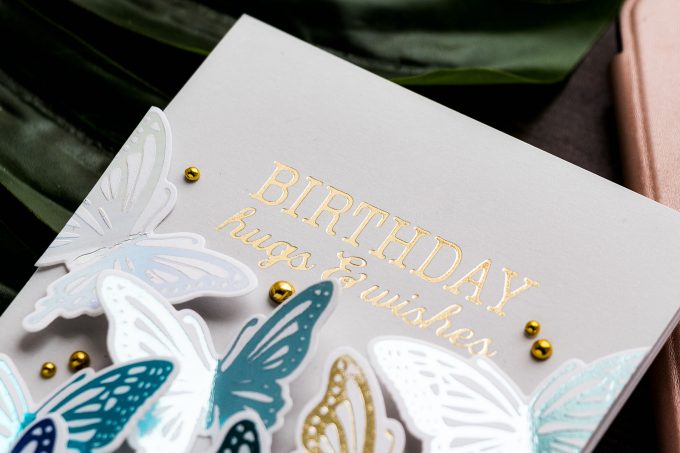
With the butterflies foiled and die-cut, I foiled sentiment on light gray panel. I used a new Happy Birthday plate to foil Birthday Hugs & Wishes on my card in champagne foil. These plates have been designed so that they have little notches and grooves to help you align the plates and center them. This is a really neat trick and I’m so glad that folks at Spellbinders have thought of this.
I used a mix of glue and foam adhesive to adhere the butterflies in place. Now, the foam adhesive squares were being used mostly to add lift to the wings, they weren’t actually tacking the wings down to the paper. Next, I used scissors and trimmed the butterflies. I also foam mounted the panel onto an A2 white card base – I did cut the gray panel to be just 1/4” shorter, so 5 1/4” so that a bit of white card base is showing on the card. Finally, I used FSJ Fashion Gold dots to embellish the card.
OFFSET FOILING & DRY EMBOSSING AND FOILING
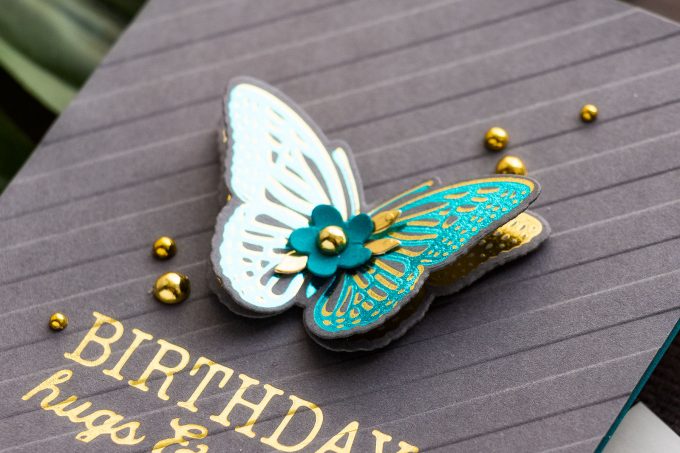
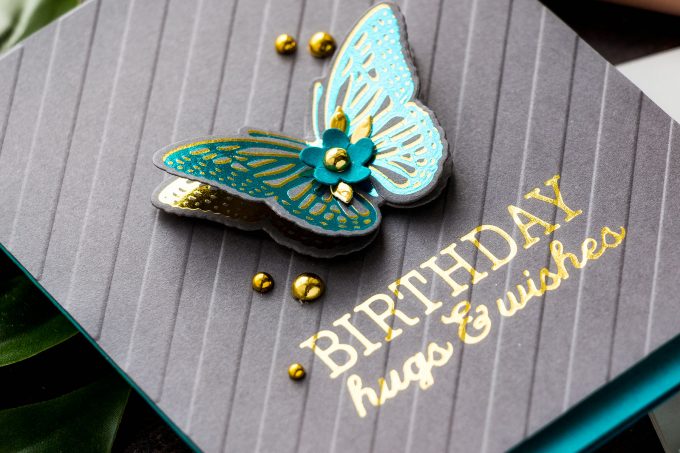
Next, I want to demonstrate the offset or shadow foiling. It’s a very neat trick that allows you to add faux dimension and additional interest to a foiled image. To do this, I first foiled a butterfly on dark gray cardstock in gold foil. Next, I foiled the same image over the original but shifted it slightly in different color foil – teal. I picked the color foil that would match the color of the card base.
I also foiled a sentiment for this card – it’s the same one we used on a previous card. This time hoverer I wanted to show you that you can dry emboss your foiled images and adding that texture is not going to damage or distort the foil. I used the Love Stripe embossing folder from FSJ and just run it through my die cutting machine to add that lovely texture.
I’ve foam mounted the embossed sentiment panel onto the card base and added the butterfly. I decided to add two so that there’s more dimension to the wings. For this, I used a piece of red tape to adhere the double foiled butterfly onto a single foiled gold butterfly and next used foam adhesive to foam mount the two onto the card.
The butterfly plates also come with two small dies that will cut flowers and leaves and I used mine to die cut a small teal flower and a couple of gold leaves. I used a glue square to adhere the flower onto the card – I’ve found that using glue over foil is not the most reliable way to adhere things down, so I prefer to use either strong tape or glue squares. And finally, I added a few gold dots here and there to finish the card. It is very simple, yet classy.
REPEAT FOILING TO MAKE A BACKGROUND
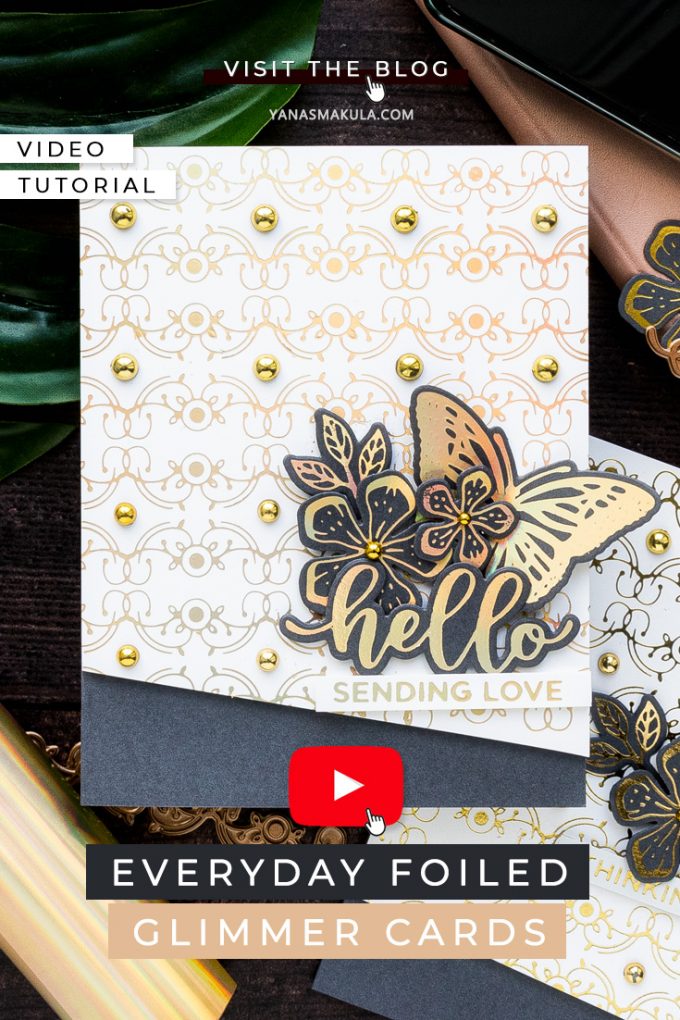
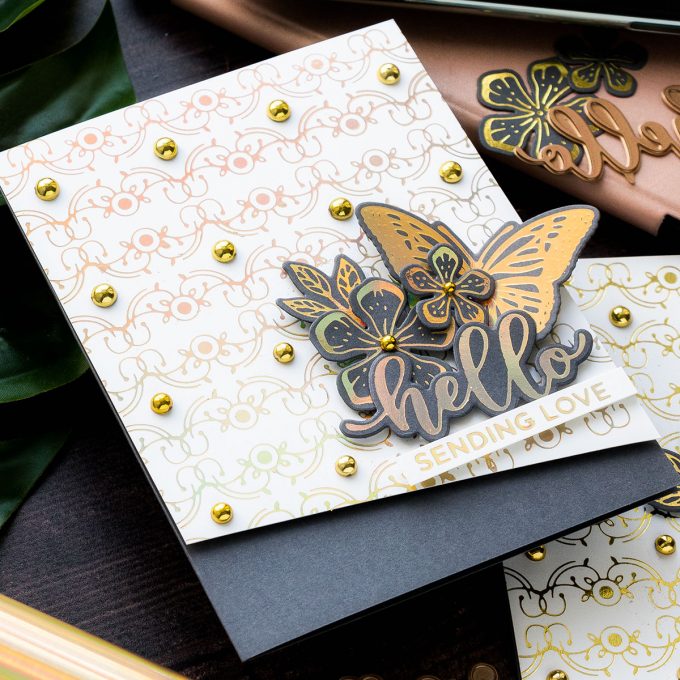
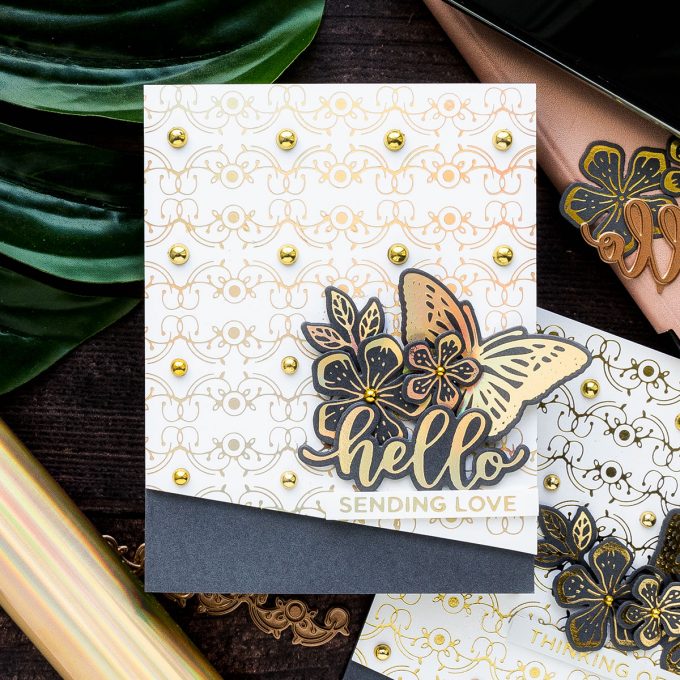
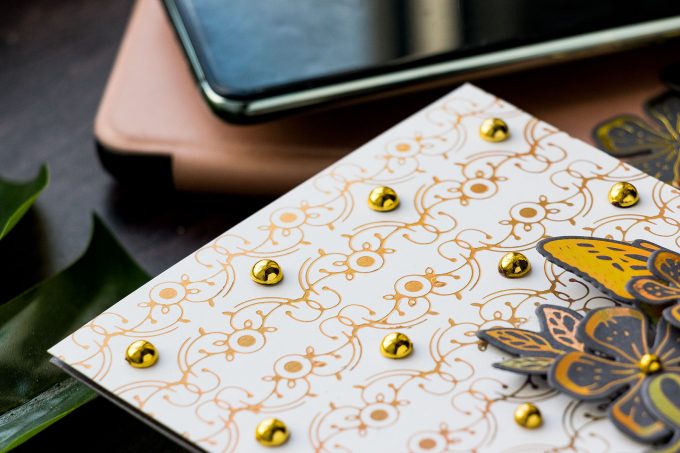
My last card for today showcases the gorgeous set of Art Deco Border glimmer plates. For this card I used Aura foil, it’s a very beautiful color. I foiled the border plate 8 times to cover most of the card front for this card.
For this, I used my hinge method, if you don’t know what it is – I have a video tutorial explaining it in detail. Do watch it as it also shares a lot of the other great Hot Foil tips.
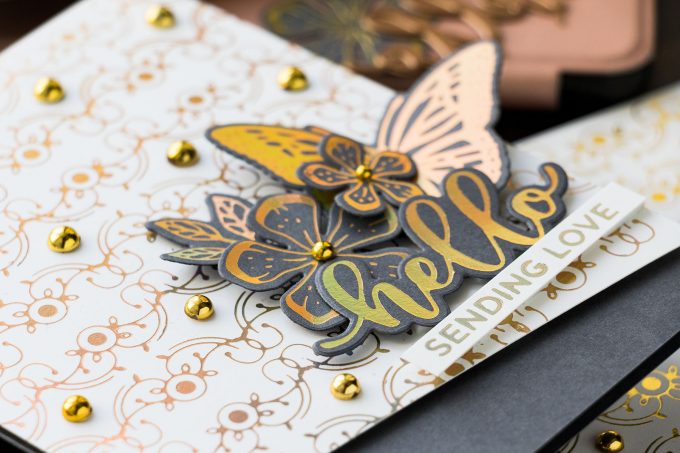
To complete this card I also foiled flowers and these come from a different set, Glimmering Layered Flowers, there are 2 beautiful flowers, a larger and a smaller one and a leaf; foiled a butterfly and also a “Hello” that comes from the Hello Dear Friend set. The hello has a coordinating die to cut the “Hello” out. This is the main reason why I picked it and wanted to use it for this card.
With everything foiled I trimmed my background at an angle – I like to call this a modern cut and foam mounted onto an A2 gray card base. Next, I arranged my die cut foiled pieces and adhered them in place one by one using glue and foam adhesive. I also foiled “Sending Love” using one of the Spellbinders’ previous foil plate sets.
Lastly, I used the gorgeous fashion gold dots to embellish the background – I added a number of dots in between the foiled borders and also added some to the flower centers.
SUPPLIES
I’m listing the products I used below. Click on the link to go directly to the product. Where available I use compensated affiliate links which means if you make a purchase I receive a small commission at no extra cost to you. Thank you so much for your support!
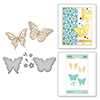 Spellbinders Glimmering Butterflies Glimmer Hot Foil Plate & Die Set Shop at: SSS | SC | SB | AZ |
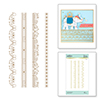 Spellbinders Art Deco Borders Glimmer Hot Foil Plate Shop at: SSS | SC | SB | AZ |
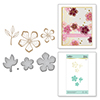 Spellbinders Glimmering Layered Flowers Glimmer Hot Foil Plate & Die Set Shop at: SSS | SC | SB | AZ |
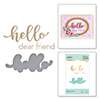 Spellbinders Hello Dear Friend Glimmer Hot Foil Plate & Die Set Shop at: SSS | SC | SB | AZ |
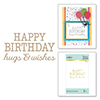 Spellbinders Birthday Hugs & Wishes Glimmer Hot Foil Plate Shop at: SSS | SC | SB | AZ |
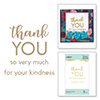 Spellbinders Thank You Combo Glimmer Hot Foil Plate Shop at: SSS | SC | SB | AZ |
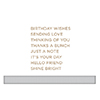 Spellbinders Everyday Sentiments II Glimmer Hot Foil Plate Shop at: SSS | SC | SB | AZ |
 Spellbinders Deep Sea Die Cutting Machine Shop at: SSS | SC | SB | AZ |
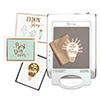 Spellbinders Glimmer Hot Foil System Shop at: SSS | SC | SB | AZ |
 Spellbinders Glimmer Hot Foil Gold Shop at: SC | SB | AZ |
 Glimmer Hot Foil Roll – Champagne Shop at: SB |
 Spellbinders Glimmer Hot Foil Roll – Prism Shop at: SSS | SB |
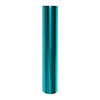 Spellbinders Glimmer Hot Foil – Teal Shop at: SSS | SC | SB |
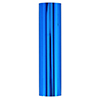 Spellbinders Cobalt Blue Glimmer Foil Shop at: SSS | SB |
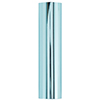 Spellbinders Skybright Glimmer Foil Shop at: SSS | SB |
 FSJ Blue Lagoon 8.5 X 11 Cardstock Shop at: SB |
 Spellbinders Main Attraction Magnetic Die Finder Shop at: SSS | SC | SB | AZ |
 FSJ Love Stripes Embossing Folder Shop at: SB |
 Tonic Studios 8.5 Inch Paper Trimmer Shop at: SSS | SC | AZ | TS USA |
 White Foam Squares Shop at: SSS | SC | SB | AZ |
 Journey Craft Glue Shop at: SB |
 FSJ Fashion Gold Embellishments Shop at: SB |
 FSJ Rock Candy 8.5 x 11 Cardstock Shop at: SB |
 Glimmer Hot Foil Roll – Aura Shop at: SSS | SC | SB |


Wow! Beautiful butterflies and gorgeous cards!! I love the second one a lot, with the offset foiling and embossing! <3 <3
I’m not into the foiling system, but I do love the cards you’ve made. Those borders are gorgeous! Glad to hear you had such a good trip to the UK. Love it there too!!
Your cards are just beautiful! I got a glimmer system for Christmas last year and had nothing but trouble with the foil transferring. I was using a Vagabond. I don’t know if it was just the machine or what, but the transfer wasn’t solid on much of anything. It was splotchy. I tried adding extra cardstock to make more pressure but that didn’t help. I see all the foiled projects and I want to try again I just hate the thought of wasting product only to have another epic fail. I watched your video and wonder if you have any suggestions. I guess I can try my Sizzix machine to see if I get better results. I just don’t know what I did wrong.